

Page 1
•
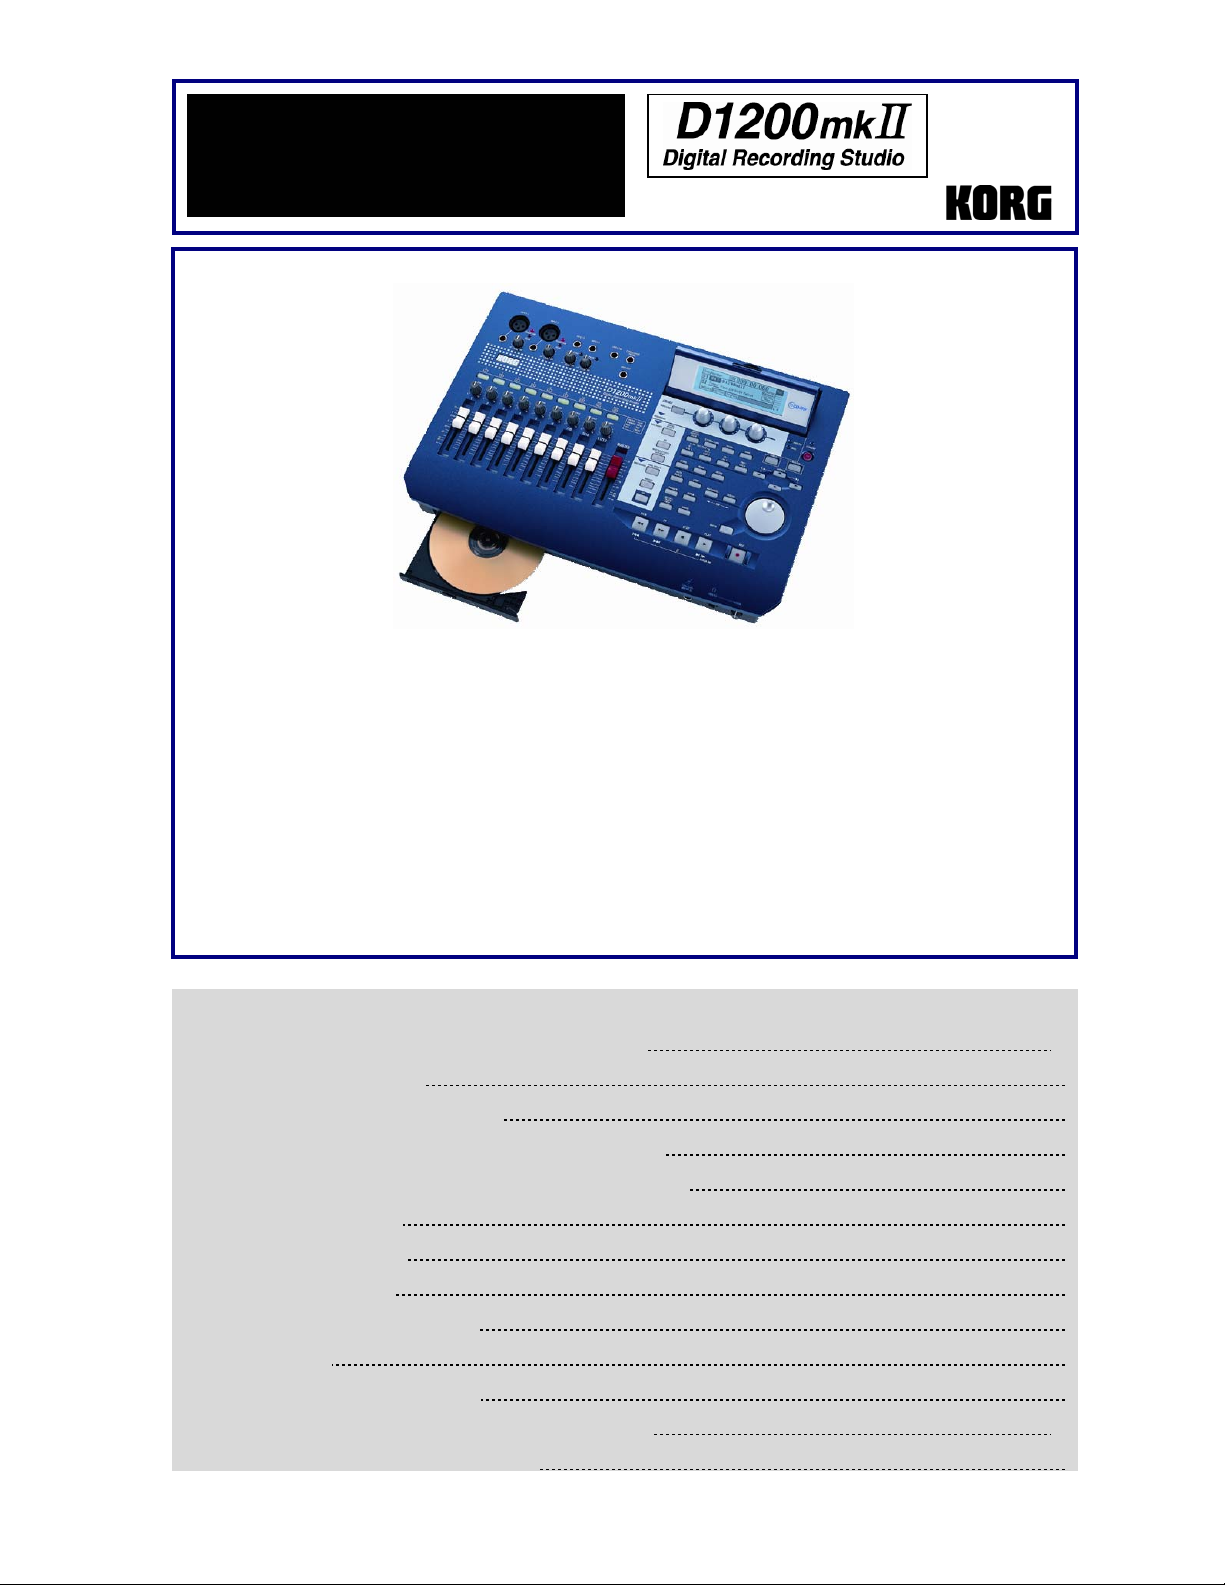
EasyStart
• No audio compression – 16/24-bit recording available
• 16 channel, 4 bus digital mixer
• 12 track recorder, with 96 virtual tracks
• 4-track simultaneous recording
• Hi, Lo and adjustable Mid frequency EQ for every channel
• New Modeling mode provides accurate Guitar and Bass
effect and amp simulations, plus Mic models – all instant top
panel accessible and programmable
• Up to 11 simultaneous effects per song: 8 Inserts,
2 Masters and a Final effect.
D1200mkII Main Features
100 Scenes, 100 Mark points, 4 Locate points per song
• Pro-level editing of song and track data including copy,
insert, normalize, exp/compression, 99 levels of UNDO
and much more!
• Built-in auto chromatic tuner, metronome and hundreds
of PCM rhythm patterns
• Internal 40 GB hard disk w/ 2GB USB partition
• USB computer connection for backup and/or WAV file
transfer
• Internal CDRW 16X CD burner for backup and
EasyStart CONTENTS
A quick overview of D1200mkII modes, functions and operations 2-3
Navigating the D1200mkII Display 4
Getting started: Listening to the demo songs 4
Guitarists: Try the new Modeling Mode with one of the demo songs 4
Creating a new song and recording with any instrument or microphone 5
Assigning inputs and recording 5
Listening to the recorded tracks 5
Working with EQ on playback 6
Using the Insert, Master and Final Effects 6
Working with Scenes 7
Selecting Virtual tracks and Editing tracks 7
Creating a Mixdown and burning and audio CD on the D1200mkII 7-8
Important D1200mkII Owner’s Manual references 8
Page 2

D1200mkII EasyStart
A quick overview of D1200mkII modes, functions and operations
MODELING - This mode allows you to quickly select and edit REMS guitar, bass, and mic modeling effects for recording. By
pressing the [MODELING] key, using the CURSOR keys to select a Model type (Guitar, Bass or Mic), then pressing [ENTER],
Tracks 1& 2 are automatically set to record status. Now the three realtime control knobs below the display can be used to select
and adjust the model settings, such as distortion type, tone, cabinet or mic type. Pressing the [ENTER] or [YES/OK] keys allow
you to select additional edit parameters. And the last edits made in modeling mode are preserved when the power is turned off.
INSERT EFFECT - In this mode you can set Insert effect assignments on input or on track playback, and assign the effect type.
Up to eight Insert effects can be used in a song. Press the [INSERT EFFECT] key and select whether the effect will be assigned
on Input or Playback. Then select the Effect Type, and use the [<-TAB->] keys to select and work with each Insert effect. Effect
parameters are accessed by highlighting the effect name button with the CURSOR / [ENTER] keys, and then selecting any of the
effect icons in the display. There are 106 effects types, and 128 preset / 128 user Insert effect programs available.
EQ - In this mode you can change the EQ setting for each of the D1200mkII’s tracks. The EQ type is 3-band: Lo, Mid and Hi with
a center mid frequency control. EQ settings are accessed via the [EQ] key, and the EQ track group tabs at the bottom of the
display. Settings can be made by selecting any EQ “knob” icon in the display, and then using the DIAL to make changes. The
upper-left of the display will indicate which EQ parameter you are adjusting.
MASTER EFFECT/AUX - Press the [MASTER EFFECT/AUX SEND] key to select an effect for both Master effect 1 and 2 from
one of 32 preset / 32 user available Master effects. Return level and Balance can also be set on this page. Effects can be edited
by selecting the effect name button with the CURSOR / [ENTER] keys. By using the [<-TAB->] keys to access the “EffSnd1” and
“EffSnd2” tabs, you can set individual send levels for each of the 12 tracks. You can also access the external Aux send
(“AuxSend” tab) function in this mode.
FINAL EFFECT - In this mode you can select dynamic-type mastering effects that will be applied to the overall mix of the song.
There are 32 preset / 32 user final effects to choose from, such as compression, multi-band limiting and EQ for adding finishing
touches to the completed song. Press the [FINAL EFFECT] key and select the desired effect with the DIAL. In all three Effect
modes, you can select the ”Bypass” button as the song plays, to “toggle” between dry and effect-applied mixes.
BOUNCE - Pressing the [BOUNCE] key accesses the Recording mode (“Input” or “Bounce”). By setting the Recording mode to
“Bounce” in the “RecMode” tab, you can bounce up to 12 tracks to 2 of the 96 “Virtual tracks” or bounce 10 playback tracks along
with 2 live inputs to 2 tracks. Bounce target tracks are set by first selecting Virtual tracks, and then setting destination track status
to RECORD. Select the “Bounce” tab to choose either 10Tr+2In->2Tr or 12Tr->2Tr, and select the Virtual tracks desired for
bouncing.
CD - When the optional CDRW1x8 burner, is installed you will be able to backup your song and user effect data, listen to and
record from audio CD’s, and burn a CD-R/RW of your final mix. On the “prepare” tab screen you can select destination tracks for
mixdown. You can monitor the level of the mix to make sure there is no clipping by using the “TrackMonitor” function and view the
signals level while playing back the audio. The “DiscAtOnce” feature allows you to burn and finalize a multi-song CD in one
operation, and in addition you can create a CD of live performance, insert Marks where needed, and DiscAtOnce will allow cueing
of the new CD tracks. (See page 93 of the D1200mkII manual for details) Under the “CDR/RW” tab you can playback and record
from an audio CD (Note: Obey copyright rules ☺ ).
INPUT/OUTPUT/SOLO - This mode allows you to “virtually-patch” the analog and S/PDIFdigital inputs of the D1200mkII to
different tracks, apply EQ to specific input sources, and use the Sub In function. You can also assign built-in rhythm patterns or
CD as input for recording. Under the “Solo” and “Monitor” tabs you can isolate and listen to specific tracks, effect send 1 and 2
levels, aux level and return levels for the Master effects, by pressing the track button(s) you wish to listen to. This routes the
isolated source to the Monitor L/R outs or MASTER L/R and HEADPHONE outs. By accessing the “Monitor” tab and then
selecting the “Level” button with the CURSOR / [ENTER] keys, you can create a mix that is different from the mix routed to the
Master outs, to be sent to the Cue outputs.
2
Page 3

D1200mkII EasyStart
SYSTEM/USB - In this mode you can configure the D1200mkII settings for the foot switch and expression pedal inputs, MIDI,
sync and MMC settings, data backup and restore functions, and Disk utilities such as formatting the internal 40GB hard drive.
Also included is access to USB mode for connection and data transfer / backup with an external computer.
TRACK - In this mode you can access the Virtual Tracks settings, perform track-editing functions (copy, reverse, normalize, etc.)
and also import and export single or multiple track audio data in WAV format.
SONG - In song mode you can select songs, copy, move, delete and protect songs and arrange songs in a play list to
automatically play them in any order.
STORE IN/LOC1, OUT/LOC2, TO/LOC3, END/LOC4 - These keys are used to set specific regions for editing, “AUTO PUNCH”
recording and “LOOP” recording functions. They are also used to assign up to four locate points per song. You can set IN, OUT,
TO and END points and Locate points by first pressing the [STORE] key at the desired point in time, and then the appropriate
[IN/LOC] etc. key, while playback is on or off.
MARK & SCENE - The D1200mkII allows you to store up to 100 Marks and 100 Scenes. You can easily store and move to
specific Marks in a song, such as verse, chorus, etc. Marks are also used for setting index points when burning CDs with the
“DiscAtOnce” function. Mixer settings such as volume, pan, EQ and effect settings can be stored as multiple Scenes in a song,
and recalled automatically during playback. Marks and Scenes can also be named. You can set Marks and Scenes by first
pressing the [STORE] key at the desired point in time, and then the [MARK] or [SCENE] key, while playback is on or off.
AUTO PUNCH & LOOP - Auto Punch mode is used to automatically punch in/out at desired locations that have been set with
the [STORE IN/LOC1, OUT/LOC 2] keys. You can also set a PreRoll and PostRoll time in measures or seconds. The LOOP
function allows you to loop a specific region of audio, by using the [STORE IN/LOC1, OUT/LOC 2] keys to set loop points.
TRIGGER - You can set the D1200mkII to automatically start recording when an incoming audio signal is detected. This is done
by setting the Threshold and Pre-Trigger Time. Both this function and Auto-Punch are great features for “hands-free” operation
when recording by yourself.
SCRUB - When playback is stopped and this key is pressed, you can view track waveform data (by selecting the “” button
next to “1Tr”), and using the “ZOOM” buttons (, etc.) to resize the waveform. Once you’ve selected a track, you can use the
DIAL to scrub the audio. Pressing the [] FF key while in the scrub mode will play the audio back at half speed, one octave
lower than the original pitch – a great feature for learning intricate solo parts from pre-recorded track data.
METER/TRACK VIEW - This mode enables you to view track, effect send, and Monitor / Master output levels. You can select
two different types of meter view: Pre-Fader (before the fader) and Post-Fader (after the fader), and three types of track views,
which enable you to see which tracks contain recorded audio. To change the display mode, select the “” button at the top lefthand side of the display, and press the [ENTER] key.
UNDO -This function allows you to go back and UNDO/REDO any previous recording or editing procedure in the current song.
The D1200mkII lets you set the desired number of undo levels: 99, 8 or 1 level. Note: A setting of “8” or “1” UNDO levels allows
you to conserve hard disk space.
TUNER - Here you can tune an instrument connected to the INPUT 1/GUITAR jack, with the built-in auto-chromatic tuner.
Calibration can also be set by using the DIAL.
RHYTHM - Here you can set song tempo, create a tempo map, record your own tempo track, set time signature and select
rhythm patterns from any of the 96 metronome and 215 PCM-based drum patterns. To access and listen to the patterns, press the
RHYTHM key and use the CURSOR keys to select “Rhythm:Off”, and then press [ENTER]. Use the DIAL to scroll through
different patterns or view the pattern list, accessed by selecting the “” button next to Rhythm and pressing [ENTER].
3
Page 4

D1200mkII EasyStart
Navigating the D1200mkII Display
• To select the display “tabs” in each mode, use the [<-TAB->] keys or repeatedly press a mode key: [INPUT/OUTPUT/SOLO],
[INSERT EFFECT] etc. The [<-TAB->] keys also function as [NO/CANCEL] and [YES/OK] keys.
• To move to different locations in the display, use any of the four CURSOR keys. To confirm a highlighted selection in the
display, press the [ENTER] key. To change a highlighted value, rotate the DIAL.
The Transport keys
[ ] = RECORD [] = PLAY [] = STOP [] = REWIND [] = FAST FORWARD
Getting Started: Listening to the demo songs
1. After connecting the AC power cable and external powered monitors to the rear panel MONITOR L/R outputs, press
the [ON] key (red) on the top panel. (You can also connect headphones to the front panel PHONE jack)
2. Make sure that the “SelSong” tab is selected in the display. If not, use the [<-TAB->] keys to move to this tab Ä
Use the DIAL to select song “001” or “002”, and press the [] PLAY key to begin song playback
Ä When finished
listening, press the [] STOP key.
Guitarists: Try out the new Modeling Mode with one of the demo songs
1. Select Demo Song “002 Play The Blues”. Using the [<-TAB->] keys, select the “EditSong” tab and use the DIAL to
select “ProtectSong”.CURSOR down to “Exec.” and press [ENTER] to turn protect OFF( the lock” icon will
disappear).
! This demo song has lead guitar recorded on tracks 1 and 2, and you’ll be recording on these same tracks, however by
selecting Virtual tracks you won’t lose the original recorded data.
2. Connect your guitar to the GUITAR IN jack on the front panel.
3. Press the [TRACK] key and select the “Vtr1-6” tab using the [<-TAB->] keys Ä Highlight track 1a and use the DIAL
to select 1b (an open virtual track) Ä CURSOR right and in the same way, set track 2a to 2b.
4. Press the [MODELING] key, and use the CURSOR to highlight Guitar, then press [ENTER]. When you do this, the
Input routing and Effect assignments are automatically set, as well as the Record status for both tracks!
5. Now use the three realtime knobs below the display to select DRIVE (Knob1 / type of distortion), TONE (Knob 2 /
preamp tone), and CABINET (Knob3) settings. Set the Track 1 and 2 faders to “0” and adjust the INPUT 1 [TRIM]
knob for maximum input gain before the “PEAK” light indicates clipping (red). Set the MASTER fader to “0”.
6. Playback and rehearse your solo before recording: Press the [INPUT/OUTPUT/SOLO] key Ä Using the [<-TAB->]
keys, select the “Monitor” tab Ä Select AutoIn with the CURSOR and press [ENTER] to disable AutoIn Ä Reset the
song to the beginning: press and hold [] and then press [] once.
4
Page 5

D1200mkII EasyStart
Now to record a blues guitar solo:
7. Press the REC [ ] key to enter standby record mode, and then press the PLAY [] key, and begin recording Ä
when finished, press the STOP [] key and reset the song to the beginning Ä Play-enable tracks 1 and 2 by
pressing the track status keys until they light green Ä Press [] to playback the song, and press [] to stop
playback.
! If you want to keep the demo song intact, copy the song to a new song location, using the “CopySong” function in Song
mode – “EditSong” tab, or make a backup of the factory demo data to CD or via USB connection. Then keep the original
demo song Protected.
Creating a new song and recording with any instrument or microphone
1. Select the “New” button in the display using the CURSOR and [ENTER] keys Ä select the “Song Type” as
“16Bit/12Track” and the “Mixer Set” as “New” Ä press “OK”. The display will indicate “NEW SONG” in the next
available empty song location.
! You can rename your song by selecting the “Rename” button in the display.
Assigning inputs and recording
2. Press the [INPUT/OUTPUT/SOLO] key.
3. Connect your audio source (mic, keyboard L/R outputs, etc.) to the analog inputs on the top of the D1200mkII. If you are
connecting a guitar to the D1200mkII directly, use the GUITAR IN jack on the front panel.
4. Use the CURSOR keys to move to the track to be recorded, highlighting the display “icon” that looks like a phone jack Ä
Use the DIAL to set the input (Note: if using the GUITAR IN jack, you will need to dial-in “1” as the input source for the
desired record track, or simply use track 1, default assigned to input 1, as the record track for guitar).
5. Press the [TRACK SELECT] keys for each of the tracks that you assigned in the previous step, so that the green LED
changes to orange.
6. Press the [METER/ TRACK VIEW] key, then select the “” popup button in the upper left of the display using the
CURSOR and [ENTER] keys
audio sources and adjust the levels so that they do not clip (“CLP” line in display).
7. To enable recording on those tracks, press the [TRACK SELECT] keys one more time to change the LED from orange to
red, and press [ ] to put the D1200mkII in record standby mode.
8. To start recording, press []. To stop recording, press [].
Ä Select “PreFdr” from the list and then press the [YES/OK] key ÄNow you can play your
Listening to the recorded tracks
9. To return to the beginning of the song, press and hold [] and then press [] once.
10. Press to set each of the track status keys to green for each track you want to listen to, by pressing them twice.
11. Press [] and set your levels with the track faders and master fader.
5
Page 6

D1200mkII EasyStart
Working with EQ on playback
1. Press the [EQ] key, and use the [<-TAB->] keys to move to the desired group of tracks to EQ.
2. Use the CURSOR keys and DIAL to select the “knob” in the display, and edit the value for the EQ parameter for a
specific track. The upper left hand side of the display will show the parameter and track you will be working with.
Using the Insert Effects
1. Press the [INSERT EFFECT] key Ä Select the “InsAss” tab using the [<-TAB->] keys and then select the “” popup
button in the display to the right of “Assign” using the CURSOR and [ENTER] keys.
2. To assign an insert effect to a recorded track, select “PlayTrack” by selecting the “radio button” to the left of “PlayTrack”,
and press [ENTER] then [YES/OK]. (Note: To assign an insert effect to an audio source before
select “Input” by selecting the radio button to the left of “Input” and then select “OK”)
3. To select the type of insert effect(s) you will be using, select the “” popup button to the left of “1 in 1 outx4”, and then
press [ENTER]. (For more information on insert effect types refer to the Owners Manual pg. 105).
4. To select the track where the insert effect is going to be applied, select the “” popup button in the display below
“InsertTo:”. Using the CURSOR and [ENTER] keys and the DIAL, select the assign channel and destination, and then
press [YES/OK].
recording it to a track,
5. To choose an insert effect, select the “insert effect” tab for the effect that you want to change (ex. “InsEff1” for Insert
Effect 1) and use the DIAL to select an effect.
6. To edit a selected effect’s parameters, select the “effect name” button in the display (ex. MM2:P4EQ-Wah ), press
[ENTER] and then select the “icon” in the display to access the edit parameters.
Using the Master Effects
Press the [MASTER EFFECT / AUX] key , and rotate the DIAL to select an effect for Master Effect 1 (“MstEff1”). 1.
2.
Press the [MASTER EFFECT / AUX] key again or the [TAB->] key to access the “MstEff2” tab and use the DIAL to
select an effect for Master Effect 2.
3.
To edit the parameter for either effect, select the “effect name button” in the display (ex. RV1:ReverbHall ), press
[ENTER] and then select the “icon” in the display to access edit parameters.
To apply master effects to a track, press the [MASTER EFFECT / AUX] key again or the [TAB->] key to access the
4.
“EffSnd1” tab (for Master Effect 1) or “EffSnd2” tab (for Master Effect 2) in the display
DIAL to increase the send level for each track you want to add master effects to.
Ä Use the CURSOR keys and
Applying a Final Effect
1. Press the [FINAL EFFECT] key.
2. Rotate the DIAL to select a Final Effect. To edit any parameters of the Final Effect, select the “effect name button” in the
display (ex. DY1:St.Comp ), press [ENTER] and then select the “icon” in the display to access the edit parameters.
6
Page 7

D1200mkII EasyStart
Working with Scenes
1. Press the [SCENE] key to enter Scene mode. If you have not stored any Scene memory locations yet, press the
[STORE] key and then press the [SCENE] key. This will store a “snapshot” of your mixer settings for this song at the
COUNTER location indicated on the SONG page.
2. After pressing the [SCENE] key, to enable Scene Memory, select SceneRead:Off in the display using the CURSOR and
[ENTER] keys to set the display to read SceneRead:On.
3. To store additional scenes, start song playback and change mixer settings, then press the [STORE] key, followed by
pressing the [SCENE] key again. Each time you do this, a new scene will be created and stored in the Scene Memory.
4. You can also get a visual picture of what each Scene looks like, and edit its parameters, by selecting the “MixView” tab
in the display and using the TRACK faders and PAN knobs to adjust values. The changes you make will be indicated in
the display.
! You can reset a Scene’s Fader and Pan settings by moving each fader and pan knob until the display indicates two
“arrows” instead of a single directional arrow.
Selecting Virtual tracks and Editing tracks
1. Press the [TRACK] key.
2. Using the CURSOR keys and the DIAL, select which virtual track you will be listening to or recording to. To adjust Virtual
Track settings for tracks 7-12, use the [<-TAB->] keys to access the “Vtr7-12” tab in the display. (For more info on
Virtual tracks refer to the D1200mkII Owner’s Manual page 108)
3. To use the “EditTrk” function, you must first select a range of the song to be edited by storing an IN, OUT and TO
location (some editing functions also require an END location). To do this, move to the desired song location, and then
press the [STORE] key followed by the [LOCATE] key for each location. Once you’ve set locate points, you can edit the
specific region in the track(s).
4. To see the list of edit functions, select the “EditTrk” tab, select the “” button next to “CopyTrack” in the display. To
access a function, select the ”radio button” to the left of the function you wish to perform and then select “OK” using the
CURSOR and [ENTER] keys.
5. To execute the function, select Exec. in the display. For more information on editing tracks, refer to the D1200mkII
Owner’s Manual pages 57-63 & 108-113.
Creating a mixdown and burning an audio CD on the D1200mkII
For the following procedure, let’s use one of the D1200mkII Demo Songs…
Copy “Play the Blues” to a new song location:
1. Press [SONG].On the “SelSong” tab select DemoSong 002: Play The Blues. Using the [<-TAB->] keys select the
“EditSong” tab. Select Copy Song as the “EditType” by using the CURSOR keys and the DIAL Ä CURSOR down and
set the copy to location to “003” with the DIAL, and then select Exec. and press [ENTER]
AreYouSure? Press [YES/OK] Ä When completed press [YES/OK] again.
Ä When promted
2. Select “ProtectSong” as the “EditType” with the DIAL Ä CURSOR down to Exec and press [ENTER] to turn protection
off. (The “lock” icon will disappear)
7
Page 8

D1200mkII EasyStart
Bounce and Burn!
1.
Press the [BOUNCE] key. On the “RecMode” tab select Bounce using the CURSOR keys and press [ENTER]. On the
“Bounce” tab, select 12Tr->2Tr using the CURSOR keys and press [ENTER]. CURSOR down to RecordVirtualTrack
and select virtual track “h” (or any Virtual track that has not been used) by using the DIAL.
2.
Set tracks 11-12 to record ready mode by pressing the [TRACK SELECT KEY] for track 11/12 two times (Tracks 11/12
LED should now be red). Now your ready to mixdown to tracks 11-12, virtual track “h” (or the Virtual track you’ve
selected).
3.
Press the [METER/TRACK VIEW] key. Press PLAY [] and be sure the MASTER level is not clipping. Make necessary
adjustments to the MASTER level. Press STOP [] when done. Return to the beginning of the song by holding the
STOP [] key and pressing REW [] simultaneously.
4.
Press REC [ ] and then press PLAY [] to start recording your mixdown. When the song is completed press STOP
[]. Return to the beginning of the song by holding the STOP [] key and pressing REW [] simultaneously.
5.
Press the [TRACK] key, then press the [<TAB >] key to select the “Vtr7-12” tab. Select tracks 11-12a using the
CURSOR keys and rotate the DIAL to select tracks 11-12h (or the Virtual track you’ve selected).
6.
Press the [CD] key
can test-monitor the level of your mix: CURSOR to TrackMonitor, press [ENTER] and then press PLAY [] to
playback your mix and verify your mixdown levels are not clipping. When using the track monitor function, the tracks will
play back without being routed through the mixer (i.e., without EQ or effects) and are output through the MONITOR and
PHONE outputs.
Ä On the “Prepare” tab, select tracks 11-12 (under SelTrks: on the display) by rotating the DIAL. You
7. Let’s Burn! Press [TAB->] to select the “CDR/RW” tab , Insert a blank CD-R or CD-RW disc into the CDR/RW drive and
press WriteToCD in the display.
8.
Select “16x” as the write speed, and press [YES/OK] when prompted “AreYouSure?”
9.
When the writing procedure is completed, press [NO/CANCEL] when prompted “Write another CD?”
To make the CD playable in a audio CD player, the CD must be finalized. Before finalizing the disc, other tracks can be
10.
written to the CD, but once finalized, no additional tracks can be written. TO FINALIZE: Select Final by using the
CURSOR keys and press [ENTER]. Press [YES/OK] when prompted “AreYouSure?”.
11. Enjoy!
! The “DiscAtOnce” function in the CD mode allows you to burn and finalize a multi-song audio CD in one process. It also
allows you make an audio CD with no gaps between tracks. In other words, you can record a continuous live
performance of multiple songs, and then insert Marks between songs. When you use “DiscAtOnce”, these Marks are
registered as divisions between CD tracks, so that in CD playback you can cue each song, and finalizing will be done
Important D1200mkII Owner’s Manual references
Installing the CDRW-1x8 drive 149
CD Mastering 64-67/93-94
D1200mkII MIDI sync procedures
Controlling the D1200mkII from an external sequencer 79
Using MIDI for mixer control
MIDI Machine Control (MMC) 79/102
Working with WAV files and the Import/Export function via USB or CD
Initializing/formatting internal or external hard drive 75
Backing up and restoring data via USB or CD
Saving Data to your computer using USB
Recording Rhythms and using Tempo Maps
Updating system software 81
Troubleshooting
automatically.
79-80
80
113
102-105
77-78
48-52
143
8
 Loading...