

Page 1

KH2201_02_IB_UK.qxd 14.11.2006 9:12 Uhr Seite 1
Page 2

UK
Kompernaß GmbH · Burgstraße 21 · D-44867 Bochum
www.kompernass.com
ID no.: KH2201_02-09/06-V2
KH2201_02_IB_UK.qxd 14.11.2006 9:12 Uhr Seite 2
Page 3
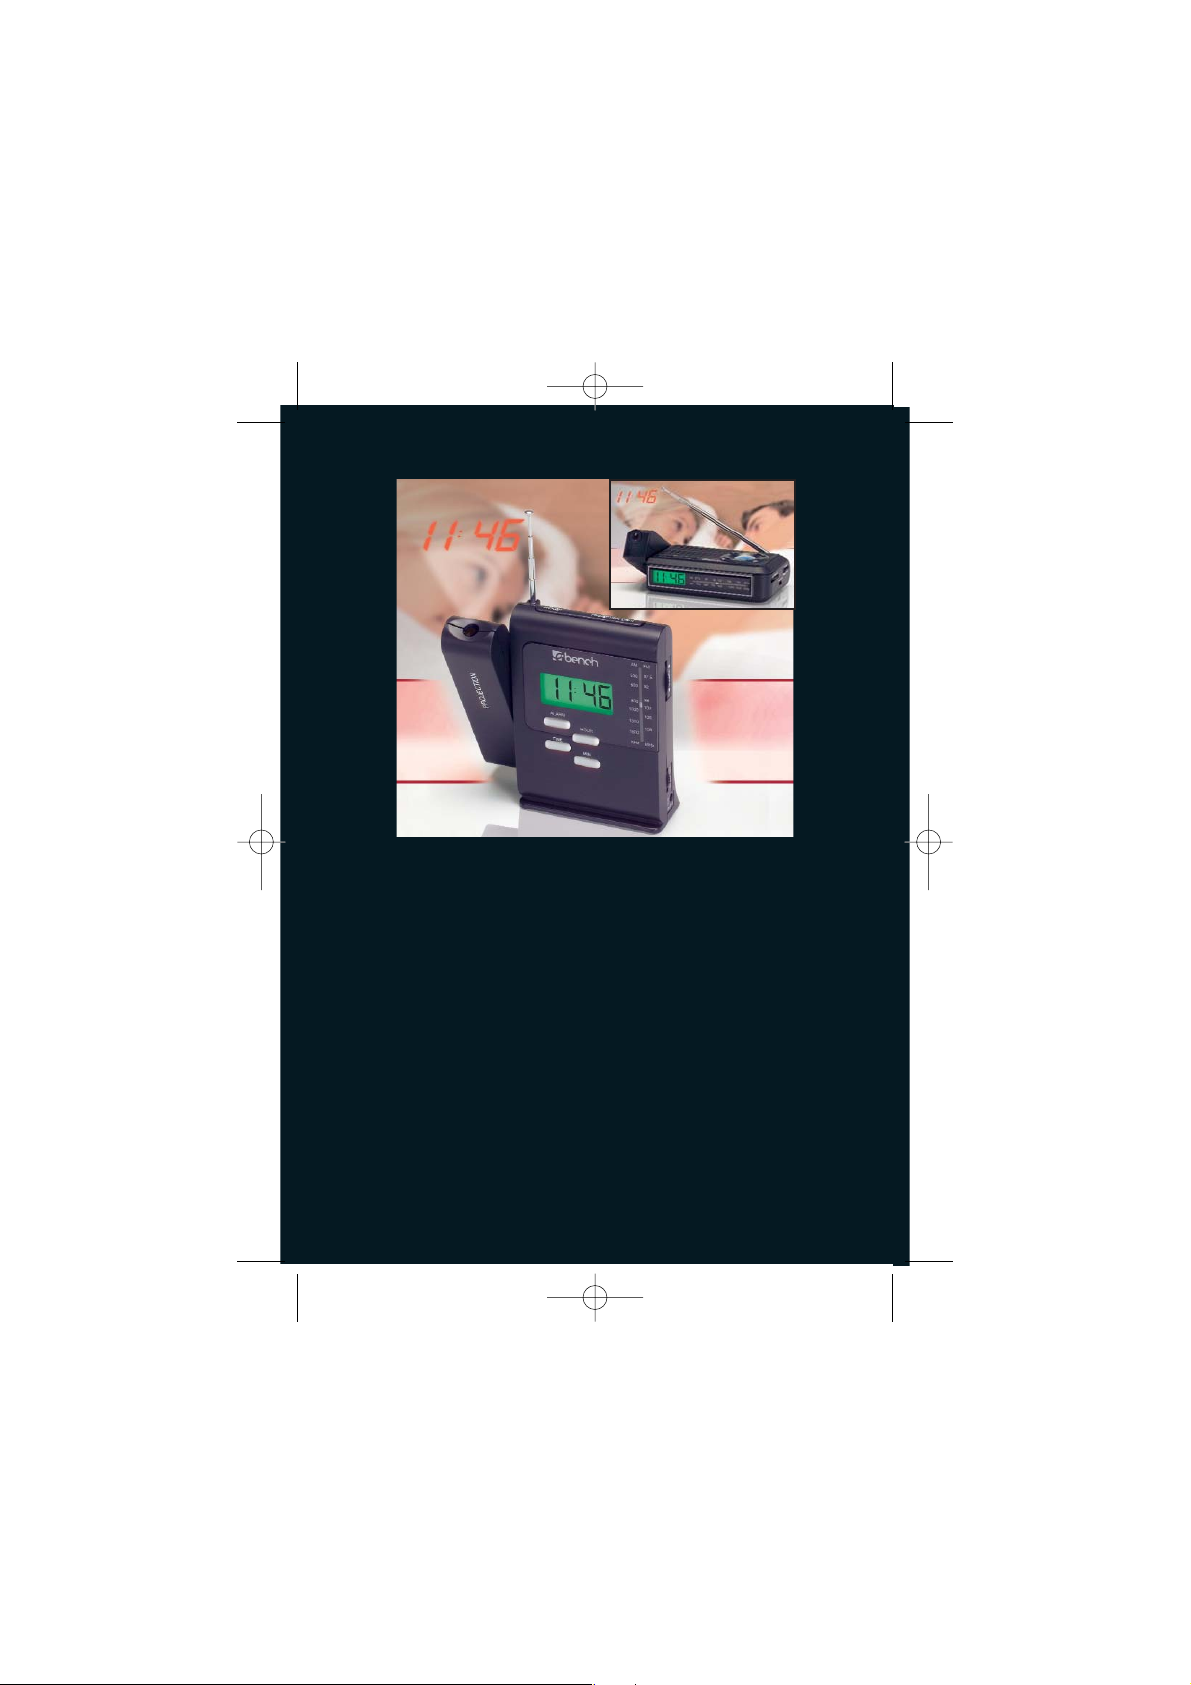
Projection Clock with Radio KH
2201/02
Projection Clock with Radio
KH 2201 / KH 2202
Operating Instructions
KH2201
KH2202
KH2201_02_IB_UK.qxd 14.11.2006 9:12 Uhr Seite 3
Page 4
KH2201_02_IB_UK.qxd 14.11.2006 9:12 Uhr Seite 4
Page 5
rewq
t
y
u
i
a
s
d
f
g
h
j
k
l
;
o
KH 2201
KH2201_02_IB_UK.qxd 14.11.2006 9:12 Uhr Seite 5
Page 6

KH 2202
wui
e
r
a
2)
j
h
yt
fg
;
q
olk
d
s
KH2201_02_IB_UK.qxd 14.11.2006 9:13 Uhr Seite 8
Page 7

- 3 -
Projection Clock with Radio
Safety instructions 4
Intended Use 5
Items supplied 6
Operating Elements 6
Technical data 6
Setup 7
Operation 7
Connect the external mains adaptor 7
Radio operation 8
Setting up the telescope aerial 8
Setting the time 9
Setting the alarm time 9
Snooze Function 10
Projection 10
Background lighting for the display and projection 11
Cleaning 11
Disposal 12
Warranty and Service 12
Read the operating instructions carefully before using the appliance for
the first time and preserve this booklet for later reference. Pass the
manual on to whomsoever might acquire the appliance at a later
date.
KH2201_02_IB_UK.qxd 14.11.2006 9:13 Uhr Seite 3
Page 8

- 4 -
Projection clock with
radio
Safety instructions
To avoid fatal injury
through electric shock:
• Use the appliance only in
dry rooms.
• Ensure that fluids or
other objects can never
enter into the appliance.
• Do not place objects containing fluids, e.g. flower
vases, on the appliance.
To avoid burn and
other injuries:
• Place the appliance in an
open and well-ventilated
area so that heat pockets
cannot be created within
it. Never cover the ventilation openings!
• Do not place open fire
sources, e.g. candles, on
the appliance.
• Avoid close proximity to
heat sources, e.g. direct
solar radiation, heaters
and other appliances
etc.!
• Do not allow children or
persons in need of attention to use the appliance
unsupervised, they are
not always able to correctly assess the potential
dangers.
Electro-magnetic fields
This appliance lies below
the maximum legal limits
for electric smog, even within
the casing! However, should
you still have doubts about
installing it in the bedroom:
• Place the appliance about
half a meter from the
bed.
KH2201_02_IB_UK.qxd 14.11.2006 9:13 Uhr Seite 4
Page 9

- 5 -
From this distance the electro
magnetic fields are no longer
effective, even for electro
sensitive people.
Note:
This appliance is equipped
with non-slip rubber feet.
As furniture upper surfaces
comprise of various materials
and are cleaned with various
types of polishes and/or
cleaning agents, it cannot
be completely excluded that
some of these substances
contain components that
could attack the rubber
pads and soften them. If
necessary, place an anti-slip
mat under the rubber pads
of the appliance.
Note:
In certain countries there
could be exceptional regulations for the allocated radio
frequency ranges.
Take note that you may not
exploit possibly received
radio services, pass them
on to third parties or improperly misuse them.
Intended Use
The equipment is intended
for employment as an
alarm clock, using a tone
signal, and for receiving
radio transmissions. All
other usages or modifications
to the appliance are deemed
to be improper use and may
result in serious injury.
The manufacturer accepts
no liability for damages that
result from improper use of
the appliance or are caused
by incorrect operation of it.
The appliance is not intended
for commercial use.
KH2201_02_IB_UK.qxd 14.11.2006 9:13 Uhr Seite 5
Page 10

- 6 -
Items supplied
After unpacking the appliance, immediately check to
determine that all listed
items are present and that
the appliance is in a faultless
condition.
1 Projection Clock Radio
1 Operating instructions /
Guarantee documentation
The batteries and a 3Vmains adaptor (accessories),
required for operation, are
not included in the supply.
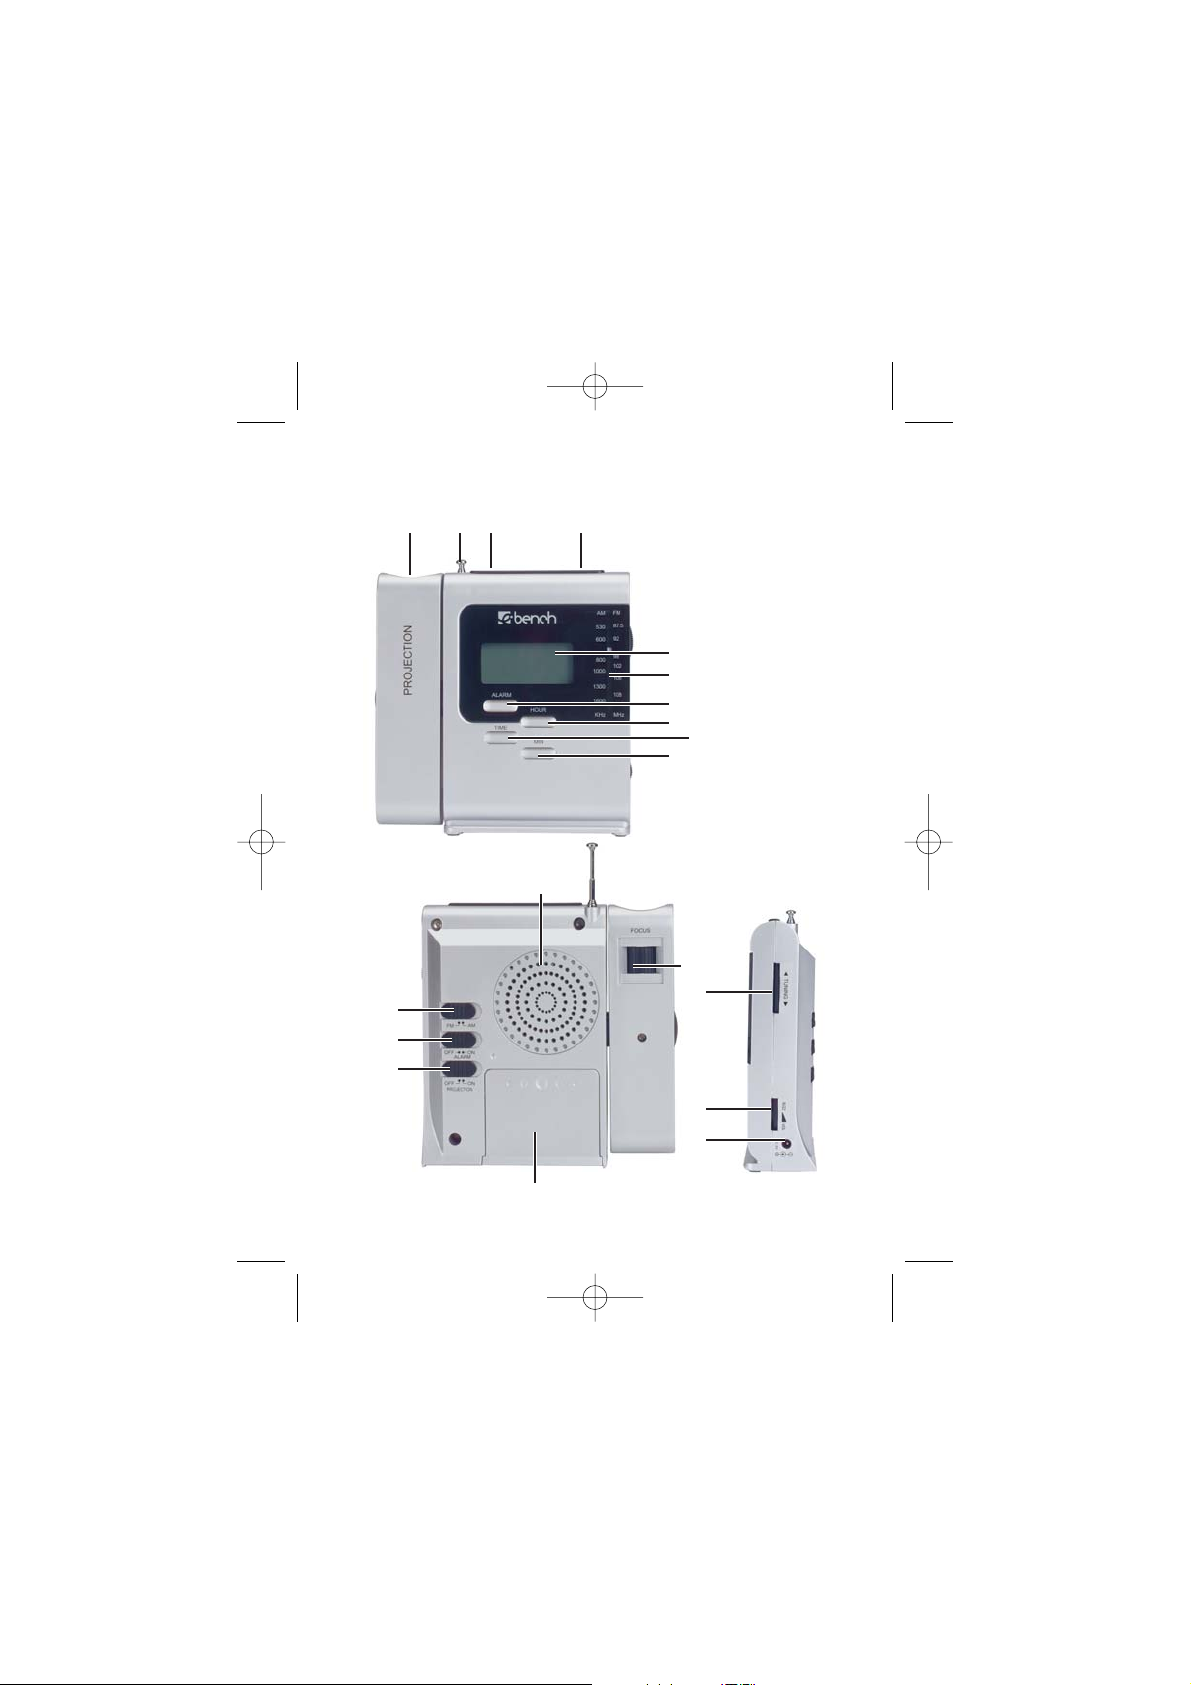
Operating Elements
Projection lens
Telescope aerial
Button SNOOZE
Projection, Display
illumination
Display
Frequency scale
Button ALARM
Button HOUR
Button TIME
Button MIN
Loudspeaker
Projection focus
Tuning wheel
Volume controller
VOLUME / BUZZ
External 3V DC connector
Battery compartment
Switch - Projection
ON/OFF
Switch - Alarm ON/OFF
Waveband selector
FM/AM
Stand-up support (only
Model KH 2202)
Technical data
Rated voltage:
Direct current (DC): 3 V
Rated current: 300 mA
Frequency range :
FM (USW) 87.5 - 108 MHz
AM (MW) 530 - 1600 kHz
KH2201_02_IB_UK.qxd 14.11.2006 9:13 Uhr Seite 6
Page 11

- 7 -
Batteries:
(Batteries not supplied)
• Model KH 2201: 1,5 V
Typ Mignon/AA
• Model KH 2202: 1,5 V
Typ Micro/AAA
• 2 x 1,5 V for radio opera-
tion, display illumination
and projection
• 1 x 1,5 V for the LCD
clock (the compartment
is described in „CLOCK
USE“)
Mains adaptor:
(Item not supplied)
Rated voltage: DC 3V
(+/- 5%)
Rated current: min. 300 mA
When using a 3 V mains
adaptor, a battery must be
inserted into the compartment “CLOCK USE”. Otherwise, the clock will not
function.
Setup
• Place the projection clock
onto a level surface.
• Position the projection
clock such that the projection lens is directed
onto an empty surface.
Only Model KH 2202:
• Fold out the stand-up
support .
Operation
Connect the external mains
adaptor
This appliance can be operated with an external
mains adaptor. Please use
only mains adaptors that
meet these specifications:
Rated voltage: DC 3V
(+/- 5%)
Rated current : min. 300 mA
KH2201_02_IB_UK.qxd 14.11.2006 9:13 Uhr Seite 7
Page 12

- 8 -
Important:
Make certain that the polarity is correct – both for the
batteries as well as for the
mains adaptor. False polarity
will damage the appliance.
Radio operation
1. To switch on, turn the volume controller VOLUME /
BUZZ , until an audible
»Click« is heard.
2. Using the volume controller VOLUME / BUZZ
now set the desired
volume.
3. Set the waveband selector switch to the des-
ired wavelength range
(FM/AM).
4. Adjust the tuning wheel
to select the desired
radio station. The frequencies can be read off
from the frequency
scale .
5. To switch off, turn the
volume controller VOLUME / BUZZ until an
audible »Click« is heard.
Setting up the telescope
aerial
On Model KH 2201:
• Pull out the telescope aerial completely.
The telescope aerial on
Model KH 2201 is not rotatable. If you try to turn the
telescope aerial , the aerial
mounting will be damaged.
On Model KH 2202:
• Remove the telescope
aerial from its retainer
and set it up.
• Extend the telescope
aerial completely.
KH2201_02_IB_UK.qxd 14.11.2006 9:13 Uhr Seite 8
Page 13

- 9 -
To improve reception in the
FM frequency range, slowly
turn the end of the telescope
aerial in various directions.
As soon as you have found a
position with good reception
from your desired radio
station, leave the telescope
aerial in this position.
For the reception of AM
transmitters, an aerial is built
into the appliance. To improve reception adjust the
position of the appliance
itself in radio operation.
Setting the time
Whilst holding the button
TIME pressed down:
1. Press several times consecutively, or press and
hold, the button HOUR
, to set the hours.
2. Release the button
HOUR as soon as the
desired hours setting is
shown in the Display .
3. Press several times consecutively, or press and
hold, the button MIN ,
to set the minutes.
4. Release the button MIN
, as soon as the desired
minutes setting is shown
in the Display .
The adjusted time will be
automatically accepted as
soon as the button TIME
is released.
Setting the alarm time
If the clock is set correctly,
as described above:
1. Switch the radio off:
Place the volume controller VOLUME / BUZZ to
BUZZ (a »Click« is audible).
KH2201_02_IB_UK.qxd 14.11.2006 9:13 Uhr Seite 9
Page 14

- 10 -
Whilst holding the button
ALARM pressed down:
2. Press several times consecutively, or press and
hold, the button HOUR
, to set the hours.
3. Release the button
HOUR , as soon as the
desired hours setting is
shown in the Display .
4. Press several times consecutively, or press and
hold, the button MIN ,
to set the minutes.
5. Release the button MIN
, as soon as the desired
minutes setting is shown
in the Display .
The adjusted alarm time
will be automatically accepted as soon as the button
ALARM is released.
6. To activate the alarm
time function, place the
switch ALARM On/Off
to „ON”.
Snooze Function
Activating the switch
SNOOZE interrupts the
alarm tone for 8 minutes.
After these 8 minutes, the
alarm tone is repeated.
Place the switch ALARM
On/Off to „OFF“ to completely switch off the alarm
function.
Projection
Important! When used pro-
perly, radiation from the
projection display does not
present a danger!. However,
avoid looking directly into
the light beam and do not
point the beam directly at
other persons or at animals.
KH2201_02_IB_UK.qxd 14.11.2006 9:13 Uhr Seite 10
Page 15

- 11 -
To display the correct time
on the wall or the ceiling,
the hinged projection element must be swung forwards and the room must
be appropriately darkened.
1. Place the switch Projection
On/Off to position ON.
2. Set the projection element
as desired. The time is
projected onto the required position. Projectionsdistance ca. 40cm - 3m.
3. Adjust the clarity of the
projection with the projection focus .
Background lighting for
the display and projection
Pressing the button Projection/Display Illumination
activates the display illumination and the time projection for ca. 10 seconds.
Cleaning
• Keep the appliance and
the ventilation openings
clean at all times.
• Fluids may not, under
any circumstances, penetrate into the interior of
the appliance.
• Use a soft cloth to clean
the appliance housing.
• Never use detergents
or solvents that could
damage plastics.
KH2201_02_IB_UK.qxd 14.11.2006 9:13 Uhr Seite 11
Page 16

- 12 -
Disposal
Do not dispose of the
appliance in your
normal domestic
waste.
Dispose of the appliance
through an approved disposal centre or at your
community waste facility.
Observe the currently applicable regulations. In case of
doubt, please contact your
local waste disposal centre.
Disposing of batteries!
Do not dispose of the batteries with household waste. Every consumer is legally
obliged to dispose of batteries at a collection site of
his community / city district
or at a retail store.
This obligation is intended
to ensure that batteries are
disposed of in an environmentally safe fashion. Only
dispose of batteries when
they are fully discharged.
Warranty and Service
The warranty conditions
and the service address can
be found on the warranty
slip.
Kompernaß GmbH
Burgstraße 21
D-44867 Bochum
www.kompernass.com
KH2201_02_IB_UK.qxd 14.11.2006 9:13 Uhr Seite 12
 Loading...