

Page 1

Installation Guide
Sink Strainer
K-8801, K-8799
M product numbers are for Mexico (i.e. K-12345M)
Los números de productos seguidos de
M corresponden a México (Ej.
K-12345M)
Français, page“ Français-1”
Español, página“ Español-1”
1039897-2-A
Page 2
Thank You For Choosing Kohler
We appreciate your commitment to Kohler quality. Please take a few
minutes to review this manual before you start installation. If you
encounter any installation or performance problems, please don’t
hesitate to contact us. Our phone numbers and website are listed on
the back cover. Thanks again for choosing Kohler Company.
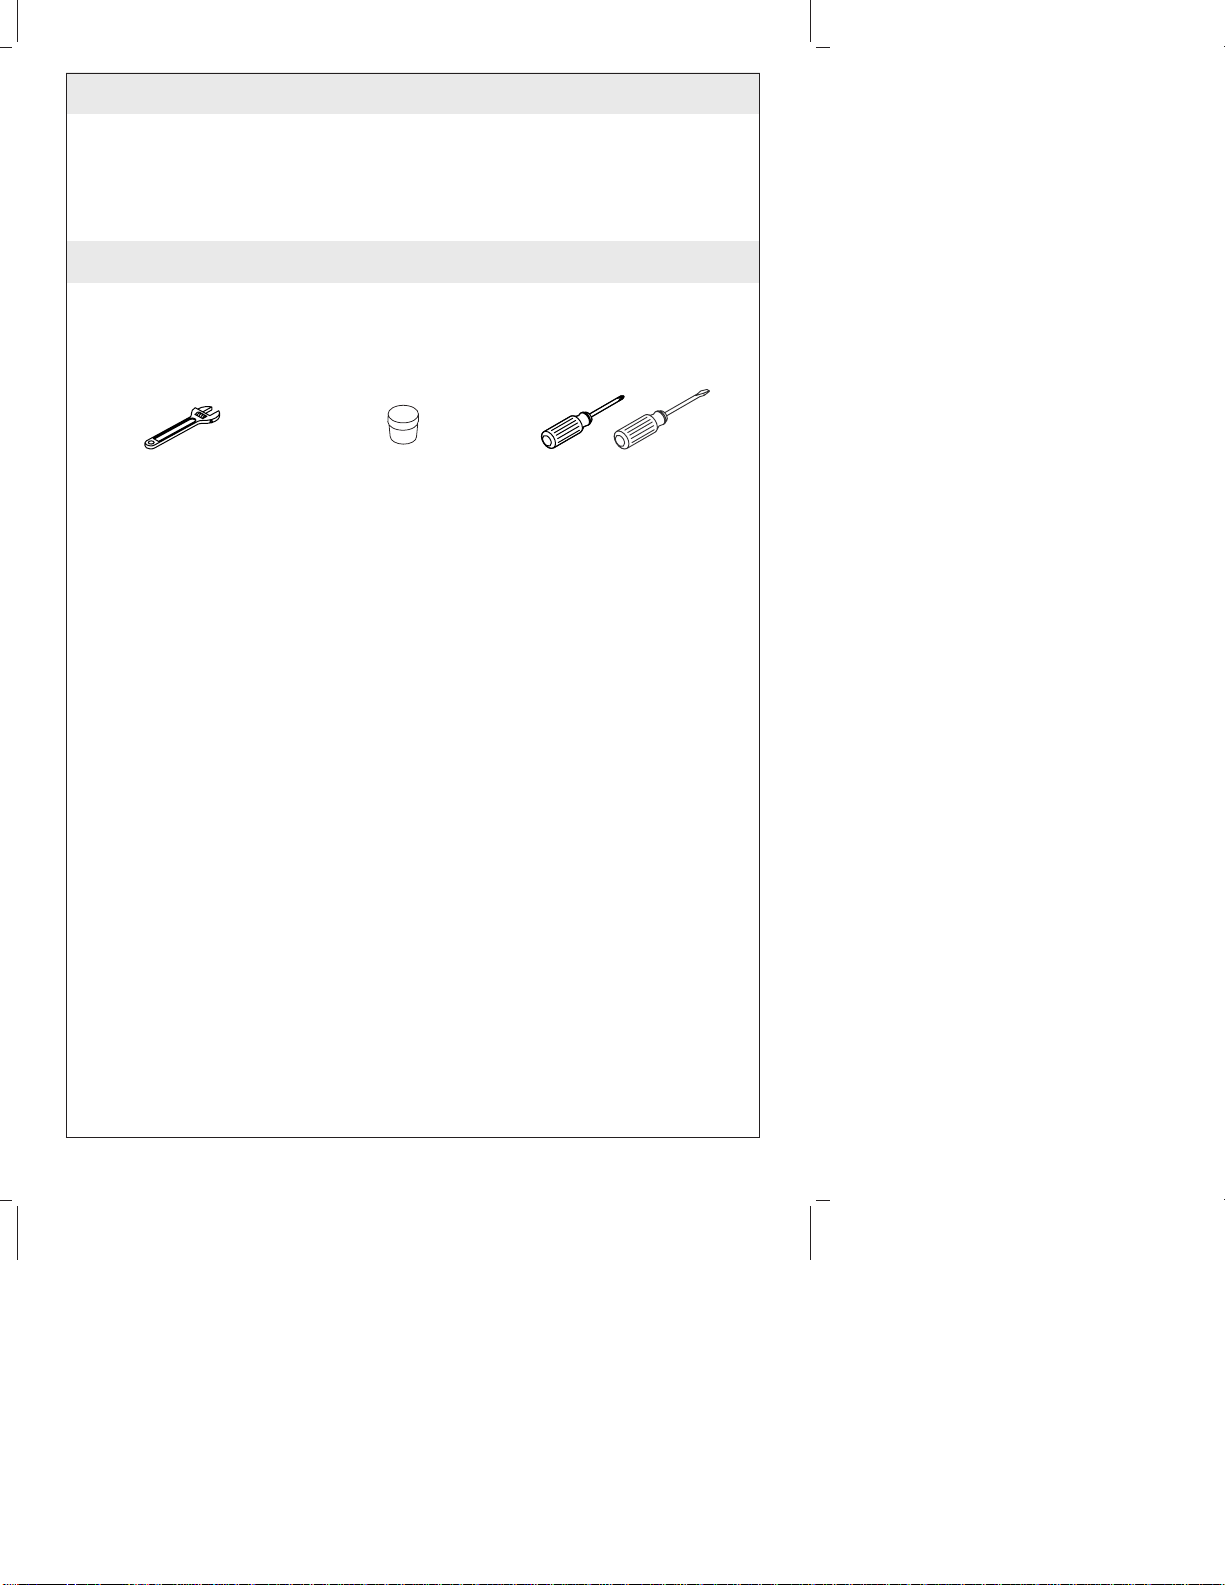
Tools and Materials
Adjustable
Wrench
Plumbers
Putty
Various
Screwdrivers
1039897-2-A 2 Kohler Co.
Page 3

Cup
Drain Body
Apply plumbers
Rubber Washer
putty here.
Steel Washer
Mounting Nut
Screws
Small Gasket
Tailpiece
Nut
1. Install the Strainer
Apply a ring of plumbers putty or other sealant to the underside
of the edge of the drain body according to the manufacturer’s
instructions.
Insert the drain body in the sink.
Partially thread the screws into the mounting nut until they
protrude slightly through the mounting nut. From under the sink,
slide the rubber washer and steel washer on the drain body, and
then thread the mounting nut onto the drain body until it is
about 1/4″ (6 mm) away from the sink bottom.
Tighten the three mounting screws to draw the drain body tight
against the basin of the sink.
NOTE: Do not reposition the drain body after it has been tightened.
Position the small gasket on the drain body.
Align the wide end of the tailpiece with the drain or strainer
body, slide the nut onto the tailpiece, and thread the nut to the
drain body.
Position the P-trap (not shown) on the end of the tailpiece.
Kohler Co. 3 1039897-2-A
Page 4

Install the Strainer (cont.)
If necessary, cut the tailpiece to ensure proper fit.
Tighten the P-trap nut, and remove any excess sealant.
1039897-2-A 4 Kohler Co.
Page 5

Guide d’Installation
Crépine d’évier
Outils et matériels
Clé à molette
Mastic de
plomberie
Tournevis divers
Merci d’avoir choisi la compagnie Kohler
Nous apprécions votre engagement envers la qualité Kohler. Veuillez
prendre s’il vous plaît quelques minutes pour lire ce manuel avant de
commencer l’installation. Ne pas hésiter à nous contacter en cas de
problème d’installation ou de fonctionnement. Nos numéros de
téléphone et notre adresse du site internet sont au verso. Merci encore
d’avoir choisi la compagnie Kohler.
Kohler Co. Français-1 1039897-2-A
Page 6

Récipient
Corps du drain
Appliquer du mastic
de plomberie ici.
Rondelle en
caoutchouc
Rondelle en acier
Écrou de fixation
Vis
Petit joint d'étanchéité
Pièce de raccordement
Écrou
1. Installer la crépine
Appliquer du mastic de plombier ou un produit semblable sous
le rebord du corps du drain selon les instructions du fabricant.
Insérer le corps du drain dans l’évier.
Visser partiellement les vis dans l’écrou de fixation jusqu’à ce
qu’elles dépassent légèrement de cet écrou. D’en-dessous de
l’évier, glisser une rondelle en caoutchouc et en acier sur le corps
du drain, et puis visser l’écrou de fixation sur ce dernier jusqu’à
ce qu’il soit au moins à [1/4″ (6 mm)] de distance du fond de
l’évier.
Serrer les trois vis de fixation pour bien ajuster le corps du drain
contre le bassin de l’évier.
REMARQUE : Ne pas déplacer le corps du drain après avoir serré le
contre-écrou.
Aligner la petite bague d’étanchéité sur le corps du drain.
1039897-2-A Français-2 Kohler Co.
Page 7

Installer la crépine (cont.)
Aligner la large extrémité de la pièce de raccordement avec le
drain ou le corps de la crépine, glisser l’écrou sur la pièce de
raccordement et visser l’écrou sur le corps du drain.
Positionner le siphon en P (non illustré) sur l’extrémité de la pièce
de raccordement.
Si nécessaire, découper la pièce de raccordement pour en assurer
un bon ajustement.
Serrer l’écrou du siphon en P et nettoyer tout excès de mastic.
Kohler Co. Français-3 1039897-2-A
Page 8

Guía de Instalación
Colador de fregadero
Herramientas y materiales
Llave
ajustable
Masilla de
plomería
Juego de
destornilladores
Gracias por elegir los productos de Kohler
Apreciamos su elección por la calidad de Kohler. Dedique unos
minutos para leer este manual antes de comenzar la instalación. En
caso de problemas de instalación o de funcionamiento, no dude en
contactarnos. Nuestros números de teléfono y nuestra página web se
encuentran en la última página. Gracias nuevamente por escoger a
Kohler.
Kohler Co. Español-1 1039897-2-A
Page 9

Cesta
Cuerpo de desagüe
Aplique masilla
Arandela de goma
de plomería aquí.
Arandela de acero
Tuerca de montaje
Tornillos
Empaque pequeño
Tubo de desagüe
Tuerca
1. Instale el colador
Aplique una tira de masilla de plomería u otro sellador en la
parte inferior del borde del cuerpo de desagüe según las
instrucciones del fabricante.
Inserte el cuerpo de desagüe en el fregadero.
Enrosque parcialmente los tornillos en la tuerca de montaje hasta
que sobresalgan un poco por la misma. Colóquese bajo el
fregadero y haga pasar la arandela de goma y la arandela de
acero por el cuerpo de desagüe, luego enrosque la tuerca de
montaje en el cuerpo de desagüe hasta que esté aproximadamente
a 1/4″ (6 mm) de la parte inferior del fregadero.
Apriete los tres tornillos de montaje para hacer que el cuerpo de
desagüe quede bien fijo contra la pileta del fregadero.
NOTA: No mueva el cuerpo de desagüe después de haberlo
apretado.
Coloque el empaque pequeño dentro del cuerpo de desagüe.
Kohler Co. Español-2 1039897-2-A
Page 10

Instale el colador (cont.)
Alinee el extremo ancho del tubo de desagüe con el cuerpo del
colador o desagüe, deslice la tuerca por el tubo de desagüe y
enrosque la tuerca en el cuerpo de desagüe.
Coloque el sifón tipo P (no ilustrado) en el extremo del tubo de
desagüe.
De ser necesario, corte el tubo de desagüe para asegurarse de que
encaje bien.
Apriete la tuerca del sifón tipo P y elimine el exceso de sellador.
1039897-2-A Español-3 Kohler Co.
Page 11

1039897-2-A
Page 12

USA: 1-800-4-KOHLER
Canada: 1-800-964-5590
México: 001-877-680-1310
kohler.com
©2004 Kohler Co.
1039897-2-A
 Loading...