

Page 1
Installation Guide
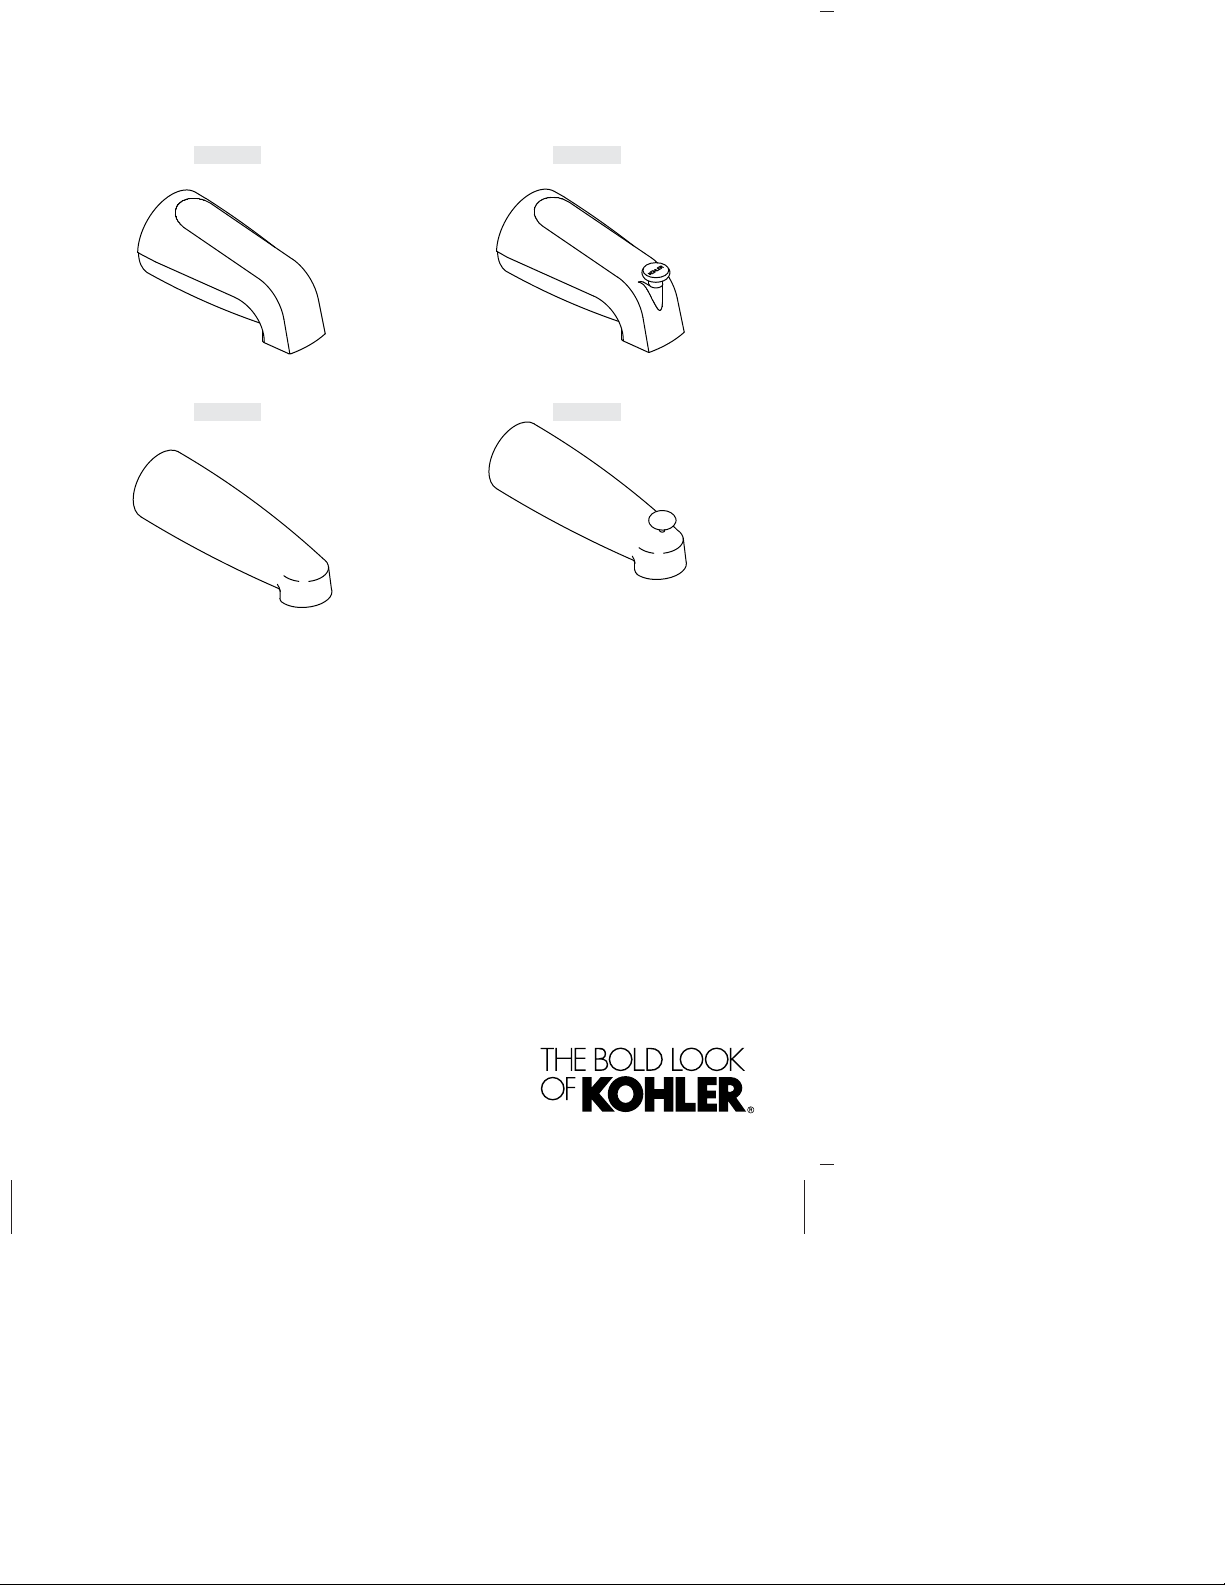
Bath Spouts
K-15135 K-15136
K-15137 K-15138
Français, page“ Français-1”
Español, página“ Español-1”
1011610-2-D
Page 2
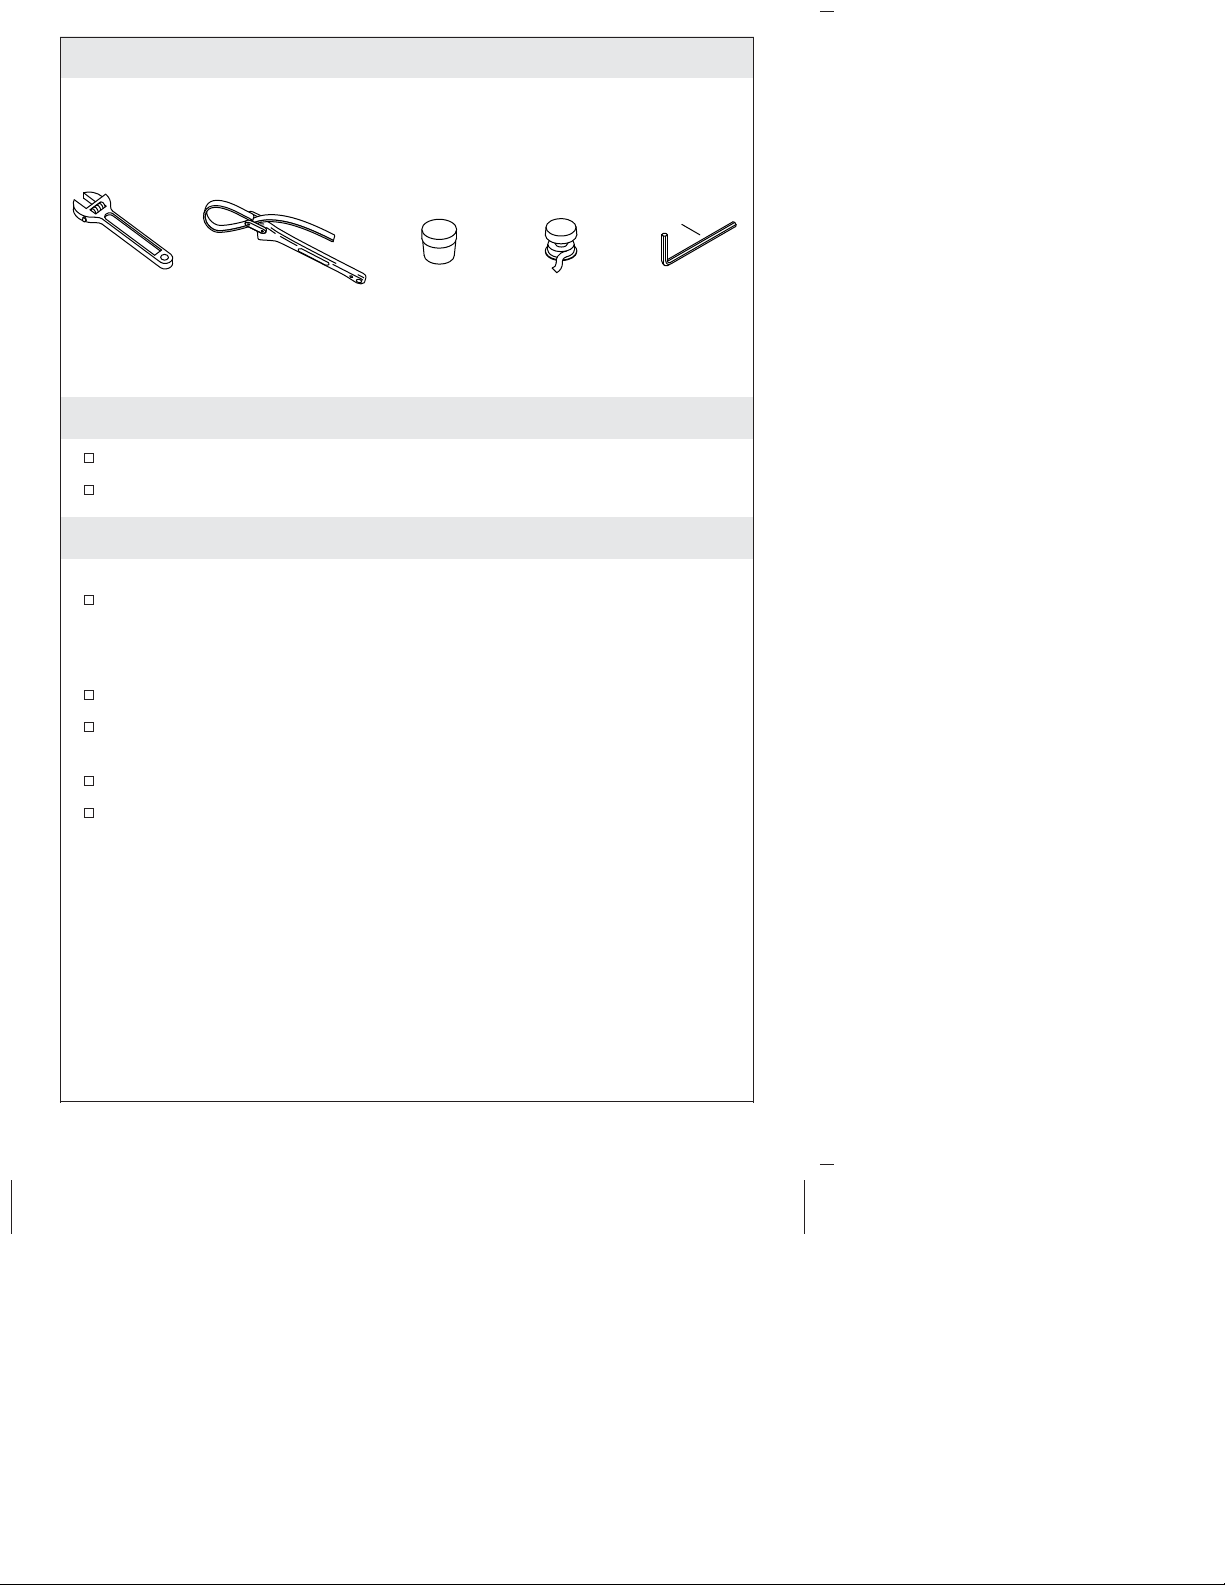
Tools and Materials
Plus:
• Emery Paper
5/32"
Plumbers
Putty
Thread
Sealant
Before You Begin
Observe all local plumbing and building codes.
Shut off the main water supply.
1. Prepare the Site
IMPORTANT! Secure the piping to the framing.
Install or relocate the water supplies as necessary.
NOTE: A typical bath and shower installation uses 1/2″ copper
tubing and adapters.
Use thread sealant on all threaded connections.
Temporarily install 1/2″ nipples to the bath and shower elbows,
extending at least 2″ (51 mm) beyond the finished wall.
Turn on the water supply and check for leaks.
Complete the finished wall.
1011610-2-D 2 Kohler Co.
Page 3
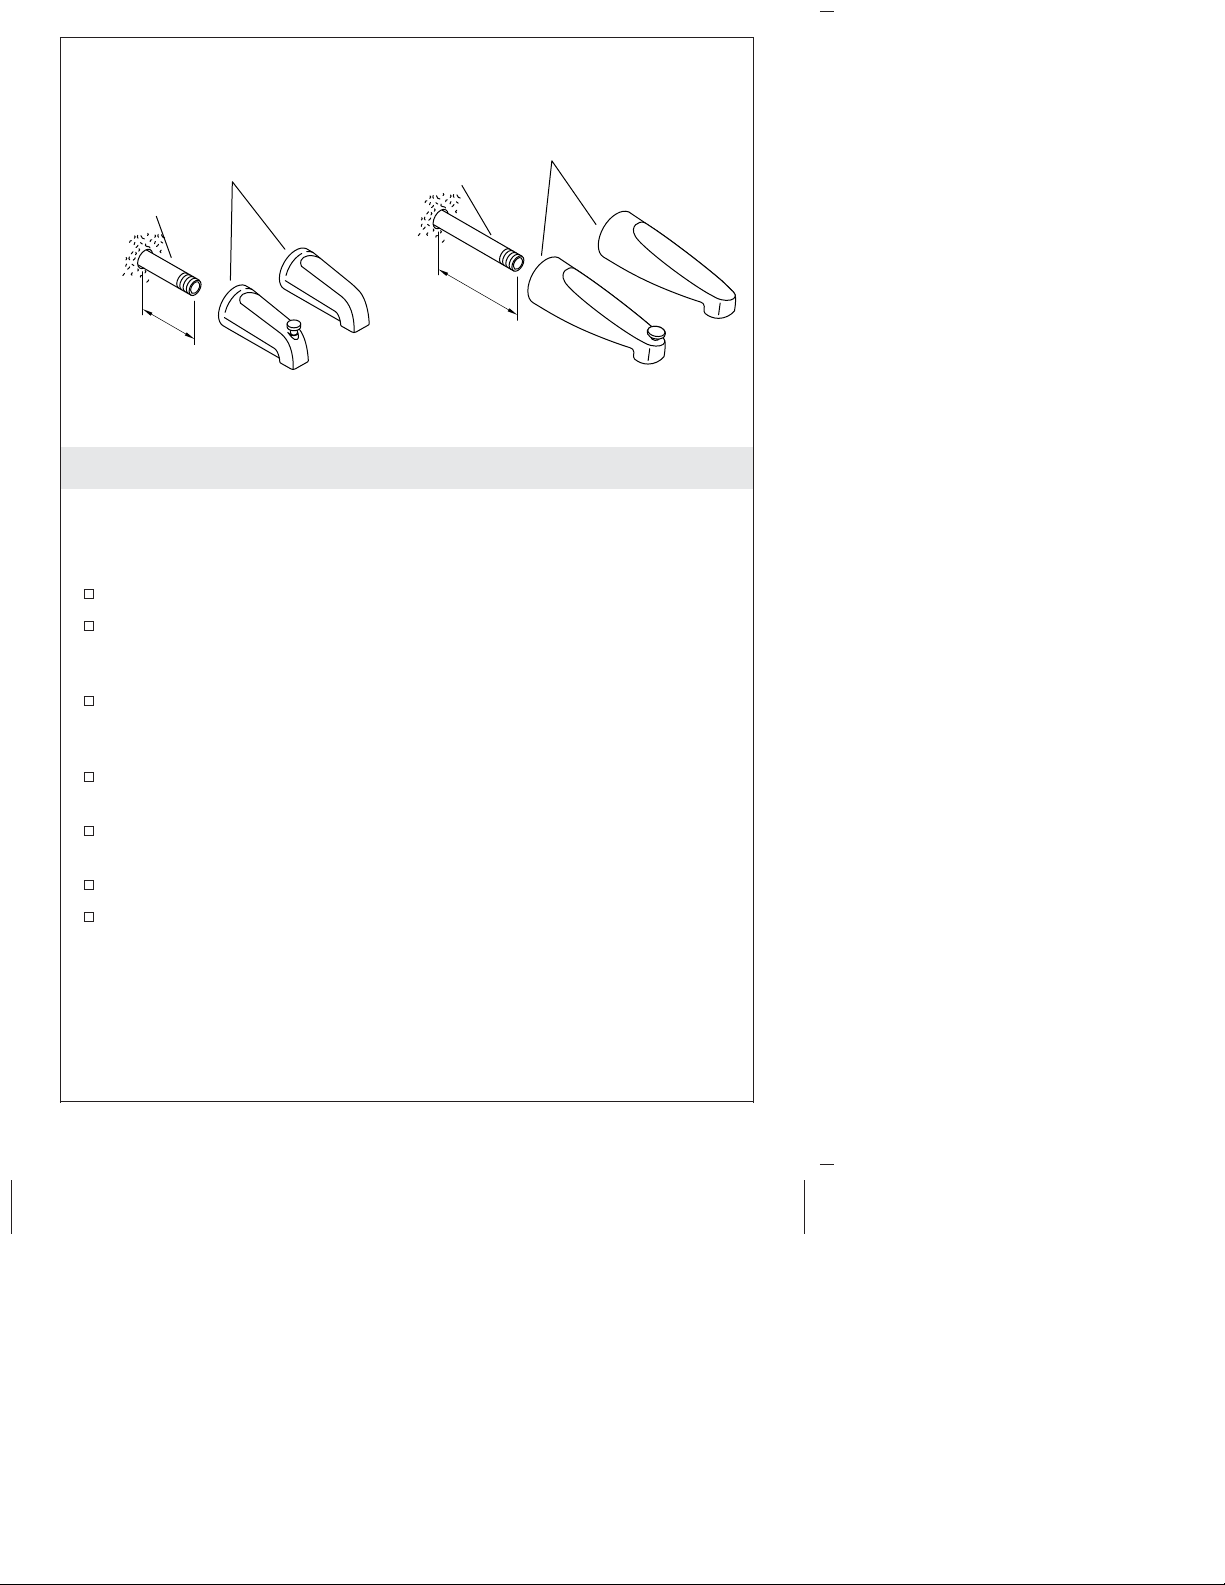
Nipple
4"
(102 mm)
Apply
plumbers
putty.
Threaded Spouts
Apply
plumbers
putty.
Nipple
7-1/8"
(181 mm)
Standard Length Spouts
Large Spouts
2. Install the Threaded Spout
NOTE: The following instructions are for threaded spout
installations only. For slip-fit spout installations, proceed to the next
section.
Remove the temporary nipple.
If you are installing the standard spout, apply thread sealant and
install a 1/2″ NPT nipple, extending 4″ (102 mm) beyond the
finished wall, to the bath elbow.
If you are installing the 8″ (203 mm) spout, apply thread sealant
and install a 1/2″ NPT nipple, extending 7-1/8″ (181 mm) beyond
the finished wall, to the bath elbow.
Apply a bead of plumbers putty or other sealant to the back of
the escutcheon according to the manufacturer’s instructions.
Apply thread sealant to the nipple, and install the spout to the
nipple.
Carefully tighten with a clean strap wrench.
Remove any excess putty.
Kohler Co. 3 1011610-2-D
Page 4
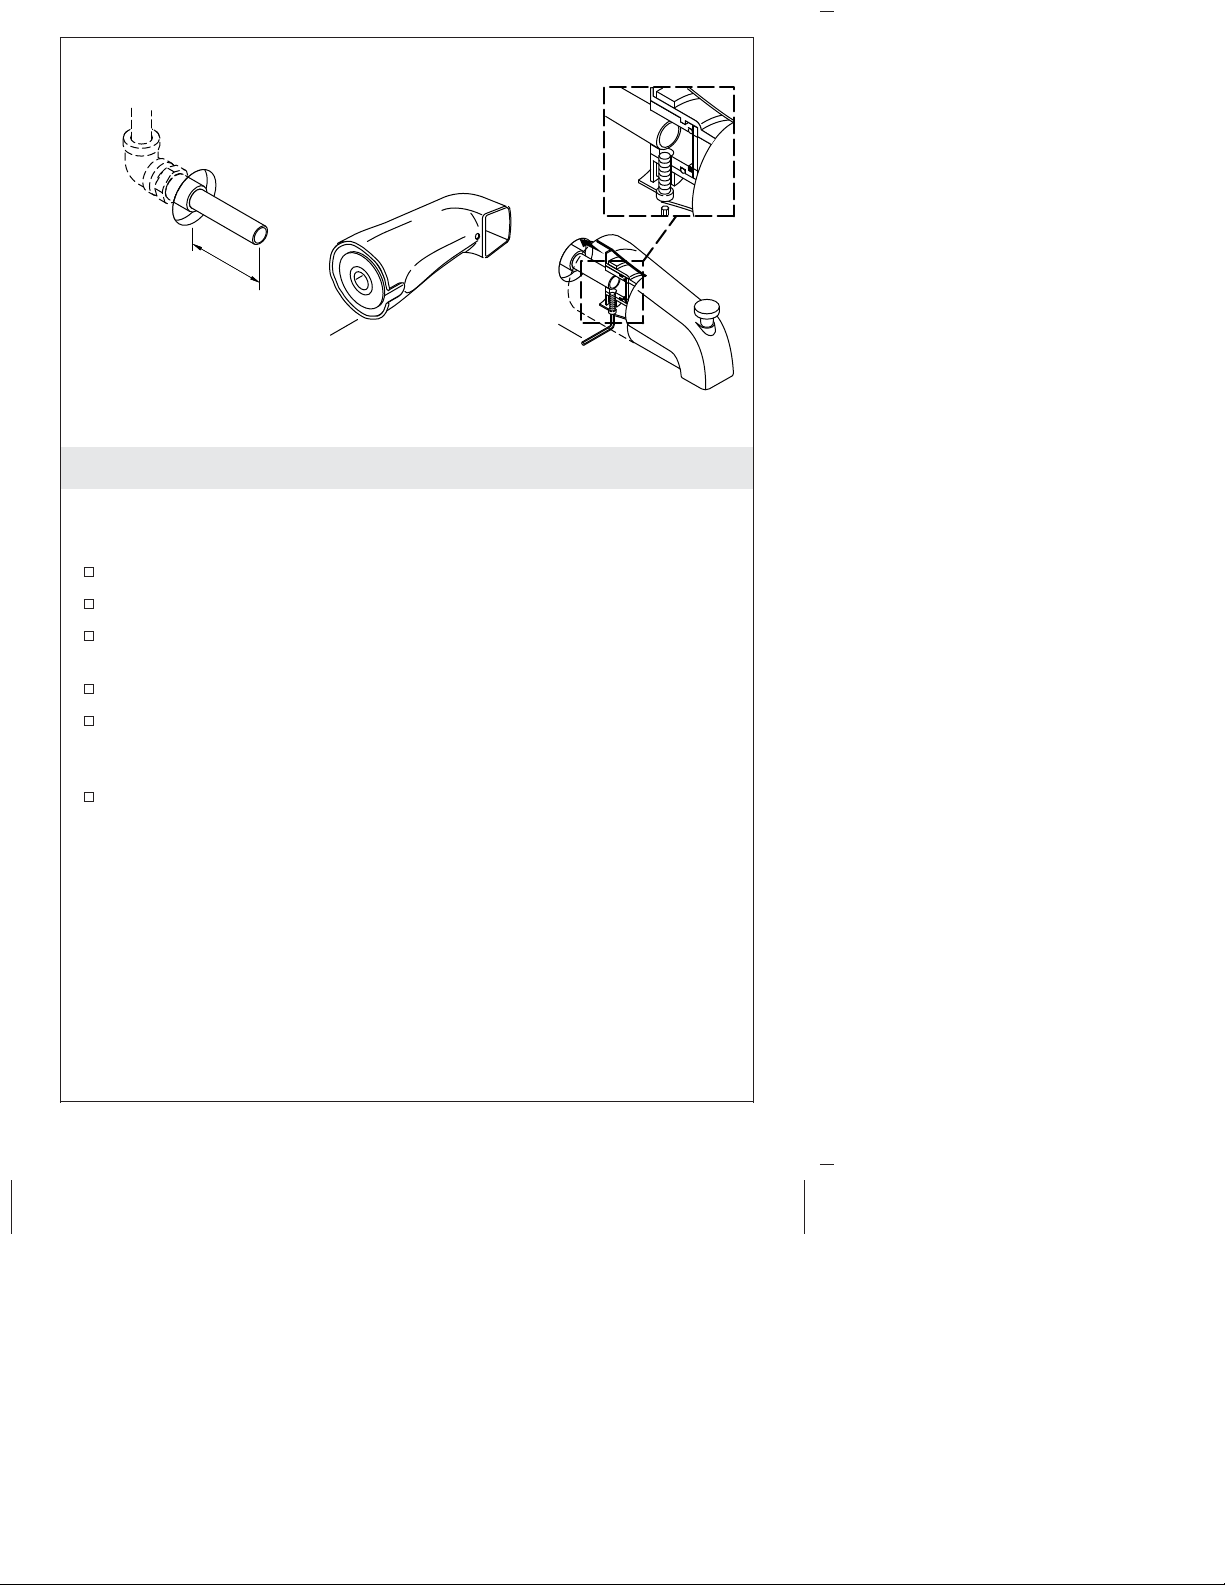
Slip-Fit Spouts
1-1/2" (38 mm) –
2-7/8" (73 mm)
5/32"
Apply
plumbers
putty.
3. Install the Slip-Fit Spout
NOTE: The following instructions are for slip-fit spout installations
only. For threaded spout installations, go to the preceding section.
Remove the temporary nipple from the bath elbow.
Install a tube that extends 1-1/2″ to 2-7/8″ past the finished wall.
Use emery paper to remove any burrs and to smooth the edge of
the copper tubing.
Loosen the setscrew with a 5/32″ hex wrench.
Slide the spout onto the copper tubing, push the spout base
against the finished wall, and then carefully retighten the
setscrew. Do not overtighten the setscrew.
Remove all excess putty or sealant.
1011610-2-D 4 Kohler Co.
Page 5

Guide d’installation
Becs de baignoire
Outils et matériel
Plus:
• Paper émeri
5/32"
Mastic de
plombier
Joint
d'étanchéité
pour filetage
Avant de commencer
Respecter tous les codes de plomberie et de bâtiment locaux.
Couper l’alimentation en eau principale.
1. Préparer le site
IMPORTANT! Fixer la tuyauterie en place sur la charpente.
Installer ou déplacer les alimentations en eau selon les besoins.
REMARQUE: Une installation de baignoire et de douche typique
utilise des adaptateurs et des tubes en cuivre de 1/2″.
Utiliser du ruban d’étanchéité pour filets sur toutes les raccords
filetés.
Installer temporairement des mamelons de 1/2″ sur les coudes de
la baignoire et de la douche, s’étendant à au moins 2″ (51 mm)]
au-delà du mur fini.
Ouvrir l’alimentation en eau et rechercher des fuites.
Terminer le mur fini.
Kohler Co. Français-1 1011610-2-D
Page 6

Appliquer du mastic
de plomberie.
Mamelon
4"
(102 mm)
Bec filetés
Appliquer du mastic
de plomberie.
Mamelon
7-1/8"
(181 mm)
Becs standards
Becs larges
2. Installer le bec fileté
REMARQUE: Les instructions ci-dessous s’appliquent aux
installations de becs filetés seulement. Passer à la section suivante
pour les installations de becs à ajustement glissant.
Retirer le mamelon temporaire.
Lors de l’installation d’un bec standard, appliquer du mastic pour
filets et installer un mamelon NPT de 1/2″, s’étendant de 4″ (102
mm) au-delà du mur fini, jusqu’au coude de la baignoire.
Lors de l’installation du bec de 8″ (203 mm), appliquer du mastic
pour filets et installer un mamelon NPT de 1/2″, s’étendant de
7-1/8″ (181 mm) au-delà du mur fini, jusqu’au coude de la
baignoire.
Appliquer un boudin de mastic de plombier ou un autre produit
d’étanchéité sur le dos de l’applique selon les instructions du
fabricant.
Appliquer du mastic d’étanchéité sur le mamelon, et installer le
bec sur le mamelon.
Serrer avec précaution à l’aide d’une clé à sangle propre.
Retirer tout excès de mastic.
1011610-2-D Français-2 Kohler Co.
Page 7

Becs à montage tournant
1-1/2" (38 mm) –
2-7/8" (73 mm)
5/32"
Appliquer
du mastic
de plomberie.
3. Poser le bec à ajustement glissant
REMARQUE: Les instructions ci-dessous s’appliquent aux
installations de becs à ajustement glissant seulement. Consulter la
section précédente pour les installations de becs filetés.
Retirer le mamelon temporaire du coude de la baignoire.
Installer un tube qui se prolonge de 1-1/2″ à 2-7/8″ au-delà du
mur fini.
Utiliser du papier d’émeri pour retirer les bavures et pour lisser
le bord du tube en cuivre.
Desserrer la vis d’arrêt avec une clé hexagonale de 5/32″.
Faire glisser le bec sur le tube en cuivre, appuyer la base du bec
contre le mur fini, puis resserrer avec précaution la vis d’arrêt. Ne
pas serrer la vis d’arrêt excessivement.
Retirer tout excédant de mastic ou de produit d’étanchéité.
Kohler Co. Français-3 1011610-2-D
Page 8

Guía de instalación
Surtidores de bañera
Herramientas y materiales
Más:
• Papel lija
5/32"
Masilla de
plomería
Cinta
selladora de
roscas
Antes de comenzar
Cumpla todos los códigos locales de plomería y de construcción.
Cierre el suministro principal de agua.
1. Prepare el sitio
¡IMPORTANTE! Fije las tuberías a la estructura de postes.
Instale o cambie la ubicación de los suministros de agua lo que
sea necesario.
NOTA: Una instalación típica de bañera y ducha emplea
adaptadores y tubos de cobre de 1/2″.
Use cinta selladora de roscas en todas las conexiones roscadas.
Instale temporalmente niples de 1/2″ en los codos de la bañera y
la ducha, que sobresalgan por lo menos 2″ (51 mm) de la pared
acabada.
Abra el suministro de agua y verifique que no haya fugas.
Termine la pared acabada.
Kohler Co. Español-1 1011610-2-D
Page 9

Surtidores roscados
Aplique masilla de
plomería.
Niple
4"
(102 mm)
Surtidores de tamaño estándar Surtidores grandes
plomería.
Niple
7-1/8"
(181 mm)
2. Instale el surtidor roscado
NOTA: Las siguientes instrucciones son solo para instalaciones de
surtidores roscados. En instalaciones de surtidores deslizantes,
proceda a la siguiente sección.
Retire el niple provisional.
Si va a instalar el surtidor estándar, aplique sellador de roscas e
instale un niple con rosca NPT de 1/2″, de modo que sobresalga
4″ (102 mm) de la pared acabada, hasta el codo de la bañera.
Si va a instalar el surtidor de 8″ (203 mm), aplique sellador de
roscas e instale un niple con rosca NPT de 1/2″, de modo que
sobresalga 7-1/8″ (181 mm) de la pared acabada, hasta el codo de
la bañera.
Aplique un hilo continuo de masilla de plomería o de otro
sellador en la parte posterior del chapetón de acuerdo a las
instrucciones del fabricante.
Aplique sellador de roscas al niple e instale el surtidor en el
niple.
Apriete cuidadosamente con una llave de correa limpia.
Limpie el exceso de masilla.
Aplique masilla de
Kohler Co. Español-2 1011610-2-D
Page 10

Surtidores de montaje deslizante
1-1/2" (38 mm) –
2-7/8" (73 mm)
5/32"
Aplique
masilla de
plomería.
3. Instale el surtidor de montaje deslizante
NOTA: Las siguientes instrucciones son solo para instalaciones de
surtidores deslizantes. En instalaciones de surtidores roscados,
proceda a la siguiente sección.
Retire el niple provisional del codo de la bañera.
Instale un tubo que sobresalga de 1-1/2″ a 2-7/8″ de la pared
acabada.
Con papel de lija retire las rebabas que pudiera haber, y alise el
borde de la tubería de cobre.
Afloje el tornillo de fijación con una llave hexagonal de 5/32″.
Deslice el surtidor en el tubo de cobre, empuje la base del
surtidor contra la pared acabada, y con cuidado vuelva a apretar
el tornillo de fijación. No apriete demasiado el tornillo de
fijación.
Limpie el exceso de masilla de plomería o sellador.
1011610-2-D Español-3 Kohler Co.
Page 11

1011610-2-D
Page 12

USA/Canada: 1-800-4KOHLER
México: 001-800-456-4537
kohler.com
©2017 Kohler Co.
1011610-2-D
 Loading...