

Page 1

Using the
KODAK PROFESSIONAL Image Print Server
with the
KODAK PROFESSIONAL LED II
Printers 20P/20R
Part No. 6B6254
Page 2

©Eastman Kodak Company, 2000
All rights reserved. Contents of this publication may not be reproduced in any form
without permission from Eastman Kodak Company.
Page 3

Contents
Definitions of Terms ..................................................................................................................................2
Installing the IPS Application ...................................................................................................................3
Hardware Requirements ......................................................................................................................3
Software Requirements .......................................................................................................................3
Installing the Software .........................................................................................................................3
Downloading the Installation Application ..................................................................................... 3
Installing the Application.............................................................................................................. 4
Using the Image Print Server ...................................................................................................................9
Before You Begin .................................................................................................................................9
Starting the IPS Application .................................................................................................................9
Adding, Updating, or Deleting a Printer Device .................................................................................10
Adding a Device......................................................................................................................... 10
Updating the Device Name, SCSI Host Adapter, or SCSI ID .................................................... 11
Deleting a Device................ ........................................... .......................................... .................. 12
Printing Images ..................................................................................................................................13
Description of Icons on the Main Menu...................................................................................... 14
Setting the Sour ce Dire cto r y Pre fe r e n ce s fo r a Devi ce ........ ....... .............................................. 14
Placing Images in the Print Queue ............................................................................................ 17
Removing Images from the Print Queue ...........................................................................................19
Removing the Top Image from the Queue . ................................................................................ 19
Removing All Images from the Print Queue. .............................................................................. 20
Suspending and Resuming the IPS Application ................................................................................21
Suspending the IPS Application................................................................................................. 21
Resuming the IPS Application after a Suspension .................................................................... 21
Failed Jobs ........................................................................................................................................ 22
Attended and Unattended Modes ......................................................................................................22
File Format Details ..................................................................................................................................24
Supported Tags ................................................... ............ .............. ....... ............ ....... ..........................24
LZW Compression ......... ............................. ................................... ............................. .......................24
Index ..........................................................................................................................................................I-1
i
Page 4

ii December 2000
Page 5

Using the Image Print Server
(IPS) Software with the
KODAK PROFESSIONAL LED II
Printers 20P/20R
This document describes how to use the Kodak Professional Image Print Server
(IPS) application for Wind ows NT Workstation 4.0 Systems with the Kodak
Professional LED II Printers 20P and 20R.
The IPS application enables printing of TIFF images and provides easy, intuitive
methods for performing simple print management operations that include:
• applying a tone scale correction to images
• inserting new images into the print queue
• stopping or suspending and resuming the processing
• deleting images from the queue
In addition, the IPS application allows you to monitor a specified folder for TIFF
images to add to the print queue.
Communi c at i on C h a nn e ls
Your computer can print to the LED Printer through a SCSI connection only.
December 2000 1
Page 6

Using the IPS Software with the KODAK PROFESSIONAL LED II Printers
Definitions of Terms
The following terms are used in this document and are defined here for your
convenience.
Source Directory Folder or directory that is designated for holding TIFF
images to be printed.
Hot Folder Another term for Source Directory.
Attende d Mode The mode in which all errors are displayed through a
dialog box. When the application is in Attended Mode, it
stops until you exit the dialog box.
Unattended Mode The mode in which the only errors that are displayed in
dialog boxes are the errors that require user intervention.
Errors that do not require user intervention, such as
invalid file format, are logged in the log file.
Enqueue Insert a new image into the print queue.
Dequeue Remove one image from the print queue. Only the top
entry in the queue is removed.
Flush Remove all images from the print queue.
Suspend Prevent the application from sending another image to
the printer until the application resumes. When you select
Suspend, if an image is processing or going to the
printer, this image will complete before the application
suspends. When the applicat ion is suspended, it will not
scan for images in the hot folder.
Resume Return the application to normal operation.
Order Punc h An indicator on a print to specify that it is the end of an
order.
Tiff Downloader Another term for the Image Print Server (IPS) application.
2 December 2000
Page 7

Using the IPS Software with the KODAK PROFESSIONAL LED II Printers
Installing the IPS Application
Before you perform the installation, make certain you are familiar with the
Windows NT operating system.
Hardware Requirements
The following is the minimum hardware required for the IPS application:
• 64 MB Ma in Sy stem Me mory
• 100 MHz PENTIUM Processor
• VGA Monitor (640 x 480 spatial resolution)
Software Requirements
The following must be installed on your computer:
• Windows NT Workstation 4.0
• An ASPI-compliant SCSI interface driver (recommended: Adapte c 2940 SCSI
card)
Installing the Software
Downloading the Installation Application
1. Place the IPS application CD in your CD-ROM drive.
2. When the Internet Browser appears, select LED Prin te r.
3. Scroll to Image Pr int Serv er and click KPROImagePrintServer.
4. If a dialog box appears asking if you want to “save this program to disk”
accept the dialog box (do not launch the program from the browser).
The Save As... dialog box appears.
5. Either accept the path shown or click Browse to select another path for the
KProImagePrintServer.exe file.
6. Click Save.
December 2000 3
Page 8
Using the IPS Software with the KODAK PROFESSIONAL LED II Printers
Installing the Application
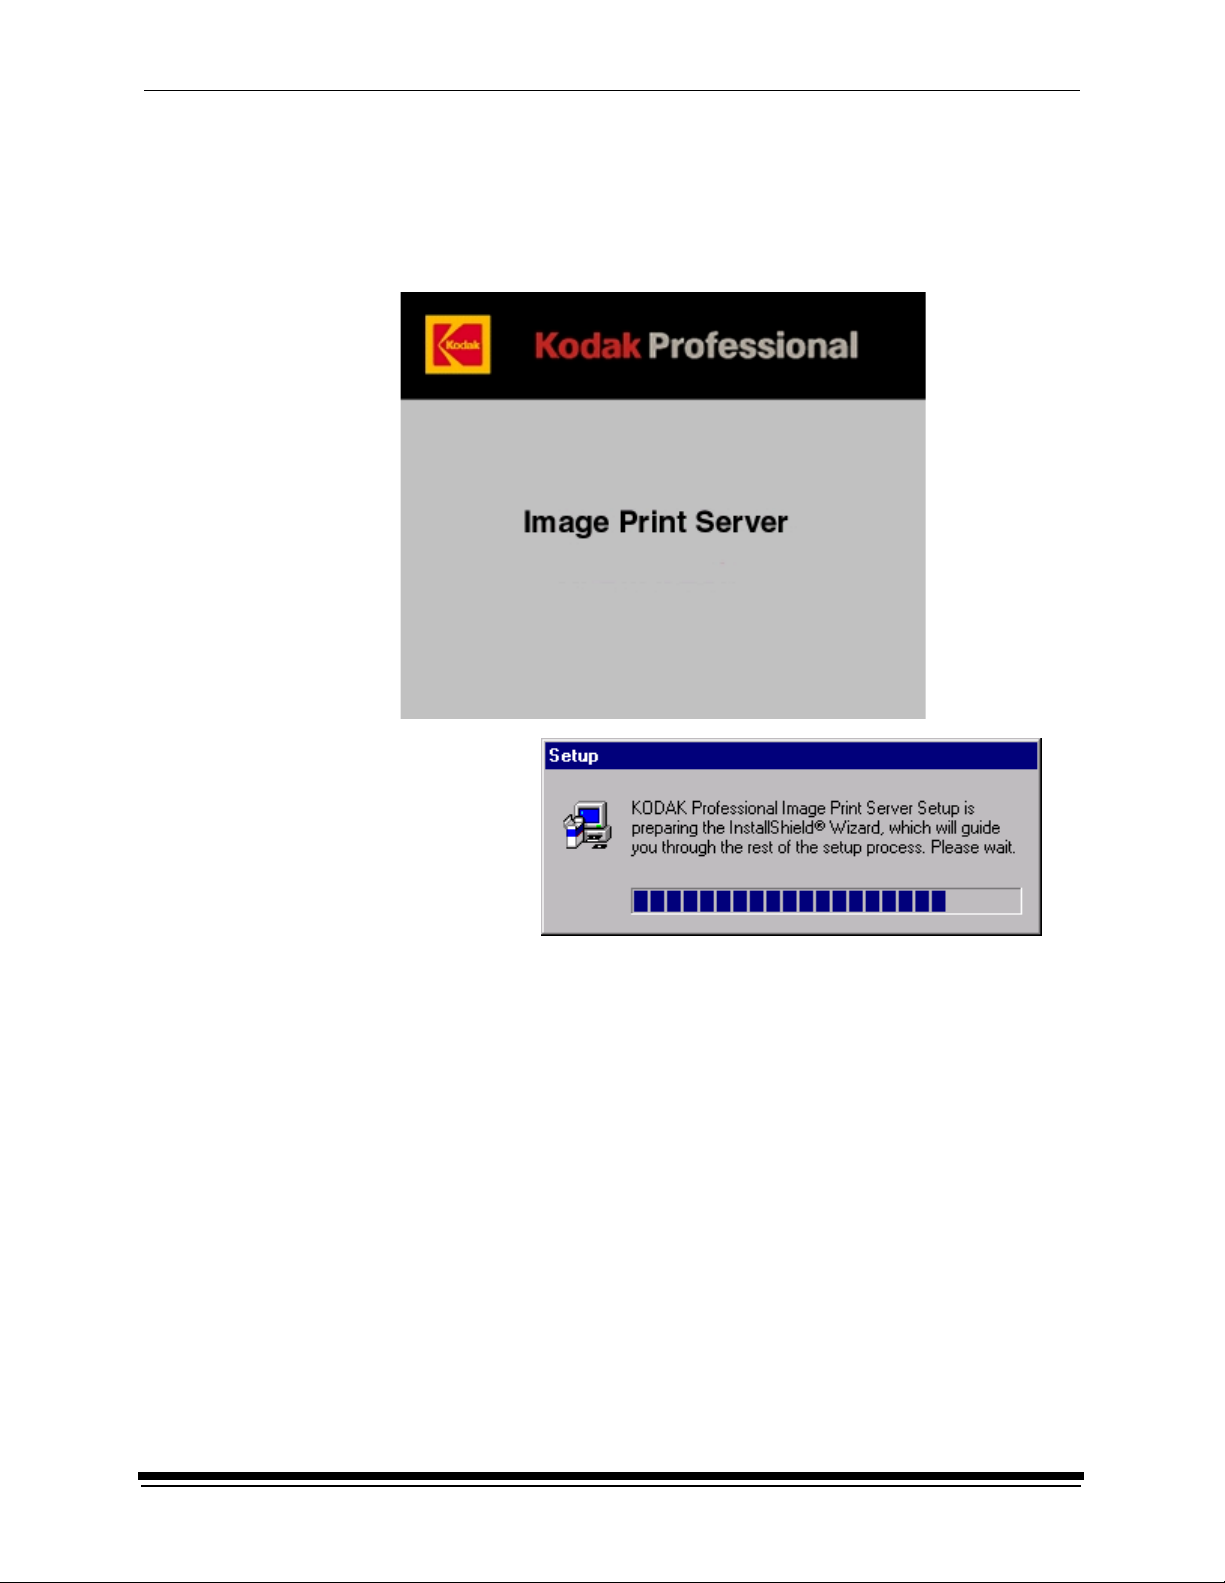
1. From your Windows Explorer program, double-click the Image Print Server
application (from the location designated in step 5 under “Downloading the
Installation Application” on page 3).
The splash screen and setup messages appear.
4 December 2000
Page 9
Using the IPS Software with the KODAK PROFESSIONAL LED II Printers
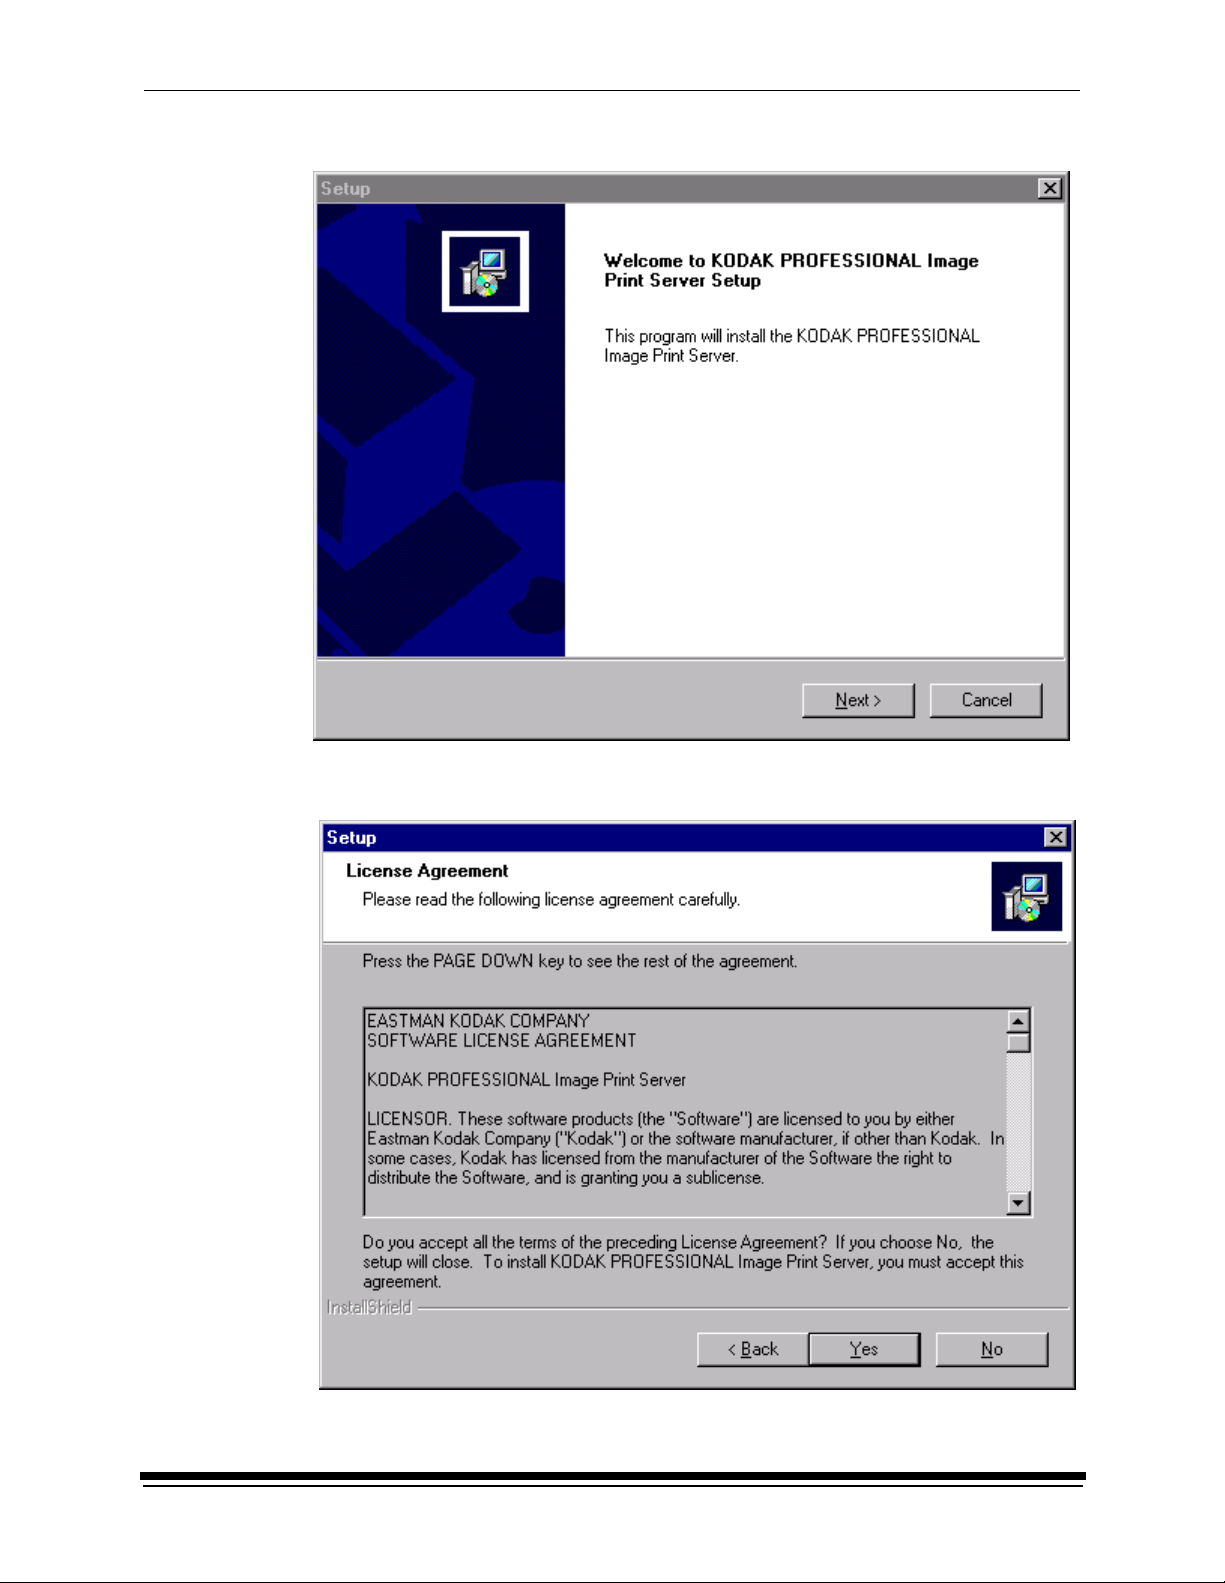
The Welcome screen appears.
2. Click Next>.
The License Agreement screen appears.
December 2000 5
Page 10
Using the IPS Software with the KODAK PROFESSIONAL LED II Printers
3. Read the License Agreement.
• To accept the license agreement, click Yes.
• Or, to canc e l the installa ti on, cl ick No.
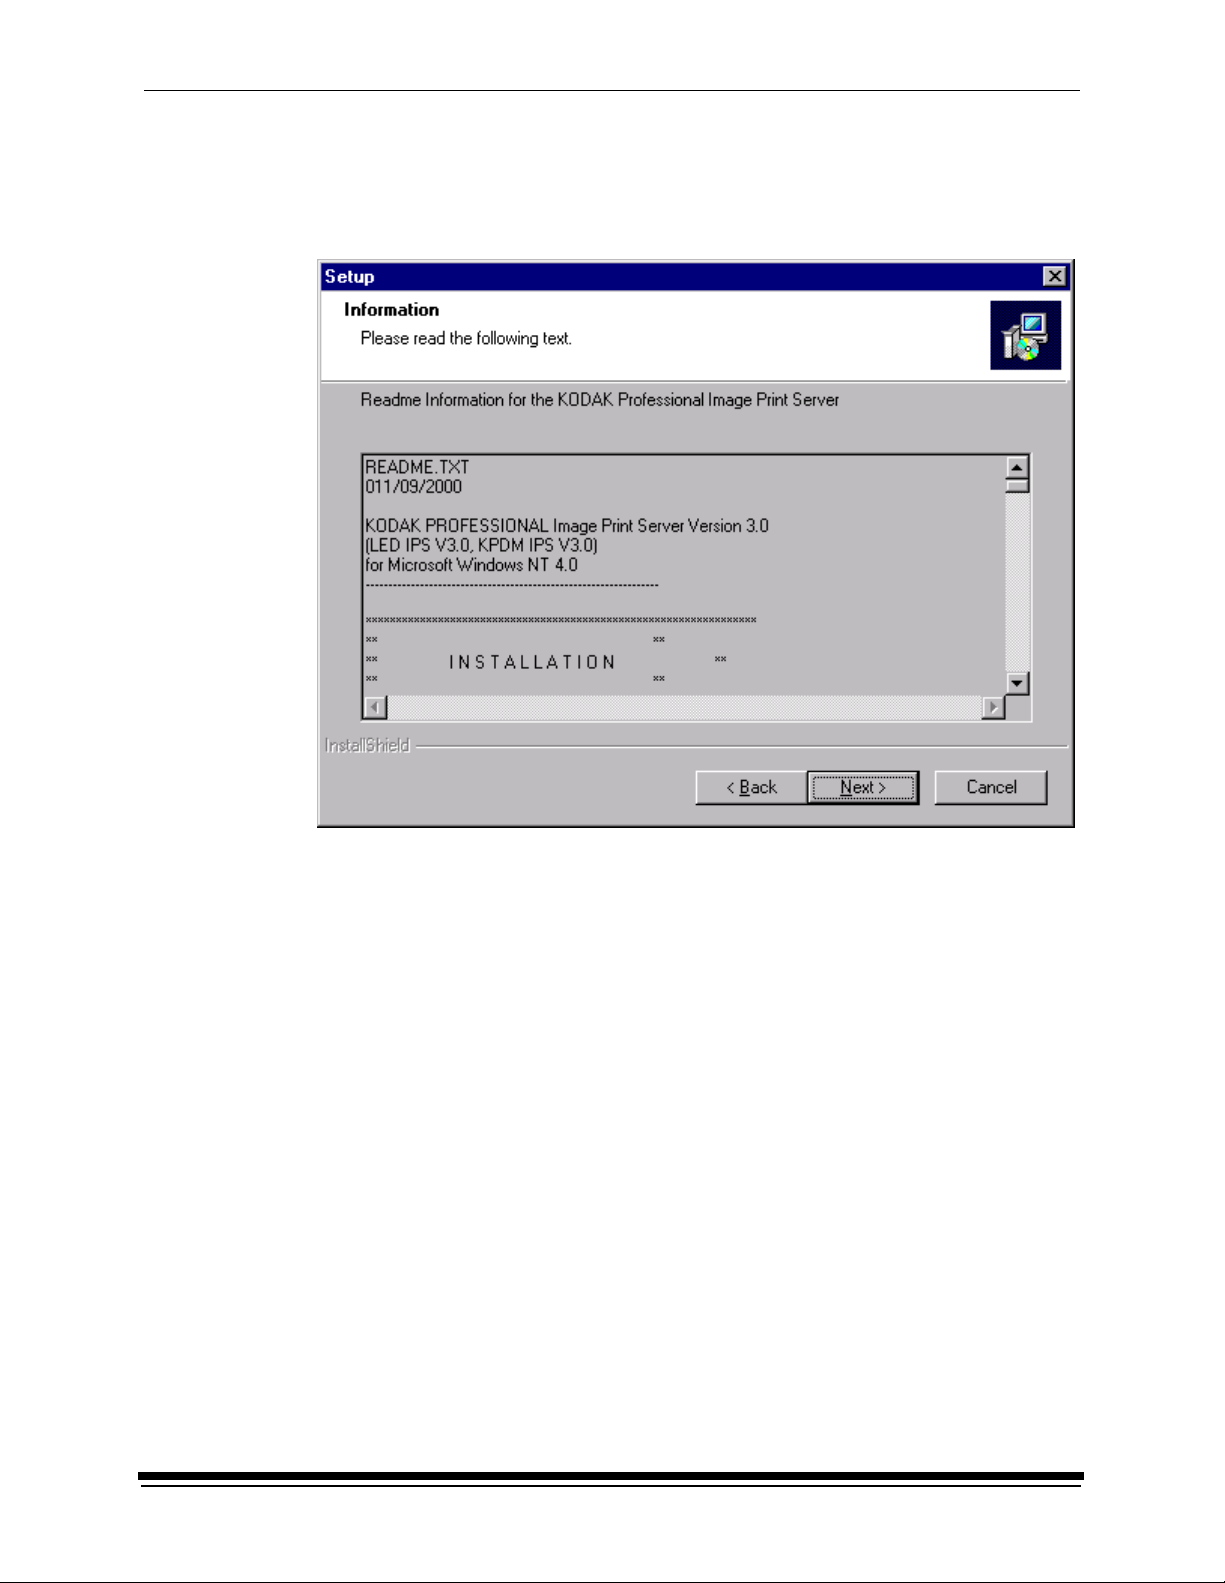
The Readme information appears.
4. Click Next>.
6 December 2000
Page 11

Using the IPS Software with the KODAK PROFESSIONAL LED II Printers
The Choose Destination Location dialog box appears, showing the
destination folder and file name for the IPS application.
The default installation location for both the application and the tone scale
correction Lookup Table (LUT) that can be used by the IPS application is
“C:\Eastman Kodak\KPro Applications\Image P rint Server.”
5. Either:
a. Leave the destination as is and click Next> or
b. Click Browse, change the destination, and then click Next>.
December 2000 7
Page 12

Using the IPS Software with the KODAK PROFESSIONAL LED II Printers
The Setup Complete screen appears.
6. Click Finish to comp lete the instal lation.
8 December 2000
Page 13

Using the IPS Software with the KODAK PROFESSIONAL LED II Printers
Using the I mage Print Serv er
Before Yo u Begin
When you begin using this application, you need to set Source Directory
Preferences (see page 14). To do th is you need to:
• know whether printer calibration was performed using Density aims or
Lightness aims; this will determine whether you apply tone scale correction
• set up a log file on your host computer so the application can log errors
• designate a Source Directory (or hot folder) on your host computer, even if
you do not send images from the Source Directory and you only enqueue
(see “Definitions of Terms” on page 2) images one at a time
IMPORTANT:Set up the Source Directory for one use only—as a temporary
source of images. Do not specify a directory that contains images
that you want to keep. Once the images are processed from the
Source Directory, they are deleted from that directory.
Do not specify as a Source Directory any directory that is on a
read-only volume.
If you will be adding any print devices, you need to know the number of the SCSI
Host Adapter and the SCSI ID for the devices.
Starting the IPS Application
• From the Start menu of the host computer, select Programs>Eastman
Kodak>KPro Applications>KODAK PROFESSIONAL Image Pri n t Server.
The display shows the IPS Launcher window.
Add a device if no device icon is in the window or if there is no icon for the
device from which you want to print. Y ou can also update or delete the device
information.
If you do not need to add, update, or delete a device, go to page 13.
December 2000 9
Page 14

Using the IPS Software with the KODAK PROFESSIONAL LED II Printers
Adding, Updating, or Deleting a Printer Device
Adding a Device
1. Click the New icon on the IPS Launcher window or select File>New.
The display shows the Create a New Device screen.
2. Enter a unique identifier as the device name. The device name must be
alphanumeric with no spaces or special characters. It can contain as many as
10 characters.
3. Enter the correct SCSI ID information.
The factory default is 5 for LED.
NOTE: T he value for SCSI Host Adapte r is typically 1. Select another value
only if necessary.
4. Select the correct Device Type from the menu to correspond to either the
Digital LED Printer, the Kodak Professional Digital Multiprinter, or the Kodak
Professional Digital Multiprinter II.
10 December 2000
Page 15

Using the IPS Software with the KODAK PROFESSIONAL LED II Printers
5. Click OK t o accept the information (or click Cancel to go to the IPS Launcher
window without adding a device).
A new device icon appears on the IPS Launcher window.
Updating the Device Name, SCSI Host Adapter, or SCSI ID
Device is
selected
1. On the IPS Launcher window, select the icon for the device to update and
click the Edit icon or select File>Edit.
The display shows:
2. Edit the Device Name, SCSI Host Adapter, or SCSI ID.
December 2000 11
Page 16

Using the IPS Software with the KODAK PROFESSIONAL LED II Printers
3. Click OK to save the changes (or click Cancel to ignore the changes and go
to the IPS Launcher window).
Deleting a Device
To delete a device and all files associated with the device:
1. On the IPS Launcher window, select the icon for the device you want to delete
and click the Cut icon or select Edit>Cut.
The display shows:
2. Select Yes to delete the device and associated files (select No to go to the
IPS Launcher window).
12 December 2000
Page 17

Using the IPS Software with the KODAK PROFESSIONAL LED II Printers
Printing Images
To print images, you:
• select the device from which to print
• start the IPS application for the selected device
• set the Source Directory preferences for the selected device, if not already
done
• place images in the print queue
• wait for the images to print
1. Select the device from which to print.
2. Click the Start IPS icon (or double-click the icon for the selected device).
Selected
device icon
The following main menu appears.
December 2000 13
Page 18

Using the IPS Software with the KODAK PROFESSIONAL LED II Printers
Description of Icons on the Main Menu
The icons and their associated menu items allow you to choose the following
options:
Menu
Access
ile Enqueue Displays the Enqueue dialog box and allows you to insert a new
F
S
erver Suspend Stops the operation of the application. If an image is processing or
H
elp About Displays the About box that includes version information about the
Menu
Item
Dequeue Allows you to remove the top entry from the print queue.
Resume Resumes the operation of the application; Resume is active only
Flush Allows you to delete all entries from the print queue.
Icon Description/Function
image into the print queue.
going to the printer, the operation on this image will complete before
the application suspends.
when the system is suspended and can only be used if the server
defaults were initialized (Source Directory preferences were set).
Kodak Professional Image Print Server.
Setting the Source Directory Preferences for a Device
1. Select Server>Defaults from the IPS main menu.
14 December 2000
Page 19

Using the IPS Software with the KODAK PROFESSIONAL LED II Printers
The Source Directory Preferences dialog box appears.
2. Type the Source Directory name or click Browse to select the Source
Directory where the TIFF images will be placed.
3. Type the Log File name or click Browse to select the Log File where printer
error information is to be stored. The log file applies to all devices for the
application. To edit the log file information, go to “Editing Log File Information”
on page 16.
4. Enter the number of copies to print of each image in the Source Directory.
Valid numbers are from 1 through 9999. The default value is 1.
5. Select the Printer Resolution:
• The default value is 250 ppi; when you select 250 ppi, each image is
printed pixel for pixel.
• When you select 125 ppi, the printer’s hardware pixel replication capability
is enabled.
6. Select the Print Producti on :
• To print immediately, click the button next to Immediate.
• To print later, click the button next to Deferred.
7. Select the Roll to Roll Options:
• If each image is the end of an order, click the box next to Order Punch.
• If you want a punch .25 in. inside each image area to mark a gutter for host
image information, click the box next to ID Punch.
December 2000 15
Page 20

Using the IPS Software with the KODAK PROFESSIONAL LED II Printers
8. To center each ima ge on the paper, leave the Center image box checked. If
you do not want to center images, click to “uncheck” the box.
To ensure that the complete image file is exposed on the paper, Kodak
recommends that you always check “Center image.”
9. If the LED Printer was calibrated using Density, you can apply Tone Scale
Correction with the g22_fullrange.txt file in the LUTs folder supplied with the
IPS application.
To apply tone scale correction:
a. Type the path and name of the Corre ct io n Fi le or click Browse to select
the Correction File to be applied to each image.
b. Click the box next to Apply to apply the designated Correction File to each
image.
10. When the dialog box is complete, click OK to close the dialog box and save
the specified values (or click Cancel to close the dialog box without saving the
values).
Editing Log File Information
Do this only when you need to edit information about the error log file.
1. With no device selected, select File>Edit from the IPS Launcher window.
The Edit Configuration dialog box appears.
2. Make changes as needed to either the Log Type, number of days to keep log,
or the Log File Name.
3. Click OK to accept changes (or click Cancel to cancel changes).
16 December 2000
Page 21

Using the IPS Software with the KODAK PROFESSIONAL LED II Printers
Placing Images in the Print Queue
You can submit images by:
• placing images in the “ho t folder ” (the Source Directory in the Source
Directory Preferences dialog box)
• using the enqueue function on the application menu bar
Using Source Directory Insertion
When you place images in the Source Directory, they are automatically placed in
the print queue. The images are sorted by the date and time they were placed in
the Sou rce Director y and printed in that order.
IMPORTANT: After the image goes to the printer, the file is removed from the
Source Directory.
NOTE: The properties of the images placed in the Source Directory are taken
from the Source Directory Preferences dialog box.
Using the Enqueue Function
To enqueue a single image from the menu bar:
1. Click the Enqueue icon or select File>Enqueue.
December 2000 17
Page 22

Using the IPS Software with the KODAK PROFESSIONAL LED II Printers
The Enqueue dialog box appears.
NOTE: The Enqueue and the Source Directory Preferences dialog boxes look
almost identical, but they affect different image files. The information
in each dialog is independent of the other.
2. Type the Image File path and name or click Browse to select t he TIFF Image
File to be printed.
3. Enter the number of copies of the image to print. Valid numbers are from 1
through 9999. The default value is 1.
4. Select the Printer Resolution:
• The default value is 250 ppi; when you select 250 ppi, the image is printed
pixel for pixel.
• When you select 125 ppi, the printer’s hardware pixel replication capability
is enabled.
5. Select the Print Producti on :
• To print immediately, click the button next to Immediate.
• To print later, click the button next to Deferred.
6. Select the Roll to Roll Options:
• If the image is the end of an order, click the box next to Order Punch .
• If you want a punch .25 in. inside the image area to mark a gutter for host
image information, click the box next to ID Punch.
7. To center the image on the paper, leave the Center image box checked. If
you do not want to center the image, click to “uncheck” the box.
To ensure that the complete image file is exposed on the paper, Kodak
recommends that you always check “Center image.”
18 December 2000
Page 23

Using the IPS Software with the KODAK PROFESSIONAL LED II Printers
8. If the LED Printer was calibrated using Density, you may apply Tone Scale
Correction with the g22_fullrange.txt file in the LUTs folder supplied with the
IPS application.
To apply tone scale correction:
a. Type the path and file name of the Correction Fi le or click Browse to
select the Correction File to be applied to each image.
b. Click the box next to Apply to apply the designated Correction File to each
image.
9. When the dialog box is complete, click OK to close the dialog box and save
the specified values (or click Cancel to close the dialog box without saving the
values).
NOTES: Y ou cannot enqueue a file that is in process. Wait until the file is
completely processed before you access the file again.
Images placed in the queue by using the Enqueue function are not
removed from their original directory after they are sent to the printer.
Removing Images from the Print Queue
Removing the Top Image from the Queue
1. Click the Dequeue icon or select File>Dequeue.
December 2000 19
Page 24

Using the IPS Software with the KODAK PROFESSIONAL LED II Printers
A dialog box appears.
2. Click OK to delete the first job (or click Cancel to cancel the deletion).
The job at the top of the list is deleted from the print queue.
NOTE: Before you can delete an image from the print queue, the application
must be suspended and all jobs in progress must be complete
Removing All Images from the Print Queue
1. Click the Flush icon or select Server>Flush.
A dialog box appears.
2. Click OK to delete all jobs (or click Cancel to cancel the deletion).
All jobs are deleted from the print queue.
NOTE: Before you can delete an image from the print queue, the application
must be suspended and all jobs in progress must be complete.
20 December 2000
Page 25

Using the IPS Software with the KODAK PROFESSIONAL LED II Printers
Suspend in g and R esu m in g the IPS App lic ati on
When the IPS application starts, it looks for Source Directory Preferences.
If these preferences are initialized, the application will start in the “running” state—
as if the Resume icon was selected.
If the preferences are not initialized, the application is in the “suspended” state—
as if the Suspend icon was selected.
Suspending the IPS Application
To suspend the IPS application, select the Suspend icon or select
Server>Suspend.
Resuming the IPS Application after a Suspension
To resume the IPS application, select the Resume icon or select Server>Resume.
December 2000 21
Page 26

Using the IPS Software with the KODAK PROFESSIONAL LED II Printers
If the preferences were not initialized, the dialog box below appears.
After you select OK , the Source Directory Preferences dialog box appears and the
application remains suspended until the preferences are initialized. See “Setting
the Source Directory Preferences for a Device” on page 14.
Failed Jobs
When an image fails to go to the printer for any reason, an appropriate error
message is appended to the log. The log file is specified in the Source Directory
Preferences dialog box.
Images in the Source Directory (hot folder) are moved to the FailedJobs
Directory. The FailedJobs Directory is created as a subdirectory within the
Source Directory when the first failure occurs.
Images that fail and were not inserted through the Source Directory (that is, they
were inserted with the Enqueue icon or menu item) are not moved to the
FailedJo bs D i rec tory.
Attended and Unattended Modes
The IPS application allows you to operate in the Attended or Unattended mode.
In Attended mode, all errors are displayed in dialog boxes. The IPS application is
halted until you respond to the message.
In Unattended mode, only errors that require user intervention are displayed in
dialog boxes. Errors that do not require user intervention, such as an invalid file
format, are logged in the log file.
In both Attended and Unattended modes, all errors are written to the log file.
NOTE: If a communication error occurs while the file is going to the printer, the
image may not be printed. In addition, jobs that fail to print from the Source
Directory (hot folder) are copied to the failed jobs directory.
22 December 2000
Page 27

Using the IPS Software with the KODAK PROFESSIONAL LED II Printers
To determine if the IPS application is running in Attended mode, pull down the
Server menu.
Application is in
Attended mode
Application is not in
Attended mode
If the bullet appears next to Attended, the application is running in attended mode.
• To disable attended mode, select the Server>Attended menu item.
If no bullet appears next to Attended, the application is not running in attended
mode.
• To enable attended mode, select the Server>Attended menu item.
December 2000 23
Page 28

Using the IPS Software with the KODAK PROFESSIONAL LED II Printers
File Format Details
The data portion of the TIFF file must contain RGB byte interleaved data.
Supported Tags
The Image Print Server supports the TIFF tags listed below. The range of valid
values for TIFF tags 256, 257, 258, 273, 278 and 279 are image dependent and
are indicated by a “
error will occur when the application is reading the image data and an appropriate
error message will be placed in the log file.
TIFF Tag ID Name Valid Ra nge
*” in the Valid Range column. If these values are incorrect, an
256 Image Width *
257 Image Length *
258 Bits per Sample *
259 Compression 1
262 Photometric Interpretation 2
273 Strip Offset *
277 Samples per Pixel 3
278 Rows per Strip *
279 Strip Byte Count *
284 Planar Configuration 1
*indicates an image-dependent value
LZW Compression
The IPS application does not support LZW compression.
24 December 2000
Page 29

Index
A
adding a print device 10 to 11
attended mode of IPS application 22 to 23
defined 2
C
centering image on the paper 16, 18
communication channels, SCSI 1
copies to print, number of 15, 18
D
Defaults menu item (Server menu) 14
deferred printing option 15, 18
deleting a print device 12
dequeue function 2, 14
using 19 to 20
description of icons on the LED IPS main menu 14
devices, print 10 to 12
adding 10 to 11
deleting 12
updating 11 to 12
E
end of order, specifying 15, 18
enqueue function 2, 14
using 17 to 19
F
failed jobs directory 22
file formats, image files 24
flushing images from the print queue 20
defined 2
icon and menu item defined 14
H
hardware requirements 3
hot folder . see also source directory 2
I
icons on LED IPS main menu 14
ID punch to mark a gutter 15, 18
image file in Enqueue dialog box 18
immediate printing option 15, 18
installing the IPS applicat ion 3 to 8
M
main menu
Image Print Server (IPS) launcher 9
LED Image Print Server 13
O
order punch to specify end of order 15, 18
defined 2
P
preferences, source directory, setting 14 to 16
print production options 15, 18
print queue
placing images in 17 to 19
removing images from 19 to 20
printer resolution options 15, 18
printing images 13 to 19
R
requirements, system 3
resuming a suspended application 21 to 22
defined 2
roll to roll options 15, 18
S
SCSI ID 10, 11
SCSI interface driver (ASPI-compliant) 3
software requirements 3
source directory 15
defined 2
insertion of images 17
setting preferences 14 to 16
suspending and resuming the IPS
application 21 to 22
resuming 21 to 22
suspending 21
defined 2
icon and menu item defined 14
T
terms, defined 2
TIFF downloader 2
TIFF tags 24
tone scale correction, applying 9, 16, 19
L
log file for printer error information 9, 15
editing configuration of 16
LZW compression (not supported) 24
December 2000 I-1
Page 30

U
unattended mode of IPS application 22 to 23
defined 2
updating a print device 11 to 12
using the Image Print Server (IPS)
application 9 to 23
adding, updating, and
deleting print devices 10 to 12
attended and unattended modes 22 to 23
failed jobs directory, using 22
printing images 13 to 19
removing images from the print queue 19 to 20
starting the application 9
suspending and resuming the IPS application
21 to 22
I-2 December 2000
Page 31

Page 32

© Eastman Kodak Company, 2000 Printed in U.S.A.
EASTMAN KODAK COMPANY
Rochester, New York 14653
U.S.A.
Kodak and Kodak Professional are
trademarks of
Eastman Kodak Company.
 Loading...