

KitchenAid KESC300BBL2, KESC307BWH6, KESC307BWH8, KESC307BWH9, KESC307BWH1 Installation Guide
...
O
HOME APPLIANCES
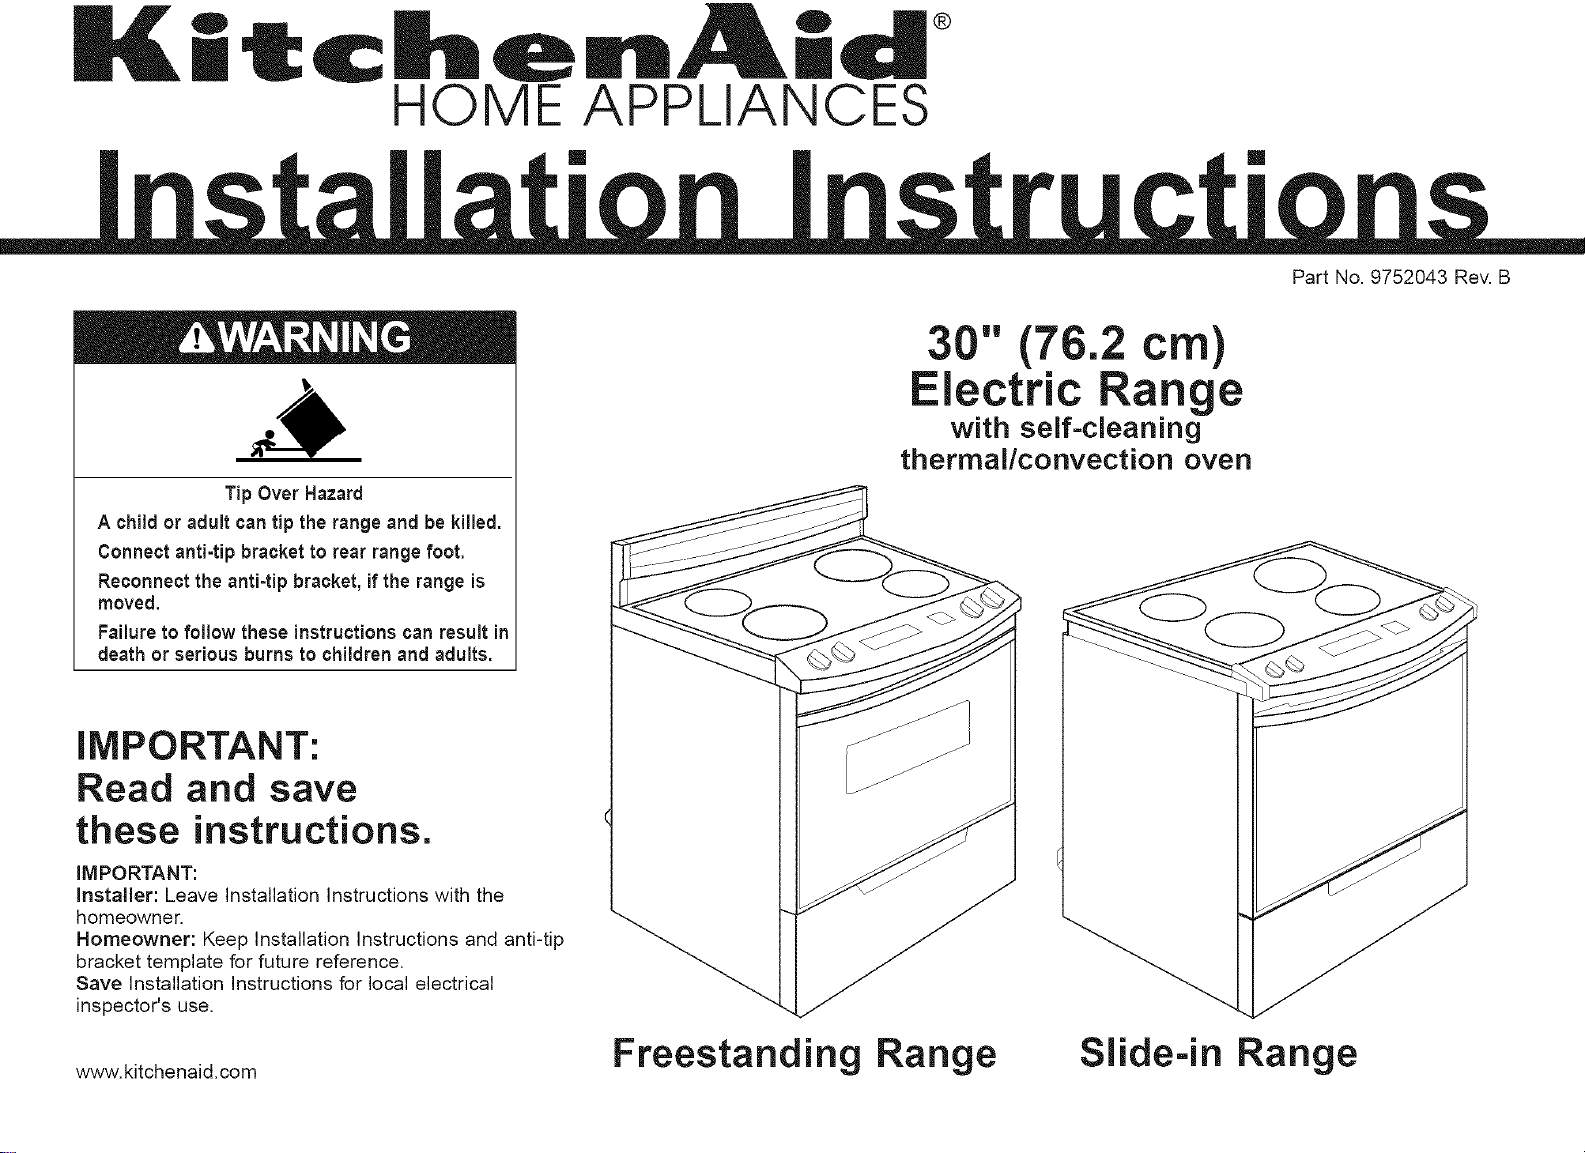
Tip Over Hazard
A child or adult can tip the range and be killed.
Connect anti=tip bracket to rear range foot.
Reconnect the anti-tip bracket, if the range is
moved.
Failureto follow these instructions can result in
death or serious burns to children and adults.
O
[] []
®
" (76.2 cm)
Electric Ran e
with self=cleaning
thermal/convection oven
Part No. 9752043 Rev. B
IMPORTANT:
Read and save
these instructions.
IMPORTANT:
Installer: Leave Installation Instructions with the
homeowner.
Homeowner: Keep Installation Instructions and anti-tip
bracket template for future reference.
Save Installation Instructions for local electrical
inspector's use.
www.kitchenaid.com Freestanding Range Slide-in Range

Before you start...
Your safety and the safety of others
are very important.
We have provided many important safety
messagesin this manualand on your appliance.
Always read and obey all safetymessages.
This is the safetyalert symbol.
This symbol alerts you to potentialhazards
can kill or hurt you andothers.
All safetymessageswill follow the safety alert
symbol and either the word "DANGER"or
"WARNING".Thesewords mean:
Youcan be killed orseriously injured if you
don't immediatelyfollow instructions.
Youcan be killed orseriously injured ifyou
don'tfollow instructions.
All safetymessageswill tell you whatthe potential
hazardis, tell you how to reducethe chance of
injury, andtell you whatcan happenif the
instructions are not followed.
Cabinet opening dimensions
25" (63.5 cm) countertop depth and 24" (61 cm) base cabinet depth,
36" (91.4 cm) countertop height
Freestanding Range Slide-in Range
For minimum ['_13" _33cm} max.__ _ For minimum
13"(33cm) max. I__ clearance to I uppercabinet'depth _ [// clearance to
upper cabinet depth _ _-_ the top of the I 30" _7&2 cm_ rnin- .L. the top of the
50"175.2cm_m_n. L..."oto. __ ............_ _ .ore.
cabinet opening width _r T _--'_.. _"
18" (45.7 cm) I"__'_ upper cabinet / // _ _ opening aep
upper cabinet I --"_:_ to countertop _ / _ _ I "_-"_
tooountertop __" "_"- _ 1/2"(1._)1 "_.
_- I "_-. opening width "_"_"_ 4" I "_, corners I
41 . _ ' -- 30-3/8" (77 2 cm)
4" (10.2 cm) _ ,,,i.. _,_._._=
rain. clearance _ from both sides
from both sides junction box - of range to side _ junction box - 8" (20.3 cm) to
of range to side 8" (20.3 cm) to wall or other 22" (55.9 cm) from either
wall or other 22" (55.9 cm) from combustible cabinet, 7" (17.8 cm) max. from
combustible either cabinet, material, floor.
material. 7" (17.8 cm) max. I
I from floor. I
I _ I /"
I / _ _-|1/I 7/8"
LI min. required ""
\ between cutout
\ and cabinet "" door or hinge.
\
}
.,, door or hinge. ",
"_" cooktop see / _hi'_ _i ..... i_ / cooktop see
rain. required
and cabinet
\
Read electrical and carpentry instructions.
Proper installation is your responsibility. A
qualified technician must install this range. Make
sure you have everything necessary for correct
installation. It is the customer's responsibility to
make sure that the countertop has been properly
prepared and that the installation clearances
specified on the model/serial rating plate are
met. The model/serial rating plate is located on
the oven frame behind the drawer.
Check location where range will be installed.
The range should be located for convenient use
in the kitchen. Recessed installations must
provide complete enclosure of the sides and rear
of range.
ALL OPENINGS IN THE WALL OR FLOOR
WHERE RANGE IS TO BE INSTALLED MUST
BE SEALED.
IMPORTANT: Some cabinet and building
materials are not designed to withstand the heat
produced by the oven for baking and self-
cleaning. Check with your builder or cabinet
supplier to make sure that the materials used
will not discolor, delaminate or sustain other
damage.
It is the customer's responsibility:
To contact a qualified electrical installer.
To assure that the electrical installation is
adiquate and in conformance with National
Electrical Code, ANSI/NFPA 70 -- latest
edition*, or CSA Standard C22.1, Canadian
Electrical Code, Part 1 -- latest edition**, and
all local codes and ordinances.
Note: The metal chassis of the range MUST be
grounded in order for the control panel to work. If
the metal chassis of the range is not grounded, NO
keypads will operate. Check with a qualified
electrician if you are in doubt as to whether the
metal chassis of range is grounded.
Mobile home installation
The installation of this range must conform to the
Manufactured Home Construction and Safety
Standards, Title 24 CFR, Part 3280 (formerly the
Federal Standard for Mobile Home Construction
and Safety, Title 24, HUD, Part 280); or when such
standard is not applicable, the Standard for
Manufactured Homes Installations (Manufactured
Home Sites, Communities and Setups), ANSI
A225.1/NFPA 501A, or with local codes*.
In Canada, the installation of this range must
conform with the current standards
CAN/CSA-Z240 i latest edition**, or with local
codes.
When this range is installed in a mobile home, it
must be secured to the floor during transit. Any
method of securing the range is adequate as long
as it conforms to the standards listed above.
Four-wire power supply cable must be used in a
mobile home installation. The appliance wiring will
need to be revised. See four-wire electrical
connection, Panel B.
Copies of the standards listed may be obtained from:
* National Fire Protection Association
One Batterymarch Park
Quincy, Massachusetts 02269
** Canadian Standard Association
178 Rexdale Boulevard
Rexdale (Toronto), Ontario Mew 1R3
Panel A
important: Observe all governing codes and
ordinances.
When installing a range under existing cabinets
and the installation does not meet the minimum
cabinet clearances, install a range hood above
the cooktop to avoid burn hazards.
Grounded electrical outlet is required. See
"Electrical requirements," Panel B.
Cabinet opening dimensions that are shown
must be used. Given dimensions are minimum
clearances.
Do Not pinch the power supply cord between
the range and the wall.
Do Not seal range to side cabinets.
Slide-in
ranges: countertop preparation
The cooktop sides of the slide-in range fit over
the cutout edge of your countertop.
If you have a square finish (flat) countertop
and the opening width is 30-3/8" (77.2 cm), no
countertop preparation is required.
Formed front-edged countertops: Must have
molded edge shaved flat 1!4" (0.64 cm) from
each front corner of opening.
Tile countertops may need trim cut back
1/4" (0.64 cm) from each front corner and/or
rounded edge flattened.
30-3/8" ......
(77.2 cm
ope.nm .1/4"
width (0 64 cm)
30-7/8" _ Formed or tiled countertop
(78.4 cm) trimmed 1/4" (0.64 cm)
_./ back at front corners of
countertop opening.
Product dimensions
Freestanding Range
27-3/4"
handle
30 '_
(76.2 cm)_
cooktop
width
30 u_
_ (76.2 cm)
width
8-1/4"
(21 cm)
(70.5 cm)
depth with
_-- 44-3/8"
' (112.7 cm)
overall
height
36" (91.4 cm)
cooktop
height with
feet loosened
1-1/2 turns
When installed in a 24"
(61 cm) base cabinet with
25" (63.5 cm) countertop i
front of oven door
protrudes 1-7/8" (4.8 cm)
beyond 24" (61 cm) base
cabinet.
38" (91.4 cm)
height with
feet loosened
1-1/2 turns
*_ Note: 24" (81 cm) rain. when bottom of wood or metal
cabinet is protected by not less than 1/4" (0.64 cm)
flame retardant miUboard covered with not less than
No. 28 MSG sheet steel, 0.015" (0.4 ram) stainless steel,
0.024" (0.6 ram) aluminum or 0.020" (0.5 ram) copper.
30" (78.2 cm) rain. clearance between the top of the
cooking platform and the bottom of an unprotected
wood or metal cabinet.
Anti-tip
bracket:
The floor anti-tip bracket
MUST be installed. To
install the anti-tip bracket
shipped with the range,
see Panel C and the
anti-tip bracket template.
If countertop opening width is greater than
30-3/8" (77.2 cm), adjust the 1/4" (0.64 cm)
dimension.
Countertop must be level. Place level on
countertop, first side to side; then front to back. If
countertop is not level, range will not be level.
Oven must be level for satisfactory baking
conditions.
Cooktop sides of range fit over
edges of countertop opening.
Slide-in Range
cooktop
(2.Scm)
30 '_
25-3/4"
(65.4 cm)
depth
handle
(78.2 cm)
width
 Loading...