

Kettler Marathon TX 1, 07882-400 Assembly Manual
GB
Assembly Instructions
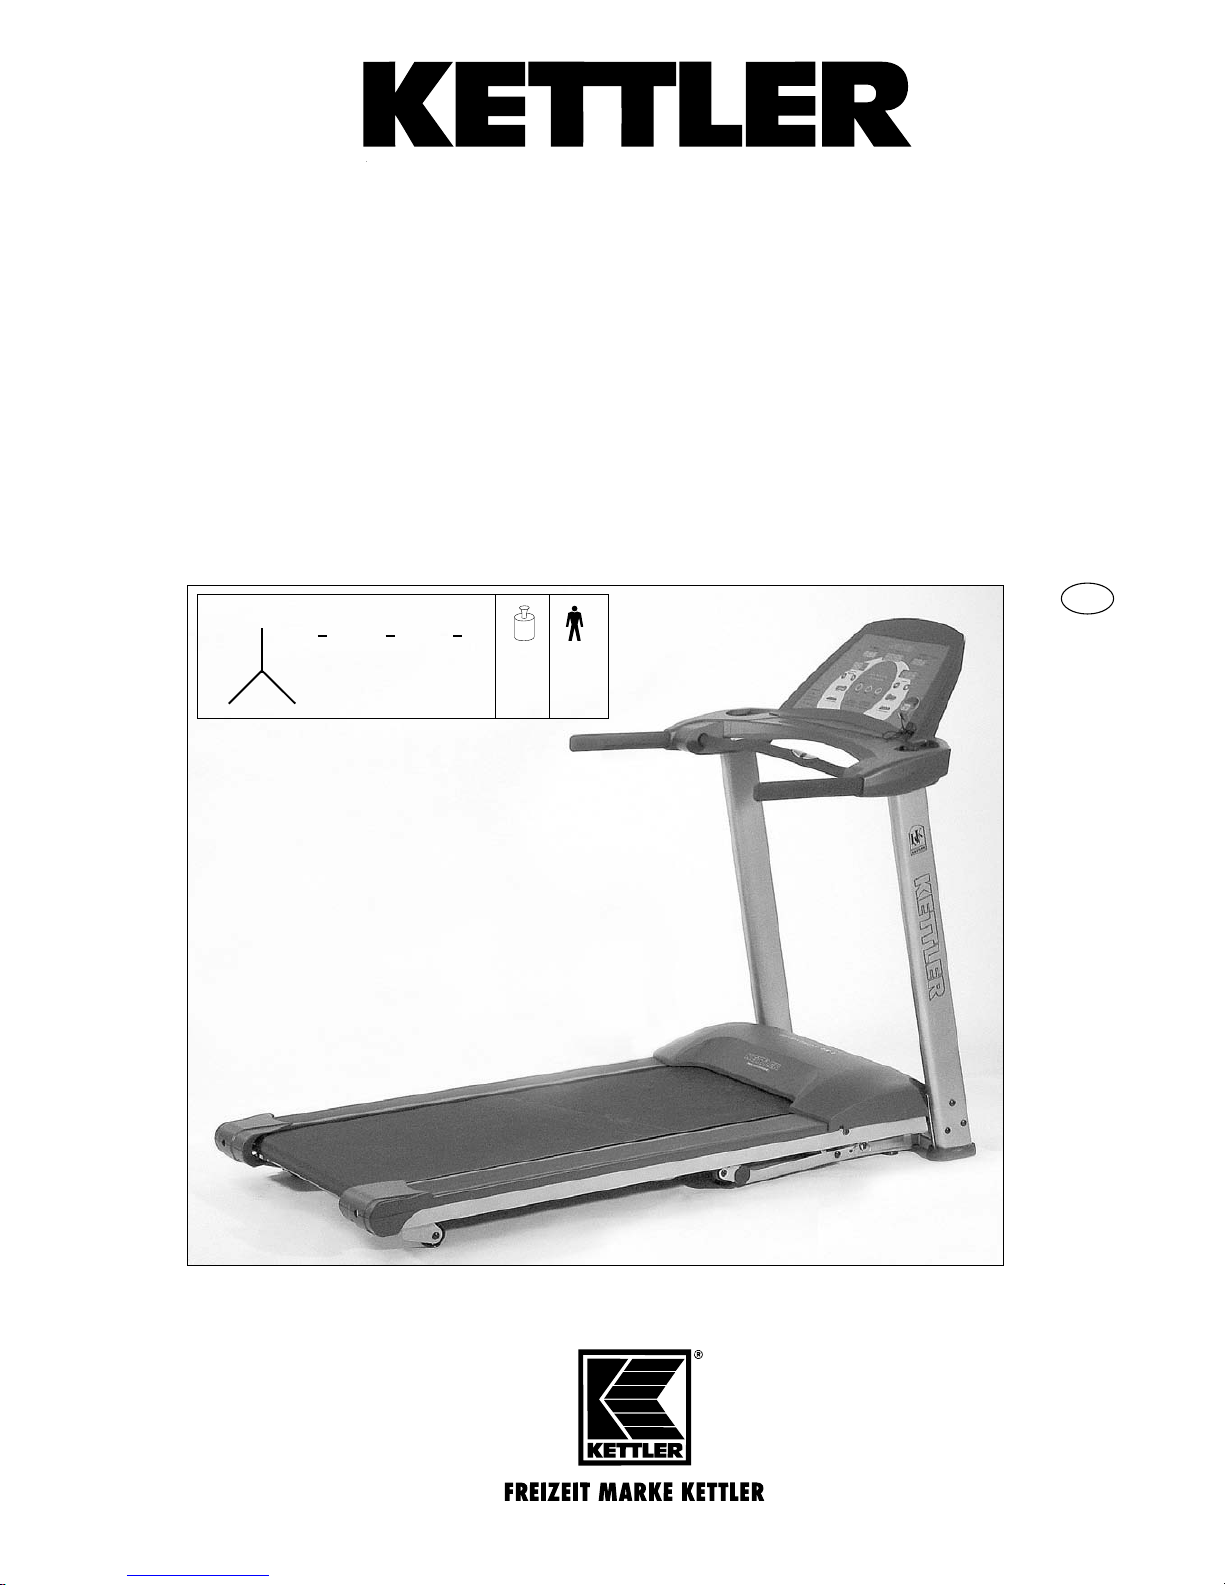
Marathon TX 1
Art.-No. 07882-400
Abb. ähnlich
A
B
C
A B C
194,5 88 144
cm
140 kg
max.
110 kg

2
Assembly Instructions
GB
For Your Safety
■ The running belt should be used only for its intended purpose,
i.e. for physical exercise (walking and jogging) by one (1) adult
persons.
■ The running belt is not suitable for commercial use
■ Any other use of the equipment is prohibited and may be dan-
gerous. The manufacturer cannot be held liable for damage or
injury caused by improper use of the equipment.
■ Damaged components may endanger your safety or reduce the
lifetime of the equipment. For this reason, worn or damaged
parts should be replaced immediately and the equipment taken
out of use until this has been done. Use only original KETTLER
spare parts.
■ The running belt has been designed in accordance with the
latest standards of safety. Incorrect repairs and structural modifications (e.g. removal or replacement of original parts) may
endanger the safety of the user.
■ The running belt must be set up on firm even ground. Ensure
that the power cable is not pinched and that no-one can trip
over it.
■ Always ensure that the space under the running belt is kept free,
i.e. that there are no objects, pets etc. beneath it.
■ Never touch the moving belt with your hands. Also ensure that
there are no objects close to the belt or the rollers which could
be pulled into it thus causing injury or damaging the unit itself.
■ The running belt is not suitable for use by persons weighing
over 140 kg.
■ The unit should be positioned in such a way that there is a space
of 100 cm on both sides and 200 cm behind it.
■ The unit requires a power supply of 230 V / 50 Hz. It should be
connected only to grounded safety socket with a single 16-A fuse.
Do not under any circumstances carry out electrical repairs or alterations yourself. Always ensure that such work is done by a properly qualified electrician.
■ Do not use a multiple power socket for the running belt. If an
extension cable is being used, ensure that it complies with the
local safety regulations of electrical equipment..
■ When the unit is not in use, unplug it from the power supply.
■ To ensure that the safety level is kept to the highest possible stan-
dard, determined by its construction, this product should be serviced regulary (once a year) by specialist retailers.
■ Before carrying out cleaning or maintenance work, always disconnect the running belt from the power supply (i.e. pull the
plug out of the socket).
■ Please ensure that liquids or perspiration never enter the machine
or the electronics.
■ Repairs on the electrical components in the unit should be carried out by qualified persons only.
■ Always observe the general safety rules and precautions for
working with electrical equipment.
■ All
electric appliances emit electromagnetic radiation when in operation. Please do not leave especially radiation-intensive appliances (e.g.
mobile telephones) directly next to the cockpit or the electronic controlsystem as otherwise values displayed might be distorted (e.g. pulse
measurement).
)
■ Prior to training attach the cord of the running belt stop trip to
your clothing.
■ The KETTLER treadmill has an emergency stop mechanism for
your safety. Before starting your workout, fasten the cord of the
safety key to your clothing. If the treadmill has been shut down
by removing the safety key, restart it by reinserting the key. An
automatic restart of the treadmill belt does not occur. Further
instructions concerning the handling of the safety cut-out can be
found in the operating instructions for the training computer.
■ An unmonitored use of the treadmill by other people can be prevented by removing the safety key and keeping it safely hidden.
■ In case of an emergency, hold on tightly to the handrail with
both hands and leave the treadmill by means of the antislipping
surface of the lateral platform. Activate the emergency stop
mechanism (safety cut-out).
■ Any interference with parts of the product that are not
described within the manual may cause damage, or
endanger the person using this machine. Extensive
repairs must only be carried out by KETTLER service staff
or qualified personnel trained by KETTLER.
■ Should you be in any doubt, please consult your dealer
.
All KETTLER products are designed in accordance with the latest safety regulations and undergo a constant process of quality control during manufacturing. The knowledge gained in this process is used to constantly improve and develop our products. In order to offer our customers the very
best in product quality, we reserve the right to make technical changes at any time. In spite of this, should you have any cause for complaint, please contact your KETTLER dealer.
Handling the equipment
■ Standards:
The machine complies with the DIN EN 957 - 1/6, class HB. It is therefore unsuitable for therapeutic use.
■ Before using the equipment for exercise, check carefully to ensure that it has been correctly assembled and checked.
■ Usage of the equipment in damp rooms is not permitted.
Please ensure that no part of the machine comes in contact with
liquids (drinks, perspiration etc.). This may cause corrosion.
■ The running belt is designed for use by adults and children
should not be allowed to play with it. Children at play behave
unpredictably and dangerous situations may occur for which
the manufacturer cannot be held liable. If, in spite of this,
children are allowed to use the equipment, ensure that they
are instructed in its proper use and are supervised accordingly.
■ Always wear suitable shoes (running shoes) when using the
running belt.
■ Before beginning your first training session, familiarize yourself thoroughly with all the functions and settings of the unit.
■ If the equipment is in regular use, check all its components
thoroughly at appropriate intervals. Pay particular attention to
the tightness of bolts and nuts.
■ In case of a regular use of the running belt, the cold running
belt has to be serviced with silicone oil.

3
Assembly Instructions
GB
Handling
Instructions for Assembly
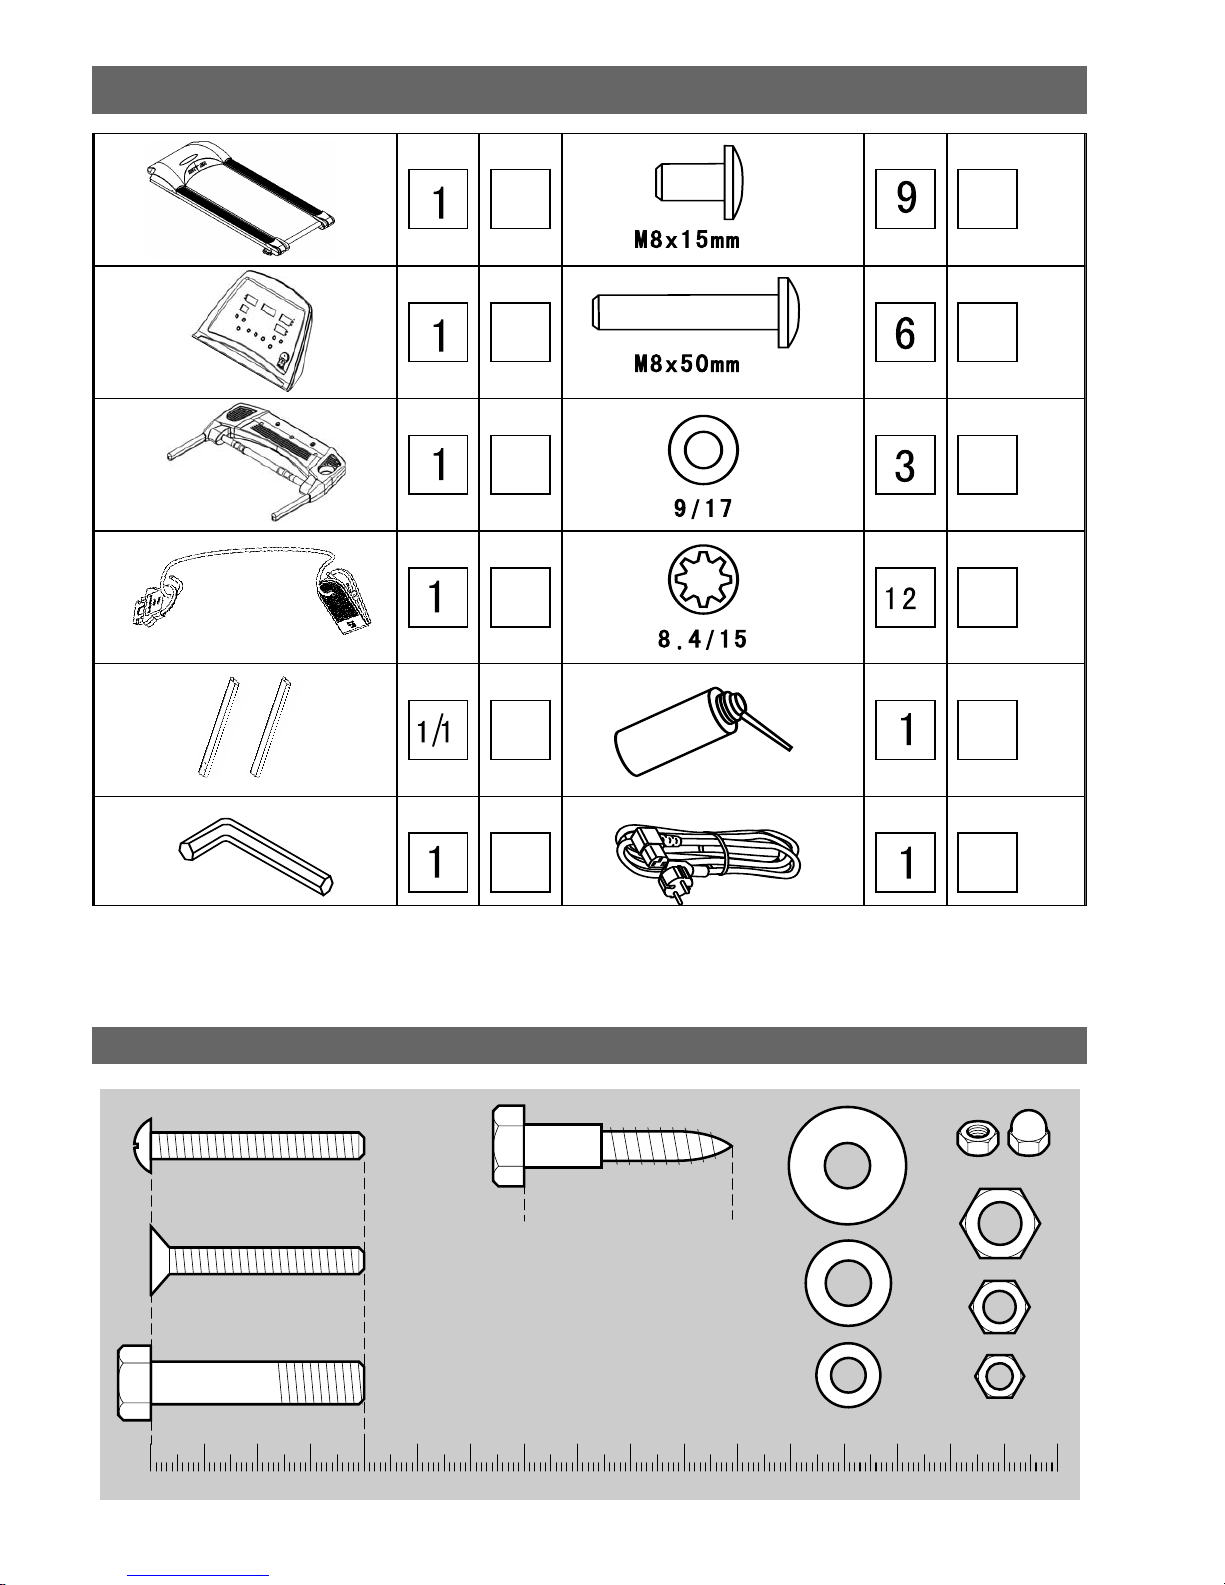
■ Ensure that you have received all the parts required (see check list)
and that they are undamaged. Should you have any cause for
complaint, please contact your KETTLER dealer.
■ Before assembling the equipment, study the drawings carefully and
carry out the operations in the order shown by the diagrams. The
correct sequence is given in capital letters.
■ The equipment must be assembled with due care by an adult person. If in doubt call upon the help of a second person, if possible
technically talented.
■ Please note that there is
always
a danger of injury when working
with tools or doing manual work. Therefore please be careful when
assembling this machine.
■ Ensure that your working area is free of possible sources of danger, for
example don’t leave any tools lying around. Always dispose packaging material in such a way that it may not cause any danger. There
is always a risk of suffocation if children play with plastic bags!
■ The fastening material required for each assembly step is shown in
the diagram inset. Use the fastening material exactly as instructed.
The required tools are supplied with the equipment.
■ Bolt all the parts together loosely at first, and check that they have
been assembled correctly. Then use spanner to finally tighten
screws/nuts
■ Please keep original packaging of this article, so that it may be
used for transport at a later date, if necessary. Goods may only
be returned after prior arrangement and in (internal) packaging, which is safe for transportation, in the original box if possible. It is important to provide a detailed defect description /
damage report!
■ For technical reasons, we reserve the right to carry out preliminary
assembly work (e.g. addition of tubing plugs).
Belt adjustment:
Adjust the belt while running it at a speed of about 6 km/h (if
necessary, less). No person must be on the belt while adjusting it!
If the belt moves to the right, carefully turn the right adjusting
screw (Fig. 8) clockwise by max. a quarter of a rotation with the
enclosed socket spanner. Operate the belt and check the course
of the belt. Repeat this process until the belt runs straight away.
If the belt moves to the left, carefully turn the right adjusting screw
(Fig. 8) counter-clockwise by max. a quarter of a rotation with the
enclosed socket spanner. Operate the belt and check the course
of the belt. Repeat this process until the belt runs straight away.
Belt straightening:
Turn the adjusting screw (Fig. 8) to the right by max. one turn.
Repeat this process on the other side. Check as to whether the
continuous belt slips. If this is the case, repeat the described process once again.
Be very careful when adjusting and straightening the belt. An
extreme over- or under-tension may damage the running belt !
KETTLER Ltd.
●
KETTLER House, Merse Road ●North Moons Moat ●Redditch, Worcestershire ●B 98 9 HL ●Great Britain
Care and Maintenance
■ Do not use corrosive or abrasive materials to clean the equipment. Ensure that such materials are not allowed to pollute the
environment.
■ The electrical elements and components do not require special
maintenance. No alterations or repairs (except mantainance
checks) should be made to these parts unless by a qualified
electrician.
■ When ordering spare parts, always state the full item number,
spare-part number, the quantity required and the serial number
of the product.
Example order: Art. no. 07882-400 / spare-part no. 68000054/
1 pieces / serial no......
Important: spare part prices do not include fastening material; if
fastening material (bolts, nuts, washers etc.) is required, this
schould be clearly stated on the order by adding the words „with
fastening material“.
Waste Disposal
KETTLER products are recyclable. At the end of its useful life please dispose of this article correctly and safely (local refuse sites).
■ Depending on the degree of use and load to which the unit is
subjected, the belt may tend to stretch or slip. Tighten the belt
as described. Adjust the tightness of the belt as described in
section „handling“ (Fig. 8).
■ Observe the movement of the edge of the belt when it is in use. If
it tends to run towards the side, readjust it accordingly (Fig. 8).
Running Tip: Running straight on the treadmill is made easier by
focussing on a fixed object in front of you in the
room. Run as if you wanted to approach the object.
Importantly: Please keep the safety key in a safe place and ensu-
re that it is kept out of reach of children!
4
Checklist
0 10 20 30 40 50 60 70 80 90 100 110 120 130 140 150 160 170
M5x40
M8x40
M5x40
ø8x39
M8
ø22
ø16
ø12
M6
M5
Measuring help for screw connections
 Loading...