


Kenmore 580.53701 User Manual [en, es]
Owner's Manual Manuel del Propietario
KenmorG
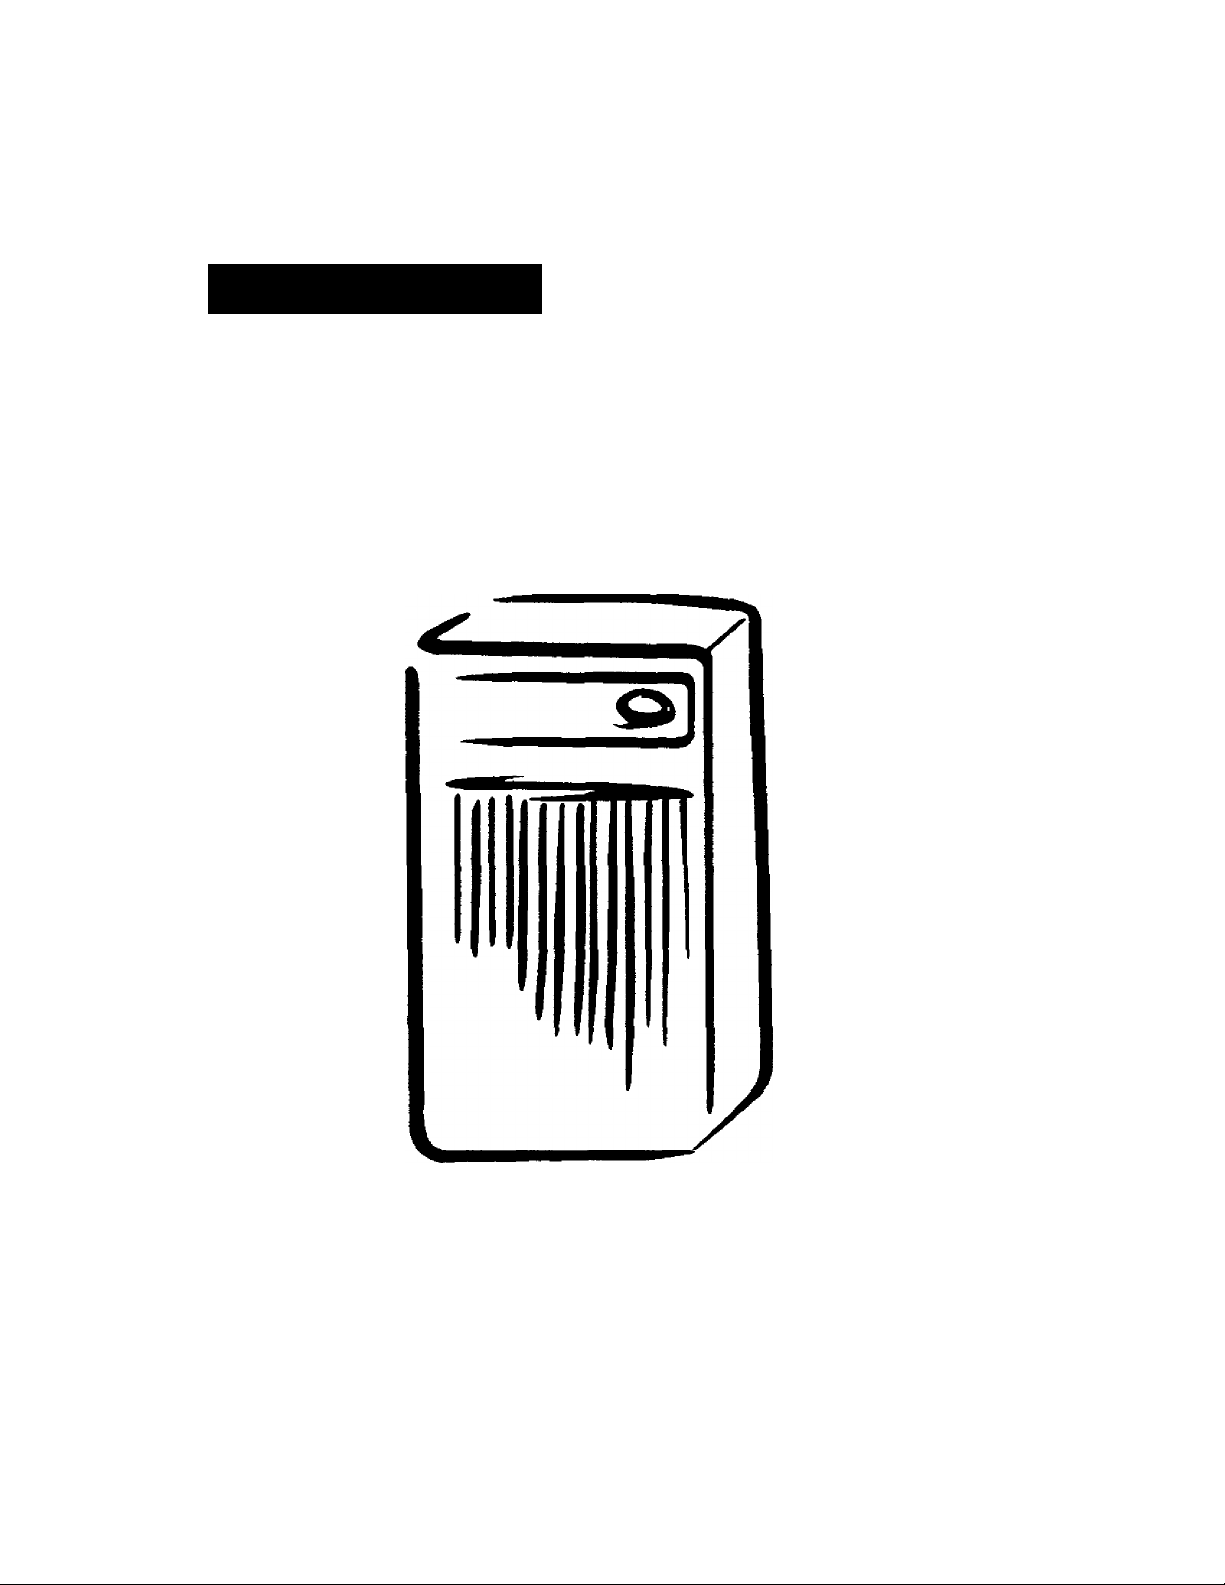
DEHUMIDIFIER
DESHUMIDIFICADOR
Model, Modelo 580.53509, 580.53701.
^Oo
Sears, Roebuck and Co., Hoffman Estates, IL 60179 U.S.A.
www.sears.com

TABLE OF CONTENTS
TABLE OF CONTENTS
WARRANTY.......................................................2
SAFETY
ELECTRICAL REQUIREMENTS
OPERATION
INSTALLING YOUR DEHUMIDIFIER
CHOOSING THE PROPER LOCATION.................7
AUTOMATIC SHUT OFF.....................................7
.............................................................
Important Safety Instatctions
......................................................
Features
Control Panel.............................................6
Defrost ContiOl.............................................7
.......................................................
......................................
..................
........................
.............
.4
2
3
3
5
5
7
CLEANING THE WATER BUCKET
REMOVING AND EMPTYING
THE WATER BUCKET
MAINTENANCE
Grille and case............................................ 9
Air filter
Cleaning inside the unit
Generai cleaning
Water bucket cleaning..................................9
TROUBLESHOOTING
ESPAÑOL
MASTER PROTECTION AGREEMENTS ...23
SERVICE NUMBERS
........................................................
.......................................................
.......................................
.................................................
..........................................
......................................
..........................
.....................
................................
Back cover
8
8
9
9
9
9
10
11
WARRANTY
FULL ONE YEAR WARRANTY ON DEHUMIDIFIER
For one year from the date of purchase, if the Dehumidifi^ is operated and maintained
according to the owner's instructions fumisrtied with the product. Sears will repair the
Dehumidifier fiee of charge, if defective in nnaterials or workmanship.
FULL FIVE YEAR WARRANTY ON SEALED
REFRIGERATION SYSTEM
For five years from №e date of purchase, when this Dehumidifier is operated and maintained according
to owner's insfiuctions furnished virith the product. Sears will repair the sealed refrigeration system
(consisting of réfrigérât, connecting tubing, and compressor motor) free of charge, if defective in
material or workmanship.
WARRANTY SERVICE iS AVAILABLE BY RETURNING UNIT TO THE NEAREST SEARS
SERVICE CENTER IN THE UNITED STATES. CALL 1-800-4>MY-HOME* FOR NEAREST
SERVICE CENTER TO YOU.
This warranty applies only while this Dehumidifier is used in the United States.
This warranty gives you specific legal rights, and you may also have other rights which vary from state to
state.
Seats, Roebuck and Co., D/817WA, Hoffman Estates, IL 60179 U.S.A.
SAFETY
IMPORTANT SAFETY INSTRUCTIONS
The safety instaictions below will tell you how to use your dehumidifier to avoid harm to yourself
or damage to your dehumidifier.
Avvarning
FOR YOUR SAFETY
Do not store or use gasoline ot other
flammable vapors and liquids in the vicinity of
this or any other appliance. Read product
labels for fiammabitity and other warnings.
Avvarning
[ PREVENT ACCIDENTS
To reduce the risk of fire, electrical shock, or
injury to persons when using your
dehumidifier, follow basic precautions,
irtduding the following:
• Be sure the eiectrical ser\nce is adequate for
foe model you have chosen.
Avvarning
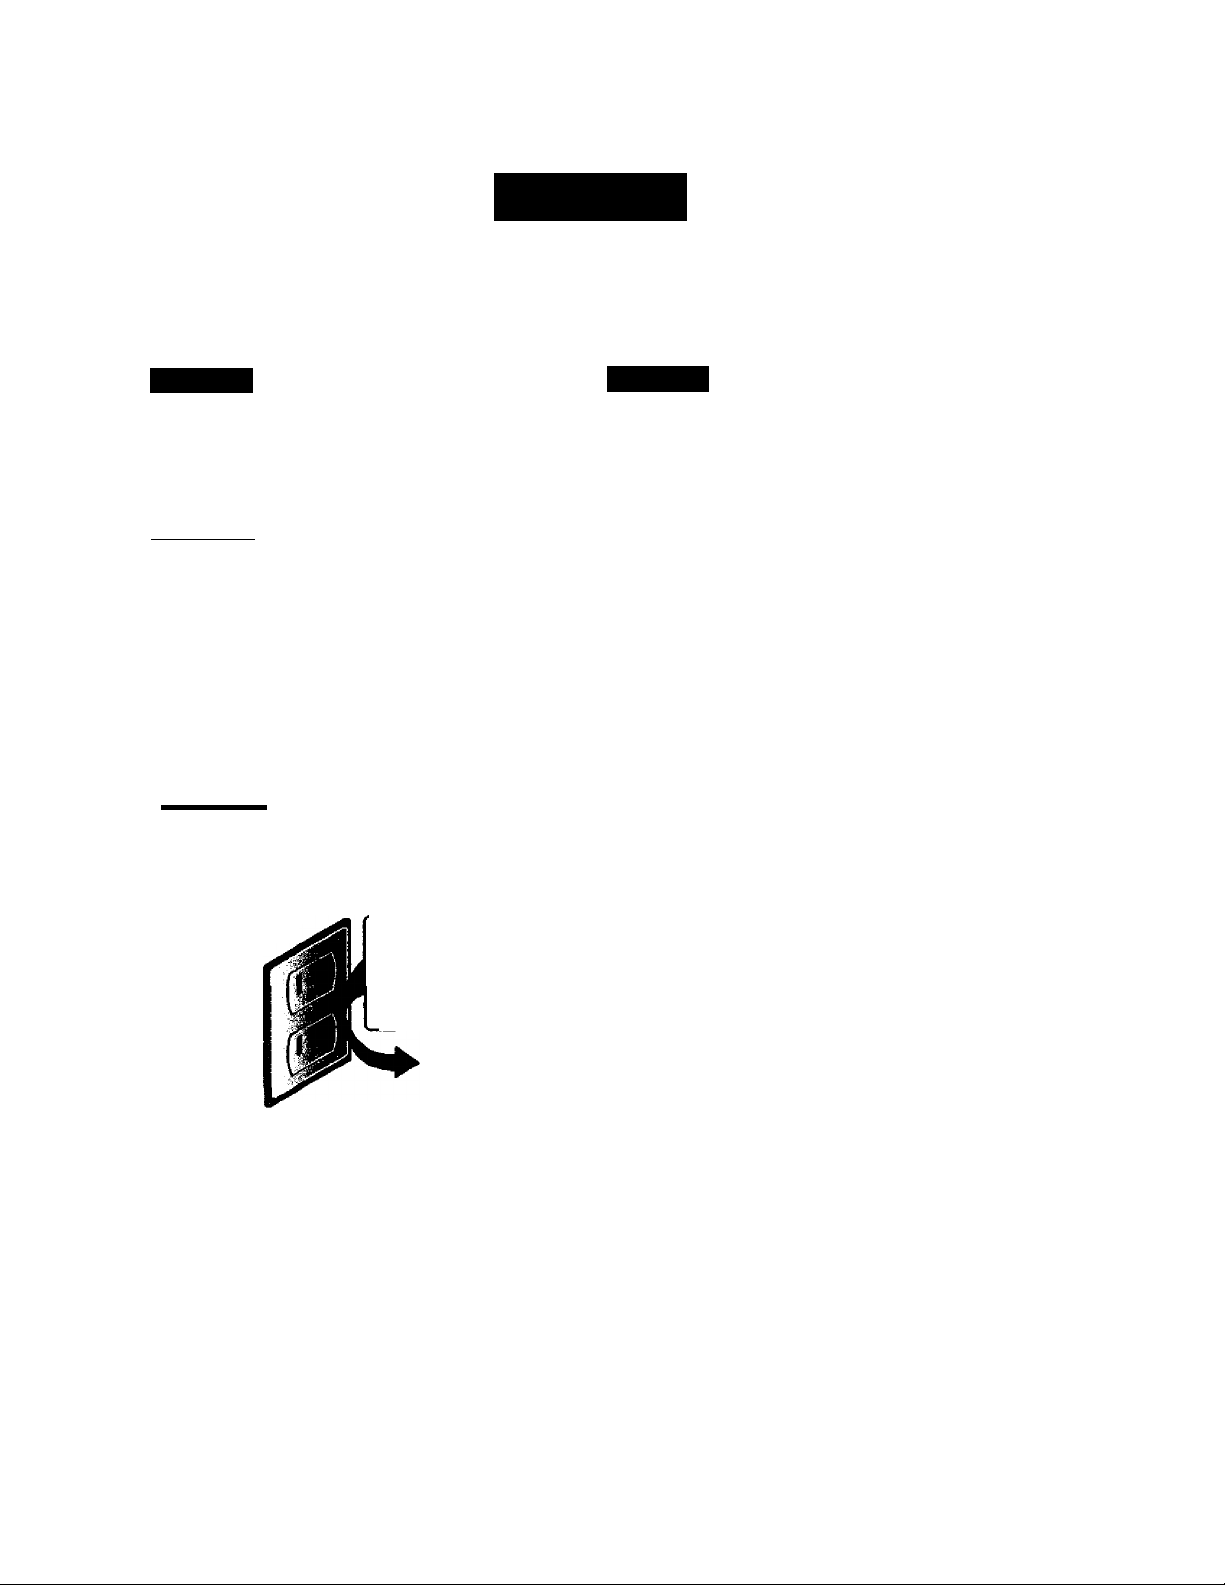
Oo not use an extension cord or an adapter plug.
Do not remove any prong from the power cord.
Grounding type
wail receptarte
Avoid fire hazard or electric shock.
Do not under any
circumstances cut,
remove, or bypass
the grounding prong
fiom №1$ plug.
Awarning
ELECTRICAL INFORMATION
The corréete electrical rating of your new
dehumidifier is stated on foe serial plate. Refer
to the rating when checking the electrical
requirements.
* Be sure foe dehumidifier is properly
grounded. To minimize shock and fire
hazards, proper grounding is important. The
power <x^ is equipped with a three-prong
grounding plug fiv protection against shock
hazards.
* Your dehumidifier must be used in a properly
grounded w£dl receptacle. If the wsdl
receptacle you intend to use is not
adequate grounded or protected by a time
delay fuse or circuit breaker, have a qualified
efecbician ins^l foe proper receptacle.
* Do not use an extension cord oran
adapter plug.
Power simply cord
with 3.^rong
grounding plug
ELECTRICAL REQUIREMENTS
OBSERVE ALL LOCAL CODES AND
ORDINANCES.
DO NOT, UNDER ANY CIRCUMSTANCES,
REMOVE THE POV№R SUPPLY CORD
GROUND PRONG.
ELECTRICAL GROUND IS REQUIRED ON
THIS APPLIANCE.
A 115-volt 60 Hz, AC only, 15A fiis^ and
property grounded electrical supply is required.
A time delay fijse w time delay circuit breaker
is recommended. Use a dedicated circuit,
serving only this appliance.
DO NOT USE AN EXTENSICm CORD.
RECOMMENDED GROUNDING METHOD
For your personal safety, this appliance must
be grounded. This a^^liance has a power
su(^ cord with a 3-prong grounding plug. To
minimize possible shock hazard. №e cord must
be plugged into a mating grounding type wall
receptacle and gtourKled in accordance with
fte Nationsd Electric^ Code (ANSI/NFPA 70)
latest edition and all local codes artd
ordinances. If a mating wall receptacle is not
avalable, it is the personal responsibility and
obligation of the customer to have a properly
grounded 3-ptong wall receptacle installed by a
qualified electrician.
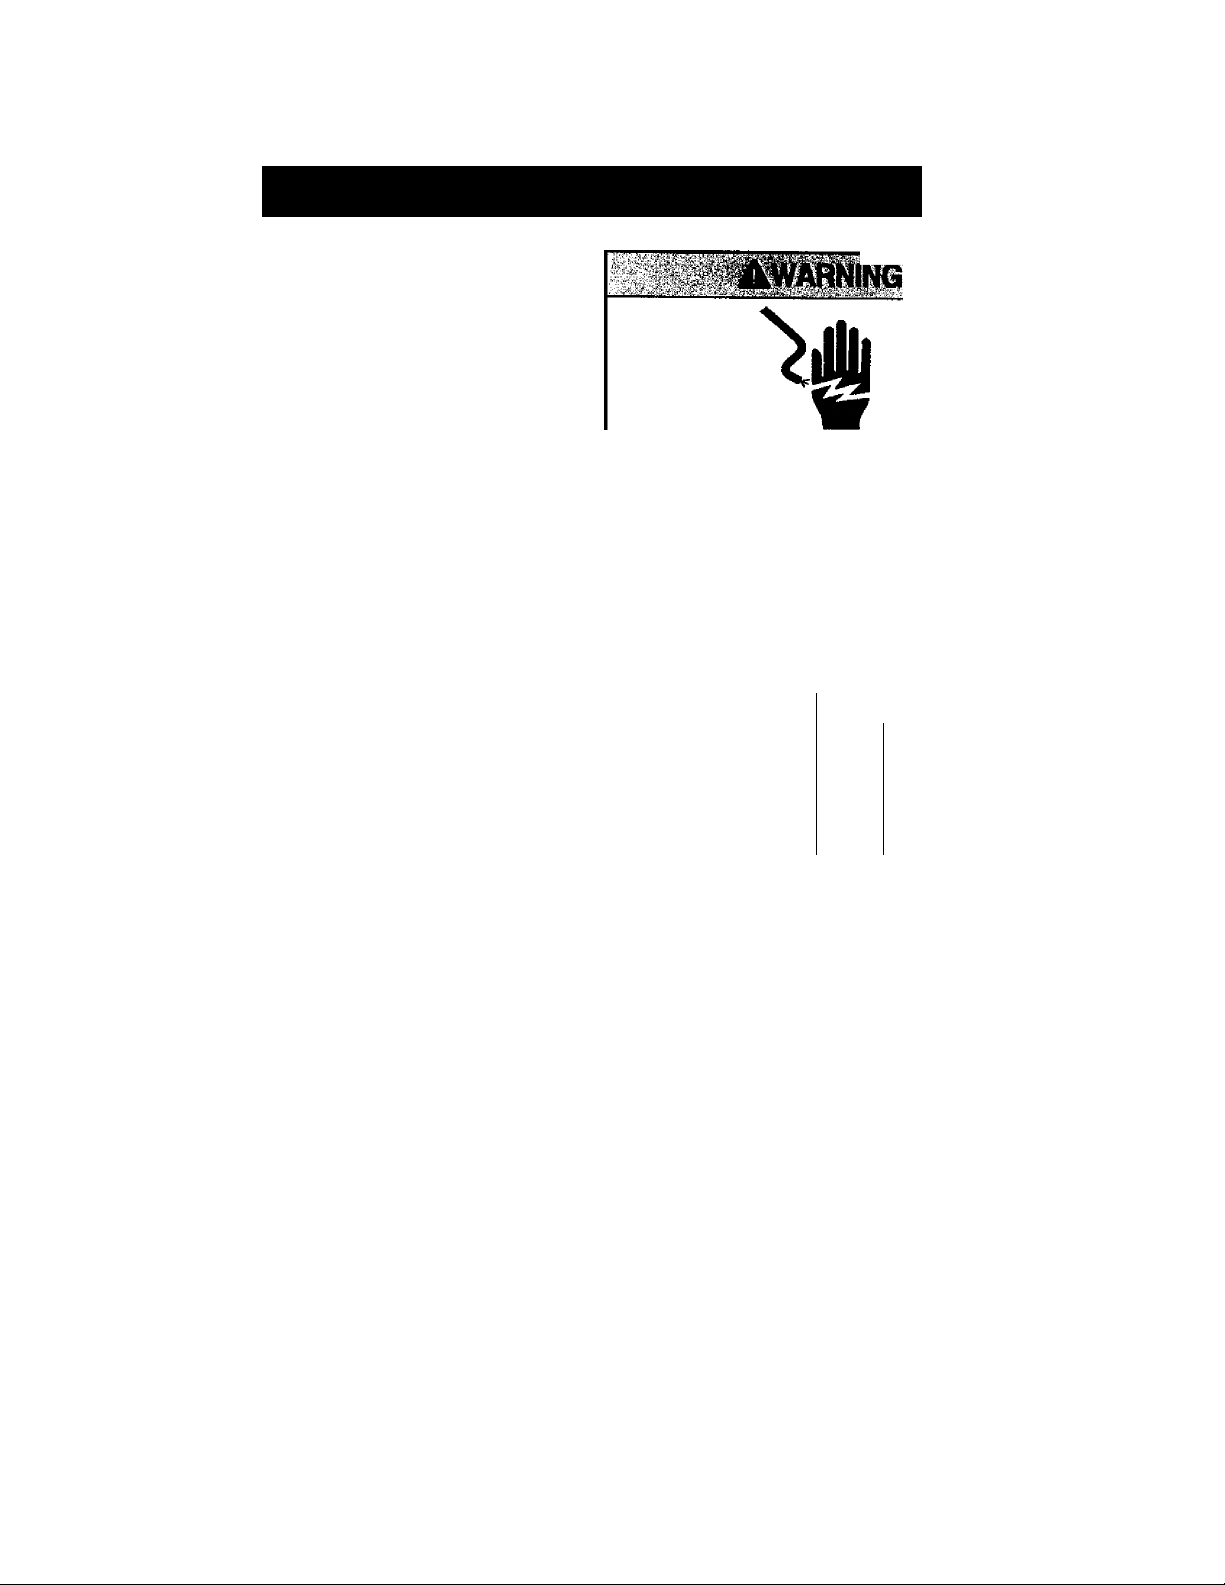
Elecbical Shock Hazard
Plug into a grounded 3 prong outlet.
Do not remove ground prong.
Do not use an adapter.
Do rrot use an extension cord.
Failure to follow these instructions can result
in death, fire, or electocal shock.
"3-prong
3-prong -v..
groundingj^^^^
plug
Power-
SUfHJly
cord
N1
Ground
prwig
grounding
t^wall
receptacle
-4
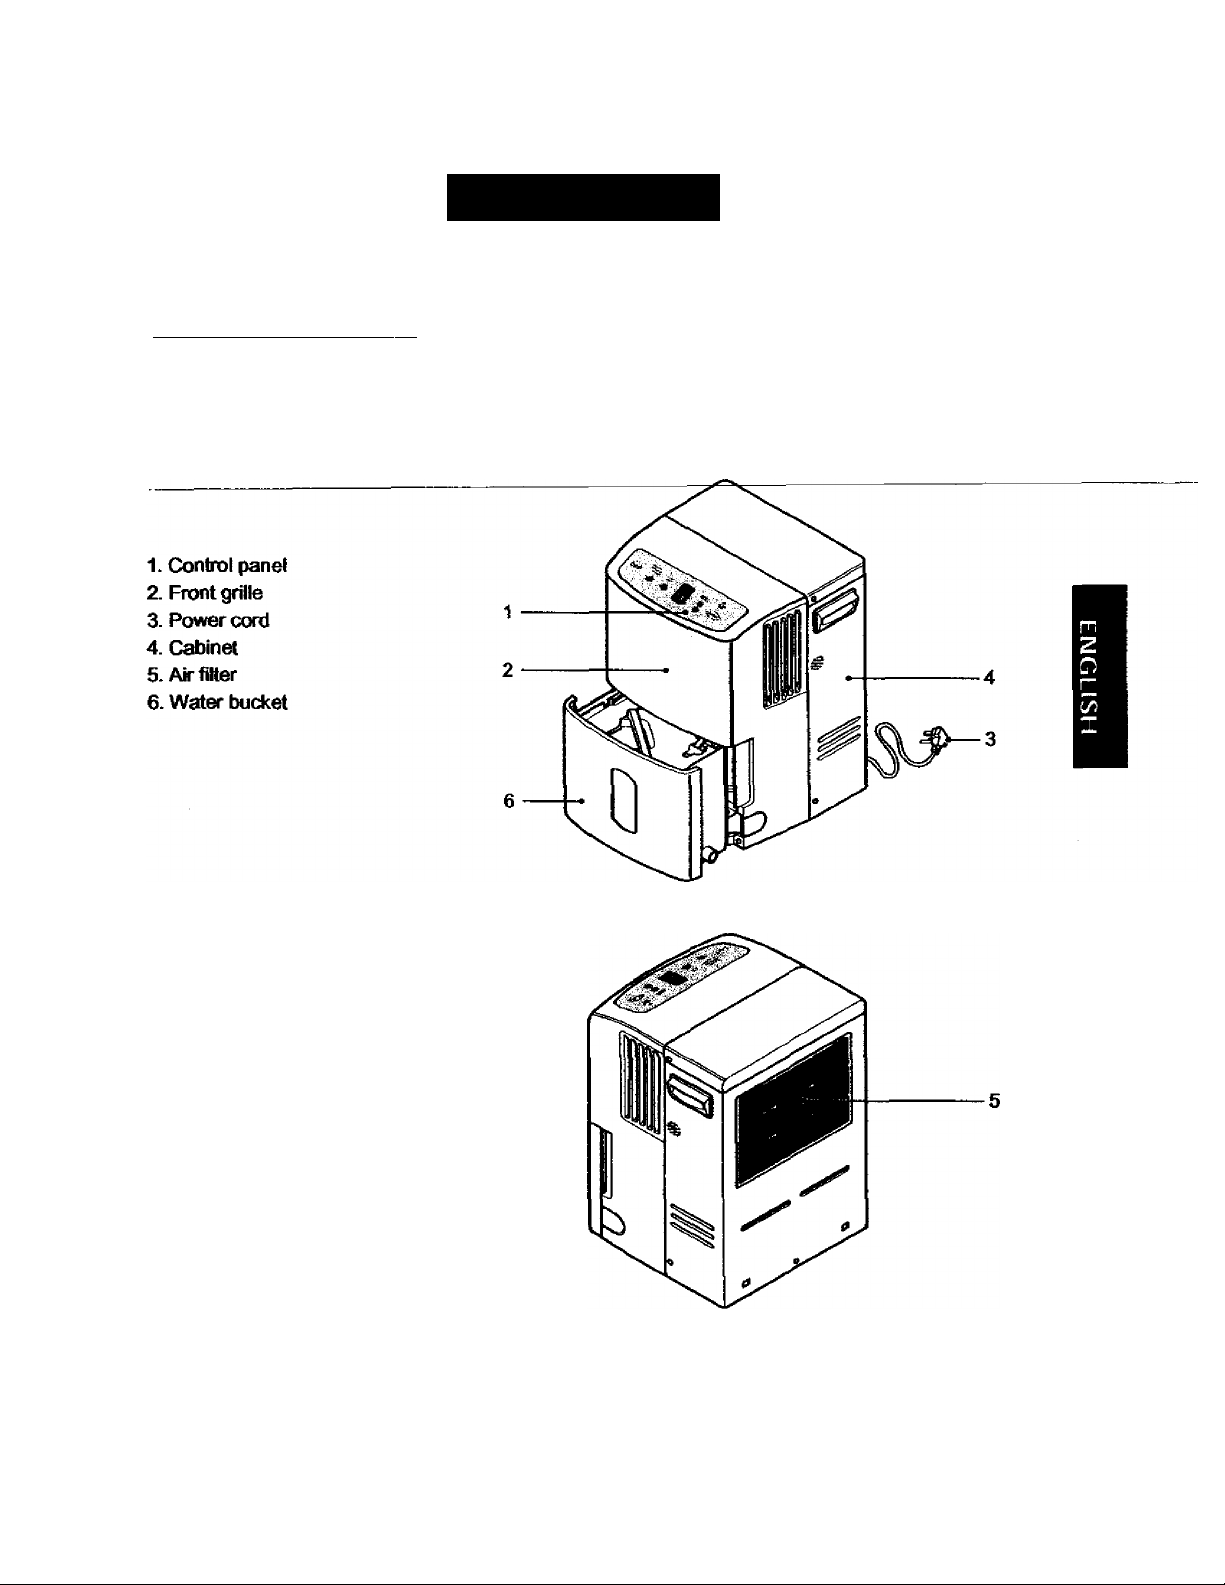
FEATURES
OPERATION
¿ISC'^ -ir'-
To reduce the risk of fire, electric shock, or injury to persons, read the important SAFETY
instructions section before oprerating this appliance.
i ■ ‘ ‘ ■
5-

OPERATION
• 9Mi,anjM
rittr 4SBk
W w
HUMORV-,,
•:.••-• -.crtmwi;-
Aucicer
. pmx
:
CONTROL PANEL
Your dehumidifier control pane! contains a Bucket Full indicator, a Humidity indicator, a Power
Control, Humidity Control, Fan Speed Contiol and Timer Control.
Bucket Full indicator —This light glows when the water bucket is full and needs to be emptied.
It also glows vriien №e bucket is not property positioned.
Power -- Operation starts when this button is pressed and stops when the button is pressed again.
Humidity Control ~ This button conbols the hurr^ity in the room.
• 9 : To raise the humidity setting
• • : To lower the humidity setdng
• The hurrtdity can be set within a range of 35%-70% RH( Relative Humidity) by 5%
increments.
• If you push « button once again at 35% RH,
on is displayed and Unit operates without RH.
Fan Speed — This controls the speed of the airflow.
• When Fan Speed button is pressed, the fan speed mode changes from High Low -*■ High.
Energy Timer — Press this button to select type of operation.
• Select Constant for unintemjpted operation.
• Select either 3 or 6 Hr. On/Off for cycled operation.
The unit will operate for 3 or 6 hours, and then shut off oonpletely for 3 or 6 hours.
The cycle repeats until you change the setting.
• When Energy Timer button is pressed, the Timer indicator lights shift as follows:
Continuous On-* 3 Hr. On/Off 6 Hr. On/Oft -♦ Continuous On
Auto Restart— Once power is restored after a power outage, the unft begins operating at tts previous
operation settings after a 2 minute delay.
TO OPERATE THE DEHUMIDIFIER:
1. Plug the power cord into an electrical outlet. Press the power button.
2. Set the Humidity Control anywhere between 35%-70% RH(ReIative Humidity for normal operation.
If you need drier air, press the • Hurrtidity Control button.
If you need moister air, press the • Humidity Control button.
3. Press the Power button to stop the unit manually.
4. Press the Timer button to set the amount of time you want the unit to am.
At ttie end of that time, the unit will shut off.
The Timer can be set for: Continuous On, 6 hours or 3 hours.
5. If you vrant to control ttie speed of airflow, press Fan Speed button. Earii time that the Fan Speed button
is pressed, the fan speed mode is shifted: High -* Low -* High
Note; Be careftil not to lose the water bucket.
nils dehumidifier doesn't mn If the water bucket Is not installed properly.
-6
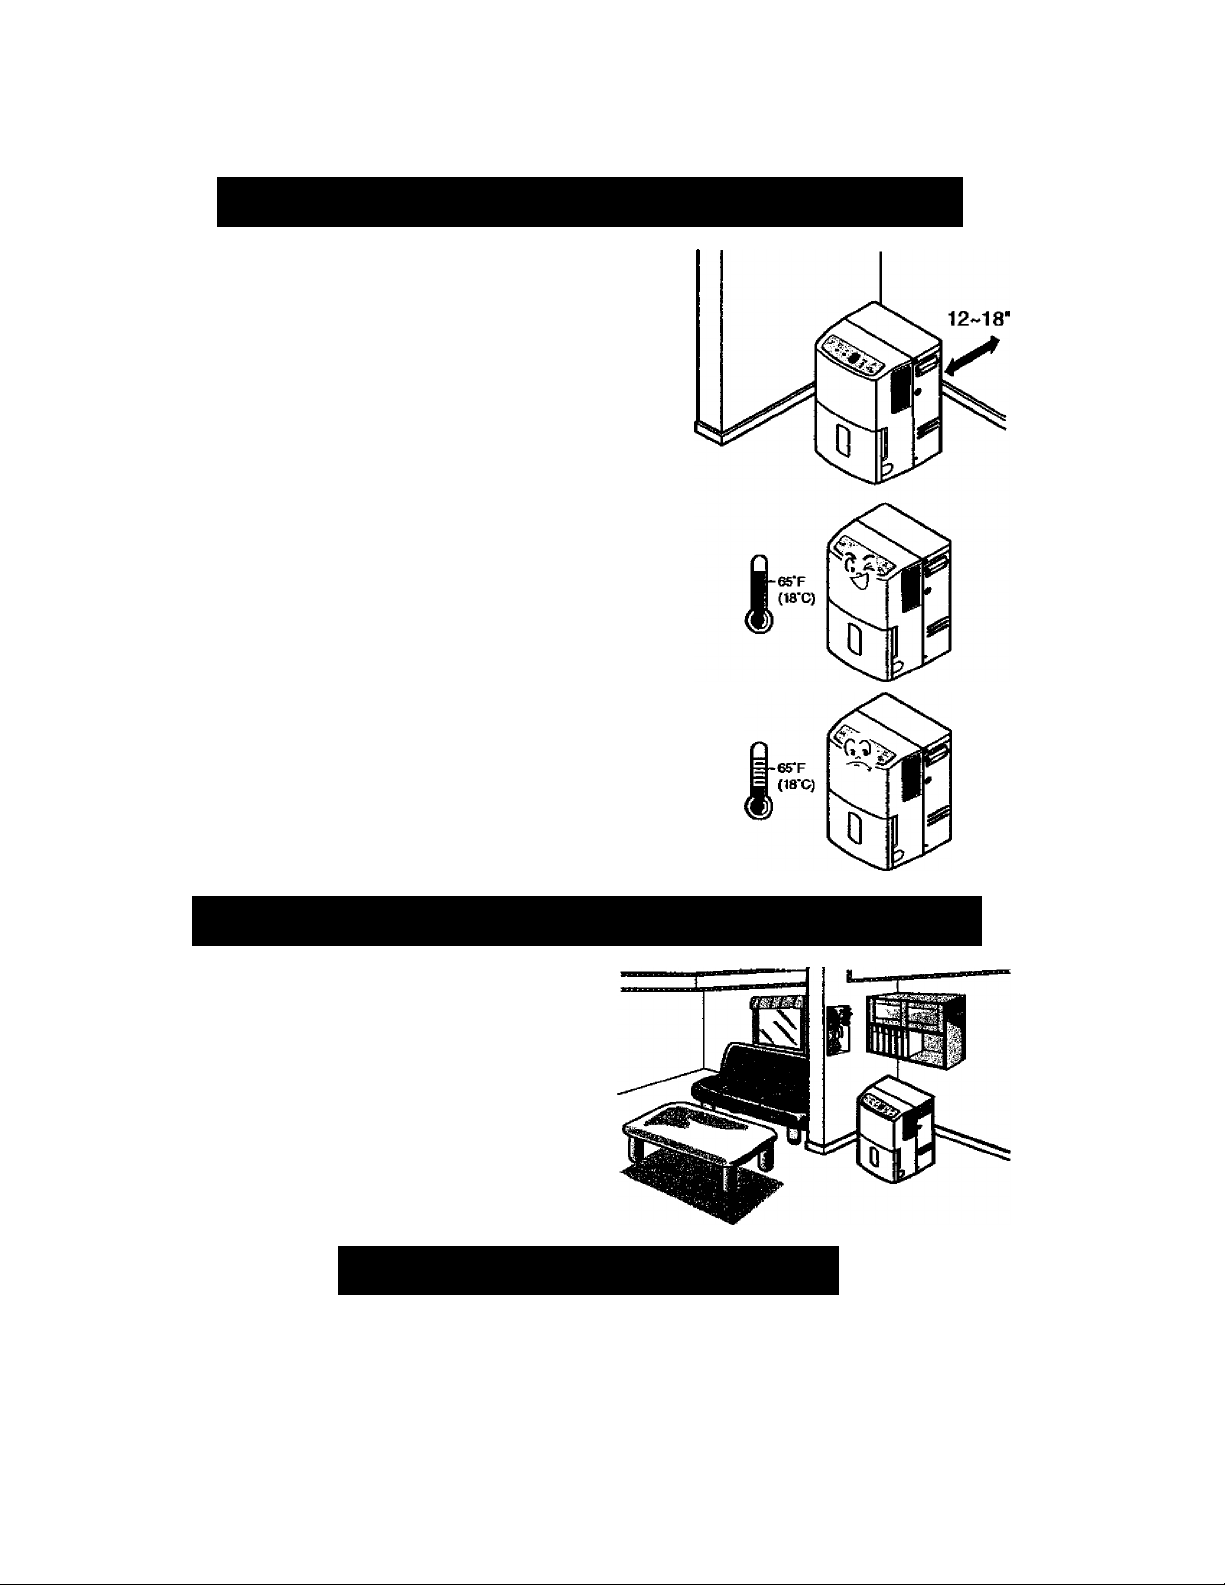
INSTALLING YOUR DEHUMIDIFIER
' Install the dehumidifier on a level floor strong enough to
support the unit with a full bucket of water.
' For best performance, allow at least 12-18 inches of air
space on all sides of the unit for good air drculation.
• Keep all outside doors, windows, and other openings closed
when operating the dehumidifier. Humid outdoor air will add
to the unifs work load,
• Install your dehumidifier in an area where the temperature
will not fall below 65®F (18“C), At temperatures below this,
the coils can become covered with frost, whidi may reduce
dehumidifying perfomnance.
DEFROST CONTROL
When the defrost control senses frost build-up on the
evaporator coil, it will automatically shut off the compressor.
The fan will continue to run to draw air across the coil and
melt the frost. When the coil is defrosted, the compressor will
automatically restart and dehumidifying resume.
The defrost feature in the 580.53701 model will
continuously cycle up to temperature of 43°F (S^C).
CHOOSING THE PROPER LOCATION
> Use the dehumidifier in a basement to help
prevent rrx>isture damage.
' Use the dehumidifier in oooldng, laundry,
bathing, and dishwashing areas that have
excessive moisture.
^ Use Oie dehumidifier to prevent moisture
damage anywhere books or valuables are
stored.
AUTOMATIC SHUT OFF
When the bucket is full, or when the bucket is not in the proper position, the Bucket Full light turns on
and the unit automatically shute off.
Also, when bucket is out of position, the unit will beep 3 times.
The bucket must be replaced in the proper position for the dehumidiHer to work. The light will
be on mid the dehumidifim will not nin if the bucket is not ki the proper position.
-7-
 Loading...