

Page 1
INSTRUCTION BOOKLET Suits all KCE460 models
KCE460_IB_B17.indd 1 31/7/17 11:48 am
Page 2

Important
Please retain your instruction
book for future use.
In the event that you need some assistance with your
Kambrook appliance, please contact our Customer Service
Department on 1300 139 798 (Australia) or 0800 2738 45
(New Zealand). Alternatively, visit us on our website at
www.kambrook.com.au or www.kambrook.co.nz
KCE460_IB_B17.indd 2 31/7/17 11:48 am
Page 3

Contents
Kambrook Recommends p4
Safety First
Your Kambrook Ceramic Heater p7
Quick Start Guide p8
Using your Kambrook
Ceramic Heater p10
Care and Cleaning p13
Tips for Heating Your Home p14
KCE460_IB_B17.indd 3 31/7/17 11:48 am
Page 4

Kambrook Recommends Safety First
IMPORTANT: Please retain your
instruction book for future use.
At Kambrook, we believe that safe performance is the first priority in any
consumer product, so that you, our valued customer, can confidently
use and trust our products. We ask that any electrical appliance that
you use be operated in a sensible fashion with due care and attention
placed on the following important operating instructions.
Important Safeguards For Your Kambrook
Ceramic Heater
• Carefully read all instructions before
operating the Kambrook Ceramic Heater for
the first time and save for future reference.
• Always ensure the heater i s properly
assembled before u se. Follow the
instructions provide in this instruction book.
• Remove and safely di scard any packa ging
material and promotional labels before using
the heater for the first time.
• To eliminate a choking hazard for young
children, remove and safely discard the
protective cover fitted to the power plug of
this heater.
• Avoid touching heater body while it is on
as some parts of the heater are hot. When
moving the heater, switch OFF and hold the
heater by the handle provided.
• Keep combustib le materials such as drapes
and other furnishings at lea st 1.7 meters from
the front, sides and rear of the heater.
• Extreme caution and supervision is necessary
when this heater is u sed by or near children,
invalids or animals.
• Children should be supervised to ensure that
they do not play with the heater.
• Do not use this heater in the immediate
surroundings of a bath, a shower or a
swimming pool. Do not immerse or allow
liquids to be spilt on heater.
• Do not use the heater to dry your laundry.
• This heater has hot and arcing or s parking
parts ins ide. Do not use in areas where
petrol, paints, aerosols, or other inflammable
substances are used or stored.
• Do not allow materials that have been in
contact with oil, petroleum based products
or drying fluids to come in contact with the
heater.
• Do not operate the heater on an incline
plane. Do not lea ve while the heater is
switched on.
• Do not leave the heater unat tended. Always
switch the heater OFF at the controls and at
the power outlet then unplug heater from
the power outlet when not in use.
• Do not operate heater whilst asleep.
• Do not operate the heater with a damaged
cord or pl ug, or if the heater has been
dropped or damaged in any manner,
return the heater to your nearest Kambrook
service centre for examination, electrical or
mechanical adjustment or repair.
• Do not operate the heater with the power
cord damaged, frayed or split, wound
around any par t of the heater, or in contact
with heated su rfaces of the heater.
• Do not run the cord under carpeting or
cover the cord with rugs, runners or the like.
Arrange the cord away from traffic areas
and where it will not be tripped over.
• Do not locate the heater immediately below
socket outlet when in use.
4
KCE460_IB_B17.indd 4 31/7/17 11:48 am
Page 5

• Do not use this heater with a programmer,
timer or any other device that switches the
heater on automatically since a fire risk may
exist if the heater is covered or positioned
incorrectly.
• This heater is not intended for use in wet or
moist locations.
• To disconnect heater switch the power
switch to OFF, then switch off at the power
outlet then remove plug f rom the outlet.
• Do not insert or allow foreign objects to pass
through the inlet or outlet openings. This may
cause an electric s hock , fire or damage the
heater.
• To prevent a possible fire or heat damage,
allow ample space around the heater (at
1.7m at front and 0.5m at the rear, top and
sides) and do not totally or partially block the
air inlet or outlets in any manner. Check the
openings from time to time for accumulated
dust. Ensure long shag carpet does not
obstruct airflow under the unit.
• Do not touch hot metal surfaces.
• Switch the heater to OFF, then turn off at the
power outlet and unplug. Allow heater to
cool down before cleaning or storing.
• Do not operate the heater on a sink or drain
board.
• To avoid an electrical overload, it is
recommended that no other appliances
are plugged into the sa me circuit as your
ceramic heater when it is in use.
• Do not move the heater when it is switched
on.
• Do not use outdoors. This heater is not
intended for commercial use such a s
construction sites.
• Use this heater only as d escribed in this
instruction manual. Any other use not
recommended by the manufacture may
cause fire electric s hock or injury and voids
all warranties.
• Regularly inspect the supply cord, plug,
control s ettings, air inlets and outlets and
main housing for any damage, If found
damaged in any way, immediately cease
use of the heater and return to Kambrook or
an authorized service agent for inspection
or repair.
• To disconnect the heater, switch the heater
control d ial to OFF, then switch off at the
power outlet and remove the plug from the
power outlet. Allow the heater to cool down
before cleaning and storing.
• Keep the heater clean. Follow the cleaning
instructions provided in this book on
(p age 13).
NOTE: This heater features a
tip-over switch. If the heater tips
over, it will automatically switch
off. Once placed back in the
upright position, the heater will
automatically switch on again.
WARNING: In order to
avoid overheating, do
not cover the ceramic
heater.
5
KCE460_IB_B17.indd 5 31/7/17 11:48 am
Page 6

Important Safeguards For All Electrical Appliances
• Fully unwind the power cord before use.
• Connect only to a 230V or 240V power outlet.
• Do not let the power cord hang over the edge
of a bench or table, touch hot surfaces or
become knotted.
• To protect against electric shock, do not
immerse the power cord, power plug or
appliance in water or any other liquid or allow
moisture to come in contact with the part,
unless it is recommended in the cleaning
instructions.
• The appliance is not intended for use by
persons (including children) with reduced
physical, sensory or mental capabilities, or lack
of experience and knowledge, unless they
have been given supervision or instruction
concerning use of the appliance by a person
responsible for their safety.
• Children should be supervised to ensure that
they do not play with the appliance.
• It is recommended to regularly inspect the
appliance. To avoid a hazard, do not use
the appliance if power cord, power plug or
appliance becomes damaged in any way.
Return the entire appliance to the nearest
authorized Kambrook service centre for
examination and / or repair.
• Any maintenance other than cleaning should
be performed at an authorised Kambrook
Service Centre.
• This appliance is for household use only. Do
not use this appliance for anything other than
its intended use. Do not use in moving vehicles
or boats. Do not use outdoors. Misuse may
cause injury.
• The installation of a residual current device
(safety switch) is recommended to provide
additional safety protection when using
electrical appliances. It is advisable that a
safety switch with a rated residual operating
current not exceeding 30mA be installed in
the electrical circuit supplying the appliance.
See your electrician for professional advice.
• Always turn the appliance to the OFF position,
switch off at the power outlet and unplug at
the power outlet when the appliance is not
in use.
• Before cleaning, always turn the appliance
to the OFF position, switch off at the power
outlet, unplug at the power outlet and remove
the power cord, if detachable, from the
appliance and allow all parts to cool.
• Do not place this appliance on or near a heat
source, such as hot plate, oven or heaters.
• Position the appliance at a minimum distance
of 20cm away from walls, curtains and other
heat or steam sensitive materials and provide
adequate space above and on all sides for air
circulation.
6
KCE460_IB_B17.indd 6 31/7/17 11:48 am
Page 7

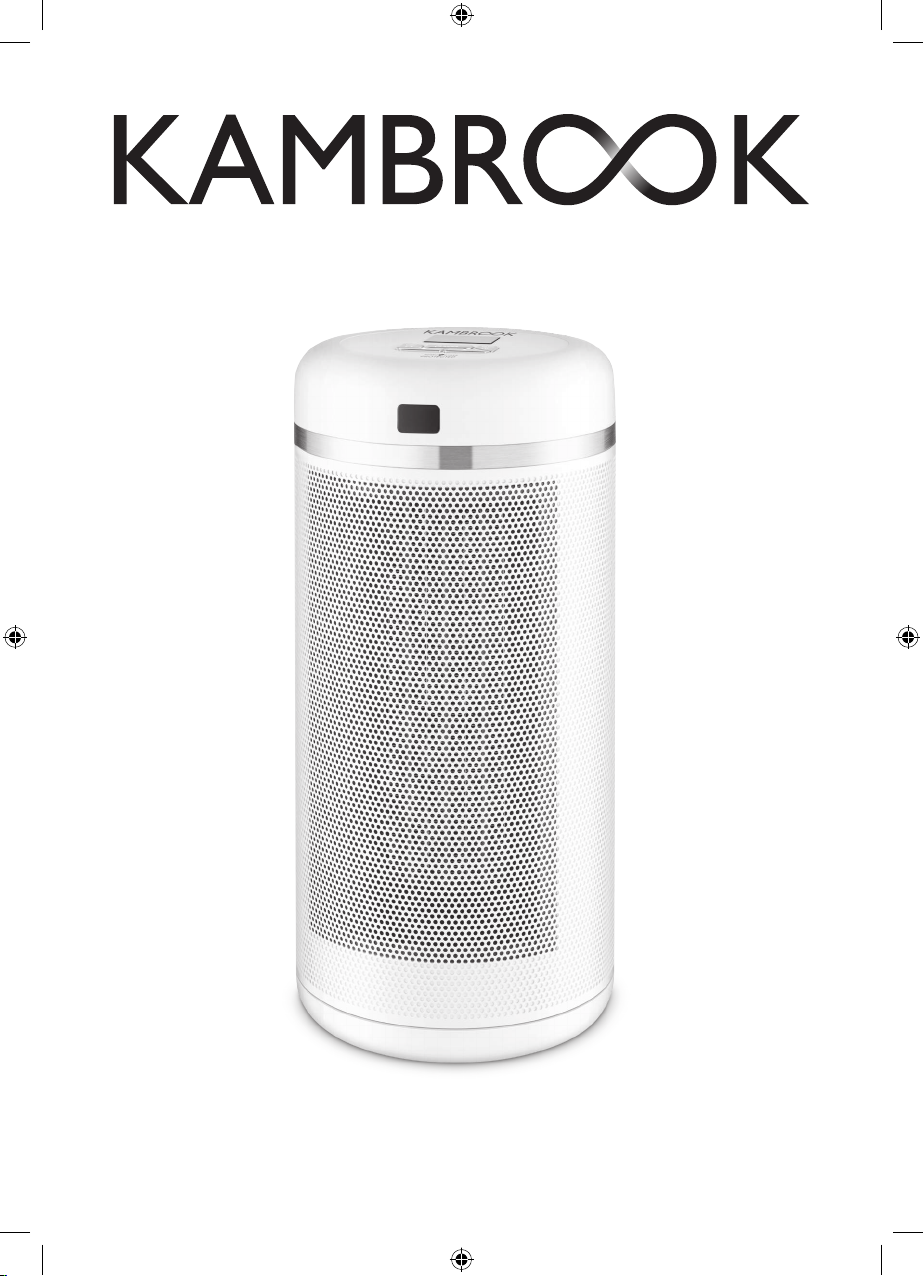
Your Kambrook Ceramic Heater
1. LCD screen – displays the
current room temperature and
illuminates when adjusting the
settings
2. Power / Mode button
3. Timer button
4. Increase button
5. Decrease button
6. Oscillation button – On / Off
7. Remote control
8. Receiver sensor
9. Front grille
10. Heater housing
8
Not Shown
11. PTC ceramic element for
efficient heating
12. Main power switch at back
13. Back fan grille
14. Fan filter
15. Carry handle
16. Safety tip over switch
17. ThermoGuard protection
2
6
3
5
4
9
10
7
Model KCE460 shown
7
KCE460_IB_B17.indd 7 31/7/17 11:48 am
Page 8

Quick Start Guide
Turning the heater on
1. Plug the power cord into
a 230V or 240V power
point and switch on.
2. Switch the heater on
using the main power
switch located on the
back of the heater,
below the back fan
grille.
3. The heater will go into
STANDBY mode.
Setting the mode Oscillation
1. Press the MODE button
to select your desired
setting. The mode button
will cycle; LOW – HIGH –
AUTO – STANDBY.
2. Once desired heat
mode is displayed on
the LCD screen, wait
for the screen to stop
flashing, indicating the
selection has been
confirmed.
1. Press the OSC button
and the heater will start
to oscillate from side
to side. Press the OSC
button again to stop the
oscillation.
Setting the temperature in AUTO mode
1. Press the MODE button
until the AUTO mode is
selected.
2. Use the ( ) buttons
to adjust to the desired
room temperature (see
note).
3. Once the desired
temperature is displayed,
wait for the screen to
stop flashing, indicating
the selection has been
confirmed.
8
KCE460_IB_B17.indd 8 31/7/17 11:48 am
Page 9

Setting the auto-off timer
1. Once the MODE has
been selected, press the
TIMER button. The screen
will flash the timer setting.
2. Using the ( )
buttons, select the
desired time, ranging
from 0.5 hours to
8 hours. Wait for the
screen to stop flashing,
indicating the timer has
been set.
3. When the timer
countdown is complete,
the heater will switch
into standby mode. If the
heater is not needed for
further use, switch off at
the main power switch on
the back of the heater.
NOTE: The time needed for the heater to meet the set desired room
temperature in AUTO mode will vary based on various factors, such as
the heat setting selected, the size of the space to be heated, the starting
temperature, etc.
NOTE: The room temperature display on the LCD screen is an indicative
temperature only based on the thermostat set within the heater.
Temperatures further away from the heater itself may be different to this
reading.
9
KCE460_IB_B17.indd 9 31/7/17 11:48 am
Page 10

Using Your Kambrook Ceramic Heater
Before First Use
Remove all packaging and protective
coverings from the heater and ensure
that all parts are accounted for
before disposing of the packaging
material.
Place the heater on a flat, level
surface in an upright position. Check
the front and back air grilles to ensure
there is nothing blocking the airflow.
WARNING: This heater is
not to be wall or ceiling
mounted.
WARNING: Children
should be supervised to
ensure that they do not
play with the heater.
Using the Remote Control
Remove the remote control from the
plastic cover and remove the plastic
tab inserted in the battery cover at
the bottom of the remote.
To replace the battery, open the
battery compartment at the bottom
of the controller. Remove the old
battery and replace with a new
battery, ensuring that it is correctly
inserted (Fig. 1). Reinsert the battery
compartment into the remote control.
Fig. 1
NOTE: This remote control
requires 1 x CR2032 3V lithium
battery to operate.
The remote control for this heater has
the same functions and buttons as
the control panel on the top of the
heater.
10
KCE460_IB_B17.indd 10 31/7/17 11:48 am
Page 11

Operating the heater
Plug the power cord into a 230V or
240V power outlet and switch on.
Switch the heater ON using the main
power switch located at the back of
the heater, below the fan grille.
When power is switched on, the
heater will beep twice and go into its
default setting of STANDBY mode. In
STANDBY, the LCD screen will show the
current room temperature but will not
be emitting any heat (Fig. 2).
Fig. 2
NOTE: The room temperature
display on the LCD screen is an
indicative temperature based on
the thermostat designed within
the heater. Temperatures further
away from the heater itself may
be different.
Heat Settings
Press the MODE button to select
your desired heat setting. The
MODE button will cycle through
the 4 settings: LOW – HIGH – AUTO –
STANDBY.
- Low mode – the heater will operate
with low power.
- High mode – the heater will operate
with high power.
- Auto mode – set the desired
temperature and the heater will
operate using variable temperature
control.
- Standby mode - the heater has
power but does not emit any heat.
Variable temperature control only
operates when the heater is set to the
AUTO mode. When set to AUTO, use
the
( ) buttons to select the desired
room temperature, ranging from 5°C
to 32°C. The heater will automatically
cycle between the low and high
modes to achieve and maintain the set
temperature.
Oscillation
The oscillation function allows the
heater to thoroughly distribute air in
the area in which is it placed, emitting
up to 140 degrees of heat coverage.
The oscillation function can be used
with the LOW, HIGH and AUTO heating
modes.
Press the OSC button on the control
panel or remote control and the heater
will begin to oscillate from side to side
in a 60° movement.
Press the OSC button again to turn this
function off.
WARNING: In order to
avoid overheating, DO
NOT COVER the heater.
NOTE: Variable temperature only
operates when the heater in set
to the AUTO mode.
11
KCE460_IB_B17.indd 11 31/7/17 11:48 am
Page 12

Using Your Kambrook Ceramic Heater
continued
Turning the heater off
To turn the heater OFF, press the
MODE button until the STANDBY
setting is selected. The fan will
continue to operate for several
seconds after selection to allow the
heating element to properly cool.
Once the fan has stopped operating,
turn the heater OFF at the main
power switch, located at the back
of the heater. Turn the heater off and
unplug from the power outlet.
NOTE: Once placed into STANDBY
mode, the fan will continue
to operate while the heating
element is cooling. Wait for the
fan to stop operating before
switching the heater OFF at the
main power switch.
Setting the auto-off timer
The auto-off timer can be set to
operate the heater for a specified
period of time, up to 8 hours. Once
the specified time has elapsed, the
heater will stop heating and go into
STANDBY mode. To set, press the TIMER
button on the control panel or remote
control. The LCD screen will then
display the hours that the auto-off
timer is set to (Fig. 3).
Using the ( ) buttons on the control
panel, the timer can be set from
0.5 – 8.0 hours, in half hour intervals.
Once your desired time is displayed,
wait for the LCD to stop flashing and
the timer will set.
Press the TIMER button to see the
remaining time before the heater will
turn off.
When the auto-off timer countdown
is complete, the heater will go into
STANDBY mode. If the heater is no
longer required for use, it should be
switched off at the main power switch
at the back of the heater.
Safety tip-over switch
There is a safety tip-over switch
fitted inside the heater. If the heater
is accidentally tipped over it will
immediately stop operating. Once
the heater is place back into an
upright position, the heater will go
back into standby mode.
ThermoGuard Protected
The heater is fitted with a safety
device that switches the heater off
in the event of overheating. If the
heater stops working, turn it off at
the power point and inspect the air
inlet and outlet for any blockages.
Wait until the heater has fully cooled
before attempting to start using it
again.
If the heater fails to operate or the
safety device switches off again, take
the heater to your nearest service
centre for examination or repair.
Fig. 3
12
KCE460_IB_B17.indd 12 31/7/17 11:48 am
Page 13

Care and Cleaning
Cleaning the heater
• Before cleaning, ensure that the
heater has been turned off and
unplugged from power outlet.
• Use a clean, dry cloth to wipe the
heater housing and grilles.
• If the heater has collected excess
dust that does not easily wipe
clean, have the unit cleaned
by a qualified service agent. Do
not operate the heater in this
condition.
Cleaning the filter
• It is recommended to regularly
check the filter in the back grille for
any clogging or dust build up.
• To ensure optimum performance,
check the filter after each use.
• To access the filter, lift off the back
grille using the two tabs at the base
of the cover (Fig 4).
• Once removed, separate the filter
from the back grille cover and
shake both to remove any excess
dust, then wipe over with a soft dry
cloth.
• To replace, reinsert the mesh filter
into the back grille cover, slide and
clip the back cover in place.
Fig. 4
13
KCE460_IB_B17.indd 13 31/7/17 11:48 am
Page 14

Tips For Heating Your House
Tips For Heating Your House
• Don’t overheat your home. The
temperature of a heated room
should be 18-21 degrees.
• Your heater will work more
efficiently if you follow the
recommended clearance spaces.
• Choose the right size heater for the
room type you want to heat.
• Zone off unoccupied rooms by
closing doors and only heat the
main living areas.
• Fit window coverings like curtains
and blinds to reduce the loss of
heat.
• Put draft stoppers or rolled up
towels, at the bottom of doors to
prevent warm air escaping and
cold air entering your house.
• Keep the heat in and the cold
out by installing wall and ceiling
insulation.
• Avoid placing items too close to
the heater to allow for optimal
air flow.
14
KCE460_IB_B17.indd 14 31/7/17 11:48 am
Page 15

Notes
15
KCE460_IB_B17.indd 15 31/7/17 11:48 am
Page 16

Kambrook - Australia
Ground Floor, Suite 2, 170-180 Bourke Rd
Alexandria NSW 2015, Australia
Kambrook - New Zealand
Private Bag 94411
Botany, Manukau
Auckland 2163 New Zealand
Locked Bag 2000
Botany NSW 1455
Customer Service Line 1300 139 798
Customer Service Fax 1800 621 337
www.kambrook.com.au
Due to continual improvement in design or otherwise, the product you
purchase may differ slightly from the illustration in this book. Issue B17
KCE460_IB_B17.indd 16 31/7/17 11:48 am
Customer Service Line/
Spare Parts 0800 273 845
Customer Service Fax 0800 288 513
www.kambrook.co.nz
 Loading...