

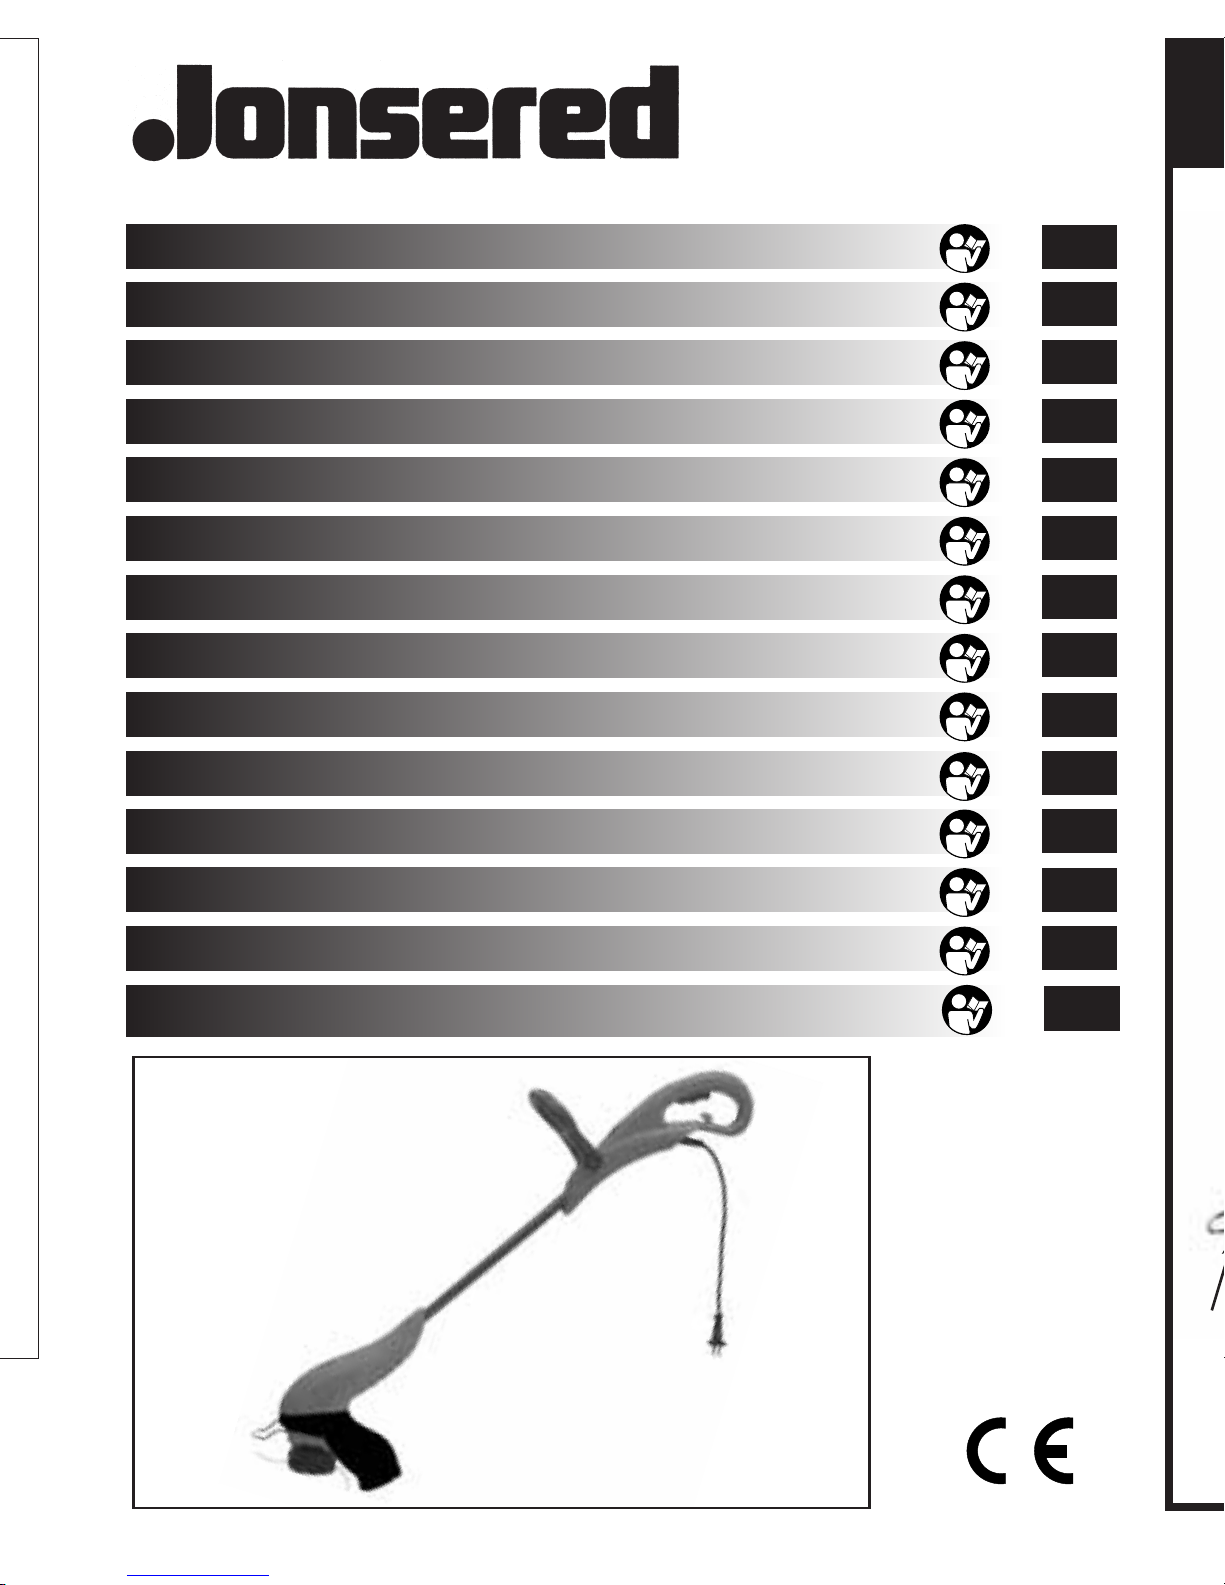
Page 1
96dBA
1
5
m
GT2106
0
g Operator’s Manual
f Manuel d’instructions
C Bedienungsanleitung
h Gebruiksaanwijzing
i Manuale d’istruzioni
e Manual de Propietario
p Manual de Instruções
s Ägarhandbok
q Brugsanvisning
{ Eierens Håndbok
READ
CAREFULLY
LIRE
ATTENTIVEMENT
SORGFÄLTIG
LESEN
EERST GOED
DOORLEZEN
LEGGERE
ATTENTAMENTE
LEER
ATENTAMENTE
LER
ATENTAMENTE
LÄS
NOGA
LÆS
OMHYGGELIGT
LES
NØYE
1
5
9
13
17
21
25
29
32
35
v Omistajankäsikirja
k O∆HΓIEΣ XPHΣEΩΣ
≤ Használati útmutató
} Instrukcja obsługi
LUE
HUOLELLISESTI
∆IABAΣTE
ΠPOΣEKTIKA
FIGYELEMMEL
OLVASANDÓ
Przeczytaj
uważnie
38
42
46
49
‡
PN 248658
Page 2
1
96dBA
1
5
m
5
0
Â
1 2
¤
⁄¤ ‹›
9
13
17
21
25
29
32
35
38
42
‰
„
‚
⁄
‹
Ê
46
49
‡
·
fl
›
fi
Page 3
96dBA
1
5
m
1 2
fl
⁄¤ ‹›
‡fi·‚
Fig. 2-1
Fig. 2-3
Fig. 2-2
Fig. 2-4
Page 4
3 4
Fig. 3-1
Fig. 3-3
Fig. 4-1
Fig. 3-2
Fig. 4-2 Fig. 4-3
Fig. 4-4
Fig. 4-5
Fig. 4-6
Fig. 4-7
4
jonsered_cop_11_01 7-02-2002 11:08 Pagina 2
Page 5

g
SPECIFICATIONS
230-240 V ~AC, 50Hz, class II, double insulation
No load speed GT2106 10100 (min-1)
Guaranteed sound power level LWA 96 (dBA)
Measured sound power level LWA 95 (dBA)
Recorded sound pressure level 87 (dBA)
2
Vibration levels 3,49 (m/s
)
s
SPECIFIKATIONER
230-240 V-växelström, 50 Hz, klass II, dubbel isolering
Tomgångsvarv GT2106 10100 (min-1)
Garanterad ljudeffektsnivå LWA 96 (dBA)
Uppmätt ljudeffektsnivå LWA 95 (dBA)
Ljudnivå 87 (dBA)
Vibrationsnivåer 3,49 (m/s
2
)
f
CARACTERISTIQUES TECHNIQUES
230-240 V CA, 50Hz, classe II, double isolation
Régime de marche à vide GT2106 10100 (min-1)
Niveau de puissance sonore garanti LWA 96 (dBA)
Niveau de puissance sonore mesuré LWA 95 (dBA)
Pressione sonore 87 (dBA)
2
Niveaux de vibration 3,49 (m/s
d
TECHNISCHE DATEN
230-240 V AC, 50 Hz, Klasse II, zweifache Isolierung
Höchstdrehzahl ohne Last GT2106 10100 (min-1)
Schalleistungs-stufe gewährleistet LWA 96 (dBA)
Schalleistungs-stufe gemessen LWA 95 (dBA)
Dauerschallpegel 87 (dBA)
Schwingungspegel 3,49 (m/s
h
TECHNISCHE GEGEVENS
230-240 V wisselstroom, 50 Hz, klasse II, dubbel geïsoleerd
Nullastsnelheid GT2106 10100 (min-1)
Gewaarborgd geluidsvermogensniveau LWA 96 (dBA)
Gemeten geluidsvermogensniveau LWA 95 (dBA)
Geluidsdruk 87 (dBA)
Trillingsniveaus 3,49 (m/s
)
2
)
2
)
q
SPECIFIKATIONER
230-240 V vekselstrøm, 50 Hz, klasse II, dobbelt isolering
Hastighed uden belastning GT2106 10100 (min-1)
Konstateret lydeffektniveau LWA 96 (dBA)
Målt lydeffektniveau LWA 95 (dBA)
Lydtryks niveau 87 (dBA)
Vibrationsniveau 3,49 (m/s
n
SPESIFIKASJONER
230-240 V ~vekselstrøm, 50 Hz, klasse II, dobbel isolasjon
Hastighet uten last GT2106 10100 (min-1)
Garantert lydstyrkenivå LWA 96 (dBA)
Målt lydstyrkenivå LWA 95 (dBA)
Hørselsrykk på grunn av lyden 87 (dBA)
Vibrasjonsnivå 3,49 (m/s
2
)
2
)
v TEKNISET TIEDOT
230-240 V, vaihtovirta, 50Hz, luokka II, kaksoiseristys
Ei kuormitusnopeutta GT2106 10100 (min-1)
Änenvoimakkuustaso taattu LWA 96 (dBA)
Äänenvoimakkuustaso mitattu LWA 95 (dBA)
Käyttäjän korvalle tuleva äänenpaine 87 (dBA)
Tärinätasot 3,49 (m/s
2
)
g
f
i
DATI TECNICI
230-240 V c.a., 50Hz, II classe, doppio isolamento
Velocità a vuoto GT2106 10100 (min-1)
Livello potenza sonora garantita LWA 96 (dBA)
Livello potenza sonora misurata LWA 95 (dBA)
Livello registrato di pressione sonora 87 (dBA)
2
Livelli di vibrazioni 3,49 (m/s
e
DATOS TÉCNICOS
230-240 V CA, 50 Hz, clase II, doble aislamiento
Velocidad sin carga GT2106 10100 (min-1)
Nivel de potencia sonora garantizada LWA 96 (dBA)
Nivel de potencia sonora medidda LWA 95 (dBA)
Nivel de presion sonora registrado 87 (dBA)
Nivel de vibraciones 3,49 (m/s
p
ESPECIFICAÇÕES
230-240 V AC, 50Hz, categoria II, isolamento duplo
Velocidade em vazio GT2106 10100 (min-1)
Nível potência sonora garantida LWA 96 (dBA)
Nível potência sonora medida LWA 95 (dBA)
Nível pressão sonora registrado 87 (dBA)
Níveis de vibração 3,49 (m/s
)
2
)
2
)
k
ΤΕΧΝΙΚΕΣ ΠΡΟ∆ΙΑΓΡΑΦΕΣ
230240 V AC, 50Hz, κατηγορία II, διπλή µνωση
Ταχύτητα άνευ φορτίου GT2106 10100 (min-1)
Eγγυηµέvη στάθµη ακoυστικής ισχύoς
M
ετρηθεί
ΣTAθMH θOPYBOY ΣTO AYTI XEIP 87 (dBA)
Επίπεδα δονήσεων 3,49 (m/s
≤
230-240 V, 50 Hz váltó, II. osztály, kettős szigetelés
Alapjárati fordulat GT2106 10100 (min-1)
Garantált hangteljesítményszint LWA 96 (dBA)
Mért hangteljesítményszint LWA 95 (dBA)
Állandó hangszint 87 (dBA)
Rezgésszint: 3,49 (m/s
}
σα στάθµη ακoυστικής ισχύoς
MŰSZAKI ADATOK
DANE TECHNICZNE
LWA 96 (dBA)
LWA 95 (dBA)
2
)
2
)
Zasilanie: prąd przemienny 230-240 V, 50 Hz,
Ochrond: klasa II, podwójna izolacja
Obroty sllnika: GT2106 10100 obr./min.
Poziom mocy dźwięku: LWA 96
Poziom hangteljesítményszint: LwAav 95
Zmierzony poziom natężenia dźwięku: 87
Poziom wibracji: 3,49
(dBA)
(dBA)
(dBA)
(m/Sek.2)
C
h
i
e
p
s
q
{
v
k
≤ Folyamatos gyártmány felùjítási müsorunk következtében, a gyártó cég fenntartja a jogát ebben a
}
Page 6

Due to a constant product improvement programme, the factory reserves the right to modify
g
technical details mentioned in this manual without prior notice.
Le fabricant se réserve la possibilité de changer des caractéristiques et des données de ce
f
manuel à n’importe quel moment et sans préavis.
Im Sinne des Fortschritts behält sich der Hersteller das Recht vor, technische Änderungen ohne
C
vorherigen Hinweis durchzuführen.
Door konstante produkt ontwikkeling behoud de fabrikant zich het recht voor om rechnische
h
specificaties zoals vermeld in deze handleiding te veranderen zonder biervan vooraf bericht te geven.
La casa produttrice si riserva la possibilità di variare caratteristiche e dati del presente manuale in
i
qualunque momento e senza preavviso.
La firma productora se reserva la posibilidad de cambiar las características y datos del presente
e
manual en cualquier momento y sin previo aviso.
A casa productora se reserva a possibilidade de variar características e dados do presente
p
manual em qualquer momento e sen aviso prévio.
Tilverkaren reserverar sig rätten att ändra fakta och uppgifter ur handboken utan förvarning.
s
Producenten forbeholder sig ret til ændringer, hvad angår karakteristika og data i nærværende
q
instruktion, når som helst og uden varsel.
Produsenten forbeholder seg all rett og mulighet til å forandre tekniske detaljer i denne manualen
{
uten forhåndsvarsel.
Jatkuvan tuotteen parannusohjelman tähden valmistaja pidättää oikeuden vaihtaa ilman
v
ennakkovaroitusta tässä ohjekirjasessa mainittuja teknisiä yksityiskohtia.
Λγω προγράµµατος συνεχούς βελτίωσης προϊντων, το εργοστάσιο επιφυλάσσεται
k
του δικαιώµατος να τροποποιεί τις τεχνικές λεπτοµέρειες που αναφέρονται στο
εγχειρίδιο αυτ χωρίς προηγούµενη ειδοποίηση.
≤ Folyamatos gyártmány felùjítási müsorunk következtében, a gyártó cég fenntartja a jogát ebben a
Használati leirt müszaki adatok elözetes értesítés nélküli változtatására.
W związku z programem ustawicznego ulepszania swoich wyrobów producenta zastrzega sobie prawo
}
zmiany technicznych szczegółów wymienionych w tej instrukcji bez uprzedniego zawiadomienia.
Page 7

A EC Declaration of Conformity
96dBA
1
5
m
The undersigned, authorised by E.C.O.P.I., declares that the following product: GT2106, manufactured by E.C.O.P.I. 23868 Valmadrera (LC),
Via Como 72, Italy, is in accordance with the European Directives 98/37/CEE (Machinery Directive),
93/68/CEE (CE Marking Directive) & 89/336/CEE (Directive on electromagnetic compatibility). Directive 2000/14/CEE (Annex VI).
B Déclaration de conformité Européenne
Le soussigné, dûment mandaté par E.C.O.P.I., déclare que le produit suivant: GT2106, fabriqué par E.C.O.P.I. Via Como 72 Valmadrera,
Lecco, Italia, est conforme aux Directives Européennes 98/37/CEE (Directive Sécurité Machine),
93/68/CEE (Directive Marquage CE) & 89/336/CEE (Directive EMC). Directive 2000/14/CEE (Annexe VI).
C CE Konformitätserklärung
Der Unterzeichnete, bevollmächtigt durch E.C.O.P.I., erklärt, daß folgendes Gerät: GT2106, hergestellt durch E.C.O.P.I. 23868 Valmadrera
(LC), Via Como 72, Italy, den Europäischen Richtlinien 98/37/CEE (Maschinenrichtlinie),
93/68/CEE (CE Kennzeichnungsrichtlinie) & 89/336/CEE (EMV Richtlinie) entspricht. Richtlinie 2000/14/CEE (Anhang VI).
D Dichiarazione di Conformità CE
Il sottoscritto, autorizzato dalla E.C.O.P.I., dichiara che il seguente prodotto: GT2106, costruito dalla E.C.O.P.I. 23868 Valmadrera (LC), Via
Como 72, Italia, é conforme alle Direttive Europee: 98/37/CEE (Direttiva Macchine),
(Direttiva Marcatura CEE) & 89/336/CEE (Direttiva Compatibilità Elettromagnetica). Direttiva 2000/14/CEE (Allegato VI).
E Declaracion de cumplimiento de la directriz de la UE
El abajo firmante, autorizado por E.C.O.P.I., afirma que el siguiente producto: GT2106, fabricado por E.C.O.P.I. 23868 Valmadrera (LC), Via
Como 72, Italy, cumple con las directivas Europeas 98/37/CEE (Directiva sobre Maquinaria),
93/68/CEE (Directiva sobre Marcas de la CE) & 89/336/CEE (Directiva sobre ‘Compatibilidad Electro Magnetica’).
F EG Conformiteitsverklaring
Ondergetekende, gemachtigd door E.C.O.P.I., verklaart dat het volgende produkt: GT2106, geproduceerd door E.C.O.P.I. 23868 Valmadrera
(LC), Via Como 72, Italy voldoet aan de Europese Richtlijnen 98/37/CEE (Machinerie Richtlijn),
93/68/CEE (EG Markering Richtlijn) & 89/336/CEE (Richtlijn aangaande elektromagnetische compatibiliteit). Richtlijn 2000/14/CEE (Annex VI).
L EG-försäkran om överensstämmelse
Undertecknad, auktoriserad av E.C.O.P.I., försäkrar att följande produkt: GT2106, tillverkade av E.C.O.P.I. 23868 Valmadrera (LC), Via
Como 72, Italy, är i överensstämmelse med följande europeiska direktiv 98/37/CEE (Maskindirektiv),
93/68/CEE (CE-märknings-direktiv) & 89/336/CEE (Elektromagnetisk kompatibilitet). Direktiv 2000/14/CEE (Annex VI).
: EU Overensstemmelse-erklæring
Undertegnede, bemyndiget af E.C.O.P.I., erklærer herved, at følgende produkt: GT2106, E.C.O.P.I. 23868 Valmadrera (LC), Via Como 72,
Italy, er i overensstemmelse med de eurpæiske direktiver 98/37/CEE (Maskineri direktiv),
93/68/CEE (CE mærkningsdirektiv) & 89/336/CEE (EMC-direktiv). Direktiv 2000/14/CEE (Annex VI).
/ EU Julistus Vastaavuudesta
Allekirjoittanut, E.C.O.P.I. in valtuttaamana, vakuuttaa että seuraava tuote: GT2106, ja jotka on valmistanut E.C.O.P.I. 23868 Valmadrera (LC),
Via Como 72, Italy, on Euroopan direktiivien 98/37/CEE (Koneisto-direktiivi),
direktiivi) & 89/336/CEE (Elektromagneettinen Yhteensopivuus-direktiivi) mukainen. Direktiivi 2000/14/CEE (Liite VI).
; EF Erklæring om Overensstemmelse
Undertegnede , autorisert av E.C.O.P.I., erklærer at følgende produkt: GT2106, produsert av E.C.O.P.I. 23868 Valmadrera (LC), Via Como 72,
Italy, er i overensstemmelse med følgende europeiske direktiver: 98/37/CEE (Maskindirektiv),
93/68/CEE (CE-merkingsdirektiv) & 89/336/CEE (Direktiv om elektromagnetisk kompatibilitet). Direktiv 2000/14/CEE (Annex VI).
G Declaração de Conformidade CE
O abaixo assinado, autorizado por E.C.O.P.I., declara que o seguinte produto: GT2106, fabricada por E.C.O.P.I. 23868 Valmadrera (LC), Via
Como 72, Italy, estão de acordo com as Directivas Europeias 98/37/CEE Directiva de Maquinaria),
Tensões),
(Apêndice VI).
@ ∆ήλωση Συµµρφωσης προς τις Eντολές της EE
O υπογεγραµµένος, µε eξουσιοδτηση της E.C.O.P.I., δηλώνει τι τα εξής προϊντα: GT2106, κατασκευασθέντα απ την
E.C.O.P.I. 23868 Valmadrera (LC), Via Como 72, Italy, ανταποκρίνονται προς τις Eυρωπαϊκές Eντολές,
Tάσης (ασφάλεια),
περί Hλεκτροµαγνητικής Συµβαττητας Eντολή). Kαvοvιδµς 2000/14/CEE (VI).
≤
Alulírott, a E.C.O.P.I. által meghatalmazott ezennel kijelenti, hogy a következő termékek: GT2106, amelyet a E.C.O.P.I. 23868
Valmadrera (LC), Via Como 72, Italy gyárt, megfelelnek a 98/37/CEE európai irányelvnek (gépi berendezések irányelv), a 73/23/ EEC, a
93/68/CEE európai irányelvnek (CE-irányelv) és a 89/336/CEE (az elektromágneses kompatibilitásra vonatkozó irányelv). Direktíva
2000/14/CEE (Melléklet VI).
93/68/CEE (Directiva de Marcação CE) e 89/336/CEE (Directiva de Compatibilidade Electromagnética). Directiva 2000/14/CEE
98/37/CEE (η περί Mηχανηµάτων Eντολή), 93/68/CEE (η περί του Σήµατος CE Eντολή) & 89/336/CEE (η
EC nyilatkozat
73/23/EEC (Matala jännite-direktiivi),
73/23/EEC (Niederspannungsdirektive),
73/23/EEC (Direttiva Bassa Tensione),
73/23/EEC (Low Voltage Directive),
73/23/EEC (Directive Basse Tension),
93/68/CEE
73/23/EEC (Directiva sobre Bajo Voltaje),
73/23/EEC (Matala jännite-direktiivi),
73/23/EEC (Direktiv for lavspænding),
73/23/EEC (Direktiv for lavspenning),
Directiva 2000/14/CEE (Anexo VI).
73/23/EEC (Lågspänningsdirektiv),
93/68/CEE (CE Merkintä-
73/23/EEC (Directiva sobre Baixas
73/23/
CEE
Oδηγία χµηλής
g Operator’s Manual
f Manuel d’instructions
C Bedienungsanleitung
h Gebruiksaanwijzing
i Manuale d’istruzioni
e Manual de Propietario
p Manual de Instruções
s Ägarhandbok
q Brugsanvisning
{ Eierens Håndbok
v Omistajankäsikirja
k O∆HΓIEΣ XPHΣEΩΣ
≤ Használati útmutató
} Instrukcja obsługi
}
Deklaracja zgodnoîci z przepisami Unii Europejskiej
Producent E.C.O.P.I. deklaruje, że następująde produkty: Wykaszarki spalinowe GT2106 są zgodne z europejskimi normani
98/37/CCE (Zalecenie odnośnie Maszyn Unii Europejskiej) 93/68/CEE (Zalecenie odnośnie markowania) & 89/336/CCE (Zalecenie
odnośnie elektromagnetycznej kompatybilności), 73/23/CEE (Low Voltage Directive) (Zalecenie odnośnie niskiego napięcia). Dyrektywa
2000/14/CEE (Aneks VI).
Valmadrera, 01.10.01
Pino Todero (Direttore Tecnico), E.C.O.P.I., 23868 Valmadrera (LC), Via Como 72, Italy
REV 11-01
Page 8

ENGLISH
g
INDEX
Introduction
A) General Safety Instructions
B) Electrical Safety
C) Product Description
1) Safety Markings
2) Assembly
3) Product Adjustment
4) Usage
5) Routine Maintenance
6) Unwanted Products
INTRODUCTION
Thank you for purchasing a E.C.O.P.I. product. With proper operation and maintenance it will provide
you with years of service.
WARNING: - before using this machine every operator should familiarise themselves with the entire
contents of this manual, paying particular attention to the safety instructions.
Q
GENERAL SAFETY INSTRUCTIONS
1) Familiarise yourself with all the controls on the trimmer before attempting to operate it.
2) Always switch the machine off and remove plug from mains before changing the cutter head,
adjusting, cleaning or if the cable is entangled or damaged, or when leaving the product
unattended.
3) Remember the head continues to rotate for a short period after it is switched off.
POWER SUPPLY CABLE
4) Always check the power supply cable for signs of damage or wear before connection. Do not
use if damaged or worn.
5) If damage occurs during usage, do not touch the cable, but immediately switch the machine off
and disconnect the plug from the mains socket.
6) Always keep the cutting head away from the supply cable during operation.
7) Never carry the trimmer by the power cable.
8) Never jerk the cable to separate the connector.
9) Keep the supply cable away from heat sources, oils and sharp edges.
CLOTHING
10) Wear close fitting and protective clothing including long trousers. We recommend rubber gloves
and rubber footwear for outdoor use.
11) Always wear safety glasses with a good fit or a face shield.
12) Never work barefoot or wearing open sandals.
USAGE
13) Use the trimmer only as described in this manual.
14) Check the machine and cable for signs of damage regularly.
15) Never use the machine if the guard is damaged or without the guard fitted in place.
16) Do not switch the machine on when it is upside down.
17) Only switch the machine on when your hands and feet are well away from the head.
18) Ensure you maintain a firm footing at all times.
19) Check the area to be worked in is clear of any debris such as small stones, sticks, etc. These
may be projected by the revolving nylon line causing injury to yourself or others or damaging
property.
20) Do not use your trimmer in the rain or allow it (or the cable) to get wet.
21) Only use the trimmer in good daylight conditions.
22) Do not use the trimmer when tired or under the influence of alcohol or other drugs.
23) Do not use the trimmer near other people, especially children or pets. If anyone approaches
you, stop the trimmer.
24) Never allow children to operate this trimmer. Store the trimmer out of reach of children.
25) Never use wire or metal re-enforced line.
26) Work in a line across slopes and take care when turning.
27) Unplug and check the machine carefully in case of sudden change in vibration or noise pattern.
1
Page 9

g
Make sure that the outer
sheath protrudes through
the clamp and is held firmly
230 Volts only
Never use a
light socket
Connect blue
to N/Neutral
Connect
Brown
to L/Live
Fit a BS or ASTA approved plug
Fit a
recommended fuse.
Earth E
R
ELECTRICAL SAFETY
1) Current The trimmer is suitable for AC supply only.
2) Voltage Ensure the rating marked on your machine is correct for your supply.
3) Plugs We recommend the use of PVC or rubber covered plugs and connectors.
4) Power Point
The machine must be connected to a power point and not a light socket.
5) Residual Current Circuit Breaker (RCB)
For increased safety, we strongly recommend that the electrical power to the machine be supplied
through a high sensitivity RCB. RCB’s are designed to give additional personal protection against
harmful electric shock should a fault occur. RCB devices to fit into household sockets can be
obtained from good electrical stores.
6) Extension Cables (for models without wired-in cable)
The electrical supply on your machine is fitted with a “male” connector to facilitate the use of an
extension cable system. Ensure you use an extension cable fitted with the appropriate splashproof
“female” connector and intended for outdoor usage. If in any doubt contact your dealer.
This machine is double insulated and therefore needs only a 2-core cable. You can fit up to 40
metres of 1.0 mm
The “male” connector already attached to the supply cable inside your machine is designed to be
non-rewirable. Please return to your dealer if any maintenance is needed to this.
EXTENSION CABLE AND PLUG WIRING (UK ONLY)
We strongly recommend the use of a splashproof extension cable intended for outdoor use fitted
with both a moulded plug and moulded connector.
If an appliance or extension cord is fitted with a non-rewirable plug which does not fit standard
socket outlets in the home, it should be cut off and an appropriate three pin plug fitted in
accordance with the instructions below.
WARNING: Never wire an extension cable with anything other than the correct female connector
and a 13A BS1363A approved plug with a 13 amp fuse. Never wire a ‘male’ connector to your
extension cable and never wire an extension cable with a plug of any kind at both ends of the cable.
This is very dangerous and results in the pins being live which may cause a fatal electric shock.
2
(2-core) circular cables without affecting product performance.
PLUG REPLACEMENT
If you are competent to do this, proceed as follows. If in doubt, contact a qualified electrician.
Cut off the plug and
dispose of it safely.
A plug with bared wires is
extremely hazardous,
potentially lethal, if engaged
in a live socket outlet.
Extension cables contain
two wires which are coloured for easy
recognition and these colours or a letter
will be marked at the connection points
of most good quality plugs.
Attach the Brown wire (Live) to the connection in the plug marked ‘L/Live’. Attach the Blue wire
(Neutral) to the connection in the plug marked ‘N/Neutral’.
WARNING: Do not make any connection to the earth terminal of the plug marked ‘E’ or
If the cable or plug is damaged you must unplug from the mains before checking.
If a fuse cover is required, ensure it is fitted.
FEMALE CONNECTOR
terminal block. It does not matter which way round they are positioned. Before refitting the top cover
of the mains plug, or outer casing of the female connector, make sure that the cable clamp is
Each of the two wires leading into the female connector should be connected to either side of the
holding the outer sheath of the cable firmly.
Wiring an extension cable directly into the machine should only be carried out by an Authorised
Service Dealer. Should the cable on your machine become damaged or need replacing, please
return your machine to your dealer.
2
#
.
Page 10

g
S
PRODUCT DESCRIPTION (Fig. 0)
1. Supply cord retainer
2. Rear handle
3. Assist handle lock buttons
4. Air vents
5. Debris shield
6. Cutting line head
7. Edging guide / line protector
8. Motor housing
a
SAFETY MARKINGS
The following symbols on your trimmer are intended to remind you of some of the most important
safety precautions:
1. WARNING. This product is potentially dangerous. Take great care at all times to avoid injury.
2. Read the operator’s manual.
3. Disconnect the mains plug if the cord is damaged.
4. Wear eye protection at all times.
5.
Approved ear defender.
6. Do not work near bystanders.
7. Do not use in rain or damp conditions.
8. LWA indicates the noise power level. Wear ear plugs or mufflers if necessary.
9. indicates that the product conforms to the relevant European Directives as required by law.
9. Adjustable shaft
10. Shaft locking button
11. Assist handle
12. On/Off trigger
13. Mains cable
b
ASSEMBLY
DEBRIS SHIELD INSTALLATION
Fig. 2-1
1. Position the motor housing with string head carrier facing up.
2. Slide debris shield over motor housing as shown.
Fig. 2-2
3. Align edging guide with mating grooves and push firmly in the direction shown until an audible
snap is heard.
NOTE: Be certain that edging guide is oriented as shown. Once edging guide, motor housing and
debris shield are mated the connection is permanent and cannot be removed without a special tool.
EXCHANGE OF SPOOL
Turn off the machine and disconnect the plug from power supply. Wait until nylonline has come to a
complete stop. Pict. 2-3 Press both press-buttons 1 and lift off the cover 2. Pict. 2-4 Replace the empty
spool 3 by inserting each line end through the eyelets as shown. Secure the spool with a slight turn to
ensure correct position in the base plate. Then replace the cover ensuring both press-buttons lock in.
NOTE: The complete spool and line must be replaced and line must be replaced and is available as
an accessory.
c
PRODUCT ADJUSTMENTS
Fig. 3-1 - Adjustment Assist Handle
1. Using thumb and forefinger push in both spring loaded lock buttons at the base of the assist
handle in order to release the ratchet adjustment mechanism.
2. Adjust handle as necessary and release automatic lock buttons.
Fig. 3-2 - Adjust Shaft Length
1. Grip shaft firmly.
2. Push red shaft release button forward and move handle forward or backward to desired length.
NOTE: Shaft may be adjusted in trimming or edging mode.
Fig. 3-3 - Edging Conversion
1. Grip shaft firmly.
2. Push red button forward and rotate handle assembly until an audible click is heard.
3
Page 11

g
d
USAGE
Fig. 4-1 - Cord Retainer
WARNING: Hook the extension cord around the cord retainer to help prevent disconnection or
cable connection stress during usage. Always hold the product off the ground when starting.
Fig. 4-2 - Mower Trimming
For normal trimming, swing the head from side to side without tilting the string head. Keep the string
head at same level for an even finish.
Fig. 4-3 - Close Trimming
Tilt the stringhead to the left for close trimming. Using the left side of the stringhead will also tend to
eject the grass or debris away from the operator.
Fig. 4-4 - Scalping
The further the stringhead is tilted, the closer the cut. Take extra care for flying debris when doing this.
Fig. 4-5 - Edging
The head can be twisted to the vertical position to edge around lawns, flower beds or pathways for
a neater finish. Hold the machine to your left to ensure debris is projected away from you.
WARNING: Only cut with the tip of the line. This is the most effective way to cut.
Take special care not to allow line to curl around mesh fencing or to rub hard against abrasive
surfaces such as walls. This will cause excessive line wear or line breakage.
Fig. 4-6 - Do not use the trimmer to ‘sweep’ debris.
Fig. 4-7 - Do not attempt to feed line bumping the head on the ground.
e
ROUTINE MAINTENANCE
After usage, disconnect from the mains supply and clean dirt and debris from the cutter line area.
This will prolong motor life by maintaining adequate airflow to cool the motor and ensures the line
head continues to snap on and off smoothly.
Inspect the cutter line head for parts that may be chipped, cracked or damaged as these could fly
away and cause serious injury.
Replace damaged parts immediately. Use only genuine replacement parts. Any other maintenance
work should be carried out by an authorised Service Agent only. Check the product and cable
regularly for visible signs of damage or wear. Check that all fasteners and moving parts are secure.
Consult an Authorised Service Dealer if in doubt.
FAULT FINDING
If your trimmer will not start, check that all cables are connected and that the mains power is on. If it
still does not work, check the fuse. If you have tried the above and your trimmer still does not work,
take it to your nearest Authorised Service Dealer.
f
UNWANTED PRODUCTS AND THE ENVIRONMENT
Should you find one day that your product needs replacement, or is of no further use to
you, think of the protection of the environment. Service Centres will accept your old
products and will dispose of them in an environmentally safe way.
4
 Loading...