

Page 1
PLEASE READ THIS OPERATION MANUAL COMPLETELY BEFORE OPERATING
PERSONAL CD PLAYER WITH FM STEREO
RADIO AND BASS BOOST
USER MANUAL
CD-60W
THIS UNIT AND RETAIN THIS BOOKLET FOR FUTURE REFERENCE.
Page 2
E-1
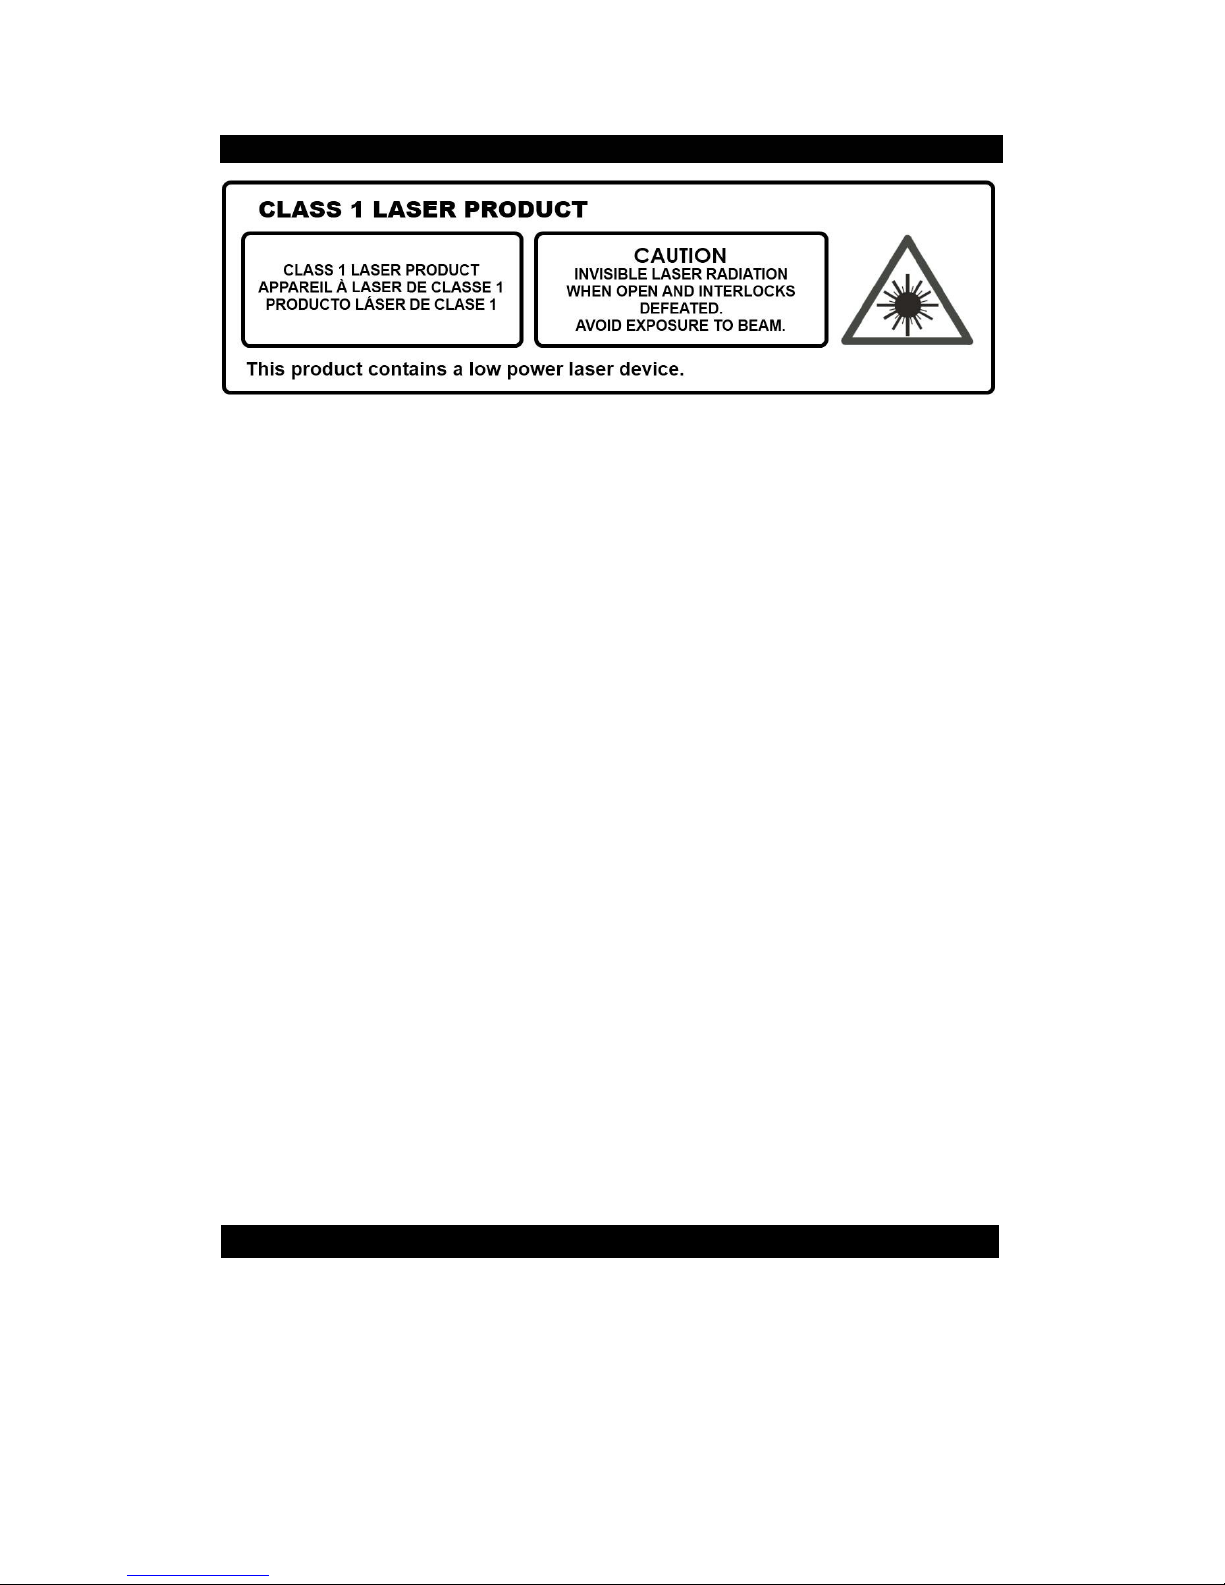
CAUTION
Follow the advice below for safe operations.
ON PROTECTION AGAINST LASER ENERGY EXPOSURE
As the laser beam used in this compact disc player is harmful to the eyes, do not
attempt to disassemble
Stop operation immediately if any liquid or solid object should fall into the cabinet.
Do not touch the lens or poke at it. If you do, you may damage the lens and the player
may not operate
Do not put anything in the safety slot. If you do, the laser diode will be ON when the
CD door is still
If the unit is not to be used for a long period of time, make sure that all power sources
are disconnected
and unplug the AC-DC adaptor from the wall outlet. Make it a practice to remove the
AC-DC adaptor by grasping the plug and not by pulling the cord.
This unit employs a laser. The use of controls or adjustment or performance of
procedures other than
radiation.
ON PLACEMENT
Do not use the unit in places, which are extremely hot, cold, dusty or humid.
Place the unit on a flat and even surface.
Do not restrict the airflow of the unit by placing it in a place with poor ventilation, by
covering it with a
ON CONDENSATION
When left in a heated room where it is warm and damp, water droplets or
condensation may form inside
When there is condensation inside the unit, the unit may not function normally. Let it
stands for 1 to 2 hours before turning the power on, or gradually heat the room up and
dry the unit
Should any trouble occur, remove the power source and refer servicing to qualified
personnel.
properly.
open.
before use.
the casing.
from the unit. Remove all batteries from the battery compartment,
those specified here may result in exposure to hazardous
cloth or by placing it on a carpet.
the unit.
COMPLIANCE WITH FCC REGULATIONS
This device complies with Part 15 of the FCC Rules. Operation is subject to the following
two conditions:
(1) This device may not cause harmful interference, and
(2) This device must accept any interference received, including interference that may
cause undesired operation.
This equipment has been tested and found to comply with the limits for a Class B Digital
Device, pursuant to Part 15 of the FCC Rules. These limits are designed to provide
Page 3

E-2
reasonable protection against harmful interference in a residential installation. This
equipment generates, uses and can radiate radio frequency energy and, if not installed
and used in accordance with the instructions, may cause harmful interference to radio
communications. However, there is no guarantee that interference will not occur in a
particular installation. If this equipment does cause harmful interference to radio or
television reception, which can be determined by turning the equipment off
and on, the user is encouraged to try to correct the interference by one or more of the
following measures:
- Reorient or relocate the receiving antenna.
- Increase the separation between the equipment and receiver.
- Connect the equipment into an outlet on a circuit different from that to which the receiver
is connected.
- Consult the dealer or an experienced radio/TV technician for help.
WARNING
Changes or modifications to this unit not expressly approved by the party responsible for
compliance could void the user's authority to operate the equipment.
DEAR JENSEN®
CUSTOMER
Selecting fine audio equipment such as the unit you've just purchased is only the start
of
your
musical enjoyment. Now it's time to consider how you can maximize the fun and
excitement
Industries Association's
of your equipment by playing it at a safe level.
and clear without annoying blaring or distortion and,
affecting your sensitive hearing. Sound can be deceiving. Over time
your
equipment offers. This manufacturer and t h e E l e c t r o n i c
Consumer
Electronics Group want you to get the most out
One
that lets the sound come through loud
most
importantly, without
your
hearing "comfort level" adapts to higher volumes of sound. So what sounds "normal" can
actually
equipment at a safe
be loud and harmful to your hearing. Guard against this by setting your
level
BEFORE your hearing
adapts.
To
establish
• Start your volume control at a low
a safe level:
setting.
• Slowly increase the sound until you can hear it comfortably and clearly, and without
distortion.
• Once you have
there.
established a comfortable sound level :
Set the dial and leave it
Taking a minute to do this now will help to prevent hearing damage or loss in the future.
After
all, we want you listening for a
We Want You
Listening
For a Lifetim
lifetime.
e
Used wisely, your new sound equipment will provide a
lifetime
loud noise
manufacturer and
Consumer Electronics Group
prolonged exposure to excessive
Customer's Record:
of
fun and enjoyment. Since hearing damage from
is
often undetectable until it is too late, this
the Electronic Industries Association's
recommend you avoid
noise.
The serial number of this product is found on its bottom cover. You should note the serial
number
in identification
of this unit in the space provided as a permanent record of your purchase to aid
in the
event of theft of
loss.
Model Number : CD-60W Serial Number :
Page 4

E-3
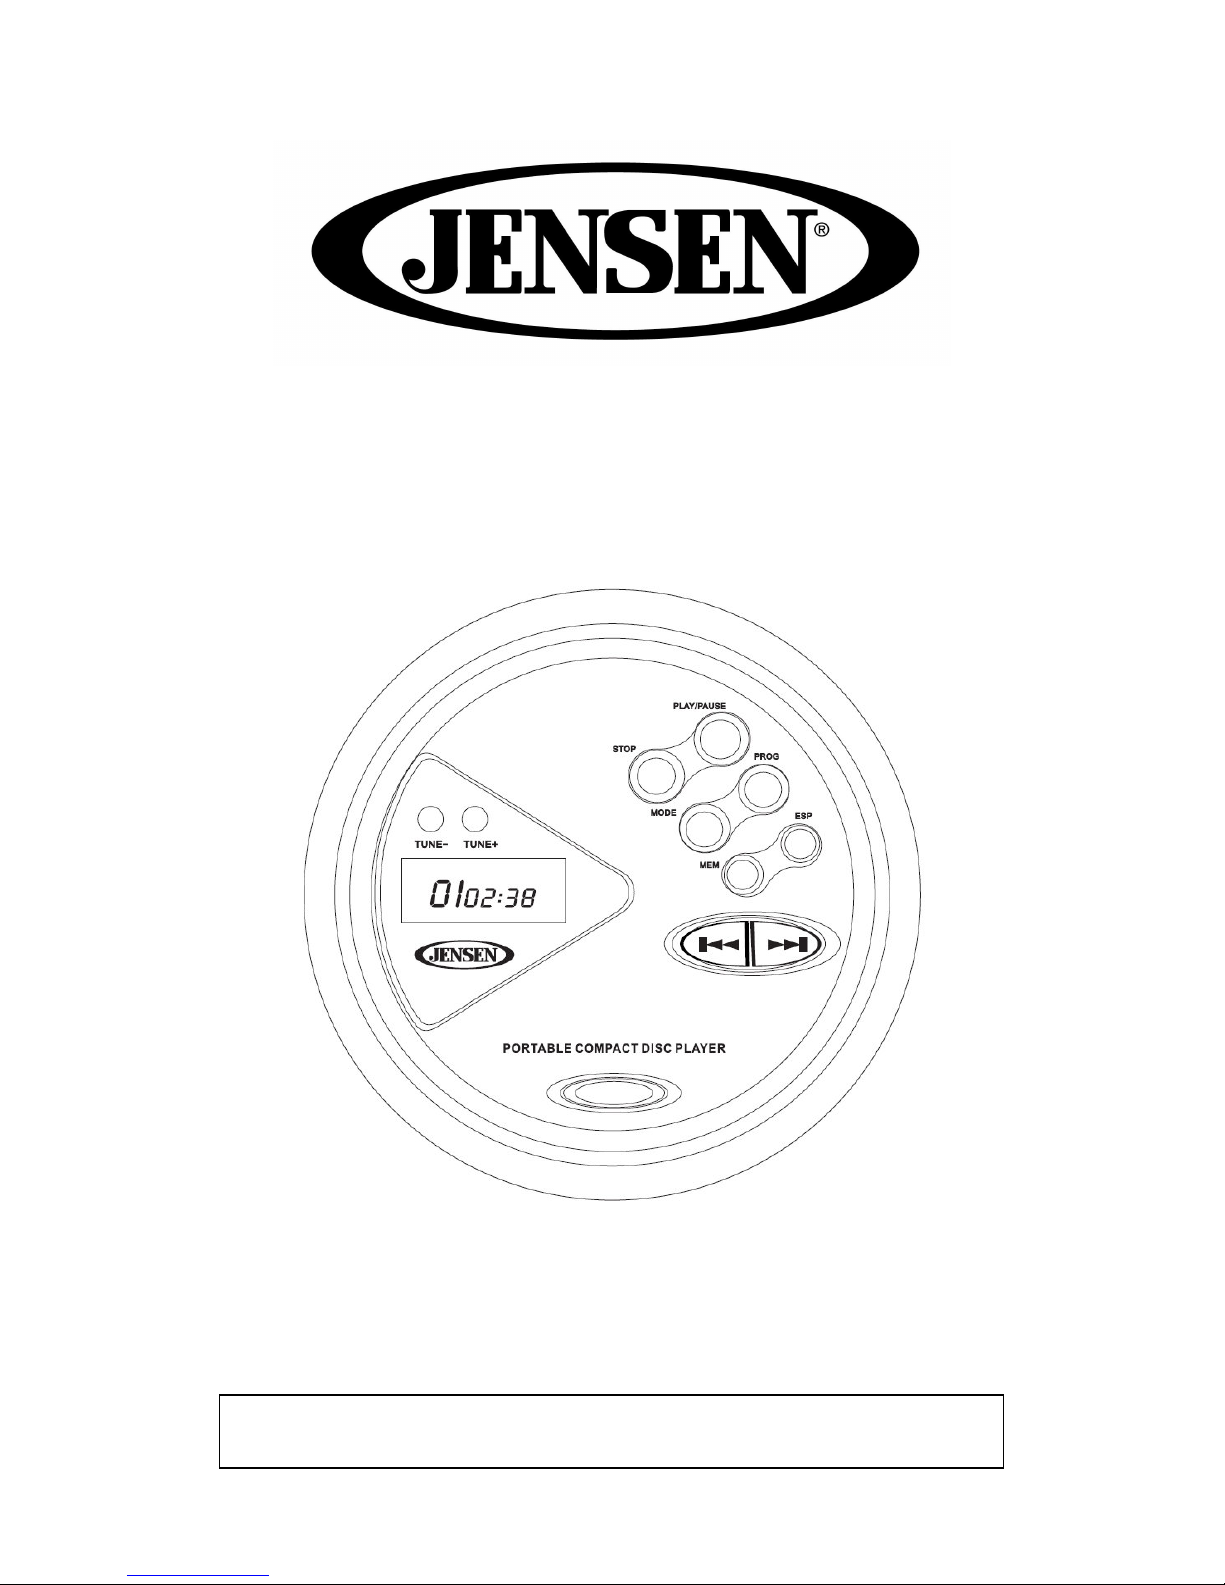
SKIP/SEARCH FORWARD
BUTTON
BBS ON/OFF
BUTTON
STOP BUTTON
HEADPHONE JACK
PROG BUTTON
MEM BUTTON
PREPARATION FOR USE
Unpack the unit carefully to remove all the accessories from the packing. Verify that the
following accessories are present before setting up the unit.
Accessories:
• Main Unit X 1
• Earbuds X 1
• User Manual X 1
LOCATION OF CONTROLS
1
LCD DISPLAY
2 TUNE+ & TUNE- BUTTONS 10 CD DOOR
3 MODE BUTTON 11
4
5 PLAY/PAUSE BUTTON 13 DC JACK
6
7 ESP BUTTON 15 CD DOOR OPEN
8
9
SKIP/SEARCH BACKWARD BUTTON &
12
14 VOLUME CONTROL
16 (RADIO OFF) CD/FM SELECTOR
Page 5

E-4
POWER SOURCE
This CD player operates on two 1.5V DC “AA” size (UM-3) alkaline batteries (Not
Included) or AC-DC adaptor with an output of 4.5V DC 700mA (Not Included).
BATTERY OPERATION
1. Open the battery compartment cover located on bottom of cabinet.
2. Insert two 1.5V DC “AA” size (UM-3) alkaline batteries (Not included) into the Battery
compartment following the polarity markings as indicated in the compartment.
3. Close the battery door.
NOTE : Disconnect AC adapter before install batteries.
For best performance and longer operating time, we recommend the use of alkaline
batteries.
BATTERY WARNING
1. Be sure that the batteries are installed correctly. Wrong polarity may damage the unit.
2. Use only the size and type of batteries specified.
1. Do not mix old and new batteries.
2. Do not mix alkaline, standard (carbon-zinc) or rechargeable (nickel-cadmium)
batteries.
3. If the unit is not to be used for an extended period of time, remove the batteries. Old or
leaking batteries can cause damage to the unit and may void the warranty.
4. Do not try to recharge batteries not intended to be recharged; they can overheat and
rupture. (Follow battery manufacturer’s directions).
5. Do not dispose of batteries in fire, batteries may leak or explode.
6. Battery shall not be exposed to excessive heat such as sunshine, fire or the like.
AC ADAPTOR OPERATION
1. Before connecting the adaptor to the player, make sure that the AC voltage of the
adaptor corresponds to you local AC outlet voltage. The polarity of the adaptor must
match to the polarity markings next to the DC jack on the player.
2. If you are using a universal adaptor with an output polarity switch or polarized plugs,
be sure to set the polarity of the center plug to "+".
3. Plug the 4.5V DC 700mA AC-DC adaptor into an AC outlet.
4. Insert the DC plug into the DC IN jack on the player.
Page 6

E-5
NOTE:
When the AC-DC adaptor is connected, the batteries will be automatically disconnected
and the player will now operate on the adaptors power. Once the adaptor is unplugged the
player will automatically switch to back to battery power
.
EARPHONE CONNECTION
Connect the plug of the stereo earphone (included) into the PHONES socket.
CAUTION
• AVOID EXCESSIVE VOLUME LEVELS FOR LONG PERIODS OF TIME WHEN
USING THE HEADPHONES. PROLONGED USE AT HIGH LEVELS MAY IMPAIR
YOUR HEARING.
• Do not use earbuds while operating a motorized vehicle, as it may create a traffic
hazard and is illegal in many areas
RADIO OPERATION
1. Slide the (RADIO OFF) CD/FM SELECTOR (#16) to FM position.
2. Press and hold the TUNE+ OR TUNE- BUTTONS (#2) to search for the next /
previous available station. If the reception is poor, try Manual Tuning to fine-tune the
station. Press the TUNE+ OR TUNE- BUTTONS (#2) briefly to manually tune through
the frequency band.
3. Adjust the VOLUME Control (#14) to obtain the desired sound level.
4. To turn the Radio off, slide the CD/FM SELECTOR (#16) to CD position
SETTING THE RADIO STATION PRESETS
The CD-60W allows you to store up to 40 stations for easy recall at any time.
1. Tune to the radio station you want to store in memory.
2. Press and hold the MEM BUTTON (#8). The preset channel number “P01” will be
flashing on display.
3. To change the preset channel number location, press the TUNE+ OR TUNE- BUTTONS
(#2) to step through the preset locations ( P01 – P40 ).
4. To confirm the preset location, press MEM BUTTON (#8).
5. To store up to 40 station presets, repeat steps 1-4 above.
RECALL PRESET STATION
In Radio mode, press MEM BUTTON (#8) repeatedly to select the preset channel.
TIPS FOR BEST RADIO RECEPTION
To insure maximum FM tuner reception, fully extend the earphone cord.
Page 7

E-6
CD OPERATION
1. Slide the (RADIO OFF) CD/FM SELECTOR (#16) to CD position.
2. Open the CD Door (#10). Carefully place an audio CD with its label side upward in
the CD compartment and close the CD Door (#10).
3. Press the PLAY/PAUSE BUTTON (#5). The player will start reading TOC of the disc.
4. The total number of tracks on the CD will appear in the LCD Display (#1) after a few
seconds and start playing from the first track.
5. Adjust the Volume Control (#14) to obtain the desired sound level from the Built-in
Speakers.
6. To suspend playing, press the PLAY/PAUSE BUTTON (#5) again. To resume playing,
press the PLAY/PAUSE BUTTON (#5) again.
7. You can choose to play your favorite track directly by pressing either the or
BUTTONS (#9). The LCD Display (#1) will indicate the correct track number selected.
8. To locate a particular passage within a track, keep the or BUTTONS (#9)
depressed until it is found.
NOTE: Low level audio will be heard during the search process to assist in locating correct
point in the track.
9. To repeat a particular track, press the MODE BUTTON (#3) once or until the REPEAT
1 INDICATOR lights on the LCD display (#1).
10. To repeat the entire CD, press the MODE BUTTON (#3) twice or until the REPEAT
ALL INDICATOR lights on the LCD display (#1).
11. To stop playing, press the STOP BUTTON (#4).
12. At Stop mode, press MODE Button (#3) three times. The INTRO INDICATOR lights
on the LCD display. Press PLAY/PAUSE BUTTON (#5) to play the first 10 seconds of
each song in the disc.
13. At Stop mode, press MODE BUTTON (#3) four times. The SHUFF INDICATOR lights
on the LCD display. Press PLAY/PAUSE BUTTON (#5) to play songs randomly.
14. When you wish to turn off the CD PLAYER, press the STOP BUTTON (#4) again at
Stop mode..
CD PROGRAMMED OPERATION
This function allows the tracks to be played in a programmed sequence. Programs can be
set in either the STOP or NORMAL PLAY mode.
1. Press the PROG. BUTTON (#6) once. The PROG. INDICATOR will flash and
Program Channel Number "01" will appear and the track number “00” will blink in the
LCD Display (#1) to prompt for input.
2. Press the or BUTTONS (#9) to select the song to be programmed.
3. Press the PROG. BUTTON (#6) again to store selection. The Program Channel No.
will change to “02” and the track number “00” will blink to prompt for input
4. You may repeat steps 1 - 4 to program as many as 20 tracks.
5. Press PLAY/PAUSE BUTTON (#5) to start the programmed play
6. You may repeat the current programmed track or all programmed tracks by pressing
the MODE BUTTON (#3) once or twice.
7. Press STOP BUTTON (#4) once to stop playback.
8. Press PROG (#6) and then PLAY/PAUSE (#5) to resume programmed play.
9. To cancel programmed play and turn off the CD-60W, press the STOP BUTTON (#4)
again in STOP mode.
Page 8

E-7
ANTI
-
SHOCK PROTECTION
NOTES ON CD-R/RW DISCS
This player plays not only commercial CDs but also self-compiled CD-R/RW discs.
Because of non-standardized format definition/production of CD-R/RW, playback
quality & performance are not guaranteed.
Manufacturer is not responsible for the playability of CD-R/RW due to recording
conditions such as PC performance, writing software, media ability, etc.
Do not attach a label or seal to either side of the CD-R/RW disc. It may cause a
malfunction.
Slide the BBS switch (#11) to ON position to enhance the bass effect of the music being
Slide the BBS switch (#11) to OFF position to to turn the effect off.
This player incorporates an electronic anti-skip circuit to prevent interruption of the sound
output when the unit is subjecting to shock, vibration or rolling during disc playback. The
antis-shock system will automatically activate when a disc is playing, the ESP indicator will
appear in display and flashing.
Once anti-skip buffer is full, it will give you approximately 60 seconds of protection against
interruption of sound output. If the player is subjected to shock or rolling for longer than the
buffer memory, some interruption of sound output will occur. This is normal and to be
expected and the sound will resume once the player has stabilized from the shock or rolling
disturbance.
Note: The anti-skip function provides for continues sound output when the unit is
subjected to shock or vibration. It will not compensate for errors arising from the
use of defective, scratched or dirty discs.
BBS OPERATION
CARE AND MAINTANCE
1. Clean your unit with a damp (never wet) cloth. Solvent or detergent should never be
used.
2. Avoid leaving your unit in direct sunlight or in hot, humid or dusty places.
3. Keep your unit away from heating appliances and sources of electrical noise such
as fluorescent lamps or motors.
4. If drop-outs or interruptions occur in the music during
CD play, or if the CD fails to play at all, its bottom
surface may require cleaning. Before playing, wipe the
disc from the center
cleaning cloth.
outwards with a good soft
Page 9

E-8
CARE AND MAINTANCE
Batteries
TECHNICAL SPECIFICATION
2 x “AA” (UM-3) batteries (not included)
AC Power Requirement
AC / DC adapter ( not included)
Input AC 100 - 240V ~
Output DC 4.5V 700mA
FM Radio Section 87~108 MHz
SYMPTOM
No sound
Noise or sound distorted
on FM broadcast
Radio no sound
CD player will not play
TROUBLE SHOOTING
POSSIBLE
Battery no power
SOLUTION
Replace all batteries with
new ones.
Volume set at minimum Increase Volume.
Earphone cord is not
Extend earphone cord
extended
Unit not in RADIO (FM) mode
Slide CD/FM Selector to
FM position.
Station unstable Retune the station again
Unit not in CD mode
Slide CD/FM Selector to
CD position.
CD is installed incorrectly Insert CD with label side
up.
Batteries become exhausted Replace all batteries with
new ones.
It the CD is self-compiled, the
media used may not be
Use better quality blank
media and retest.
compatible with the player.
CD skips while playing
CD skips while playing
Disc is dirty or scratched.
Dirty or defective disc
Dirty pick up lens
Player is subject to excessive
shock or vibration
Batteries become exhausted
Wipe CD with clean cloth
or use another disc.
Clean or replace the
defective disc
Use a CD-lens cleaning
disc to clean the lens
Relocate the player away
from shock or vibration
Replace all batteries with
new ones.
Distributed by:
Walkenhorst’s
540 Technology Way
Napa, CA 94558
0914 Printed in China
 Loading...