

Jenn-Air W2410B, W2410W, W2451B, W2451W, WW2460B Owner's Manual
...
mJENN.AIR
Use and Care Manual
Self Cleaning Wall Ovens
Models W2410, W2451, & WW2460
_IZ_ _ _:_ _:: ii_ _ :_ _: _£_ _:i_ ¸_ _i _ _: Z__::ii:_ _ ::ii_
Model W2451

Congratulations on your choice of a Jenn-Air wall oven. Your Jenn-Air
convection oven combines the best of two cooking methods, convection and
conventional baking or roasting, in a self-cleaning oven. (Note: Only Models
W2451 and WW2460 have the convection option.)
The Jenn-Air convection oven is actually a conventional oven that circulates
heatedair withinthe oven. Asbothbakeand broilheatingelements cycleonand
off withthe thermostat, afan keeps the heated air circulating around the food.
The constantly recirculating heated air inthe convection oven strips awaythe
layerofcoolerairthat surroundsthefood. Consequently,manyfoodscook more
quickly. Evenlydistributed heatmakesmultiple rackcooking possible. Convec-
tion roasted meats retaintheir natural flavor and juiciness with less shrinkage
than conventional roasting.
In addition to the many exclusive benefits of convection cooking, your oven is
alsoa fine full featured "bakeand broil"oven. You can cook your "old favorite"
recipesas you have inthe past. Theconventional bakeoven also givesyouthe
flexibility of preparing various foods when convection cooking may not be as
beneficial,aswhen cookingfoods incovered casseroles or clay pots. The broil
element is convenient for top browning and oven broiling offoods.
Beforeyou begincooking withyournewoven,pleasetake afew minutes toread
and become familiar with the instructions in this book. On the following pages
youwillfindawealth ofinformationregarding all aspectsofusingyournewoven.
Byfollowing the instructionscarefully, you will beable tofully enjoy and properly
maintain your oven and achieve excellent results with thefood you prepare.
Shouldyouhave any questions about using yourJenn-Air oven,write tous. Be
sureto provide the model number.
Jenn-Air Customer Assistance
c/oMaytag CustomerService
P.O, Box2370
Cleveland,TN 37320-2370
2

Baking
Baking Chart ............................................................................... 14
Convect Baking ...................................................................... 15-16
Frozen Convenience Foods ........................................................ 15
General Baking Recommendations ............................................ 13
Broiling ....................................................................................... 20-21
Caring For Your Oven
Adjust Oven Temperature ........................................................... 29
Cleaning Other Surfaces ............................................................ 28
Cleaning the Lower Oven ........................................................... 29
Oven Light Bulb Replacement .................................................... 28
Clock Controls
Clock Controlled Baking or Roasting ..................................... 11-12
Time of Day Clock ........................................................................ 9
Timer ........................................................................................ 10
Oven Cleaning
Auto-Clean .............................................................................. 23
Self-Cleaning Process ........................................................... 22-27
Oven Operation
Oven Control Panels .................................................................. 6-7
Rack Positions .............................................................................. 8
Setting Controls ............................................................................ 8
Roasting
Convect Roasting ....................................................................... 19
Roasting Chart ............................................................................ 18
Roasting Recommendations ....................................................... 17
Safety Precautions ........................................................................... 4-5
Service Information ...................................................................... 30-31
Read before operating your oven
All appliances - regardless of the manufacturer - have the potential through
improper or careless useto create safety problems. Therefore thefollowing
safety precautions should be observed:
1. Besure your appliance is properly installed and grounded byaqualified
technician.
2. Never use your appliance for warming or heating the room.
3. Children should not beleftalone or unattended inarea where appliance
is in use. They should never be allowed to sit or stand on any part of
the appliance.
4. Wearproperapparel. Loose-fitting or hanging garments should never
be worn while using the appliance.
5. Do not repair or replace any part of the appliance unless specifically
recommended inthis manual. All other servicing should be referred to
an authorized Jenn-Air Service Contractor.
6. Flammable materials should not be stored in an oven.
7. Do not use water on grease fires. Smother fire or flame or use dry
chemical or foam-type extinguisher.
8. Use only dry potholders. Moist or damp potholders on hot surfaces
may result in burns from steam. Do not letpotholder touch hot heating
elements. Do not use a towel or other bulky cloth.
9. Usecare when opening oven door. Let hotairor steam escape before
removing or replacing food.
10. Do not heat unopened food containers. Build-up of pressure may
cause container to burst and result in injury.
11. Keep oven vent ducts unobstructed. The oven vent islocated at the top
of the control panel.
12. Always place oven racks in desired location while oven is cool. If rack
must be moved while oven is hot, do not let potholder contact hot
heating element in oven.
13. Do not clean door gasket. The door gasket isessential for agood seal.
Care should be taken not to rub, damage, or move the gasket.
14. Do not use oven cleaners. No commercial oven cleaner or oven liner
protective coating of any kind should be used in or around any part of
the oven.
4

15. Clean onlyparts listed inthis manual.
16. CAUTION:BEFORESELF-CLEANINGTHEOVEN, REMOVE FOOD,
BROILER PAN AND OTHER UTENSILS.
17. Listen forfan. A fan noiseshould be heard during the bake, convect
bake, broil and cleaning cycles. If not, call a serviceman before
operatingoven again.
18. DO NOTTOUCH HEATING ELEMENTS OR INTER/OR SURFACES
OF OVEN. Heatingelements may be hot even though they are dark
in color. Interiorsurfaces of any oven become hot enough to cause
bums. During and after use, do not touch, or let clothing or other
flammable materials contact heating elements or interiorsurfaces of
ovenuntilthey have had sufficienttime to cool. Other surfaces of the
appliance may become hot enough to cause bums-among these
surfaces are: oven vent openingsand surfaces near these openings,
oven doors, windowsof oven doom.
19. This appliance has been tested for safe performance usingconven-
tional cookware. Do not use any devicesor accessories that are not
specificallyrecommended inthismanual. Do notuseadd-on convec-
tionsystems.The useofdevicesoraccessoriesthatare notexpressly
recommendedinthismanualcan createserioussafety hazards, result
inperformance problems,and reducethe lifeofthecomponents ofthe
appliance.
20. PREPARED FOOD WARNING: Followfood manufacturer's instruc-
tions. If a plasticfrozen food container and/orits filmcover distorts,
warps or is otherwisedamaged duringcooking, immediatelydiscard
the food and its container. The food couldbe contaminated.
21. Do notallow aluminumfoil to contactthe heating element.
IMPORTANT SAFETY NOTICE AND WARNING
The California Safe Drinking Water and Toxic Enforcement Act of 1986
(Proposition 65) requires the Governor of California to publish a list of
substances known to the State of California to cause cancer or repro-
ductive harm, and requires businesses to warn customers of potential
exposures to such substances. Users of this appliance are hereby
warned that when the oven is engaged inthe serf-cleancycle, there may
be some low level exposure to some of the listed substances, including
Carbon Monoxide. Exposureto these substances can be minimized by
properly venting the oven to the outdoors during the self-clean cycle.
- SAVE THESE INSTRUCTIONS -
5

Selector Knob Temper_ureKnob Oven Clock
/ /;Lo.
Indicator Ughm:
controls
/ / "
Single Wall Ovens
Upper oven Upper oven hldlc_dorUghts:
SelectorKnob TemperatureKnob
Upper oven Oven light switch
Door lock switch SelectorKnob Temp_atum Knob IndicatorLight
Upper oven
Double Wall Ovens
6
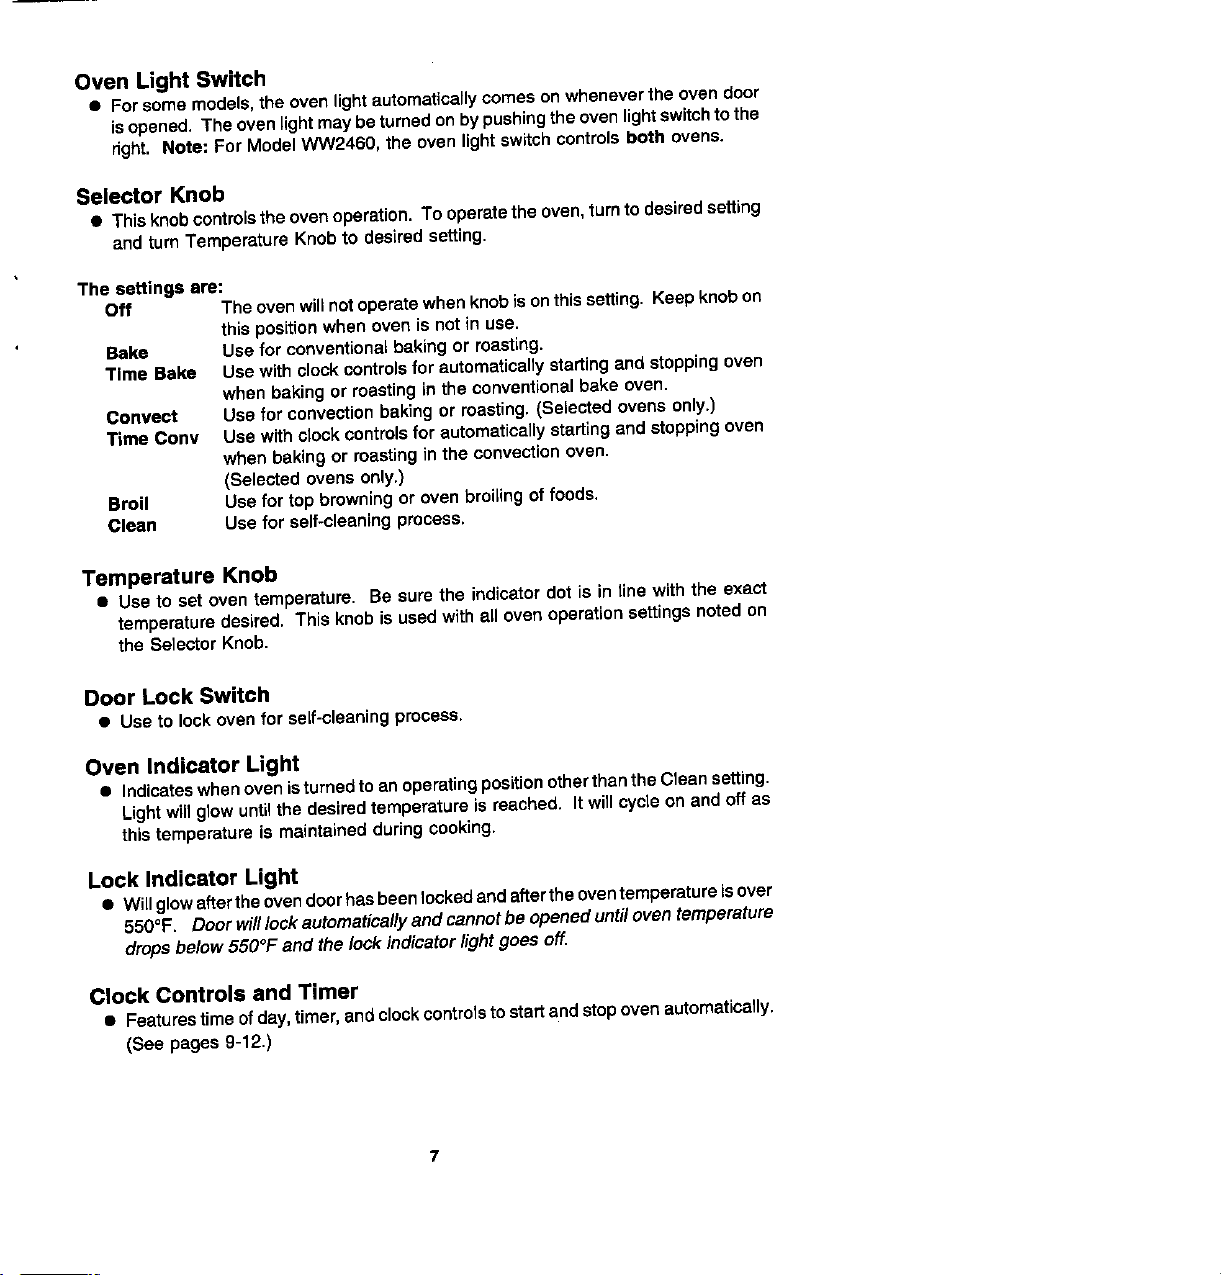
Oven Light Switch
• Forsomemodels, the ovenlightautomaticallycomeson wheneverthe oven door
isopened. The ovenlightmaybe turnedonbypushingtheovenlightswitchtothe
right. Note: For ModelWW2460, the oven lightswitchcontrolsboth ovens.
Selector Knob
• Thisknobcontrolsthe ovenoperation. To operatethe oven,turn to desiredsetting
and turn Temperature Knob to desired setting.
The settings are:
Off Theovenwillnotoperatewhen knobisonthissetting. Keep knobon
this positionwhenoven is notin use.
Bake Usefor conventionalbaking or roasting.
Time Bake Usewithclockcontrolsfor automaticallystartingandstoppingoven
when bakingor roastingIn the conventionalbake oven.
Convect Usefor convectionbakingor roasting.(Selected ovensonly.)
Time Cony Usewithclockcontrolsfor automaticallystartingand stoppingoven
when bakingor roastinginthe convectionoven.
(Selectedovensonly.)
Broil Usefortop browningor ovenbroilingof foods.
Clean Use for self.cleaning process,
Temperature Knob
• Use to set oven temperature. Be sure the indicatordot is in linewiththe exact
temperaturedesired. This knobisusedwith all ovenoperationsettingsnotedon
the SelectorKnob.
Door Lock Switch
• Use tolockovenfor self-cleaningprocess.
Oven Indicator Light
• Indicateswhenovenisturnedtoan operatingpositionotherthantheCleansetting.
Lightwill glowuntilthe desiredtemperatureisreached. It willcycleon and off as
thistemperatureismaintainedduringcooking.
Lock indicator Light
• Willglowaftertheovendoorhasbeenlockedandaftertheoventemperatureisover
550°F. Doorwi/I/ockautomatica//yandcannotbeopenedunti/oventemperature
drops below 550°F and the lock indicator light goes off
Clock Controls and Timer
• Featurestimeofday,timer, andclockcontrolstostartand stopovenautomaticar/y.
(See pages 9-12.)

1. Place oven racks on proper rack positions. (See below.)
2. Turn Selector Knob to Bake or Convect sefflng. Note; A cooling fan will operate when
Selector Knob is on any setting except for Off.
3. TurnTemperaturaKnobtodesiradtemperature. WhentheOvenlndicatorLightoyctes
off,the oven is preheated to the selected temperature. Place the food inthe oven. The
Oven Indicator Lightwill cycle on and off throughout the baking process. Preheat on/y
when necessary. Refer to baking and roast'mg sections as to when preheating is
recommended.
4. After baking, turn both Temperature and Selector Knobs to Off position.
The rack positionsnotedare generally recommended forthe best browningresults and most
efficientcooking times. For many food items,excellent resultscan be achieved when using
one of severa/ different rack positions. Refer tobaking and roastingsections for racommen-
dations for specific foods.
Different Racks
One flat rack and one offset rack were packaged withyour oven, The use of the offset rack
isdenoted inthe listbelow and the charts as an "o"after the rack number. Note W2451 and
WW2460 Owners; An additionar flat rackwas packaged with your oven. Note WW2460
Owners: An additional offset rack was packaged with your oven
• i I L= , _1
Rack Uses ......
Use Rack Position #4o (offset rack on #4):
Mostbroiling.
Use Rack Position #3:
Mostbaked goods on cookie sheets, cakes (sheet and layer).
Use Rack Position #30 (offset rack on #3):
Most baked goodson cookie sheets, frozen convenience foods, fresh fruitpie, cream pie,
layercakes, main dish souffle.
Use Rack Position #2:
Roasting small cuts of meat, cakes (tube, bundt or layer) frozen fruit pie, pie shell, large
cassaro_3.
Use Rack Position #2o (offset rack on #2):
Roasting smaltcuts of meat, loaves of bread, angel food cake.
Use Rack Position #1:
Large cutsof meat and largepoultry,angel foodcake, loaves ofbread,custard pie, dessert
souffle.
Multiple Rack Cooking:
Two racks, use #2o and #4. Three racks, use #1, #30, and #4. (Note: three rack baking
is only possible in a convectionoven.) 8
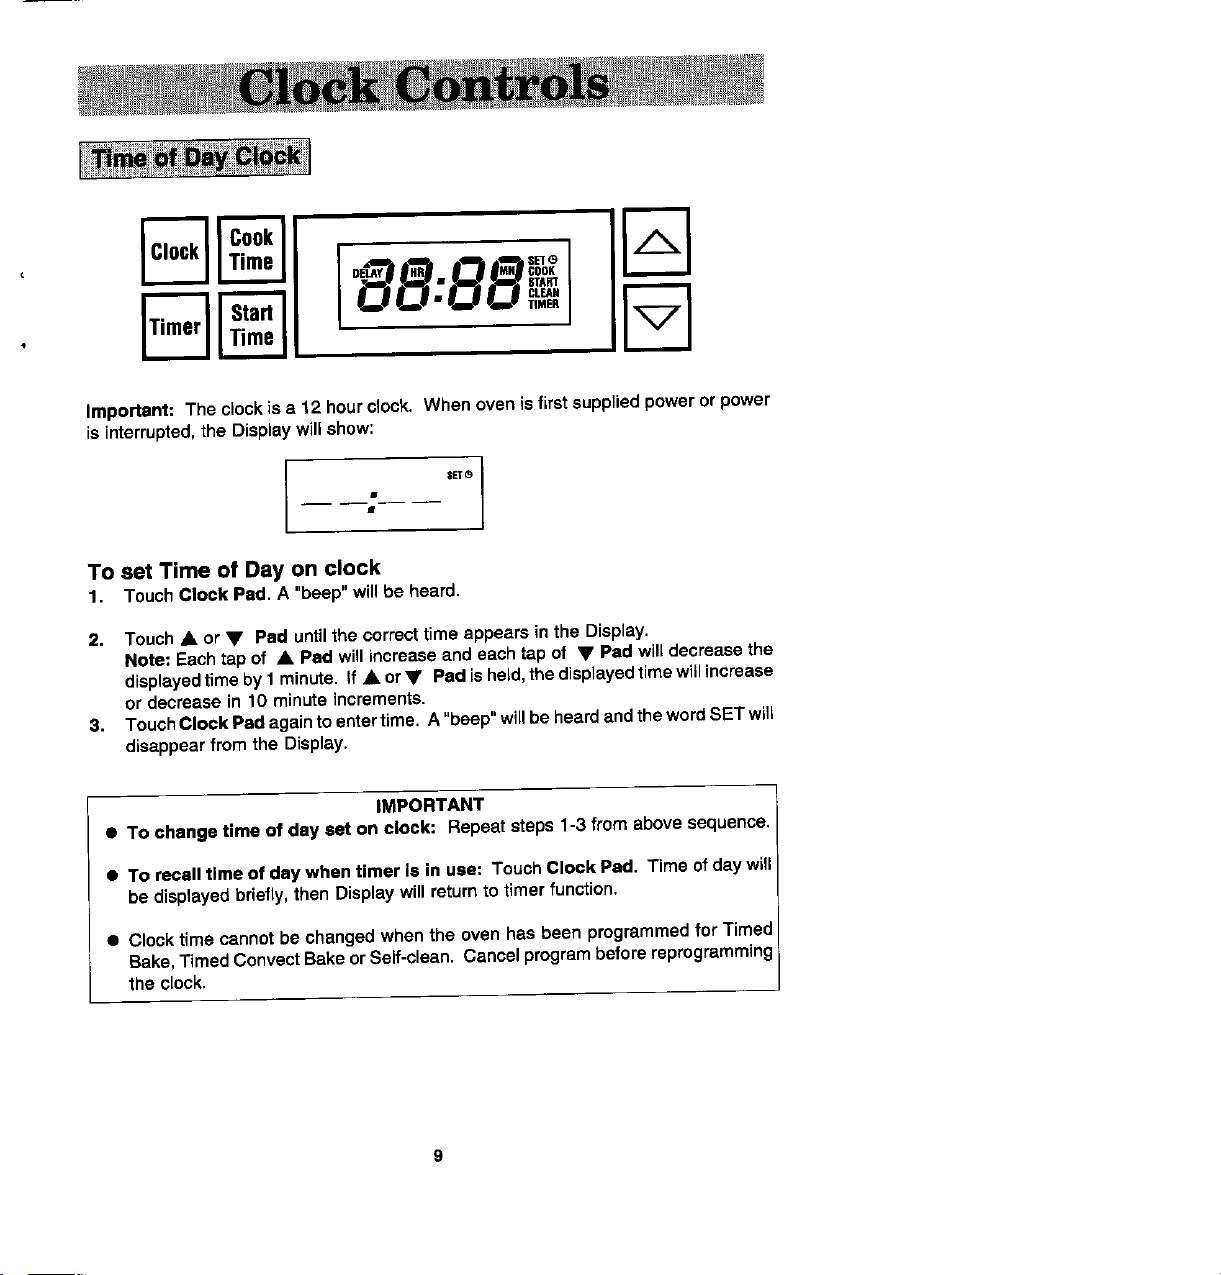
l°00,,
l.,°..r,.,..,
Important: The clockis a 12 hourclock. Whenoven is firstsuppliedpoweror power
isinterrupted,the Displaywillshow:
TO set Time of Day on clock
1. TouchClock Pad. A "beep"willbe heard.
2. Touch• or • Pad untilthe correcttimeappears inthe Display.
Note: Eachtap of • Padwill increaseandeach tapof • Pad will decreasethe
displayedtime by1minute. If • or• Pad isheld,the displayedtimewillincrease
or decreasein 10 minuteincrements.
3. TouchCIockPadagaintoentertime. A"beep"willbeheardandthewordSETwill
disappearfromthe Display.
IMPORTANT
• To change time of day set on clock: Repeatsteps1-3 from abovesequence.
• To recalltime of day when timer is in use: TouchClock Pad. Time of daywill
be displayedbriefly, then Displaywillreturn to timer function.
• Clock time cannotbe changed when the oven has been programmedfor Timed
Bake,Timed Convect Sake or Self-clean. Cancel programbefore reprogramming
the clock,

Important:ThisintervalTimercanbe usedto remindyouwhenaperiod,upto 24 hours
and 00 minutes,expires. Itcan be used independentlyof anyother ovenactivityand
canbe setwhileanotherovenfunctionisoperating.TheTimerdoesnotcontroltheoven.
TO set Timer
1. TouchTimer Pad. A "beep"willbe heardandthe displaywillshow:
[ ":001.
2. Touch • or • Pad untildesirednumberof hoursand minutesappear in the
Display.
Note: Eachtap of •or • Pad willincreaseordecreasethe displayedtimeby 1
minute. If • or• Pad is held,the displayedtimewillincreaseordecreasein10
minuteincrements.
Note: If •or • Pad is nottouchedwithin5 secondsoftouchingtheTimer Pad,
the Timer Pad mustbe touchedagain.
Note: Hoursare to the left of thecolonand minutesto therightof thecolon.
:05_ 5-00_
5 minutes 5 hours
The IndicatorWordTIMER willremaininthedisplaywindowduringcountdown.At
the lastminuteof countdown,theTimer will"beep"twiceand displaywillbeshown
inseconds. At theend of timeset, the IndicatorWord TIMER willblinkandthree
"beeps"will be heard. "Beeping"will continueevery 10 seconds untilany pad is
touched. Display will returnto time of day or whatever is programmed on control
panel.
To cancel Timer
TouchTimer Pad twice. After5 seconds,displaywillautomaticallyreturntotimeofday
or whateverisprogrammedon controlpanel.
To recall Timer during a timed function
TouchTimer Pad.
10
 Loading...