

JBL P42c, P62c, P52c User Manual
Automotive Component Systems
P–42c, P–52c, P–62c Owner’s Manual
GENUINE JBL

02
1
2
3
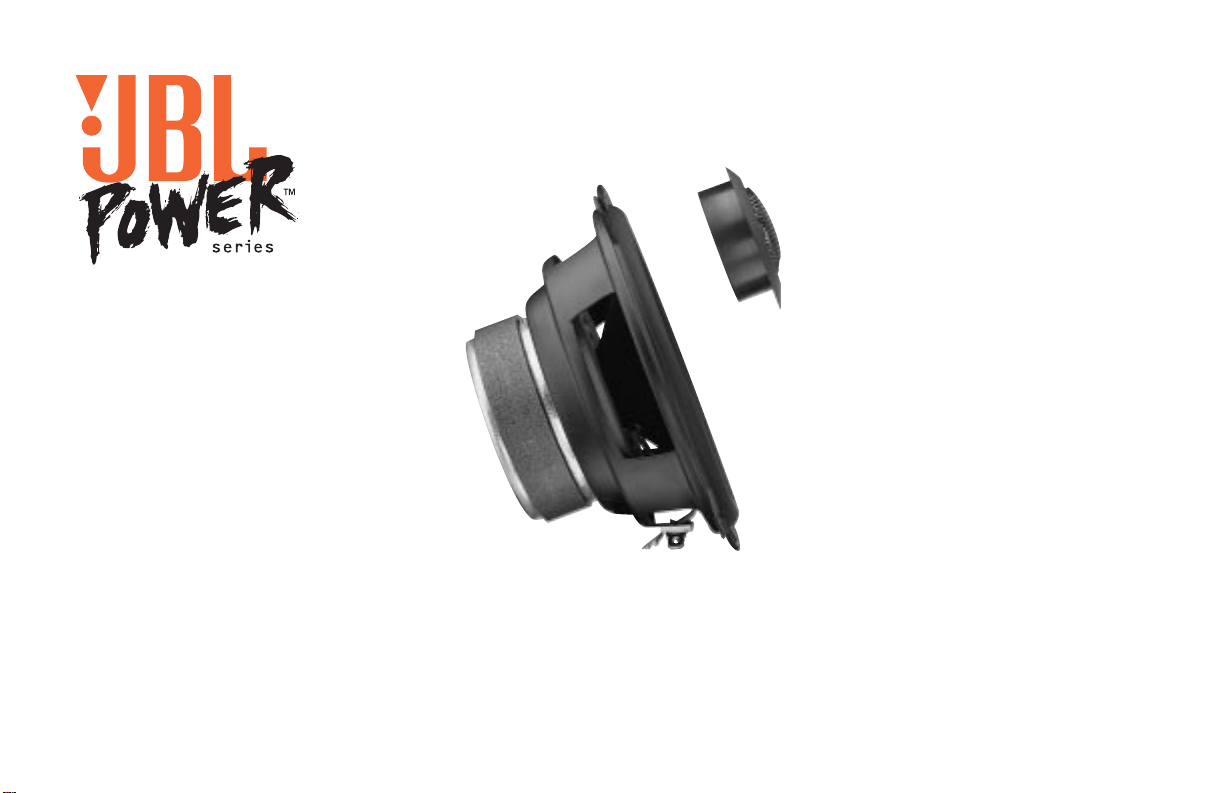
FLUSH MOUNT
Thank you for purchasing a JBL
Power Series™ 2-Way Component
System. We’ve organized this manual to
make your installation as simple and
trouble-free as possible. Please read
through it completely before proceeding.
If, after having read it, you decide that
you would rather leave installation to a
professional, consult your JBL Power
Series Dealer.
Autosound at Its Best
Your JBL Component System is built to
meet the same rigorous standards of
construction and performance that have
long established JBL’s renowned home
and professional speaker systems.
Your Component System has been
designed using a combination of technologies that bring high value to high
performance. The tweeter dome used in
your Component System tweeter is manufactured from a proprietary material
known as Titanium Composite. This
material combines the control and
damping of an advanced polymer with
the reinforcing stiffness of vapordeposited titanium to prevent breakup at
high levels.
Similarly, the woofer cones are manufactured with a proprietary injection-molded
titanium-composite cone in order to
deliver the clarity and effortless power
that have made JBL famous. This cone is
suspended by a heavy butyl-rubber
surround, which serves to absorb any
remaining cone resonances for the
clearest, most articulate reproduction of
voices and other mid-range sounds.
As a bonus, the butyl-rubber surround is
impervious to temperature extremes and
humidity, making it ideal for automotive
applications.
By following the installation recommendations and suggestions included in this
manual, you will be assured of many
years of trouble-free enjoyment from
your Power Series loudspeakers.
Component System Parts
Your new Component System consists of
a neodymium magnet tweeter and either
a 4", 5-1/4", or 6-1/2" midwoofer. This
system has also been supplied with an
outboard crossover network to provide
precision division of frequencies
between the two components. Figure 2 is
an illustration of the proper wiring procedure of the Component System.
Important Paperwork
Before proceeding, be sure to put the
sales receipt from your JBL Component
System purchase in a safe place. It is necessary to validate your Limited Warranty.
Having access to the receipt is also valuable for insurance purposes and when it
comes time to resell your vehicle.
Tweeter Installation
The tweeter has been supplied with both
surface- and flush-mount brackets.
Figures 1 and 2 show the proper way to
flush- and surface-mount the tweeter.
The mounting hole diameter of the flushmount frame is 1-7/16".
Figure 1

1
Removable Mounting Ears on
P-42c
Bend up and down repeatedly
to break off or use tin snips.
• Some Toyota installations may require mounting ears to be
removed from opposite sides.
• Some European car installations may require all
four ears to be removed.
Mounting Ears Removed
2
Figure 4a
3
SURFACE MOUNT
REMOVING
COVER
2) LIFT
1) PUSH
Figure 2
Figure 2a. Grille
mounting
Car Door
Grille Screen
Trim Ring
FREQUENCY
DIVIDING
NETWORK
CONNECT
–
TO
+
AMPLIFIER
Typical installation
of the P-42c and
P-52c woofers
with grilles as shown
in Figure 2a.
Installation of the P-42c woofer as shown in Figures 4a and 4b.
Figure 4b
Two-Screw Mounting Configuration
03
 Loading...