

Page 1
Quick User Guide
You scan,
it types.
for Windows®
English
Page 2

English English
This Quick User Guide helps you get started with the IRISPenTM Executive 7.
The descriptions in this guide are based on the Windows® 7 Operating System. Please
read this guide before operating this scanner and its sof tw are. All info r m a tion is sub ject
to change without prior notice.
Table of Contents
1. Introduction
2. Installation
3. Activation
4. Getting Started with the IRISPenTM
5. Scanning
5.1 Scanning Text to Applications
5.2 Scanning Images
5.3 Scanning Text to Speech
5.4 Scanning and Trans lating Text
6. Configuration
7. Troubleshooting
1
Page 3
English English
1. Introduction
IRISPenTM Executive 7 is a handy pen scanner that allows you to scan lines of text into
TM
any text-compatible application. With the IRISPen
you can also scan tab l e lin es and
small images such as logos, signatures and mathematical formulas.
TM
Thanks to I.R.I.S.' OCR technology (Optical Charac ter Recognition) IRISPen
Executive 7
recognizes 130 languages, barcodes and check fonts. You can also ha ve the application
automatically translate the scanned text and read it out loud.
TM
Note that with IRISPen
Executive 7 you scan one line at a time.
2. Installation
Important: make sure you have the required administration rights on your computer to
do the installation.
Installation from CD-ROM:
1. Insert the IRISPenTM disc in the CD-ROM drive of the computer.
The setup menu is displayed automatically. If the menu does not start
automatically, run setupIRISPen.exe from the disc.
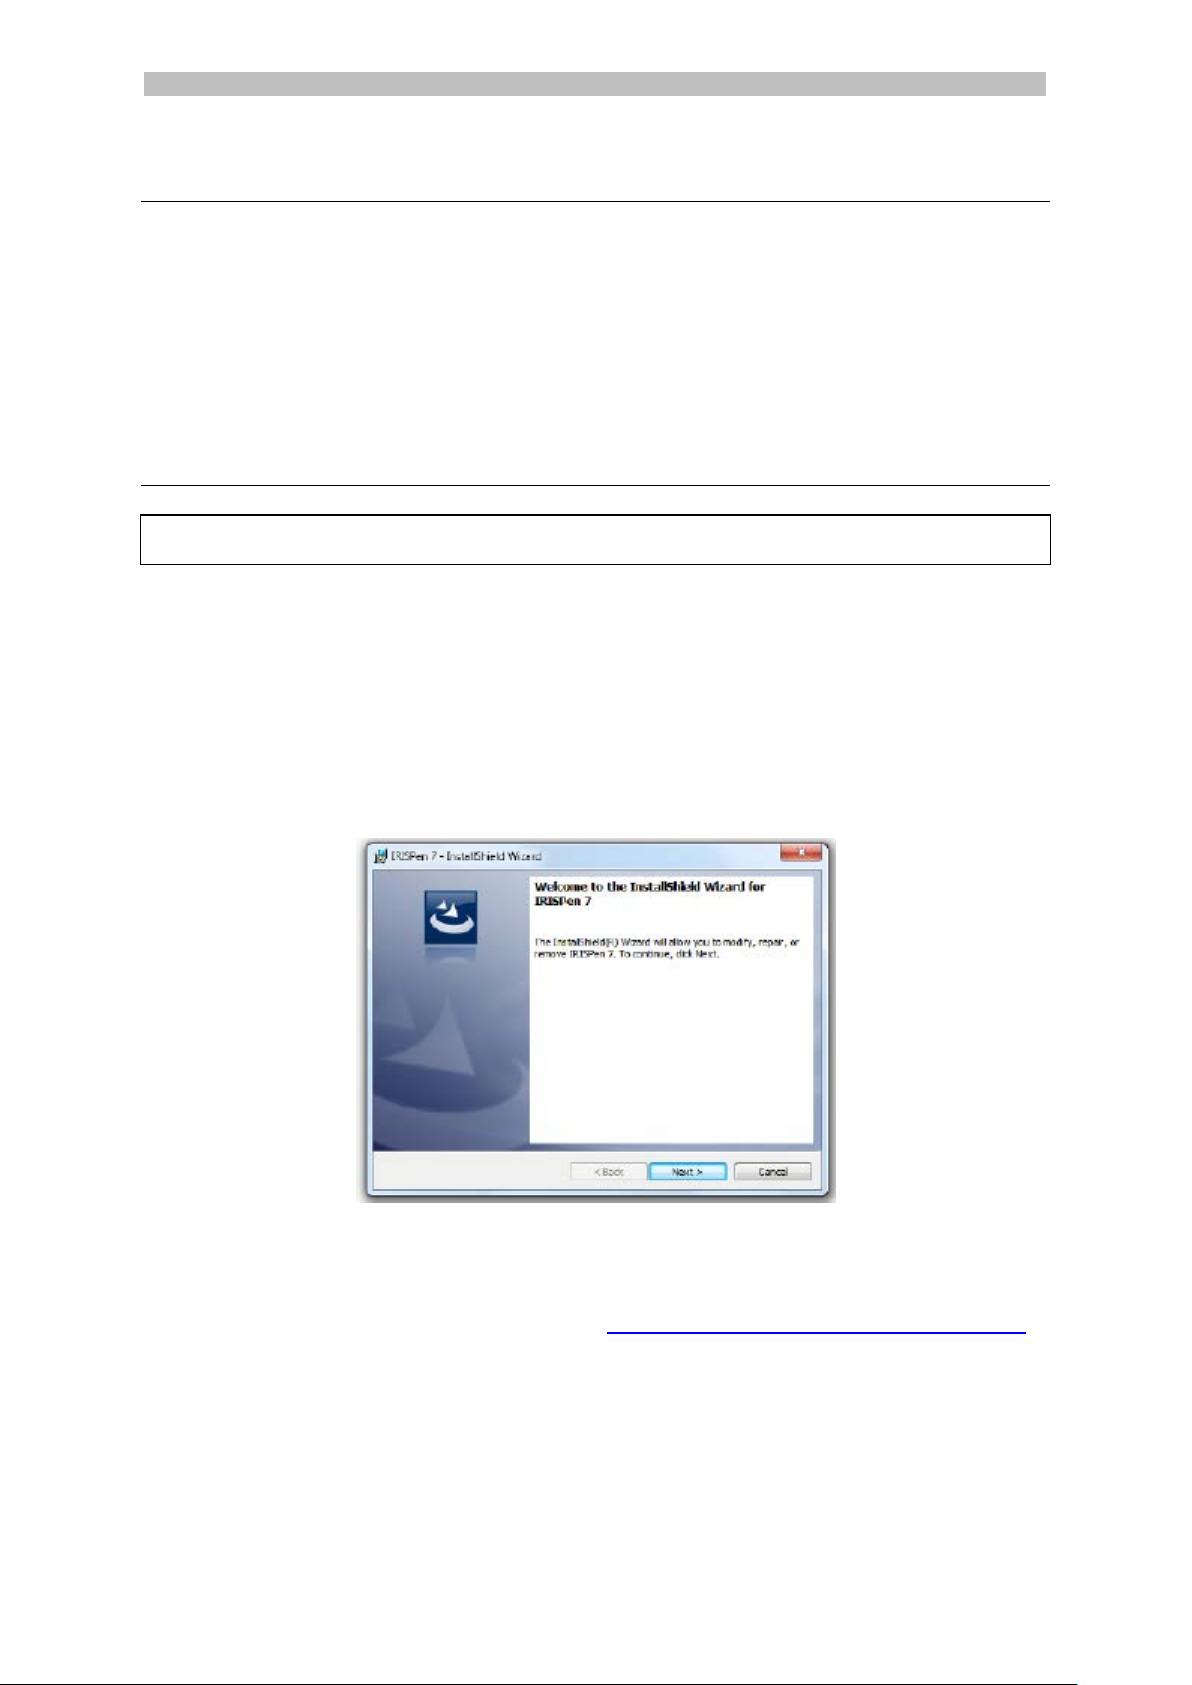
2. Click Install. Then follow the on-screen instructions.
Important: make sure the scanner is disconnected before you install the
software.
3. Click Finish to complete the installation.
Software Download
The IRIS PenTM application can also be downloaded from the I.R.I.S. website.
1. Open your Internet browser and go to www.irislink.com/softwaredownload
2. Scroll down to IRISPenTM.
3. Click the version you want to download.
4. Go to the location where you downloaded the software, and r un the installer:
IP7Exec.exe.
Then follow the on-screen instructions.
5. Click Finish to complete the installation.
.
2
Page 4

English English
3. Activation
When the installation is completed, you are asked to ac tivate the application.
1. Click Next in the screen that appears.
2. Enter the serial number, and click Activate.
Notes:
• You need an internet connection to do the activation.
• You find the serial number on the back of the CD-ROM sleeve.
If you do not have the CD-ROM sleeve any more, contact I.R.I.S.
support to obtain the serial number: www.irislink.com/support
3. Click Finish to close the Activation Wizard.
4. Getting Started with the IRISPenTM
Step 1: Connect the IRISPenTM
Plug the IRISPenTM in a free USB port (USB 2.0 or higher). When you do this for the first
time, the driver is installed automatically. When the inst allation is complete a balloon
message appears in the bottom corner of the Desktop.
Step 2: Start the application
Double-click the IRISPenTM shortcut on the Desktop.
TM
When you start IRISPen
help you on your way.
Executive 7 for the first time, a Welcome screen appears to
3
Page 5
English English
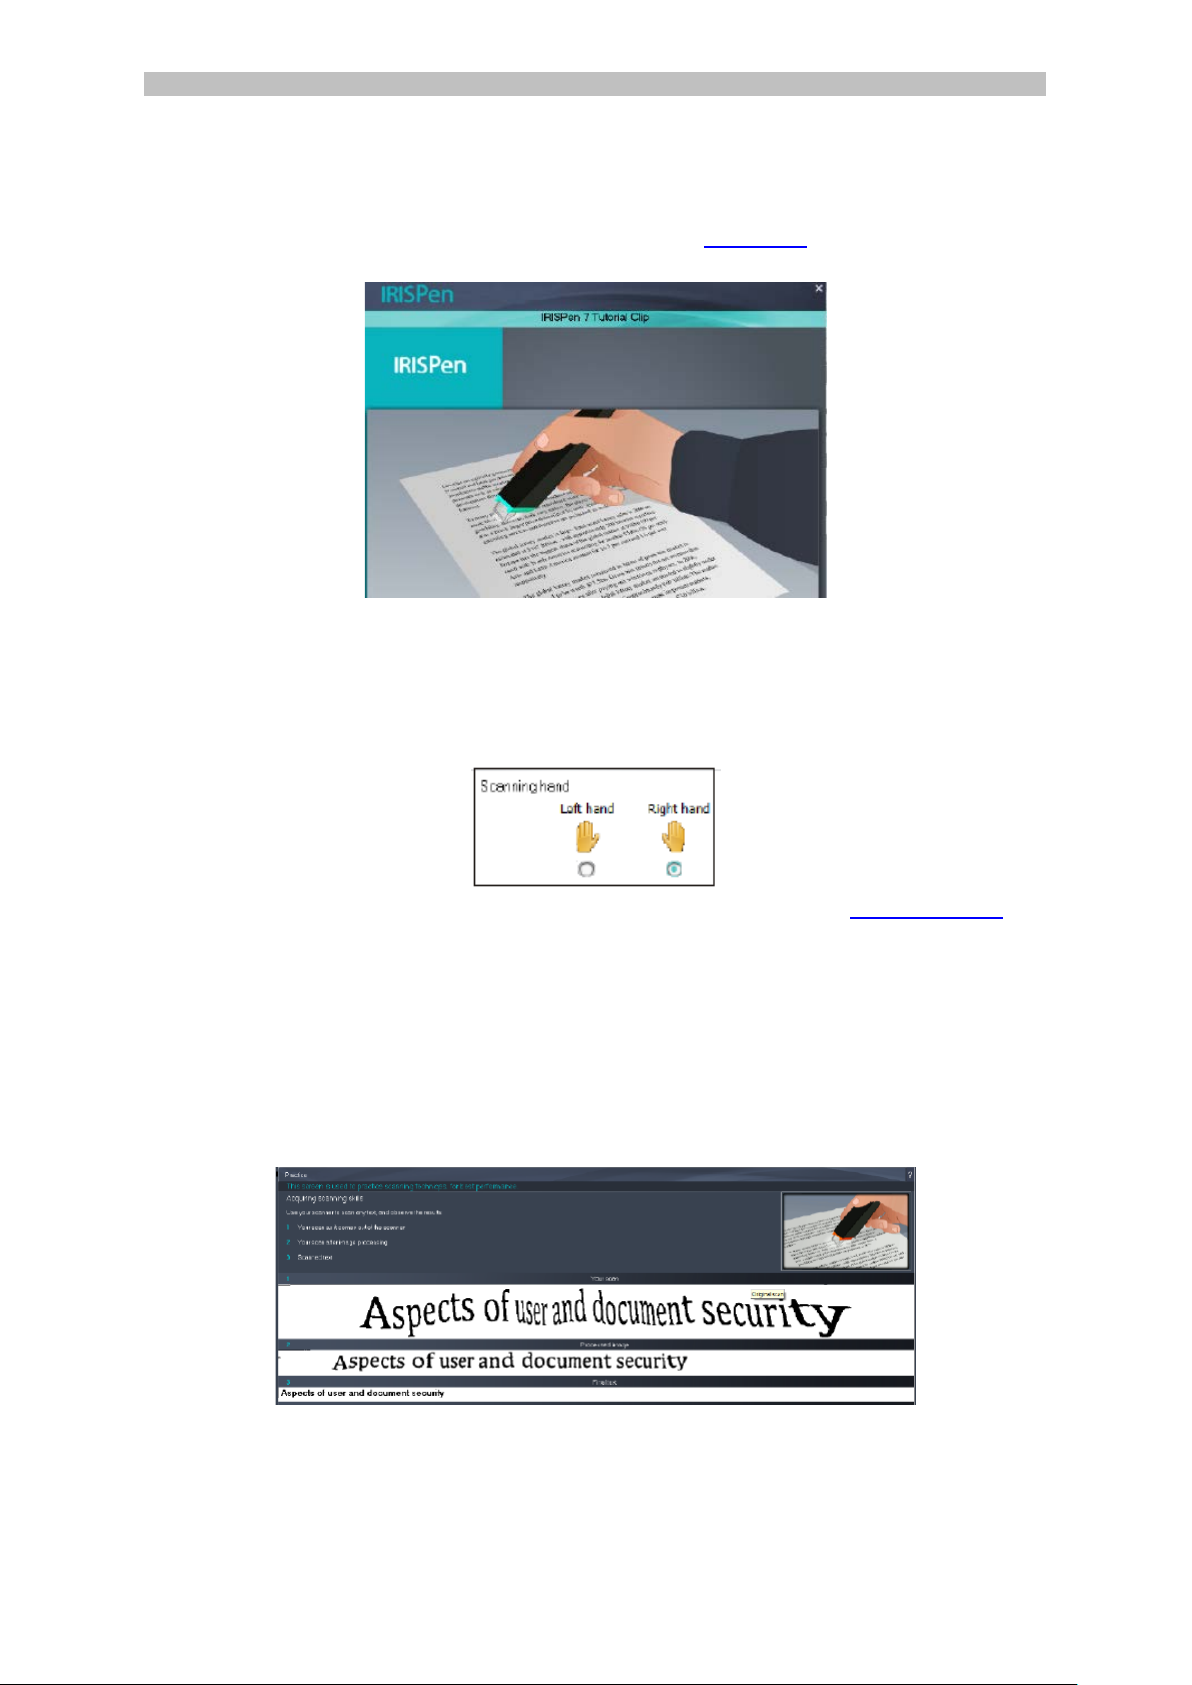
Step 3: Watch the Tutorial
In the Welcome screen, click Next to start the Tutorial.
The Tutorial shows yo u how to scan. Also see the topic Scanning
in this documentation
for scanning tips.
Step 4: Select the Scan Direction
When you have watched the Tutorial, click Next to choose the Scan Direction.
The direction in which y ou scan depends on whether you are right-handed or left-
handed. Therefore, you need to select the scanning hand.
In case you want to change the scanning hand later on, see the topic Configuration
.
Step 5: Practice your Scanning
Click Next to display the Practice screen. Here you can practice your scanning and see
what the res ults look like .
1. In the ribbon, select the language of your documents.
TM
2. Click and slide the IRISPen
Important: hold the pen upright while scanning. Do not scan in a 45 degree
angle or less.
over a line of text and check the results.
Tip: in this screen you can watch the Tutorial again and also a Demo.
When you are done practicing you can do some actual scanning.
4
Page 6

English English
5. Scanning
In this section we ex p lain t he different scanning possibilities of the IRISPenTM.
Before you begin, make sure the IRISPenTM is plugged in in a USB port. If it is not
plugged in, a small cross is displayed on the IRISPenTM icon in the System Tray.
Important Scanning Tips
Bear in mind the following scanning tips that help improve the scanning quality:
• Hold the pen upright to scan text. Do not scan in a 45 degree angle or less.
• Make sure both shar p ends of the scanner tip always touch the page during
scanning.
• Scan one line of text at a time. Make sure the line is approximately in the middle
of the two scanner tips.
TM
• Avoid scanning too slowly. Slide the IRISPen
smoothly, in a fluid motion.
• Avoid applying excessive pressure. Otherwise, the scanning may result in jerky,
uneven motions.
5.1 Scanning Text to Applications
IRISPenTM can scan lines of text into virtually any application that supports text.
1. Select the right language from the list in the ribbon.
IRISPen
2. Click the tab Scan to doc / app.
The option Scan as > text is selected by default.
3. Open the application to which you want to scan.
Note that the application must be text-compatible. E.g. Microsoft Word.
4. Click with the mouse inside the open application.
5. Click and slide the IRISPen
The recognized text appears in the application. If the scanning was not performed
correctly, animated tips appear on screen.
TM
Executive 7 recognizes 130 languages.
TM
over a line of text.
5
Page 7

English English
Tip: to hear the text read out loud after scanning, select the Say out loud option
on the ribbon.
Note:
By default, IRISPenTM adds a space after each scan, and adds new scans on the same line
in your application until the line is full.
To start a scan on a new line:
TM
• Click and slide the IRISPen
• At the end of the line, click again with the IRISPen
over a line of text.
TM
.
The cursor now moves to the line below. To modify the default settings, see the topic
Configuration
.
5.1.1 Scanning Vertical Text
IRISPenTM Executive 7 can scan vertical text, to scan Japanese text for instance.
To scan vertical Japanese text:
1. Select Japanese from the language list.
2. Then select Vertical on the ribbon.
5.1.2 Scanning Tables
IRISPenTM Executive 7 can scan tables to spreadsheet applications such as Excel:
1. Select Table mode > ON.
2. Open a spreadsheet application an d mouse click inside it.
TM
3. Click and slide the IRISPen
over a table line.
The content is filled in in different cells in the application.
5.1.3 Scanning Numbers
When your documents contain numbers on ly, it recommended activating the numbers
only feature:
1. Select Scan text as > 123... on the tab Scan to doc / app.
5.1.4 Scanning Single Words
To scan single words, in stea d of fu ll lines:
1. Select Text span > Single word.
2. Place the scanner well in front of each word to start the scanning, and also end
the scanning well after each word.
6
Page 8

English English
5.1.5 Scanning Barcodes
1. Select Barcode from the language list.
TM
2. Click and slide the IRISPen
horizontally over a barcode.
Or slide the pen diagonally over a barcode.
5.1.6 Scanning Checks
With IRISPenTM Executive 7 you can also scan the so-called MICR lines you find at the
bottom of cheques.
TM
Note that IRISPen
To scan such codes, select CMC7 from the language list on the ribbon.
recognizes the CMC7 M IC R c o de.
Example of CMC7 MICR code
5.2 Scanning Images
IRISPenTM Executive 7 can also scan lines of text as images to applications. This can
come in handy when scanning logos, signatures or mathematical formulas for instance.
Scan images to an application
1. On the tab Scan to d oc / app, select Scan as > Imag e . All other options are
then deactivated.
2. Open the application to which you want to scan.
Note that the application must support images. E .g. Paint.
3. Click with the mouse inside the open application.
TM
4. Click and slide the IRISPen
It appears as image in the application.
Scan images to the Images Collector
You can also scan images to the Images Collector in the IRISPenTM application.
1. Click the tab Other Options.
2. Click Images Collector.
3. Click and slide the IRISPen
Each line is added as a new image.
over a line of text.
TM
over the line you want to scan.
7
Page 9

English English
4. You can now save all the images to an image scroll. Or copy-paste them to other
applications.
5.3 Scanning Text to Speech
Text you scan can be read out to you by the IRISPenTM application. There are two ways to
scan to speech:
• Directly in an open application.
TM
• In the IRISPen
Note: in either case, make sure your computer is connected to the internet to use this
feature.
Directly in an open application
interface, and then you export the scanned text.
1. Click the tab Scan to doc / app.
2. Select the option Say out loud.
3. Click inside an application and scan like you norm ally scan. The text is read out
loud.
See Scanning Text to Applications
if necessary.
In the IRISPenTM interface
1. Click the tab Other Options > Text to speech.
2. Select the language of the text you will be scanning.
3. To scan singl e word s , s elect the One word option.
TM
4. Click and slide the IRISPen
over a line of text.
The text is read out loud.
8
Page 10

English English
5. To hear the last scan again, click the speaker icon at the top of the screen.
To hear the entire text, click the speaker at the bottom of the screen.
6. To send the scanned text to an application, click Send to in the bottom right
corner.
• Then click Send text to open doc to send it to the application that is
currently open.
• Or click Export to save the text to a .txt file.
5.4 Scanning and Translating Text
Text you scan can be translated on the spot by the IRISPenTM application. There are two
ways to scan and translate text:
• Directly in an open application.
TM
• In the IRISPen
Note: in either case, make sure your computer is connected to the internet to use this
feature.
interface, and then you export the translated text.
Translating text directly into an application
1. Click the tab Scan to doc / app.
2. Select the option Scan as > text.
3. Select the scan language at the top of the ribbon.
4. Select Translate to, and select the target language from the list.
Tip: to hear the text read out loud in the application, select Say out loud.
9
Page 11

English English
5. Open the application to which you want to scan.
Note that the application must be text-compatible. E.g. Microsoft Word.
6. Click with the mouse inside the open application.
TM
7. Click and slide the IRISPen
over a line of text.
The translated text appears in the application.
Translate text in the IRISPenTM interface
1. Click the tab Other Options > Scan & Translate.
2. Select the language of the text you will be scanning in the left column.
3. Select the language into which the text must be trans lated in the right column.
4. To scan singl e word s , s elect the One word option.
5. Click inside the left column.
TM
6. Click and slide the IRISPen
over a line of text.
The text is translated in the right column.
7. To hear the scanned text or its translation read out loud, click the corresponding
speaker icon.
8. To send the scanned text to an application, click Send to at the bottom of each
column:
• Then click Send text to open doc to send it to the application that is
currently open.
• Or click Export to save the text to a .txt file.
10
Page 12

English English
6. Configuration
To access the configuration settings, click the settings icon in the bottom left corner.
Contact
On this tab you can enter your Name, Email and Phone number. If you fill in these fields,
their data is filled in automatically in the contact form when you contact Technical
Support. You can contact Technical Support by clicking
and then Call support.
Personalizing
On this tab you can personalize your IRISPenTM application.
TM
• To start IRISPen
software on startu p.
TM
• IRISPen
updates automatically when new updates are available. In case you
want to avoid automatic updates, clear the op tion Auto Update.
TM
• IRISPen
is available in 20 interface languages. Select the required language from
the list.
• Select the Sc an ni ng h a nd :
• Select Right hand to scan lines from left to right.
• Select Left hand to scan lines from right to left.
automatically when you start your computer, selec t Run this
Image Scan
On this tab you can def ine t he minimal image width. I n ge neral the default width is
recommended (3000). To scan extremely small text you can increase the minimal image
width. The higher this v alue, the smaller the text you can scan.
Separators
The separators determine how the lines you scan will be separated.
TM
Scan separator: select what IRISPen
must do after you have sca nned a line.
11
Page 13

English English
Click separator: select wha t IR ISP enTM must do when you click the pe n af t er you have
scanned a line.
TM
Table separat o r: select what IRISPen
must do when scanning tables in Table mode.
Scan corrections
Scan corrections help you improve your scanning technique. Scan corrections can be
shown as animations, balloon messages or not at all.
7. Troubleshooting
Should you experience issues when using the IRI SPenTM Executive 7:
• Consult the Troubleshooting section in the interface.
• Click the question marks in the interface to access the Help file.
• Contact I.R.I.S. support at www.irislink.com/support
.
12
Page 14

© Copyright 2014 I.R.I.S. s.a./n.v.
All rights reserved for all countries. I.R.I.S.,
I.R.I.S.’ product names, I.R.I.S.’ logos and I.R.I.S.’
product logos are I.R.I.S. trademarks. All
other products and names mentioned are
trademarks or registered trademarks from
their respective owners.
I.R.I.S. - Louvain-la-Neuve (Belgium)
I.R.I.S. AG - Aachen (Germany)
I.R.I.S. Inc. - Delray Beach (United States)
I.R.I.S. HK Ltd - Hong Kong (China)
T140117-01
Visit us at www.irislink.com
 Loading...