

Page 1
User guide
Page 2

IRISCompressor
TM
– User guide
Table of Contents
Introduction ........................................................................ 1
IMPORTANT NOTES ......................................................................... 1
Legal Notices ..................................................................... 3
Installation and Setup ................................................................. 5
System Requirements ......................................................... 5
Installation .......................................................................... 5
Activation ........................................................................... 7
Automatic Update .............................................................. 9
Registration ........................................................................ 9
Uninstall ........................................................................... 10
Using IRISCompressor ............................................................. 11
iii
Page 3

IRISCompressor
TM
– User guide
INTRODUCTION
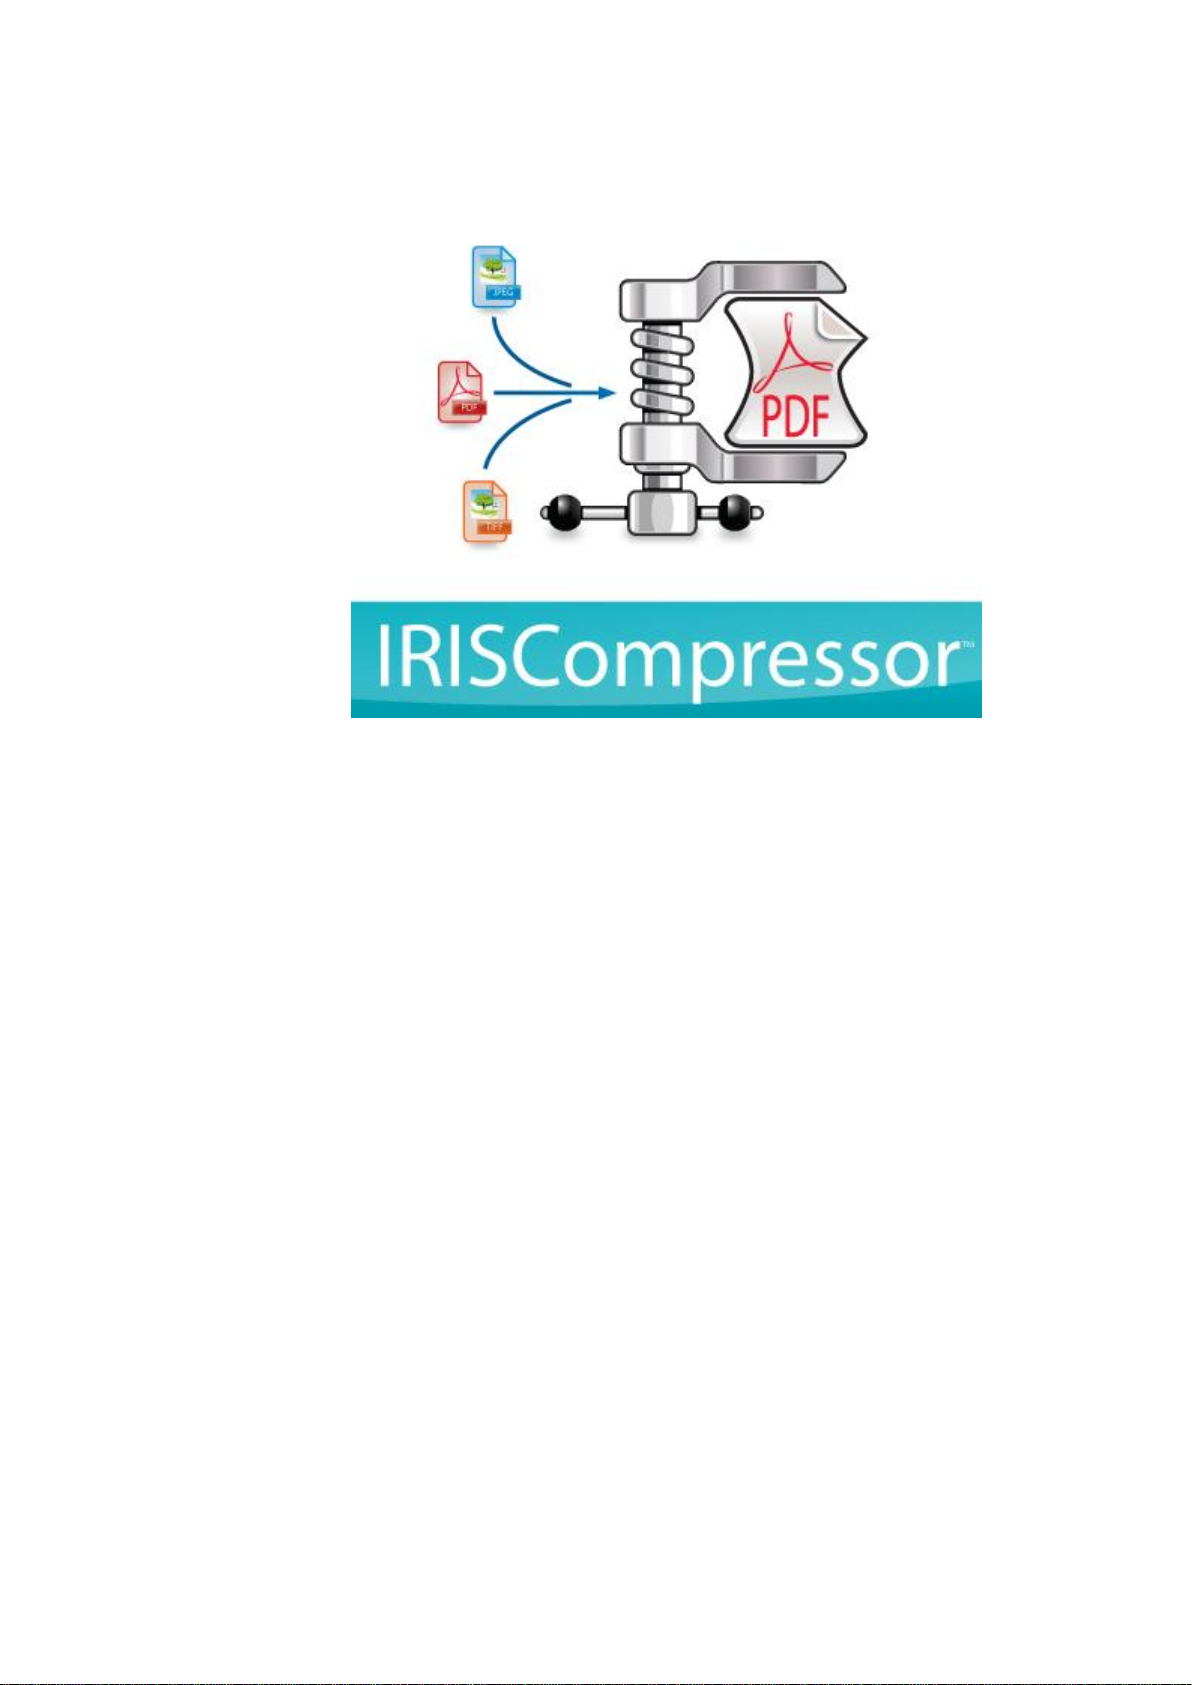
IRISCompressor is a handy compression tool that allows you to
convert your image and PDF files into compressed PDF or XPS
files in just a few mouse clicks.
The PDF and XPS files IRISCompressor generates are fully textsearchable, thanks to I.R.I.S.' OCR technology (Optical Character
Recognition).
IMPORTANT NOTES
IRISCompressor can process one image file or PDF file at a time. A
file may contain up to 10 pages. The OCR can be done in the
language you select during installation.
In case you want to process more files at the same time, switch to
IRISCompressor Pro.
In case you need to compress larger input files or entire batches of
files, we can recommend other I.R.I.S. products such as Readiris
and IRISDocument Server. These products also support a vast
number of OCR languages. Visit the I.R.I.S. website
http://www.irislink.com for more information.
The information and procedures provided in this documentation are
based on the Windows 7 operating system.
1
Page 4

IRISCompressor
TM
– User guide
LEGAL NOTICES
ICOMP_Normal-dgi/pko-25012012-04
Copyrights
Copyrights ©2011-2012 I.R.I.S. All Rights Reserved.
I.R.I.S. owns the copyrights to the IRISCompressor software and to
this publication.
The information contained in this document is the property of
I.R.I.S. Its content is subject to change without notice and does not
represent a commitment on the part of I.R.I.S. The software
described in this document is furnished under a license agreement
which states the terms for use of this product. The software may be
used or copied only in accordance with the terms of that agreement.
No part of this publication may be reproduced, transmitted, stored
in a retrieval system, or translated into another language without the
prior written consent of I.R.I.S.
Trademarks
The I.R.I.S. logo and IRISCompressor are trademarks of I.R.I.S.
OCR ("Optical Character Recognition"), IDR ("Intelligent
Document Recognition") and iHQC ("intelligent High Quality
Compression) technology by I.R.I.S.
All other products mentioned in this publication are trademarks or
registered trademarks of their respective owners.
iHQCTM patent-protected. US Patent No. 8,068,684.
3
Page 5
IRISCompressor
TM
– User guide
INSTALLATION AND SETUP
SYSTEM REQUIREMENTS
This is the minimal system configuration required to use
IRISCompressor:
A Pentium-based PC.
128 MB RAM.
115 MB free disk space.
Microsoft Windows XP, Windows Vista, Windows 7 Operating
System.
INSTALLATION
Before you start the installer:
Check if you need the 32-bit or 64-bit version; go to the Windows
Control Panel, and click System. Then check your System type.
5
Page 6
Installation and Setup
To install IRISCompressor:
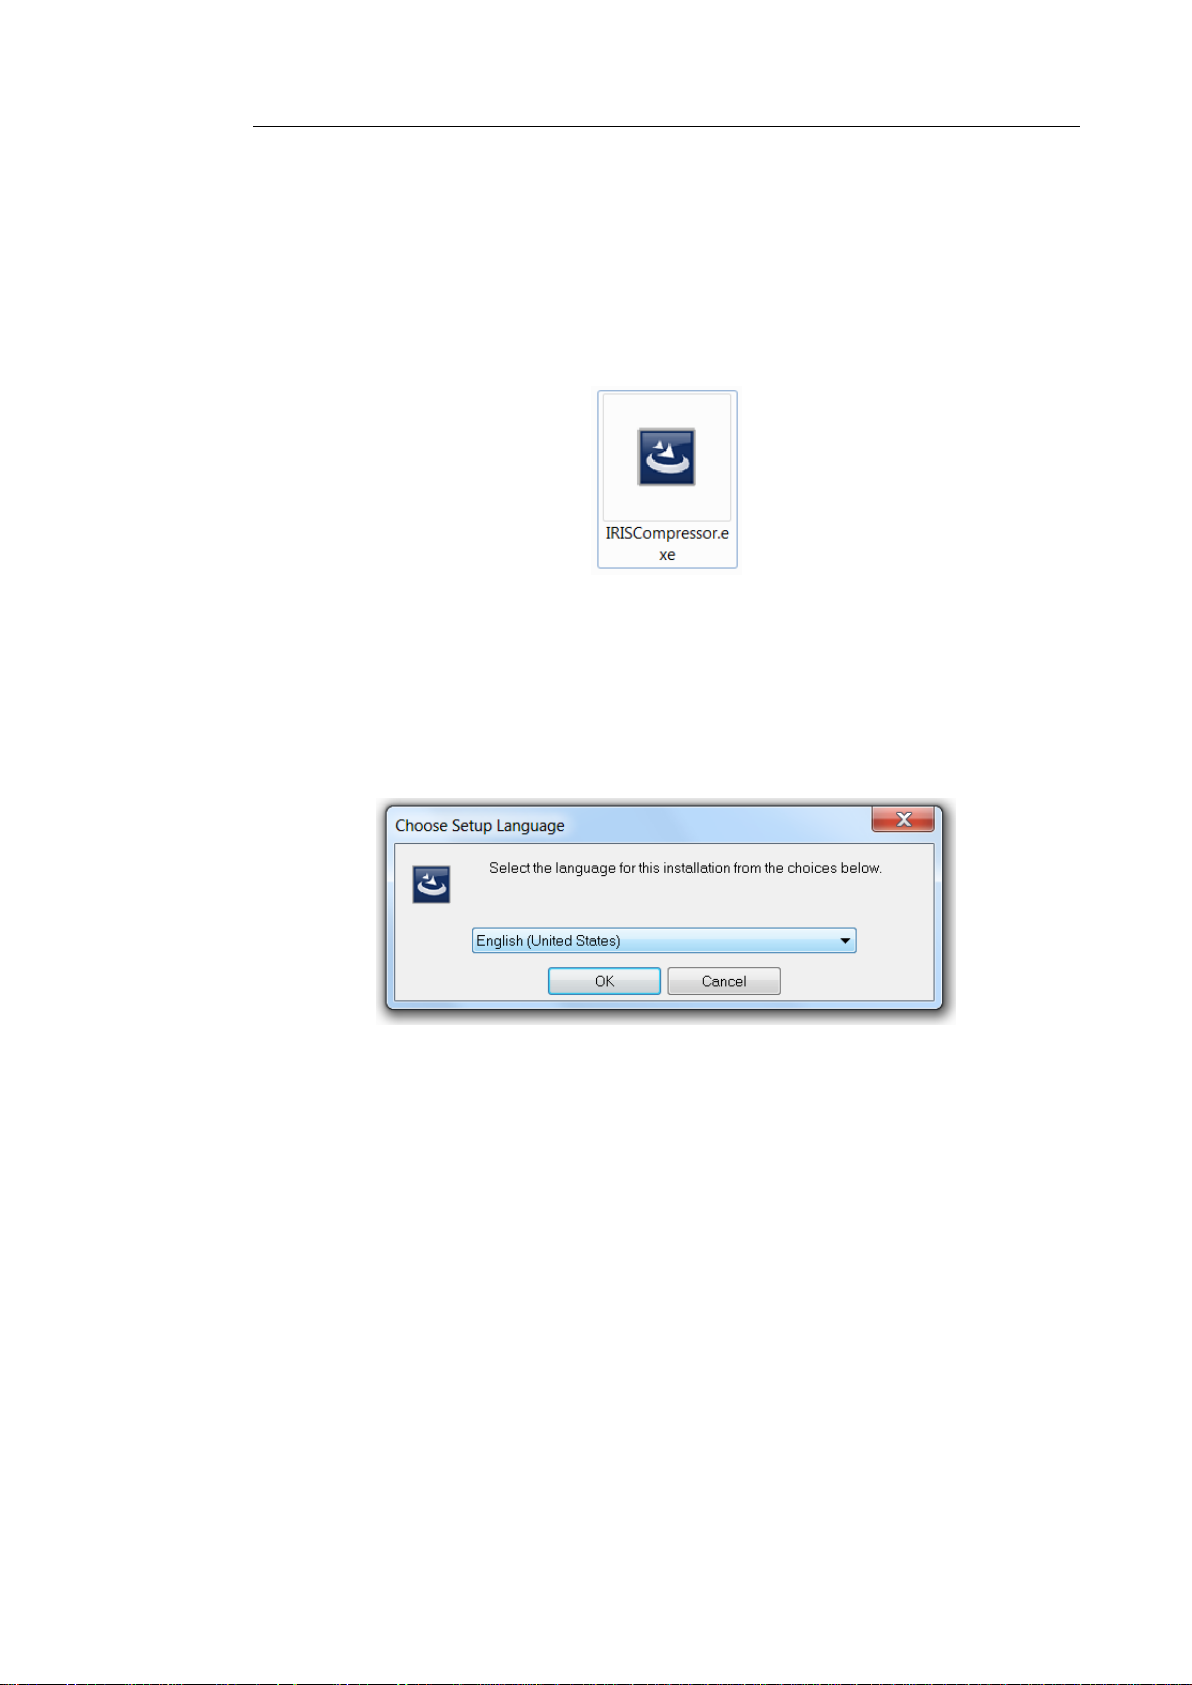
ESD version: download the installer to your computer.
Double-click the installer to start it.
Select the Setup language and click OK.
ATTENTION IRISCompressor Standard: the language you
select here will also be the language in which you can recognize
your documents (IRISCompre.
Then, click Next and follow the on-screen instructions.
Select I accept the terms in this license agreement and click
Next.
Enter a User Name and Organization (optional).
Select the destination folder where IRISCompressor will be
installed, and click Install.
The default folder is C:\Program Files\I.R.I.S.\IRISCompressor.
Click Finish to complete the installation.
6
Page 7
IRISCompressor
TM
– User guide
It is not recommended to have more than one version of
IRISCompressor installed at the same time. In case you want to
upgrade to a superior version, always uninstall your current version
first before installing the superior version. See the topic Uninstall
for more information.
ACTIVATION
Once you have installed IRISCompressor you need to activate it.
Unactivated copies of IRISCompressor are only available for use
for ten days.
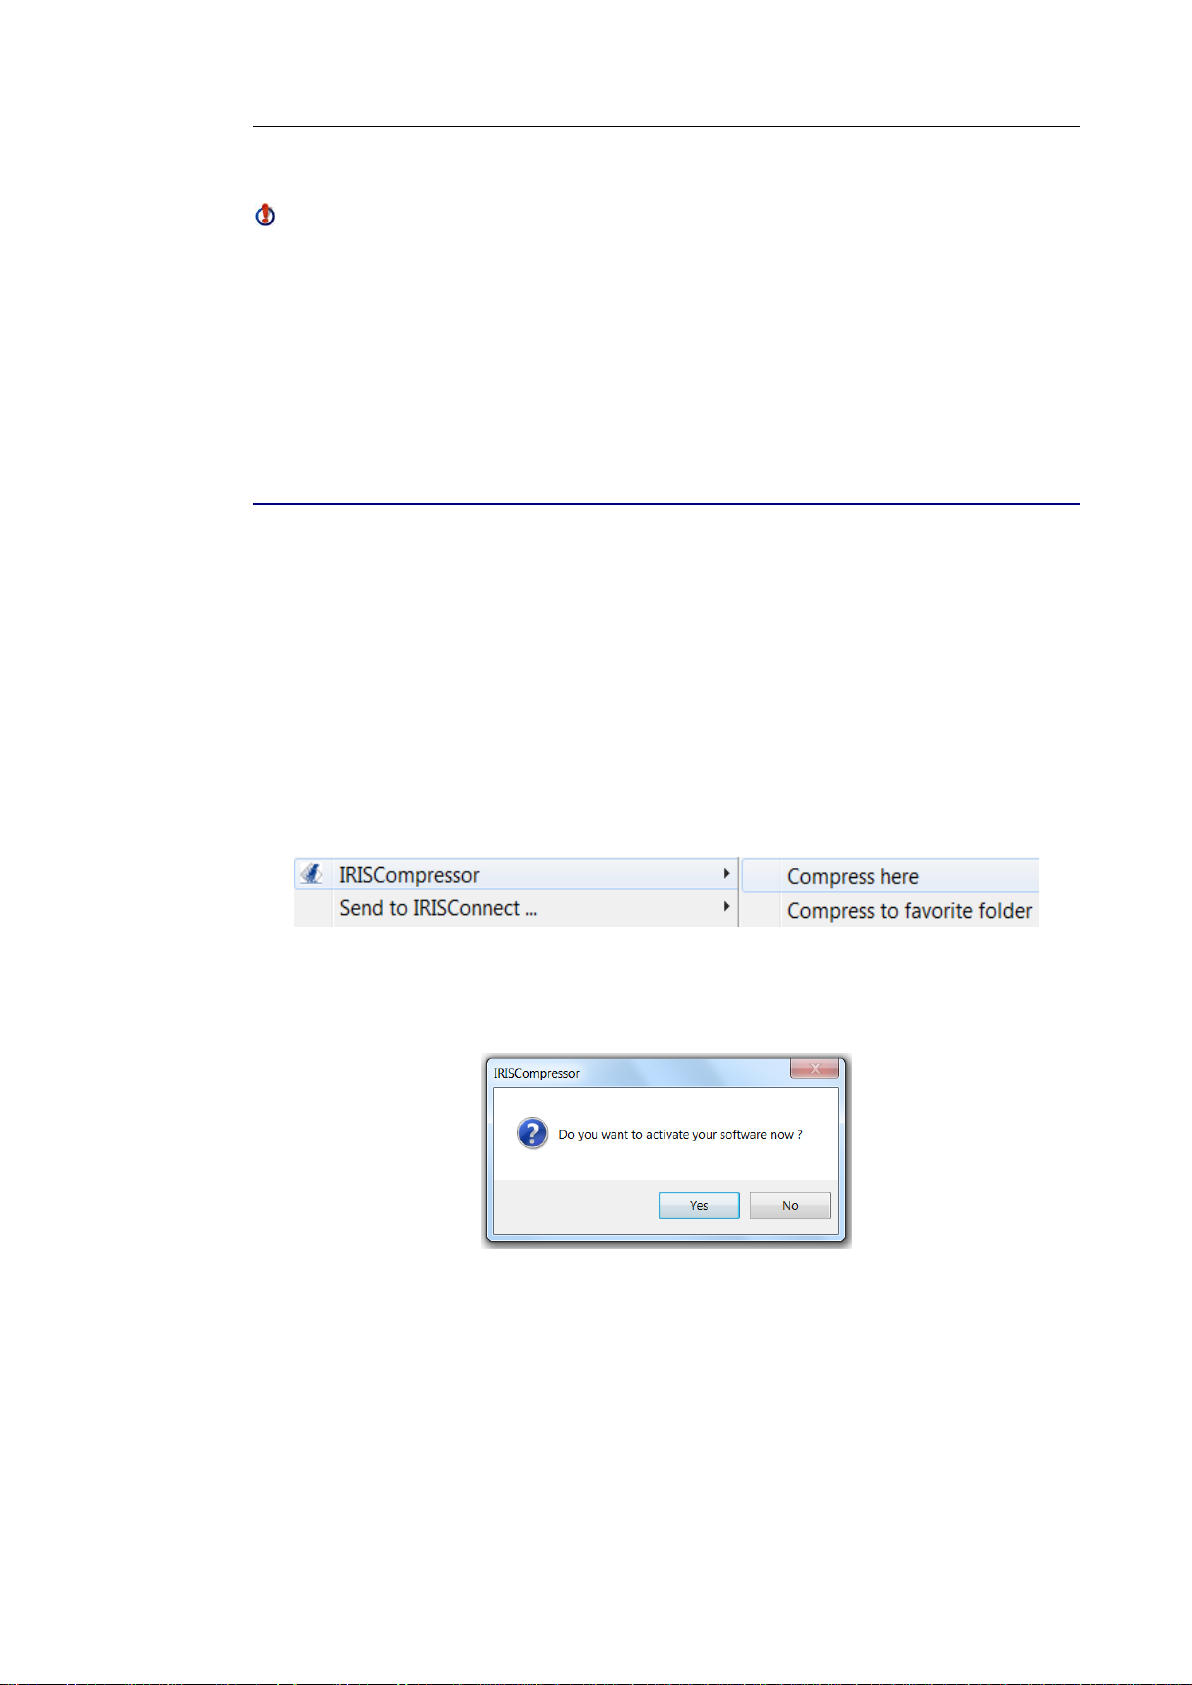
To activate IRISCompressor:
Right-click a file you want to compress, and click
IRISCompressor > Compress here in the menu that appears.
You are prompted to activate IRISCompressor. Choose Yes to
do so.
Fill in your activation key in the Activation key field.
If you downloaded an ESD version of IRISCompressor
(Electronic Software Delivery), the activation key was sent to
you by e-mail.
7
Page 8

Installation and Setup
If you purchased a regular version you find the activation key
inside the product box.
Then click Next and follow the on-screen instructions.
Note that an internet connection is required to complete the
activation.
In case you do not have an internet connection on this machine
but still want to do the activation, then click Next anyway. A
new dialog box appears. Select Manual Activation and follow
the instructions described there.
8
Page 9
IRISCompressor
TM
– User guide
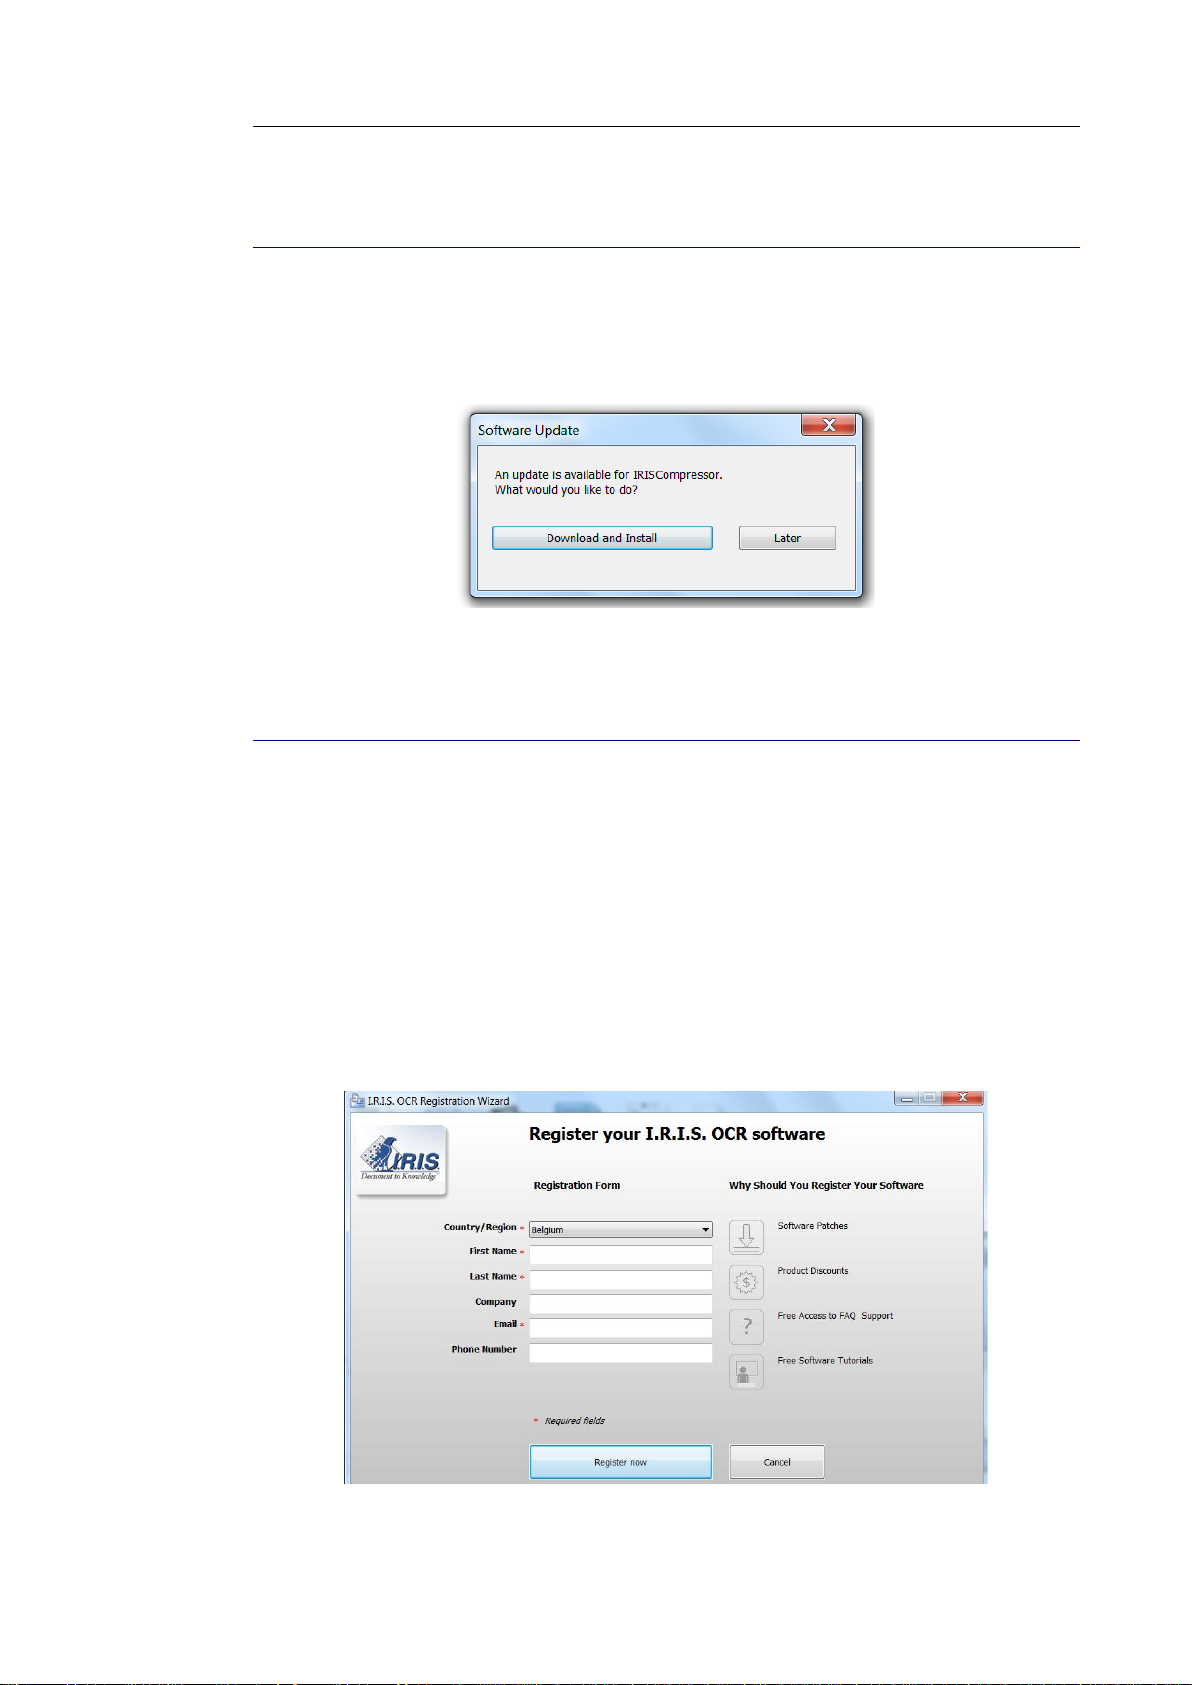
AUTOMATIC UPDATE
Each time a new update is available you will be prompted to install
it. Click Download and Install to do so.
REGISTRATION
When you launch IRISCompressor for the first time, you are
prompted to register. Registering your copy of IRISCompressor
offers such benefits as product updates, product support, discounts
on new products, and so on.
To register:
Fill out the registration form, then click Register now.
9
Page 10

Installation and Setup
UNINSTALL
To uninstall IRISCompressor:
Close IRISCompressor.
Go to Windows Control Panel.
Click Programs and Features.
Then select IRISCompressor from the list and click Uninstall.
10
Page 11

IRISCompressor
JPEG
JP2K
(JPEG2000)
BMP
TIFF
PDF*
GIF
PNG
TM
– User guide
USING IRISCOMPRESSOR
With IRISCompressor you can compress your image and PDF files
into compressed PDF or XPS files.
Supported image file types
IRISCompressor is able to compress the following image file types:
*Attention: PDF files are compressed best when they contain
images. PDF files that only contain text will hardly be reduced in
size.
To compress your image or PDF files:
Select the files you want to compress.
Note: IRISCompressor can compress a maximum number of 10
pages at a time. So, make sure the total number of pages does not
exceed 10. For your information, 1 image corresponds to 1 page.
If you try to compress documents that contain more than 10
pages, only the first 10 will be processed.
11
Page 12

Using IRISCompressor
Then right-click them and point to IRISCompressor in the
menu that is displayed.
Click Compress here to compress the file in the same location
as the original.
Your files are converted to compressed PDF files by default.
Note: if you convert regular PDF files into compressed PDF files,
the original files are replaced by the compressed versions.
The output files IRISCompressor generates are by default text-
searchable, thanks to I.R.I.S.' OCR technology.
Important note: Adobe Reader is recommended to open
compressed PDF files on a mobile OS (e.g. on an iPad or Android
tablet)
Click Compress to favorite folder to compress the file to a
specific folder. The default folder is your Documents
(C:\Users\"YourUser"\Documents).
To change the default settings:
Right-click a file.
Point to IRISCompressor, and click Options.
12
Page 13

IRISCompressor
Format
TM
– User guide
Select the output format you want to generate: PDF or XPS.
Important note: Adobe Reader is recommended to open
compressed PDF files on a mobile OS (e.g. on an iPad or Android
tablet)
OCR
Select Enabled in case you want IRISCompressor to recognize the
text in your images. IRISCompressor will then generate textsearchable output files. If OCR is disabled, IRISCompressor just
compresses your images without recognizing the text.
Note: the OCR language is the one you selected during installation.
To select a different OCR language, remove and reinstall the
application while selecting a different language.
Note: make sure the OCR language you select corresponds to the
language of your files. Selecting the wrong language will lead to
unsatisfactory OCR results.
13
Page 14

Using IRISCompressor
Favorite Output Folder
The Favorite Output Folder is the folder where IRISCompressor
generates the compressed output files. By default, this folder is
C:\Users\"YourUser"\Documents. Click the browse button to
change it.
Advanced options
Select Auto Deskew in case you are processing images that are
not entirely straight - or "skewed". The Auto Deskew option
straightens your images.
Note: the skew angle may not exceed 10 degrees.
Select Auto Orientation in case you are processing a
combination of images with vertical text and images with
horizontal text. The Auto Orientation option rotates all images
to the same direction.
Note: the images must contain text in order for IRISCompressor
to do the orientation.
14
 Loading...