


TM
DUO
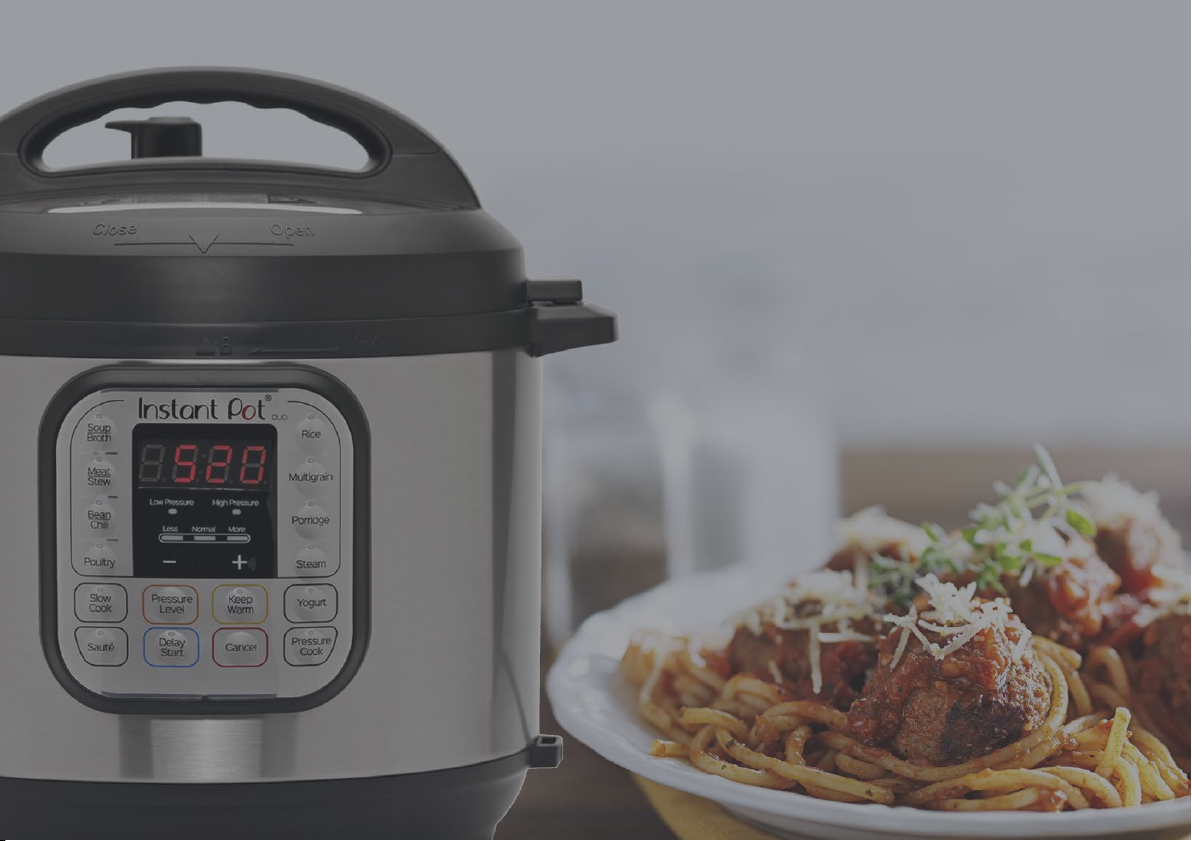
Multi-Use Pressure Cooker
Welcome
Initial Setup
Cooker Parts Overview
Getting Started
Venting Methods
Initial Test Run (Water Test)
More Controls & Smart Programs
Support & Contact Information
Getting Started Guide
Full manual and instruction videos available at instantpot.com
Register your product today at instantpot.com/support/register

Welcome to the world of Instant cooking.
Hello! Thank you for welcoming us into your kitchen.
Having families ourselves, we developed the Instant PotTM Duo
TM
to
allow busy families and professionals alike to cook healthy, delicious
meals more easily and in less time.
We have partnered with chefs, authors and bloggers to compile a
collection of recipes that we hope you enjoy!
Happy Cooking!
Download the Instant Pot App
Robert J. Wang
Founder & Chief Innovation Ofcer
2
• 1000+ Recipes
• New User Tips
• Getting Started Videos

Initial Setup
• Remove all packaging material from in and around the
cooker, and verify that all parts are accounted for.
• Place the cooker on a stable, level surface, away from
external heat sources.
• Read all Important Safeguards in the included Safety,
Maintenance & Warranty booklet before use. Failure to do so
may result in property damage and/or personal injury.
• Follow Care & Cleaning instructions in the included Safety,
Maintenance & Warranty booklet to wash the cooker before
cooking.
• Do not remove safety warning stickers from lid, serial number
from bottom, or rating label from back of cooker base.
CAUTION
Never use the cooker on a stovetop. Do not place appliance on or in close proximity to
a hot gas or electric burner, or a heated oven; heat from an external source will
damage appliance.
3
Cooker Parts Overview
4

Cooker Parts Overview
Top of Lid
Bottom of Lid
Inner Pot
Cooker Base
Images are for reference only. Refer to actual product.
Cooker Parts Overview |
5

Getting Started

1
Open & Close Lid
When cooker is plugged in, it will play a jingle when the lid is opened and closed.
Open Close
Open: Grip handle and turn lid counter-clock-
wise until symbol on lid is aligned with
symbol on rim of cooker base. Lift lid up and
off of cooker base.
*
Note: Always check lid for damage prior to cooking.
Close: Grip handle and align the symbol
on lid with on rim of cooker base.
Lower lid into track, then turn lid clockwise
until symbol on the lid lines up
with indicator on base.
Getting Started |
7
 Loading...