

Ingenico EFT930G/B Quick Start Manual
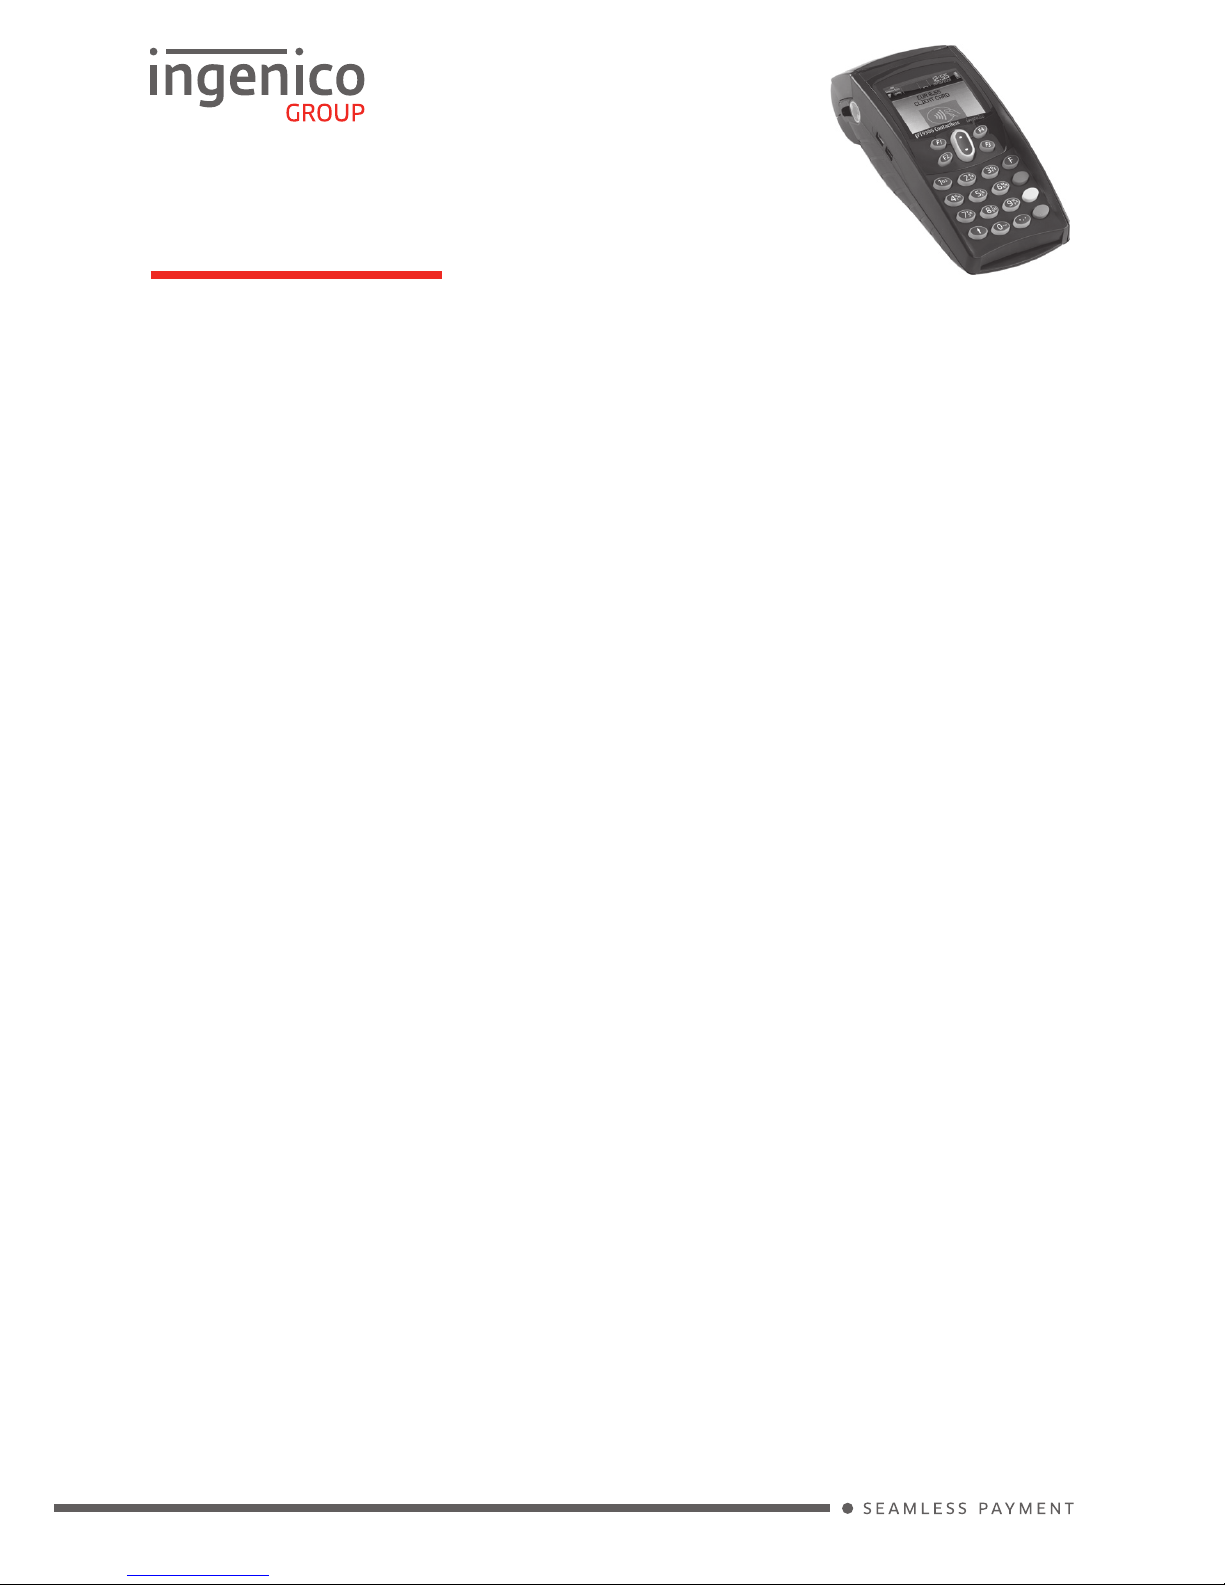
Quick Start Guide
EFT930G/B
Please refer to the brochure enclosed with your terminal for important safety information regarding the equipment and its use,
and to the terminal User Guide which you can nd online at www.ingenico.co.uk for other relevant compliance information.
EFT930G: Connect the base unit to the power supply; ensure it is switched off. Place the terminal
onto the base and switch on the power. Leave to charge for a minimum of 2 hours before installing
the terminal.
EFT930B: Connect the base unit to the power supply; ensure it is switched off. Connect one end of the
telephone/network cables to the base unit and the other end to a suitable telephone/network
socket. Place the terminal onto the base and switch on the power. Leave to charge for a minimum
of 2 hours. Press the green ENTER button when prompted; a number of screens will be displayed
whilst the terminal assigns to the base.
When prompted, key in your Merchant Number and press ENTER; the installation process will begin. A
number of screens will be displayed whilst the terminal is being congured by the host computers.
The terminal will conrm the status of the conguration to the host and will print a list of card types
that are accepted. Your terminal is now ready to use. If any cards have failed to be congured the
terminal will print these as ‘Card Types Not Accepted’; contact the helpdesk.
GETTING STARTED
SUPERVISOR PASSWORD
(if congured)
F1-F4 Keys: Function keys which enable scrolling up and down menus.
Menu Key: To enter the application menus press the Menu key from the READY prompt. Pressing
the key again moves to the next menu (if available).
Correction Keys: When entering numbers or letters, the yellow CLEAR key deletes one character
at a time, whilst the red CANCEL key deletes the entire line (this key also cancels transactions).
Conrmation Key: The green ENTER key is used to conrm anything that has been typed into
the terminal.
Paper Feed Key: To test the feeding of the paper through the printer, press and hold the CLEAR key.
FUNCTION KEYS
The default Supervisor Password is 0000. Note: You will be prompted to change this.
Customer cards must be inserted with the chip upwards. Push the card fully into the slot below the
keypad and follow the instructions on screen. DO NOT remove the card until instructed to do so by
the terminal. If you see a BAD READ message, check the card orientation and try again. After three
bad reads the terminal may prompt you to swipe the card.
THE CHIP CARD READER
PERFORMING A SALE TRANSACTION
A sale transaction may be initiated from the READY prompt by keying in the transaction amount and
pressing ENTER. Follow the terminal prompts to Insert/Swipe/Present the customer’s card. Note:
You will only be given the option to present the customer’s card if the transaction value is below the
maximum Contactless limit. If your terminal is congured for ‘Card Details First’, please refer to the
relevant section of the full User Guide available at www.ingenico.co.uk/userguides.
Insert/Swipe the customer’s card or key in the card number. The customer must enter their PIN code if
requested. Important: Never ask the customer to divulge their PIN. The terminal will now dial
out to the acquirer for authorisation. If the transaction is authorised then an ‘Auth Code’ will be
displayed and printed on the receipt. The terminal will print two receipts. The Customer Copy will be
printed rst, then once you press ENTER the Merchant Copy will be printed.
DIV434730B
Copyright © 2014 Ingenico UK Ltd
ALL RIGHTS RESERVED
www.ingenico.co.uk
From the READY prompt press the MENU button, then (F2) until REFUND is highlighted and press
ENTER. Key in the refund amount and press ENTER. If prompted, enter the Supervisor Password
and then press ENTER or swipe the Supervisor Card. Insert or swipe the customer’s card. The
terminal will dial out to the acquirer for authoristation, if the refund is authorised then REFUND
ACCEPTED will be shown.
The terminal will print the Merchant Copy which the customer must sign. Remove the card. Check the
signature on the Merchant Copy with that on the card. If the signature is valid press ENTER,
otherwise press CLEAR. The terminal will then print the Customer Copy.
REFUND TRANSACTIONS
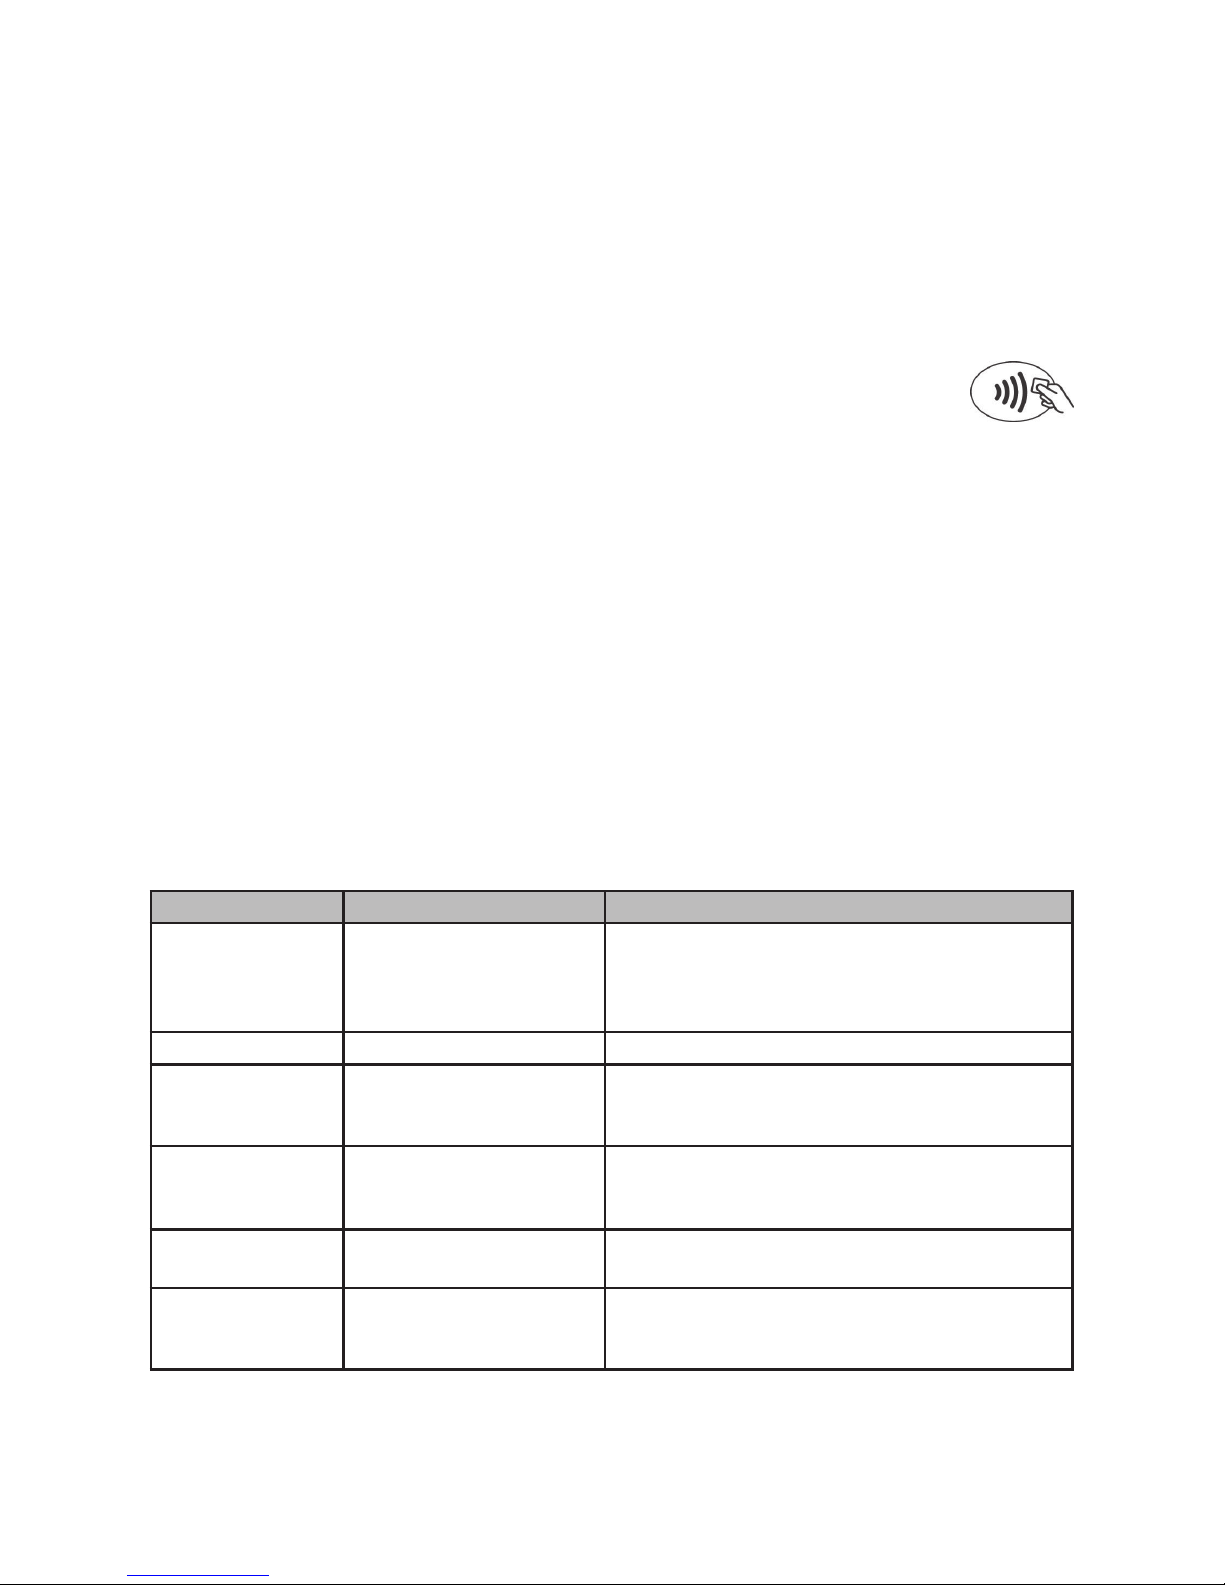
From the READY prompt enter the sale amount for the transaction and press ENTER. A
Contactless symbol will be displayed if the amount entered is below the maximum Contactless
limit. The cardholder should present their card over the Contactless symbol on the terminal display.
The terminal will now print the Merchant receipt. If the customer requests a receipt this must be
done before the next transaction takes place. From the idle screen press the decimal point key to
print a customer receipt.
CONTACTLESS - SALE
END OF DAY REPORTS
To access the reports menu press the MENU key until the System Menu is displayed. Press ENTER
to select Totals. End-of-Day-Banking will be highlighted; press ENTER to select. Key in your supervisor
code and press ENTER or swipe your supervisor card. (Follow the display prompts or refer to the
User Guide.) The terminal will either go online to the acquirer to conrm the totals before printing
the report or will print out a report showing the totals. End-of-Day-Banking should be performed
every day as this is your conrmation of the transaction totals that have been sent to the acquirer.
To download a detailed User Guide for the EFT930 please visit www.ingenico.co.uk/userguides
Frequently Asked Questions, including advice on installation, are available at www.ingenico.co.uk/faqs
ONLINE RESOURCES
Prompt Possible Cause Remedy
CALL AUTH
CENTRE
Assistance required Call the Authorisation Centre on the number
displayed by the terminal. Once you have
spoken to the Authorisation Centre press
ENTER and follow the prompts displayed.
CALL HELPDESK Assistance required Please contact your Helpdesk.
NOT
AUTHORISED
The card issuer has
declined to authorise the
transaction
Ask the customer to pay by some other means
and press the yellow CLEAR button.
REFERRAL Assistance required Call the Authorisation Centre on the number
displayed by the terminal and quote the referral
message and your Merchant Number.
UNABLE TO
AUTHORISE
Transaction declined by
the card
Ask the customer to pay by some other means
and press the yellow CLEAR button.
UNABLE TO
CONNECT
Terminal not
connecting to host
Check the telephone line or network cable is
connected properly. Call the Helpdesk for
guidance.
COMMON PROMPTS
 Loading...