

Page 1

1
ANI selective code (push [PTT])
Beep Beep
Beep
Answer back (automatic)
Disconnect code ([PTT]+[#])
Confirmation code (automatic)
Connection code (push [PTT])
Beep Beep
Beep
Non-code operation
‘‘
The ANI (Automatic Number Identification) function is a method of selective calling which features an answer back function. This allows
you to confirm whether or not a call has reached the receiving party ,
even if the operator is temporarily away from the transceiver.
In order to use the IC-V8’s ANI function, the optional UT-108
DECODER UNIT
transceiver-self or PC, using the optional CS-V8
Once ANI mode is selected, the transceiver cannot be used in fre-
quency indication mode unless frequency indication mode is selected
ANI FUNCTION
General
must be installed, and programming is necessary via
CLONING SOFTWARE
(initial set mode or PC cloning), or the CPU is reset.
DTMF
.
1
Page 2
ANI FUNCTION
MR
F
TX
MR
F
TX
MR
F
TX
MR
F
TX
‘‘
Preparation
q Push [✱•
OPTION
] after [A•
FUNC
] is pushed
to select the pager mode.
• Repeat several times if necessary.
• 100MHz digit shows “P.”
w Program your ID and the station codes.
• Set your ID into channel C0 and station codes into C1 to C6.
➥ Push [8•
SET
] after [A•
FUNC
] is pushed.
➥ Rotate [VOL] to select the code channel.
➥ Enter the desired 3-digit ID code.
➥ Push [#•
ENT
] to return to the previous indication.
e Set the operating frequency, code channel and other conditions,
such as tone squelch, tone frequency, etc., if desired.
•
When selecting tone frequency, you must deactivate the pager mode.
➥ Push [8•
SET
] after [A•
FUNC
] is pushed.
➥ Rotate [VOL] to select the code channel.
➥ Push [#•
r Push [C•MR] for 1 sec. after [A•
ENT
] to return to the previous indication.
FUNC
] is pushed, to program the
contents into the desired memory channel.
t Repeat steps e and r to program other settings.
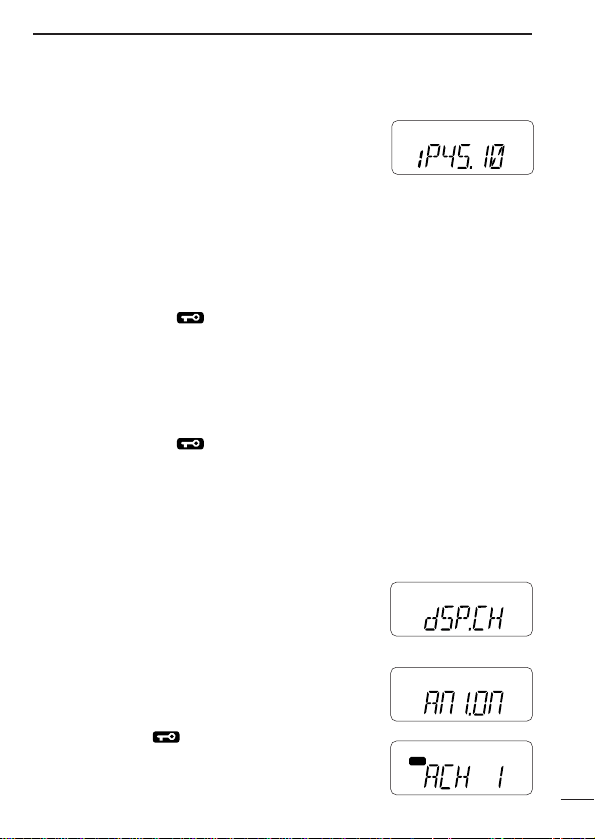
t Select channel number indication mode.
➥ Turn the power OFF.
➥ Turn the power ON while pushing and holding [∫] and [√].
➥ Push [∫] or [√] several times until “dSP.”
appears.
➥ Rotate [VOL] to select “dSP.CH.”
y Turn the ANI mode ON.
➥ Push [∫] or [√] several times until “ANI.”
appears.
➥ Rotate [VOL] to select “ANI.ON.”
u Push [#•
ENT
].
• ANI mode is selected— “A” is displayed as
at right.
1
2
Page 3

1
MR
F
TX
ANI FUNCTION
‘‘
Operation
D Calling a specific station
q Turn the power ON.
w Push [∫] or [√] or rotate [VOL] to select the desired channel, de-
pending on [VOL] assignment setting.
• “A” is displayed beside the channel number on the ANI set channel.
e Push [8•
desired code channel C1 to C6.
• Push [#•
r Push [PTT] to connect to the selected station, or enter the 3-digit
ANI code after [✱•
not necessary to push [PTT]— the unit transmits automatically
after 3rd digit code is entered).
• Transmits the pre-programmed station code.
t When the transceiver rings (an answer back is received), wait
for a connection code from the connected station; when the
transceiver doesn’t ring, push [PTT] again to exit the standby
condition, then try again from step e after waiting a while.
When the connection code is received, a beep sounds, then “ ”
y
flashes; when the connection code is not
received within 10 sec., the transceiver
transmits a disconnect code automatically
(“ ” does not flash). Try again from step e
after waiting a while.
u When
• Push [PTT] to transmit; release to receive.
i When your conversation is finished, push [#•
pushing and holding [PTT] to transmit a disconnect code.
SET
] after [A•
ENT
“”
flashes, you can converse with the connected station.
FUNC
] is pushed, then rotate [VOL] to select
] to return to the previous conditions.
OPTION
] is pushed, if desired (in this case it is
ENT
] while
NOTE:
When your conversation extends into the time-out time, the
transceiver transmits a disconnect code automatically.
3
Page 4

• ANI operation flow chart
Try again after a while
No
No
Yes
Receive an
answer back
code
Receive
a connection
code
Transmit
a station code
Converse
Transmit
a disconnect code
manually
Push [PTT] to
exit standby
Transmits
disconnect code
automatically
ANI FUNCTION
1
4
Page 5

1
ANI FUNCTION
D Calling group stations
q Select the desired ANI set channel.
FUNC
] or [D•
CLR
w Enter the 3-digit group code, including [A•
OPTION
least once, after [✱•
• Transmits automatically after the 3rd digit code is entered.
• When making group calls, the transceiver does not ring and no answer back connection code is received.
• You can make an announcement to your group immediately without
a connection procedure.
• “ ” flashes.
] is pushed,
] at
e Operate the transceiver in the normal way (push [PTT] to trans-
mit; release [PTT] to receive).
r When your conversation is finished, push [#•
ENT
] while
pushing and holding [PTT] to transmit a disconnect code.
D Group code examples
[Example 1]
If the “11D (11A)” is transmitted, the transceivers with ID codes
“110” to “119” are called.
[Example 2]
If the “1D3 (1A3)” is transmitted, the transceivers with ID codes
“103,” “113,”...“183” and “193” are called.
NOTE:
When “DDD (AAA)” code is transmitted, all transceivers are
called.
5
Page 6

ANI FUNCTION
MR
F
TX
SKIP
MR
F
TX
MR
F
TX
D Waiting for a call
q Select the desired ANI set channel, or push
SCAN
] after [A•
[5•
w When receiving a selective call, the dis-
play changes as at right, and ringing
beeps are heard.
e Push [PTT] to send a connection code within 10 sec.
• A disconnect code is sent automatically instead of a connection
code in case [PTT] operation is not performed within 10 sec.
r While
“”
• Transmitting the disconnect code from your side (push [#•
while pushing [PTT]) is also available. (except for group call receive)
• “ ” stops flashing.
FUNC
] is pushed.
flashes, converse with the connected station.
ENT
1
]
6
Page 7

1
MR
F
TX
MR
F
TX
ANI FUNCTION
‘‘
Relative functions
The following functions for the ANI operation are added to the initial
set mode when the optional UT-108
DTMF DECODER UNIT
is installed.
Initial set mode programming
q Turn the power ON while pushing and holding [∫] and [√].
w Push [∫] or [√] several times to select the desired item.
e Rotate [VOL] to set the condition or value.
• Push [#•
ENT
] to exit the initial set mode.
D Lock out function
Turns busy channel lock out function ON and OFF.
ANC.ON : Transmit is inhibited when the
channel is in busy.
ANC.OF : Transmit is permitted even when
the channel is busy.
D Transmit channel
Select transmit channel during scan from 0–99 and OFF.
tXm. 0–99 : Pauses scan and transmits the
programmed code on the selected channel. 2 sec. after a disconnect code is transmitted or
received, scan resumes.
tXm.OF : Searches clear channels automatically, after scanning
stops once, then transmits on the clear channel.
RECOMMENDATION!
✔
When the scanning function is used with the ANI operation, selecting up to 7 channels only for scanning is recommended.
Scanning of more than 8 channels may the ANI code not to be
detected correctly.
7
Page 8

‘‘
*
C, F: Setup points
Scrambler
unit
*
*normal way
SP
MIC
F
C
Preparation
VOICE SCRAMBLER
2
D Hardware setup
The following hardware setup is required before installing the optional UT-109/UT-110
is installed into the microphone amplifier circuit (for transmission)
and AF circuit (for reception).
VOICE SCRAMBLER UNIT
, as the scrambler unit
8
Page 9

VOICE SCRAMBLER
C
F
Cut here
for Mic.
Cut here
for AF
2
• Setup instructions
q Turn the power OFF, then remove the battery pack.
w Remove the optional connector access cover.
e Cut the printed circuit pattern on the PC board at point C and F,
as described below.
r Install the voice scrambler unit.
t Attach the new 2251 OPT sheet.
9
Page 10

VOICE SCRAMBLER
MR
F
TX
MR
F
TX
MR
F
TX
D Scrambler setting
q Push [8•
w Push [∫] or [√] several times until “SCG.”
appears.
• When the UT-109 is installed, skip steps w
e Rotate [VOL] to select the desired group code from 1–4.
• The same group code must be selected in your group.
r Push [∫] or [√] several times until “SCR.”
appears.
t Rotate [VOL] to select the desired scram-
ble code.
• Select a scramble code from 0–20 (32 codes; hexadecimal digit)
• Push [#•
‘‘
q Set the desired operating frequency.
• Set other conditions, such as repeater, tone squelch, etc.
w Push [✱•
to turn the voice scrambler function ON.
• “ ” appears.
e Operate the transceiver in the normal way
(push [PTT] to transmit; release [PTT] to receive).
SET
] after [A•
FUNC
] is pushed.
and e. Continue from step r.
when UT-109, 0–FF (256 codes) when UT-110 is installed.
ENT
] to exit set mode.
Operation
OPTION
] after [A•
FUNC
] is pushed,
2
10
 Loading...