

Page 1

IBM TotalStorage NAS 100
Quick Start Instructions
Page 2

Page 3

IBM TotalStorage NAS 100
Quick Start Instructions
Page 4

First Edition (August 2002)
© Copyright International Business Machines Corporation 2002. All rights reserved.
US Government Users Restricted Rights – Use, duplication or disclosure restricted by
GSA ADP Schedule Contract with IBM Corp.
Page 5
IBM TotalStorage™NAS 100 Quick Start Instructions
Step 1: Read this first
Caution:
— Safety Information
Always power off the NAS 100 before removing the top cover.
Use safe practices when lifting this product.
Do not place any objects on top of the appliance.
Notes:
1. The latest Release Notes are available at www.ibm.com/storage/support/.
2. Visually inspect the unit to ensure that it was not damaged during
shipping. If any items are missing or damaged, contact your IBM
representative.
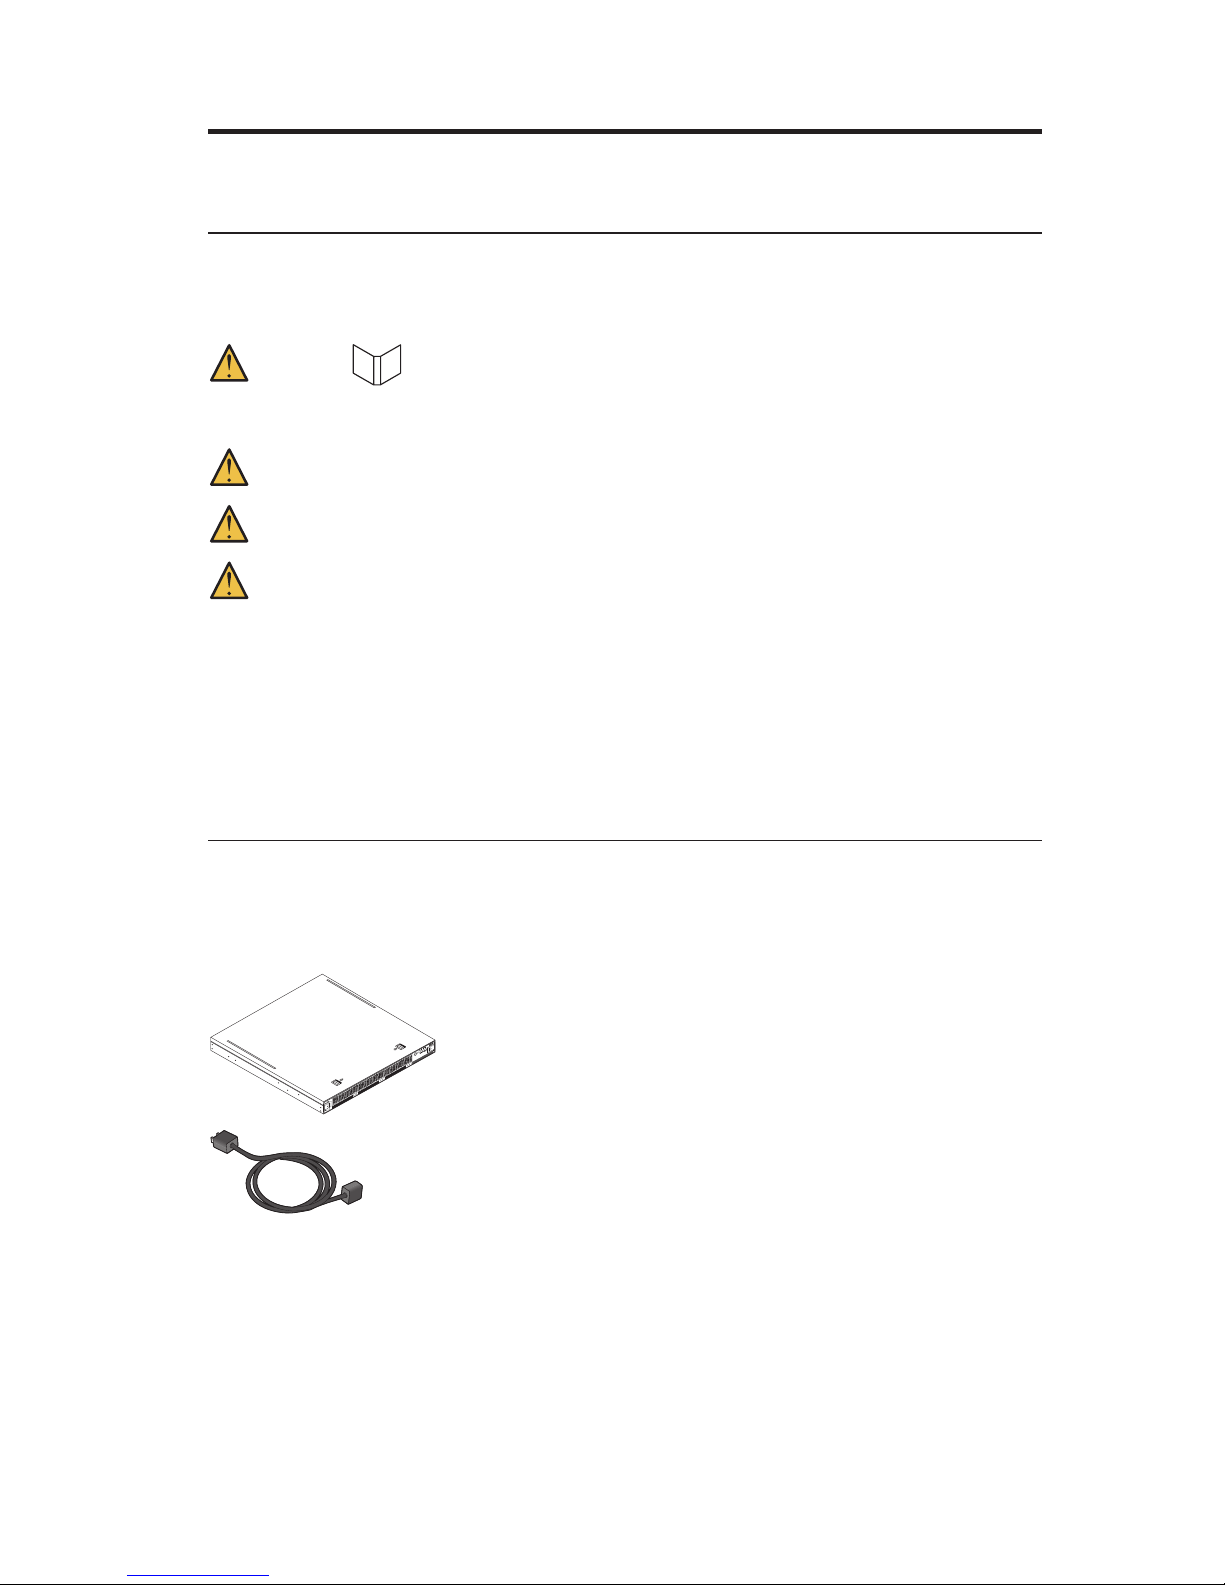
Step 2: Unpack the box
Items you find in the box:
v One NAS 100. The NAS 100 is a “headless” appliance; it
does not have a keyboard, mouse, or monitor directly
attached to the unit.
v One power cable
© Copyright IBM Corp. 2002 1
Page 6

v One set of documentation including: Caution: Safety
Information – Read This First, IBM TotalStorage NAS 100
Hardware Installation and Service Guide, Quick Start
Instructions and product and documentation CDs.
v Four mounting brackets
Items you provide
v One Cat 5+ copper cable with connection instructions.
v One PC with a subnetwork connection, Windows®98,
Windows 2000, or Windows NT
®
4.0 or later and
Internet Explorer 5.1 or later. The PC is used to establish
a remote connection to the appliance for the purpose of
configuring it.
Step 3: Installing the appliance on a tabletop
Note: If you have ordered a SCSI adapter with your appliance, refer to the
IBM TotalStorage NAS 100 Hardware Installation and Service Guide for
instructions on installing the adapter in your appliance.
1. Place the appliance on a level and stable surface.
2. Facing the front of the chassis, install the first mounting bracket:
2 NAS 100 Quick Start Instructions
Page 7

a. Slide the bracket, rubber-foot side down, onto the side of the chassis
and to the left of the bracket cutouts until the bracket fits snugly against
the appliance.
b. Slide the bracket to the right until the bracket clicks into the cutouts on
the side of the chassis.
3. Repeat for the three other brackets.
2
1
4
3
2
1
NAS10
0
1
NAS10
0
1
2
2
1
4
1
2
IBM TotalStorage™NAS 100 Quick Start Instructions 3
Page 8

Step 4: Attach cables
1. Connect the appliance to your network by plugging the network cable to
the appropriate Ethernet port and then into your network.
Symbol Ethernet Port System Uses
1
LAN 1 DHCP
2
LAN 2 Static IP
2. Connect the power cable to the receptacle on the back of the appliance and
then to a power source outlet.
3. Continue with “Step 5: Power on and verify LED status”.
Step 5: Power on and verify LED status
1. Wait at least 20 seconds after connecting the power cable before powering
on the appliance. Power on by pressing the Power button on the front of
the appliance.
2. Wait at least 3 minutes after power on for the initial diagnostics to
complete, and then verify that the Power LED and LAN 1 or LAN 2 LED
are ON. If not, refer to the IBM TotalStorage NAS 100 User’s Reference on the
Documentation CD.
12
4 NAS 100 Quick Start Instructions
Page 9

Note: If you are using static IP (LAN 2), the Warning LED will blink,
indicating that the system has booted using 192.168.0.1, the factory
default IP address. It will continue to blink until a different IP
address is configured.
If your system uses DHCP (LAN 1) and the Warning LED blinks, the
appliance failed to retrieve an IP address. Contact your network
administrator.
1 Power button
2 Power LED
3 Warning LED
4 LAN 1 LED
5 LAN 2 LED
3. Notify your network administrator that the appliance is now connected to
the LAN, so that he can complete the installation by configuring the
appliance remotely.
Step 6: Software configuration (network administrator)
The NAS 100 is a “headless” appliance; it does not have a keyboard, mouse, or
monitor directly attached to the appliance. Therefore, to configure the
appliance, you must use a remotely attached client workstation.
1. Using Windows 98, Windows 2000 or Windows NT 4.0 or later and Internet
Explorer 5.1 or later, open the browser on a remotely attached PC and:
v If your system uses DHCP (LAN 1), enter http://ibm5190-xxxxxxx:8099,
where xxxxxxx is the appliance’s serial number
v If your system uses static IP (LAN 2), enter http://192.168.0.1:8099,the
factory default
IBM TotalStorage™NAS 100 Quick Start Instructions 5
Page 10

Note: Two situations can prevent your DHCP system from finding the host
name:
v The DHCP server is on a different subnetwork than the appliance
v The DNS server has appended a suffix, such as .com to the host
name
If this happens, use the static IP address.
2. Log on to the web GUI using the following ID and password:
v User ID: Administrator
v Password: password
3. The Easy Setup window appears. Easy Setup allows you to perform the
following basic configuration tasks:
v Configuration of the administration ID and password
v Configuration of the host name
v Creation of a single share
v Configuration of the ports.
If the Easy Setup basic configuration does not meet your network needs,
you can use other configuration tools, or you can link to Terminal Services
by clicking the Maintenance tab and following the prompts.
6 NAS 100 Quick Start Instructions
Page 11

Trademarks
The following terms and logo are trademarks of International Business
Machines Corporation or Tivoli Systems Inc. in the United States or other
countries or both:
IBM
IBM logo
TotalStorage
Microsoft, Windows, and Windows NT are trademarks or registered
trademarks of Microsoft Corporation.
Java and all Java-based trademarks and logos are trademarks or registered
trademarks of Sun Microsystems, Inc. in the United States, other countries, or
both.
Other company, product, and service names may be trademarks or service
marks of others.
© Copyright IBM Corp. 2002 7
Page 12

8 NAS 100 Quick Start Instructions
Page 13

Page 14

Part Number: 55P4034
Printed in U.S.A.
(1P) P/N: 55P4034
 Loading...