How it Works
Log In / Sign Up
Buy Points
How it Works
FAQ
Contact Us
Questions and Suggestions
Users
Husqvarna
Loading...
E
EZ4824TF BF
EZ5221
EZ5221KAA
EZ5224
2
EZ5224 - 966038301
EZ5224 BF
EZ5224BF - 966495901
EZ5226
2
EZ5424BI
EZ5426BI
EZ6124
2
EZ6124 - 966038401
EZ6124KOA
EZC4824 - 966038501
EZC4824BF
EZC4824BF - 966047501
EZF 3417- 965879301
F
FC2145
FC2145S
FC2145W
FD48E
FD52M
FD61M
FEIEBØRSTE
FEJEKOST
FLAIL MOWER
FMS2
2
Folding plough
FORMULA 60
FRONTKEHRMASCHINE
FS 1000
FS 1000 E
FS 305
2
FS309
3
FS 3800
FS 400 LV
2
FS 410 D
FS 413
FS4800D
2
FS 513
2
FS 520
FS 524
FS 627
FS 6500
FS 6600 D
2
FS 700 EX
FS 800 E
FS 800 EM
FSA 8400 D
FT900
FT900-96083000605
G
G2500P
G26LRV
G30SD
G3200P
G382SL
G422SL
G462SL
G483ST
G543ST
G5500P
GM104KSF
4
GM106F
4
GM107F
4
GM109F
3
GM110FE
4
GM111FE
4
GM112FE
3
GM121KF
4
GM123KFE
GM124KF
5
GM128KF
4
GM130KF
4
GM132KE
4
GM133KS
GM138KS
4
GM140KFE
4
GM160KS
4
GM161KS
4
GM200KF
4
GM201KF
4
GM202KF
4
GM301KS
4
GM310KE
4
GM330F
GM340FE
2
GM360KF
GM370KFE
GM390KSF
GM395KF
GME115F
4
GME116FIMN
GME116FN
GME118F
4
GME119FN
4
GME120F
4
GME125KF
4
GME127KF
4
GME129KF
4
GME136KS
4
Loading...
Loading...
Nothing found
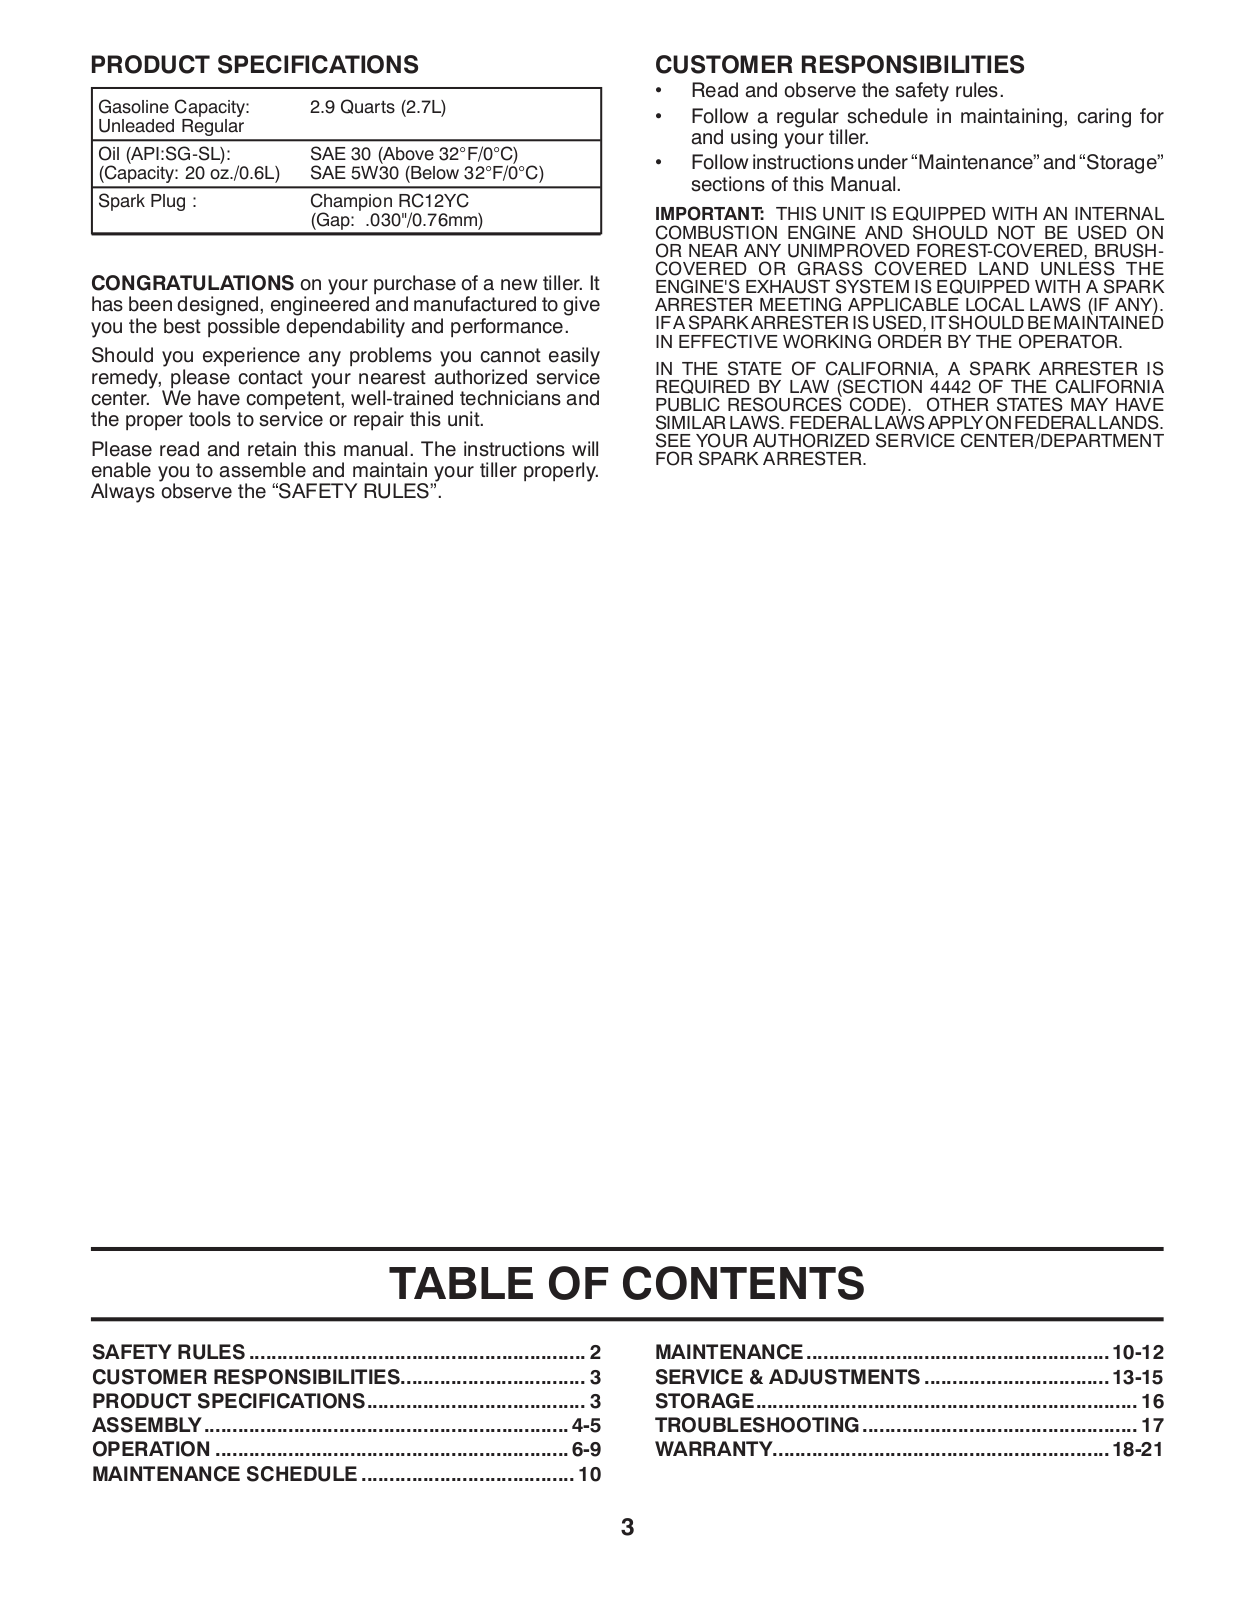
FT900-96083000605
Owner’s Manual
24 pgs
500.03 Kb
0
Table of contents
Loading...
Husqvarna FT900-96083000605, 96083000605 Owner’s Manual
...
Husqvarna Owner’s Manual
Download
Specifications and Main Features
Frequently Asked Questions
User Manual
Download
Loading...
+
16
hidden pages
Unhide
You need points to download manuals.
1 point = 1 manual.
You can buy points or you can get point for every manual you upload.
Buy points
Upload your manuals
 Loading...