

Husqvarna 326HS99X, 326HS99, 326HS75X, 326HS75 Owner’s Manual

Operator's manual (CARB II, EPA II) /r /_
326 H S75 x-,e,-ie,
326HS99x.,erie,
Please read these instructions carefully and make
sure you understand them before using the machine. English

SYMBOL EXPLANATION
Symbols
WARNING! The hedge trimmer can be
dangerous!
Careless or incorrect use can result in
serious, even fatal injury.
carefully and understand the content
Read through tile Operator's Manual
before using the hedge trimmer.
Always use
• Ear protection
• Approved eye protection
• This product is in accordance with
applicable CE directives.
Checks and/or maintenance should be
carried out with the engine switched off,
with the stop switch in the STOP position.
Awyueroeroeveove
I_ I Regular cleaning required.
I_ I Ocular control.
gloves.
• Always wear approved protective
Other symbols/decals on the machine refer to
special certification requirements for certain
markets.
used.
Approved eye protection must always be
2 - English
CONTENTS
Husqvarna AB has a policy of contirmous product
development and therefore reserves the right to modify the
design and appearance of products without prior notice.
Maintenance, replacement, or repair of the emission control
devices and systems may be performed by any nonroad
engine repair establishment or individual.
List of contents
SYMBOL EXPLANATION
Symbols ............................................................................... 2
CONTENTS
List of contents .................................................................... 3
SAFETY INSTRUCTIONS
Personal protective equipment ............................................. 4
The machine's protective equipment .................................... 4
Control, maintenance and service of the hedge trimmer's
protective equipment ..................................................... 6
General safety instructions ................................................... 8
General working instructions for hedge trimmer .................. 9
WHAT IS WHAT?
What is what on the hedge trimmer? ................................. 11
FUEL HANDLING
Fuel mixture ...................................................................... 12
Fuelling .............................................................................. 12
i!!iiii!:ilill ¸!,iiiii i iiii!iill¸!ii!ili¸ii¸ii ili¸ii i i i!i!i!i! !ili¸I¸ili ii :!¸iii!i!i ii !i !iiii !iiiii i! ii i !i;¸!!iii!ii!i:iiii! !i!ii iiii iii i!!i! i!:iiii! !ii ii IJi!i¸i ii i !!i ¸ili!i i !ili i!ii :iiii!i !
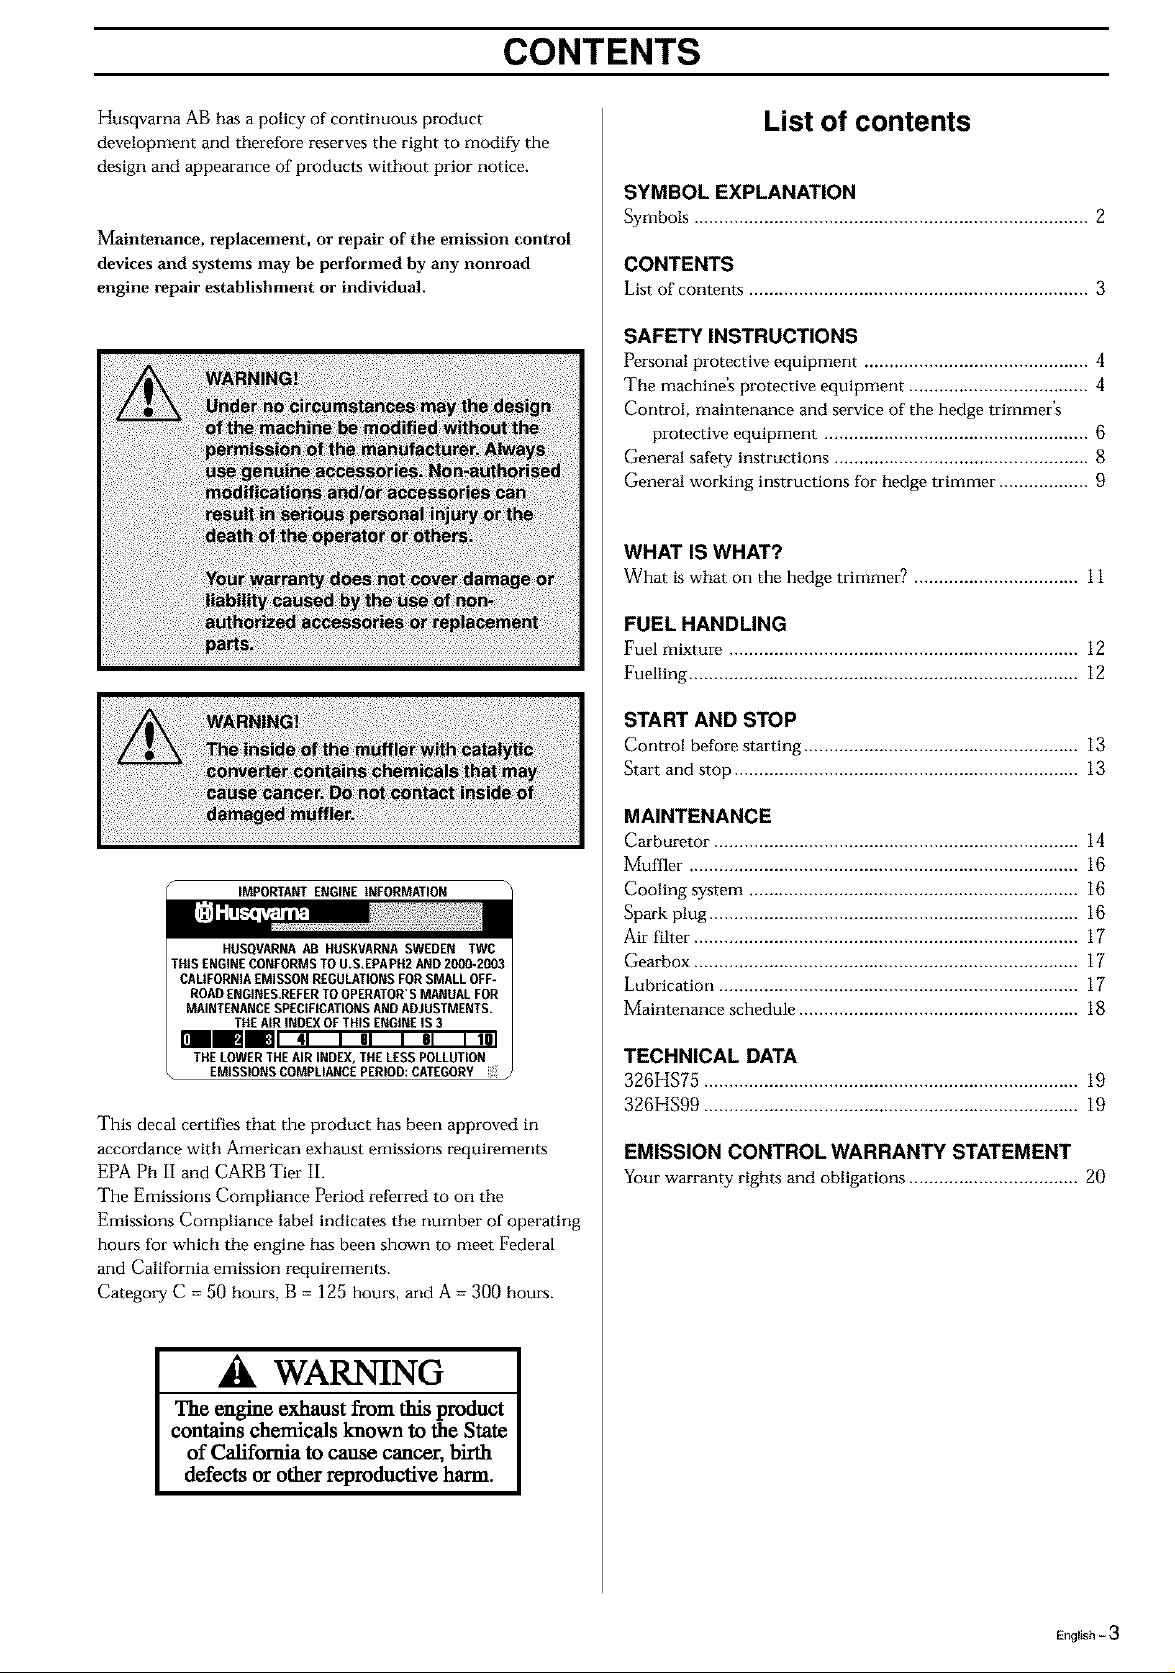
IMPORTANT ENGINE INFORMATION
HUSQVARNA AB HDSXVARNASWEDEN TWC
CALIFORNIAEMISSONREGULAItONSFORSMALLOFF*
ROADENGINES,REFERTOOPERATOR"S MANUAL FOR
MAINTENANCESPECIFICATIONSANDADJUSTMENTS,
THEAIR INDEX OFTHIS ENGINEIS 3
ri_l 41 i 61 i 81 I 101
THE LOWERTHEAIR INDEX, THE LESSPOLLUTION
EMISSIONSCOMPLIANCE PERIOD:CATEGORY
START AND STOP
Control before starting ....................................................... 13
Start and stop ..................................................................... 13
MAINTENANCE
Carburetor ......................................................................... 14
Muffler .............................................................................. 16
Cooling system .................................................................. 16
Spark plug .......................................................................... 16
Air filter ............................................................................. 17
Gearbox ............................................................................. 17
Lubrication ........................................................................ 17
Maintenance schedule ........................................................ 18
TECHNICAL DATA
326HS75 ........................................................................... 19
326HS99 ........................................................................... 19
This decal certifies that the product has beer] approved in
accordance with American exhaust emissions requirements
EPA Ph II and CARB Tier II.
The Emissions Compliance Period referred to on the
Emissions Compliance label indicates the rmmber of operating
hours for which the engine has been shown to meet Federal
arm California emission requirements.
Category C = 50 hours, B = 125 hours, and A = 300 hours.
EMISSION CONTROL WARRANTY STATEMENT
Yourwarranty rights and obligations .................................. 20
WARNING
The engine exhaust from this product
contains chemicals known to the State
of California to cause cancer, birth
defects or other reproductive harm.
English - 3
SAFETY INSTRUCTIONS
Personal protective eqipment
IMPORTANT INFORMATION
Incorrect or careless use of a hedge trimmer can
turn it into a dangerous tool that can cause
serious or even fatal injury. It is extremely
important that you read and understand this
manual.
When using a hedge trimmer, protective
equipment approved by the appropriate
authorities must be used. Personal protective
equipment does not eliminate the risk of
accidents, however, it can reduce the effects of an
injury in the event of an accident. Ask your dealer
for help when choosing protective equipment.
GLOVES
Gloves should be worn when
necessary, e.g., when inspect-
ing, cleaning or assembling
cutting equipment.
EAR PROTECTION
Ear protection offering
sufficient dampening effect
should be used.
EYE PROTECTION
Blows from branches or
objects thrown by the moving
blades can damage the eyes.
BOOTS
Use anti-slip and stable boots.
The machine's protective equipment
This section describes the hedge trimmer's protective equip-
ment, its function and how checks and maintenance are
carried out to ensure that it operates correctly. (See the chapter
"What is what "to locate where this equipment is positioned on
your machine.)
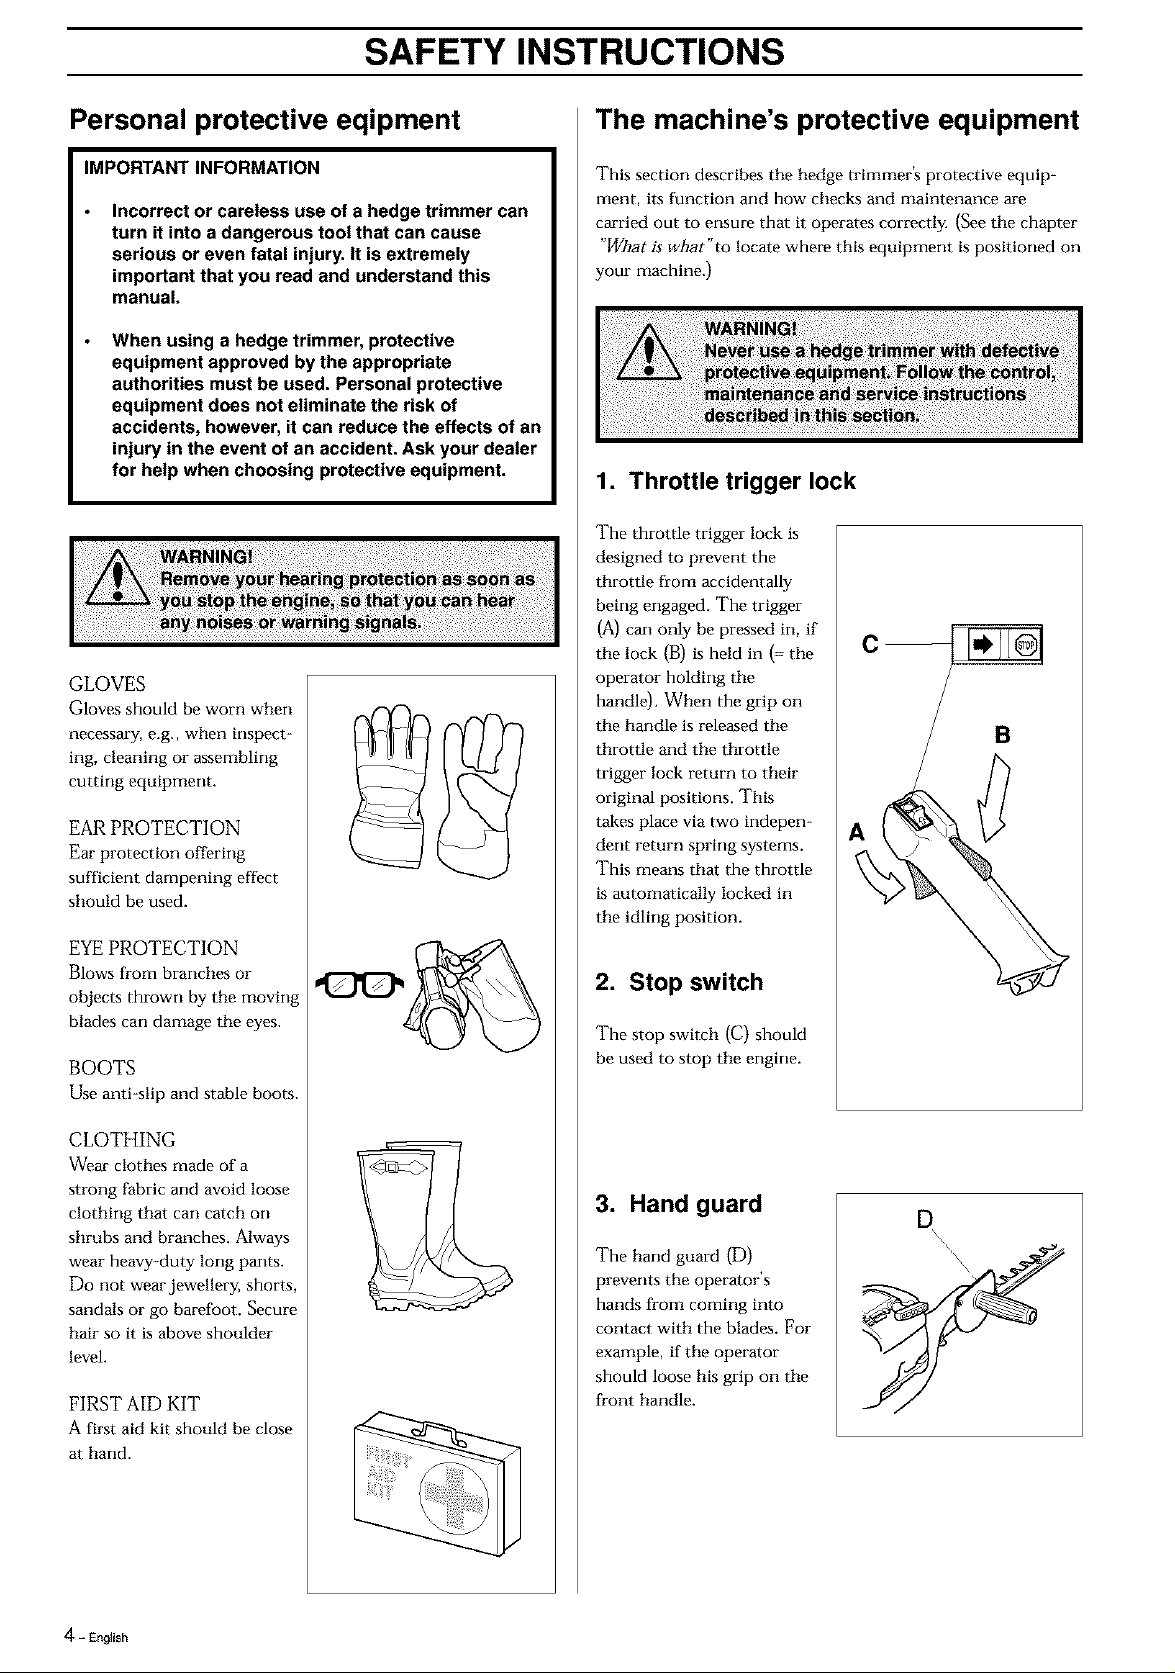
1. Throttle trigger lock
The throttle trigger lock is
designed to prevent the
throttle from accidentally
being engaged. The trigger
(A) can only be pressed in, if
the lock (B) is held in (= tile
operator holding the
handle). When the grip on
the handle is released the
throttle and the throttle
trigger lock return to their
original positions. This
takes place via two indepen-
dent return spring systems.
This means that the throttle
is automatically locked in
the idling position.
2. Stop switch
The stop switch (C) should
be used to stop the engine.
CLOTHING
Wear clothes made of a
strong fabric and avoid loose
clothing that can catch on
shrubs and branches. Always
wear heavy-duty long pants.
Do not wearjewellery, shorts,
sandals or go barefoot. Secure
hair so it is above shoulder
level.
FIRST AID KIT
A first aid kit should be close
at hand.
4 - English
3. Hand guard
The hand guard (D)
prevents the operator's
hands from coming into
contact with the blades. For
example, if the operator
should loose his grip on the
front handle.
D
SAFETY INSTRUCTIONS
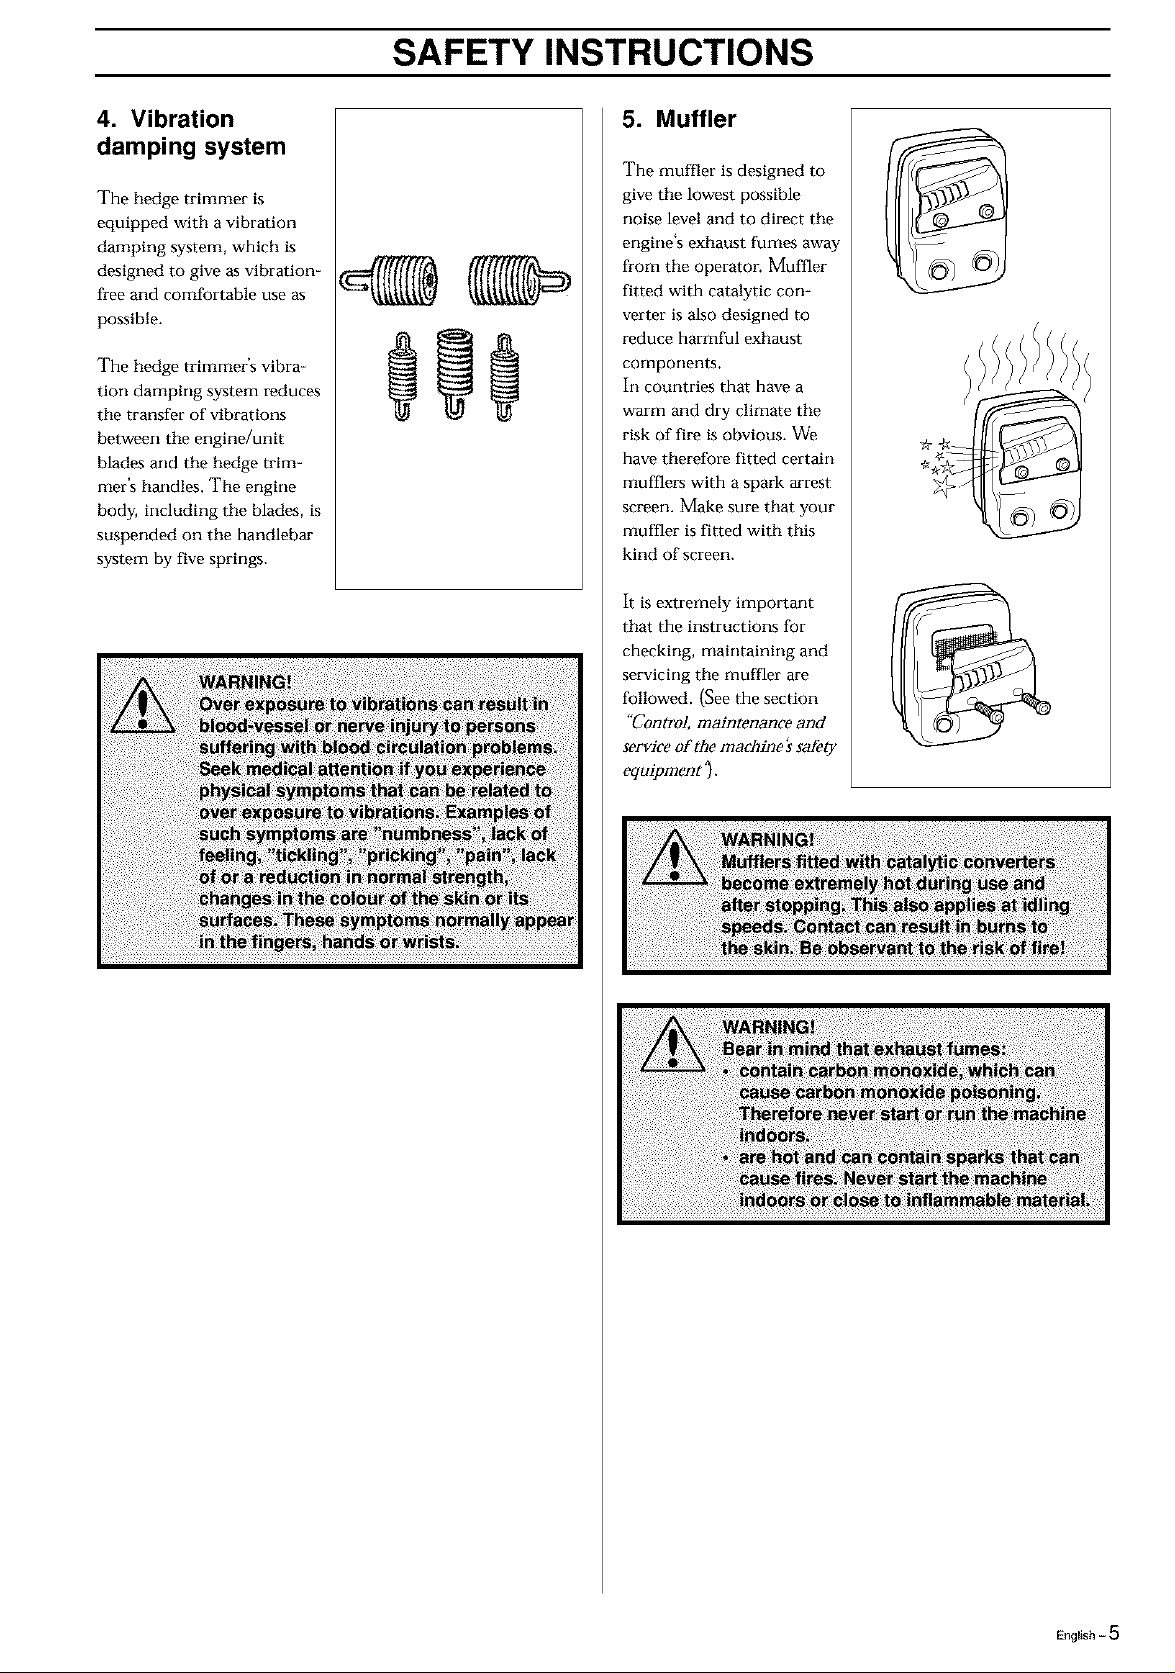
4. Vibration
damping system
The hedge trimmer is
equipped with a vibration
damping system, which is
designed to give as vibration-
free and comfortable use as
possible.
The hedge trimmer's vibra-
tion damping system reduces
the transfer of vibrations
between the engine/unit
blades and the hedge trim-
mer's handles. The engine
body, including the blades, is
suspended on tile handlebar
system by five springs.
5. Muffler
The muffler is designed to
give the lowest possible
noise level and to direct the
engine's exhaust fumes away
from the operator. Muffler
fitted with catalytic con-
verter is also designed to
reduce harmful exhaust
components.
In countries that have a
warm and dry climate tile
risk of fire is obvious. We
have therefore fitted certain
mufflers with a spark arrest
screen. Make sure that your
muffler is fitted with this
kind of screen.
It is extremely important
that the instructions for
checking, maintaining and
servicing the muffler are
followed. (See the section
"Control, maintenance and
service of the machine }safety
equipment ").
English - 5

SAFETY INSTRUCTIONS
Control, maintenance and service of
the hedge trimmer's protective
equipment
IMPORTANT INFORMATION
All service and repairs to the machine require
special training.
This applies especially to the machine's safety
equipment. If the machine does not meet any of
he controls listed below you should contact
your service workshop.
The purchase of one of our products
guarantees that professional repair and
servicing will be carried out on it. If the point of
purchase is not one of our servicing dealers,
please ask for details of the closest service
workshop.
1. Throttle trigger lock
Check that the throttle is
locked in the "idling
position" when the
throttle trigger lock is in
its original position.
• Press in the throttle
trigger lock and make
sure it returns to its
original position when
released.
• Ensure that the throttle
and throttle trigger lock
move easily and that their
return spring systems
function.
• See the section "&ar['.
Start the hedge trimmer
and apply full throttle, f
Release the throttle and
check ttlat the blades
stop and remain at a
standstill. If the blades
rotate with the throttle in
the idling position then
the carburettor's idling
setting must be ctmcked.
See chapter "Mainte-
nance '_
2. Stop switch
• Start the engine and
make sure that the engine
stops when the stop
switch is moved to the
stop position.
3. Hand guard
• Check that the hand
guard (D) is secured.
• Make sure the hand
guard (D) is not dam-
aged in anyway.
4. Vibration
damping system
• Check the vibration
damping element
regularly for material
cracks and distortion.
• Check that the vibration
damping element is
securely attached
between the engine unit
and the handlebar unit.
D
\"\\\
6 - English
SAFETY INSTRUCTIONS
5. Muffler
• Never use a machine that
has a defective muffler.
• Check regularly that the
muffler is secure.
• If your muffler is fitted
with a spark arrest screen
then it should be cleaned
regularly. A blocked
screen leads to the engine
overheating with serious
damage as a re.sult. Never
use a muffler with a
defective spark arrest
screen.
• Replace the blades if they are bent or damaged.
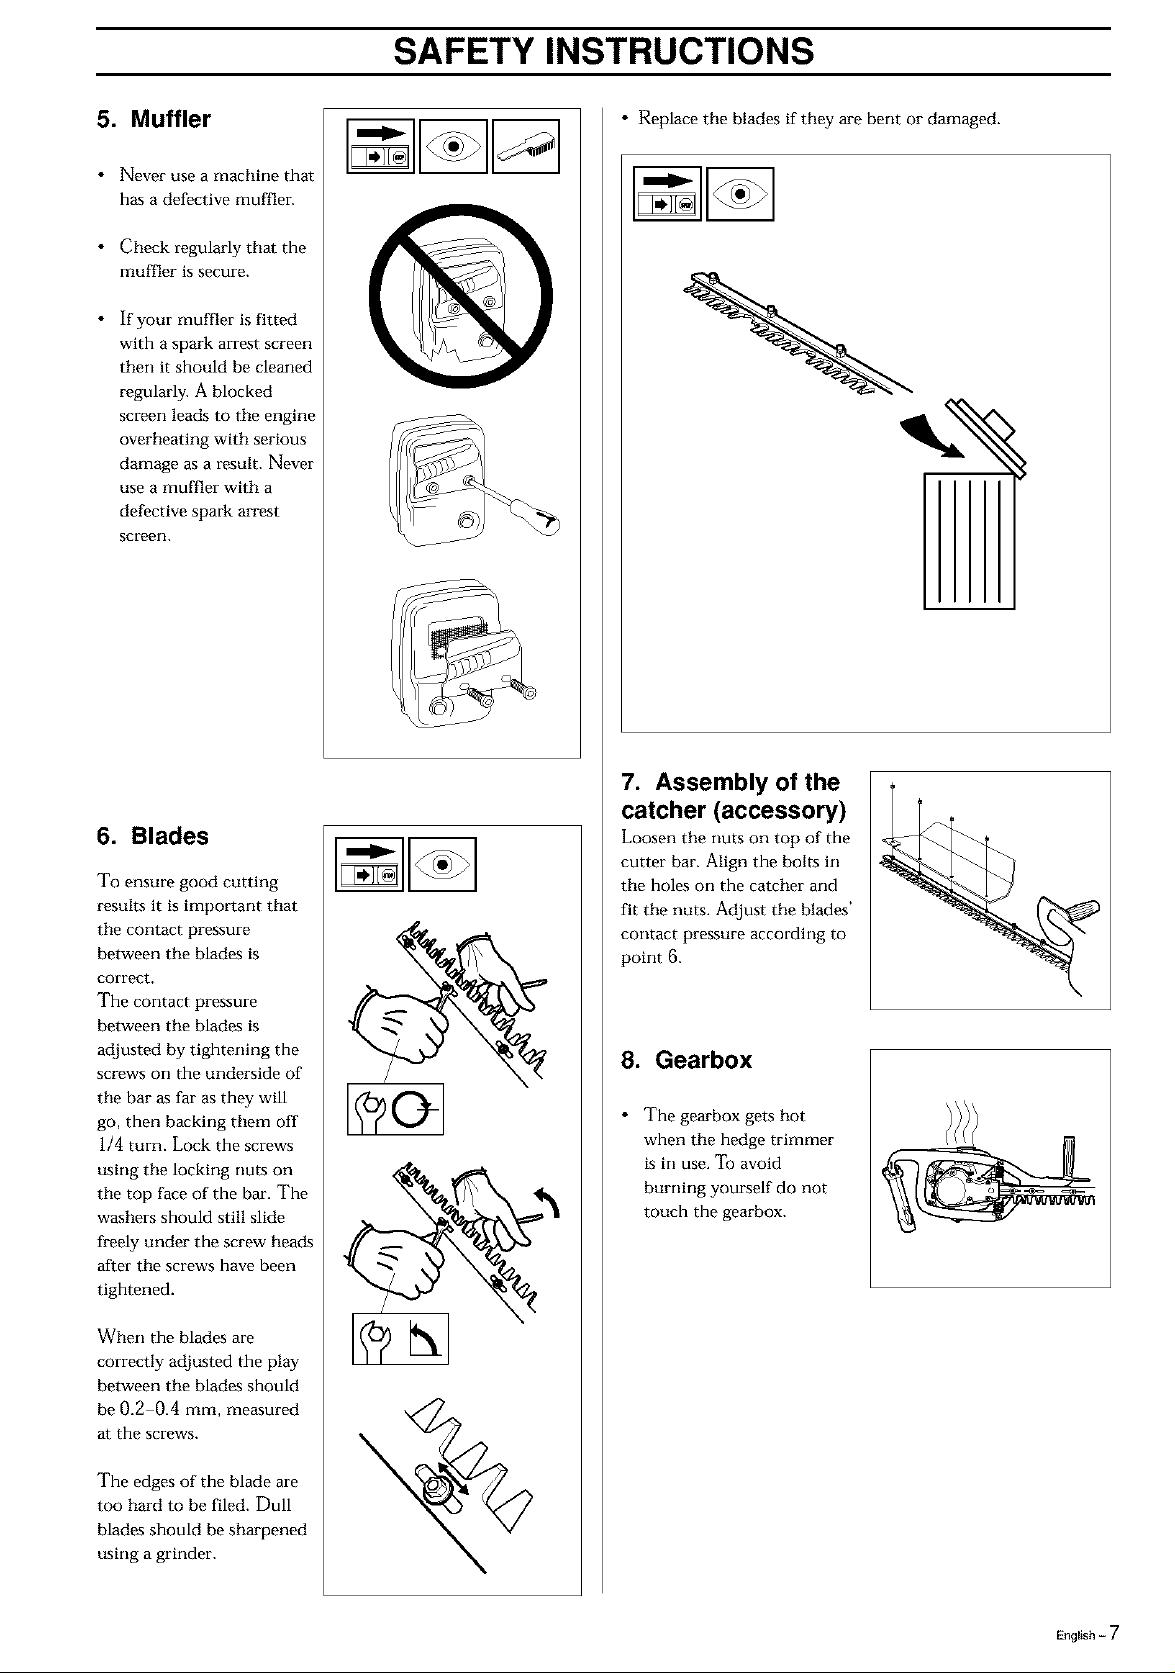
6. Blades
To ensure good cutting
results it is important that
the contact pressure
between the blades is
correct.
The contact pressure
between tile blades is
adjusted by tightening the
screws on the underside of
the bar as far as they will
go, then backing them off
1/4 turn. Lock the screws
using the locking nuts on
the top face of the bar. The
washers should still slide
freely under the screw heads
after the screws have been
tightened.
When the blades are
correctly adjusted the play
between the blades should
be 0.2 0.4 mm, measured
at the screws.
7. Assembly of the
catcher (accessory)
Loosen tile nuts oi1 top of the
cutter bar. Align the bolts in
the holes on the catcher and
fit the nuts. Adjust the blades'
contact pressure according to
point 6.
8. Gearbox
• The gearbox gets hot
when the hedge trimmer
is in use. To avoid
burning yourself do not
touch the gearbox.
The edges of the blade are
too hard to be filed. Dull
blades should be sharpened
using a grinder.
English - 7
 Loading...