

Page 1
Quick Start Guide
31824-1EN_A
5
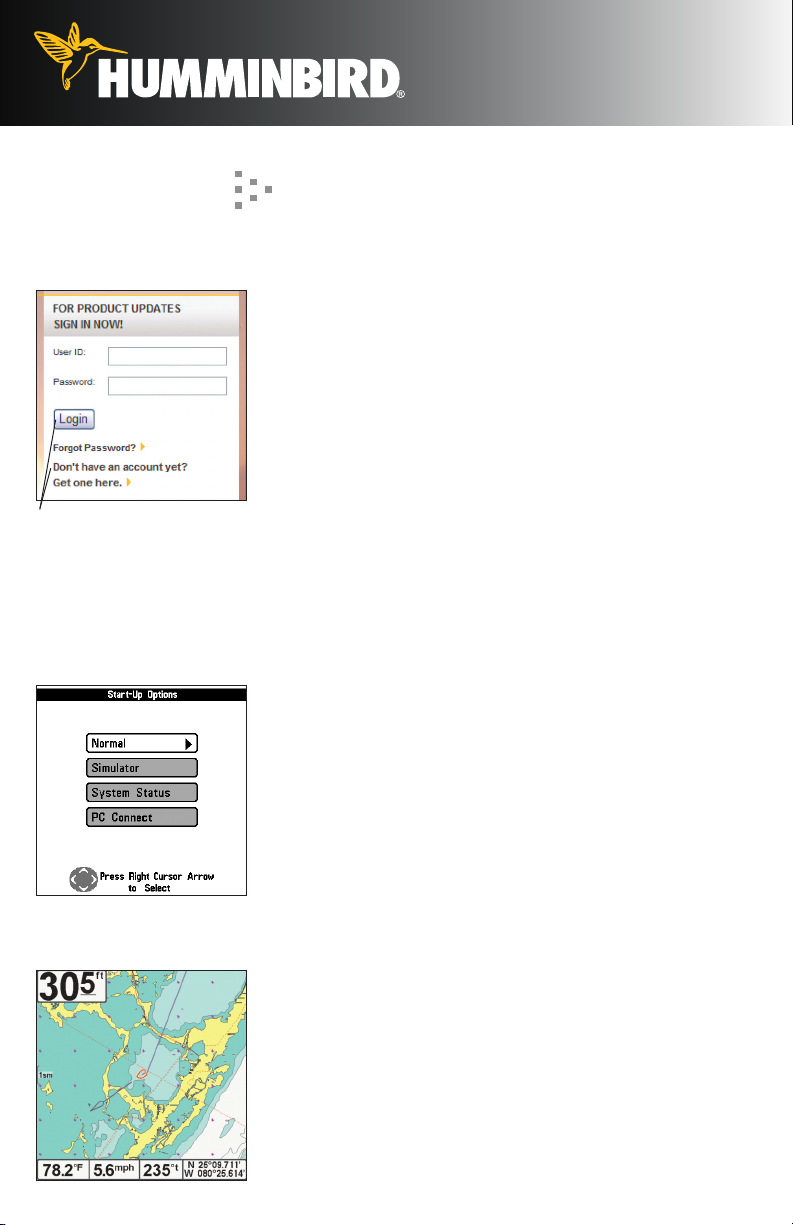
Visit Humminbird.com and
Register Your Humminbird®
Login or Create a new account
NOTE: If your model does
not have a card slot, you can
use an optional-purchase PC
Connect Cable.
Start-Up Options Menu
Register your Humminbird®
Set up an online account so that you will receive the latest
Humminbird® news. If your model is upgradeable, you can
also access software upgrades from your account.
1. Register: Go to our Web site at humminbird.com, and
click My Account. Create a new account. If you already
have an account, log in and click Register a Product.
2. Download Software: Install a formatted SD memory
card into a card reader connected to your PC. From
My Account\My Profile\My Equipment, click the
software file name [unit name (version #)] to save the
software to the SD memory card. Follow the on-screen
instructions.
3. Upgrade: Insert the SD card into the control head card
slot and power on the unit. Follow the on-screen
instructions.
Power On
1. Press the POWER/LIGHT key.
2. On the Water: If a transducer is attached to the control
head, your unit will start Normal mode automatically.
Simulator: If a transducer is not attached to the control
head, select Simulator to learn how to use the unit and
save your settings. When the title screen is displayed,
press the MENU key and then select Simulator.
798c SI Chart View with
Navionics® Cartography
Select a Chart (chart-capable models only)
Humminbird® Combo models include a built-in map. There
are also some Humminbird® models that are compatible
with Navionics® and/or LakeMaster® chart cards.
1. Open the Main Menu and select Chart tab > Chart
Select or Navigation tab > Chart Select. NVB units,
select Chart tab > NVB Chart Preference.
2. Select a Chart Source: Auto (the unit automatically
selects the best chart to display), Contour XD, UniMap,
Chart Card, Left Chart Card, or Right Chart Card;
Default = Auto. Menu options vary by model.
Page 2
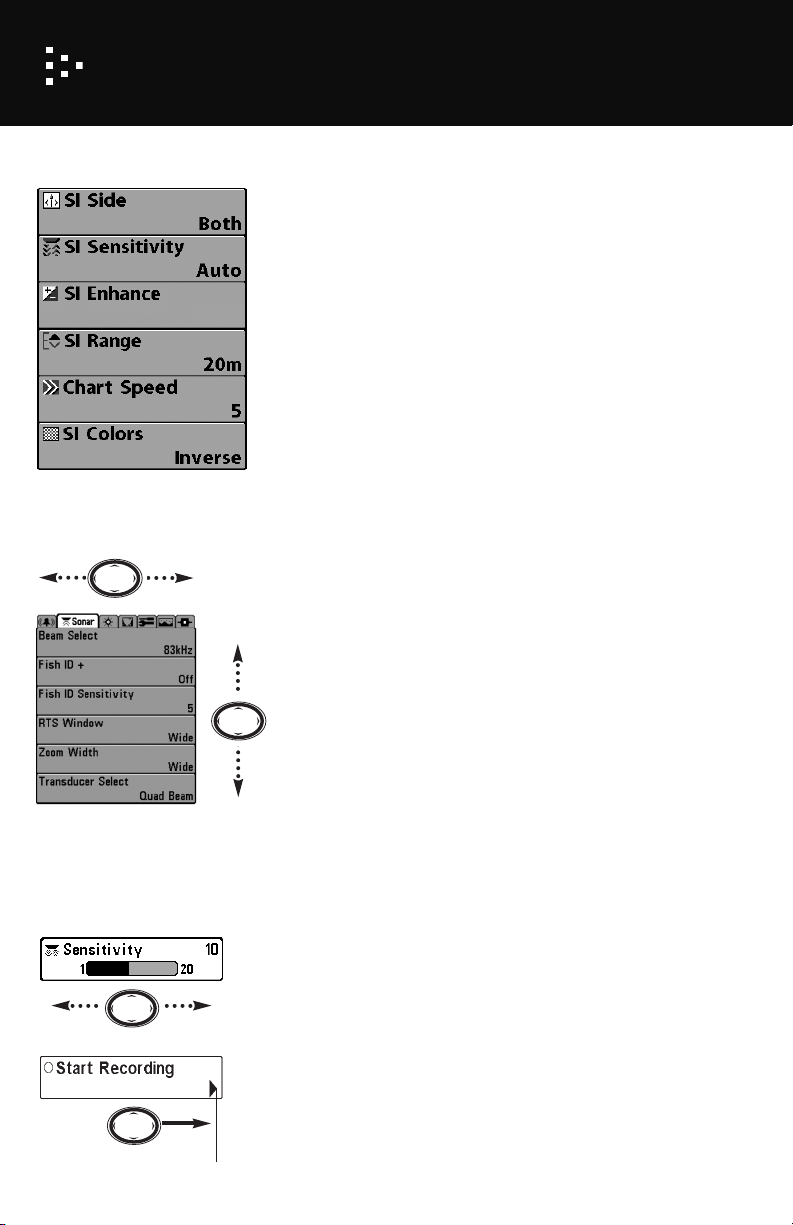
Menus
X-Press™ Menu
Use the 4-WAY
Cursor Control key
with the Menu System
1. Open a Menu
X-Press™ Menu: Press the MENU key once.
The X-Press™ Menu displays frequently-used menu options
that are related to the current view and operation mode.
Main Menu: Press the MENU key twice.
The Main Menu is divided into tabbed categories that vary
by model. They are typically as follows: Alarms, Sonar,
Navigation, Charts, Setup, Views, and Accessories.
2. Choose a Menu Option
Press the arrows on the 4-WAY Cursor Control key to
browse the menu system.
X-Press™ Menu: Press the UP or DOWN Cursor key to
select a menu option.
Main Menu: Press the RIGHT or LEFT Cursor key to
select a tab, and then press the UP or DOWN Cursor key
to select a menu option.
Main Menu
Press the LEFT or RIGHT
Cursor key to Change or
Activate a Setting
The right arrow indicates to
press the RIGHT Cursor key.
User Mode: Some menu options will only appear in the
menu system if the control head User Mode is set to
Advanced. Select Main Menu > Setup tab > User Mode.
Select Normal or Advanced.
3. Set or Activate a Menu Setting
Set: Press the RIGHT or LEFT Cursor key to set the menu
setting.
OR
Activate: If there is a right arrow on the menu option,
press the RIGHT Cursor key to activate the setting or start
the selected operation. This menu type might also open a
submenu.
Close: Press the EXIT key.
Page 3

Views
Change the Active View
Scroll Forward: Press the VIEW key to advance to the
next view in the View Rotation. Press the VIEW key
repeatedly to see all the views in the rotation and until the
view you want to use is displayed on the screen.
Scroll Backward: Press the EXIT key (repeatedly) to
browse through the View Rotation in reverse order.
Customize: You can choose which views are hidden or
visible in the View Rotation.
1. Select the Views tab from the Main Menu. If your
control head does not include a Views tab, select
Setup tab > Views.
2. Select a view name and choose Hidden or Visible. Also,
see Key Functions: View Preset Keys.
Customize the
Digital Readouts
Digital Readouts
998c SI
Sonar/Chart Combo View
The Green Arrow indicates
the right side of the view is
the selected or active side.
Change Digital Readouts
Each view displays digital readout information (such as
speed or time), which will vary with the selected view,
attached accessories, and navigation mode.
1. Select the Setup tab from the Main Menu.
2. Choose Select Readouts, and then press the RIGHT
Cursor key.
NOTE: If the Select Readouts menu option does not
appear under the Setup tab, change the User Mode to
Advanced (see Menus).
3. Select a data window position. Press the RIGHT or LEFT
Cursor key to scroll through the available readouts. To
hide the data window, select Off.
Select an Active Side
In the 800, 900, and 1100 Series™, you can apply menu
settings to each side of a Combo View. The green arrow on
the view points to the active side.
1. Press the MENU key once in a Combo View and select
Active Side from the X-Press™ Menu.
2. Select Right or Left to choose an active side. Key
presses and menu selections will be applied to the
active side of the view.
Page 4

Key Functions
POWER/LIGHT Key: Press the
POWER/LIGHT key to Power On.
Press + Hold the POWER/LIGHT
key to Power Off. During operation,
press the POWER/LIGHT key to
open the Backlight & Background
Color menu setting (color models)
or the Backlight & Contrast menu
setting (monochrome models).
ZOOM Keys: Press the +/- ZOOM
keys to adjust the zoom range in
Sonar Zoom View or change the
scale of the Chart views to appear
closer or farther away. In Side
Imaging View, move the active
cursor to a location, and then
press the +ZOOM key to magnify
your selection.
VIEW Key: Press the VIEW key
to advance to the next view in the
View Rotation. Press the VIEW
key repeatedly to see all the views
in the View Rotation (see Views).
4-WAY Cursor Control Key:
Press any arrow on the 4-WAY
Cursor Control key to move the
the active cursor. Also, use this
key to browse the menu system,
select menu options, and change
or activate menu settings (see
Menus).
INFO Key: Press the INFO key to
view information about the
cursor position or about objects
located near the cursor position.
If the cursor is not active, the
Chart Info submenu will be
displayed. Your unit may have
one of the keys shown here.
MARK Key: Press the MARK key
to save a waypoint at the boat
location. If the cursor is active, the
waypoint will be marked at the
cursor location. If Screen Snapshot
is turned on, a screen snapshot will
be created with the waypoint, and
it will be saved to the installed SD
memory card.
MENU Key: Press the MENU key
once to open the X-Press™ Menu.
Press the MENU key twice to open
the Main Menu (see Menus).
GOTO Key: With an active cursor,
press the GOTO key once to create
a waypoint and start navigation
towards that waypoint. Without an
active cursor, press the GOTO key,
and choose a waypoint from the
saved waypoints list. Man
Overboard (MOB): Press + Hold
the GOTO key (700, 800, 900, and
1100 Series™ only).
EXIT Key: Press the EXIT key to
close a menu, exit cursor mode, or
turn off an alarm. Also, press the
EXIT key to scroll through the View
Rotation in reverse order (see
Views).
VIEW PRESET Keys: Press +
Hold a VIEW PRESET key to save
the displayed view. When the view
has been saved, the control head
will beep. You can save one view
on each VIEW PRESET key.
Your Humminbird® may not have all of the features described in this guide. Also, the illustrations
may not look exactly like the screens on your control head, but your unit will operate in a similar
way. See your operations manual for details. Call our Customer Resource Center with questions
at 1-800-633-1468 or e-mail service@humminbird.com.
© 2010 Humminbird®, Eufaula, AL, USA. All rights reserved.
 Loading...