

HUAWEI EC156
User Guide

Table of Contents
1. Introduction.............................................................................................................................. 3
2. System Requirements ........................................................................................................... 3
3. EC156 Appearance ................................................................................................................. 4
4. Technical Specifications ....................................................................................................... 5
5. Inserting a microSD Card .................................................................................................... 6
6. Using the device ...................................................................................................................... 7
Installation Procedure for Windows XP ........................................................................ 7
Installation Procedure for Mac OS .................................................................................16
Installation Procedure for Linux ....................................................................................23
7. Laptop Compatibility List ..................................................................................................32
8. Troubleshooting ....................................................................................................................36
9. Care and Maintenance ........................................................................................................39
10. Warnings and Precautions ................................................................................................39

1. Introduction
Congratulations on your purchase of Huawei EC156 TATA Photon Plus USB Data
Modem Device.
The User Guide contains important information on the proper use and correct
operation of Huawei EC156 TATA Photon Plus USB Data Modem Device. We
recommend that you read this manual carefully to ensure optimal performance.
2. System Requirements
PC with USB Port
Hardware configuration should satisfy the demand of any of the following
operating system.
Display Resolution:Above 800x600
Note:
If your PC has lower configuration,the performance of EC156 may be lower.
a. Windows XP SP2 / SP3, Windows Vista SP1 / SP2, Windows7
b. Mac OS X 10.5 and 10.6 with latest upgrades
c. Linux Ubuntu 10.04/9.10/9.04, openSUSE 11.3/11.2, Fedora
13/12/11, Debian 5.0, Xandros 4.2, Mandriva 2010.1/2010.0,
Red Flag 7.0
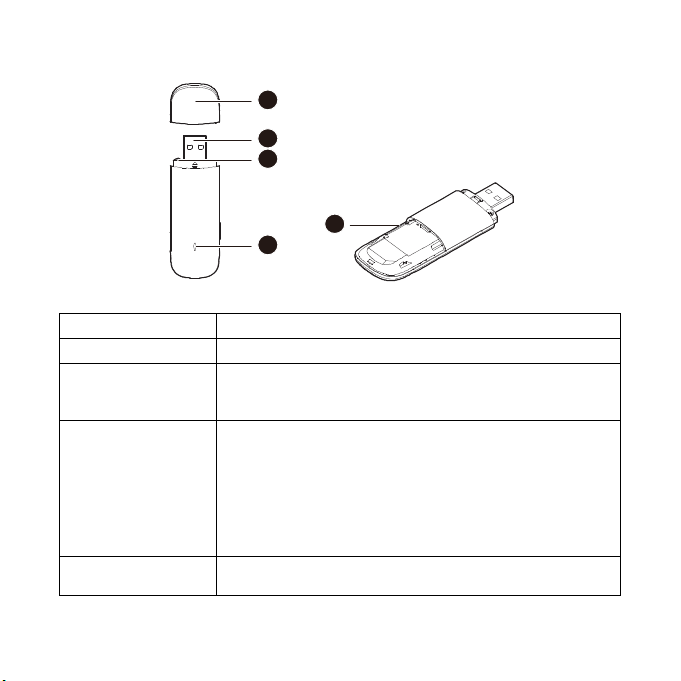
3. EC156 Appearance
Name
Description
1.USB Plug
It connects the device to your PC.
2.Strap Hole
You can tie the cap and the USB Stick together by
threading a strap through the strap holes, so that the
cap will not be easily lost.
3.Indicator light
Solid: Device is powered on.
Blinking once every 2 seconds: Device is searching
for a network or no network is found.
Blinking twice every 2 seconds: Device finds a
network.
Blinking once every 0.2 second: Device is
transmitting data.
4. microSD card
Slot
To install a microSD slot and use it as a data storage
device
2
1
2
3
4
Please find below the description that you need to know to start using your device.

Modem Type
USB Dongle NON-RIUM
Mode
EVDO REV A
Frequency (Band )
800 MHz
Antenna Type
Internal
Dimension
83.0mm×26.5mm×11.5mm
Memory Card Slot Support
microSD card
External Memory Support
Up to 4GB
Speeds
Up to 3.1 Mbps (Downlink) &
Up to 1.8 Mbps (Uplink)
4. Technical Specifications
NOTE: In regions, where Tata Photon Plus network coverage is unavailable, the
device will operate on Tata Photon Whiz speeds of up to 153.6 Kbps
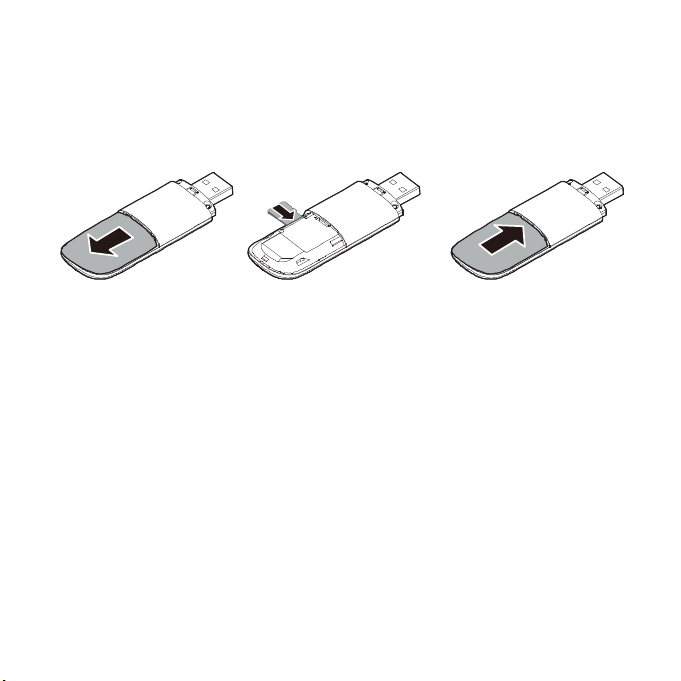
5. Inserting a microSD Card
1. Slide the back cover to remove it from the device.
2. Insert the microSD card into the corresponding card slot, as shown in the
following figure.
3. Replace the back cover and slide it into place.
6. Using the device
For different operating system, the installation process is different. Please note the
process for the following Operating Systems
Installation Procedure for Windows XP
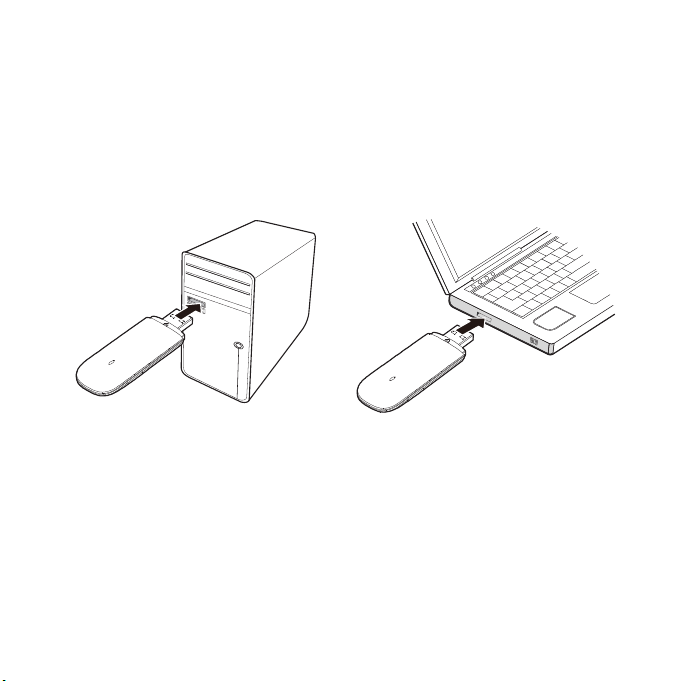
1. Connect the USB Modem with PC
Connect the USB Modem with your PC via USB port.
2.Install the Dialer & Driver
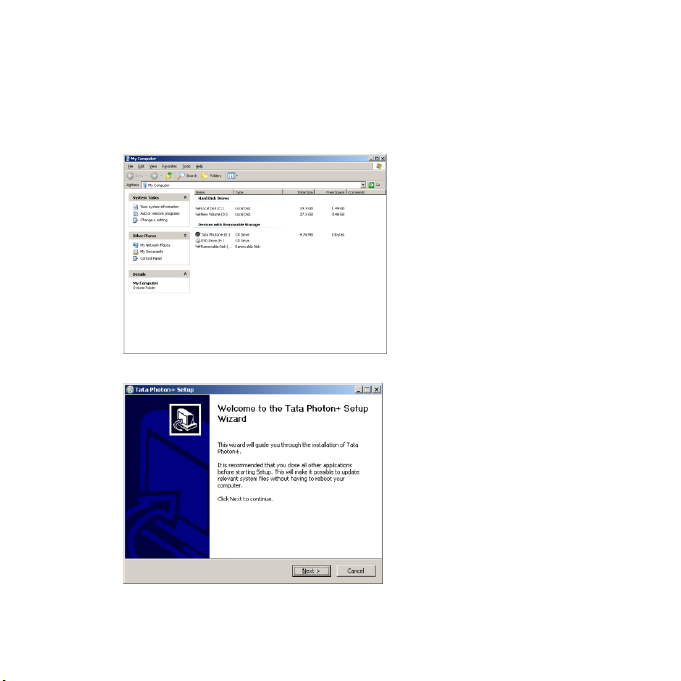
If PC opens the auto run function, it will pop up an installation interface. If not,
please go to CD as shown in the figure below and open it and double click the
“AutoRun.exe” file or right click and click on Auto play.
Please refer to the following screenshots for the further steps of installation
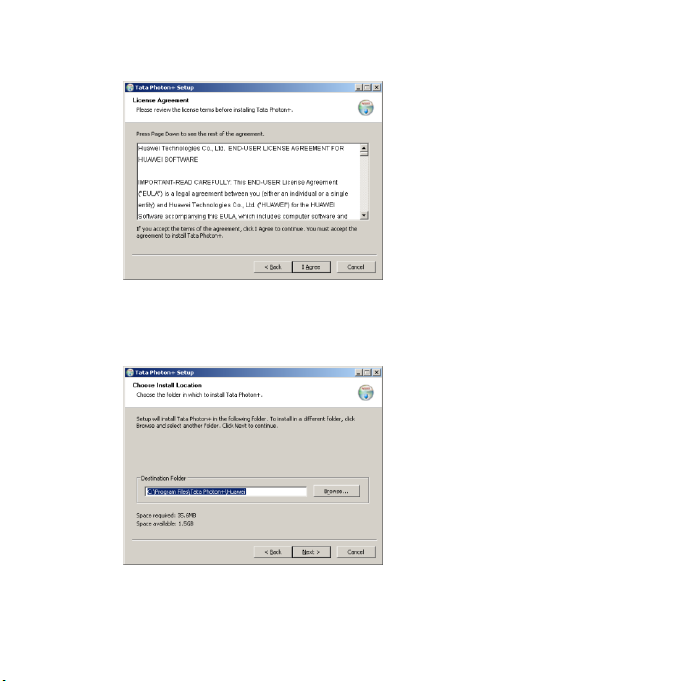
Click “Next “and then to agree with the license agreement click “I Agree”.
Click “Next “and then choose a location path for installation and click install. In
case you do not have any specific location preference you may choose to continue
with the default location and click “Install”.
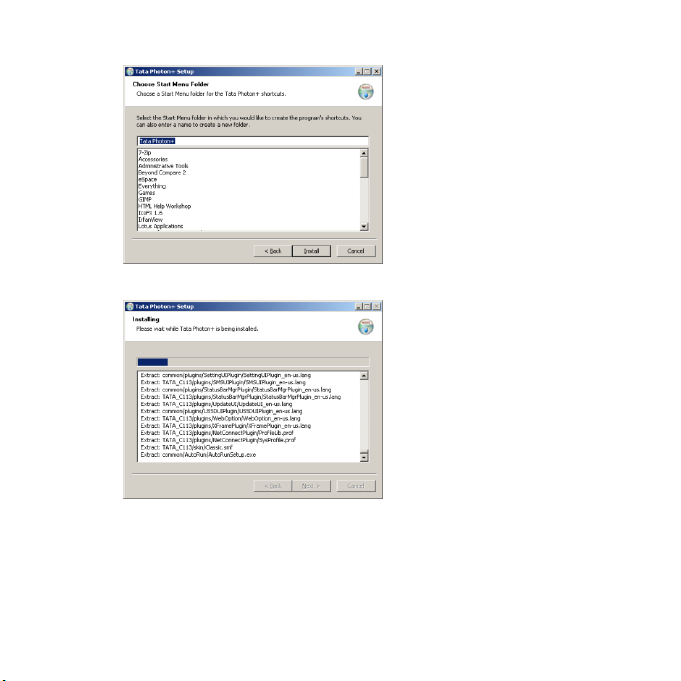
Please click on “Finish” button.
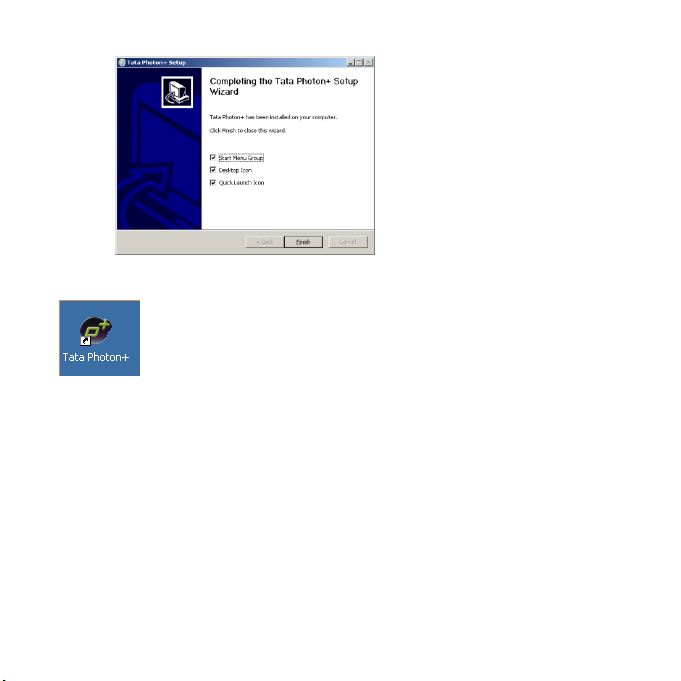
After installation, please go back to desktop, click on the icon ”Tata Photon+”
. The main interface appears
When the installation is complete, the following dialer appears
1. As soon as the installation is complete the default dialer will appear as follows
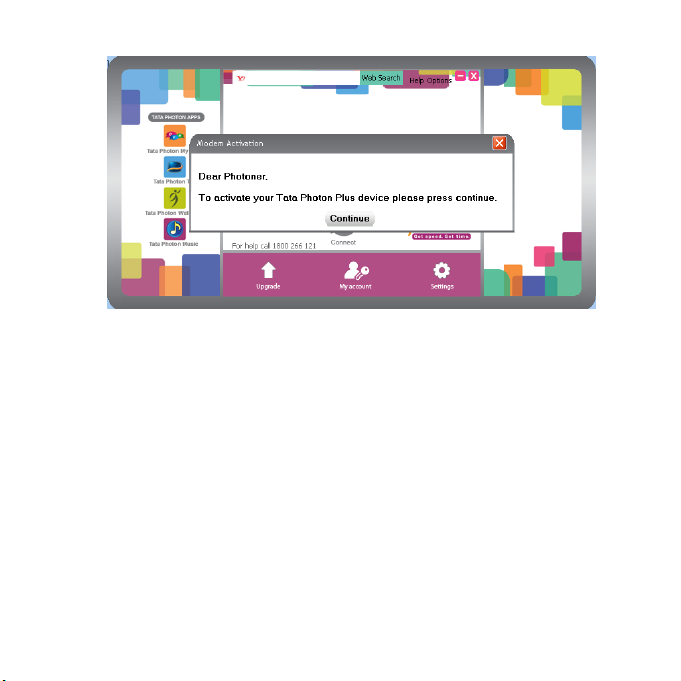
2. On clicking the “Continue” button, the following screen appears. Please select
the Prepaid/Postpaid option depending on the services that you wish to opt for.
Gently scratch the silver strip on the “Activation card” you have received with
the Starter kit, to reveal your 14-digit PIN. Enter your 14 digit PIN number in
text box below “Enter PIN”.
Please click on the” Activate” button
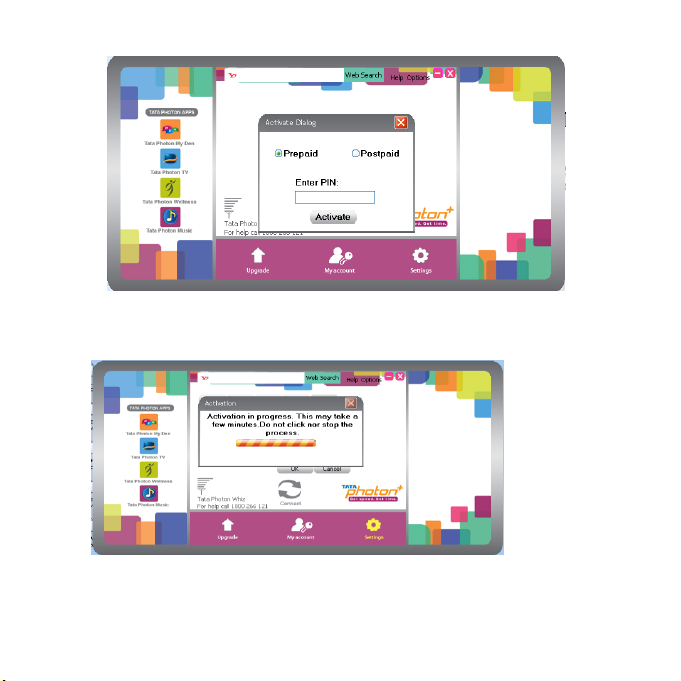
3. On clicking the “Activate” button, the following screen appears. The moving
bars indicate that the activation is in progress.
4. You may have to wait for a couple of minutes. Once activation is successful, you
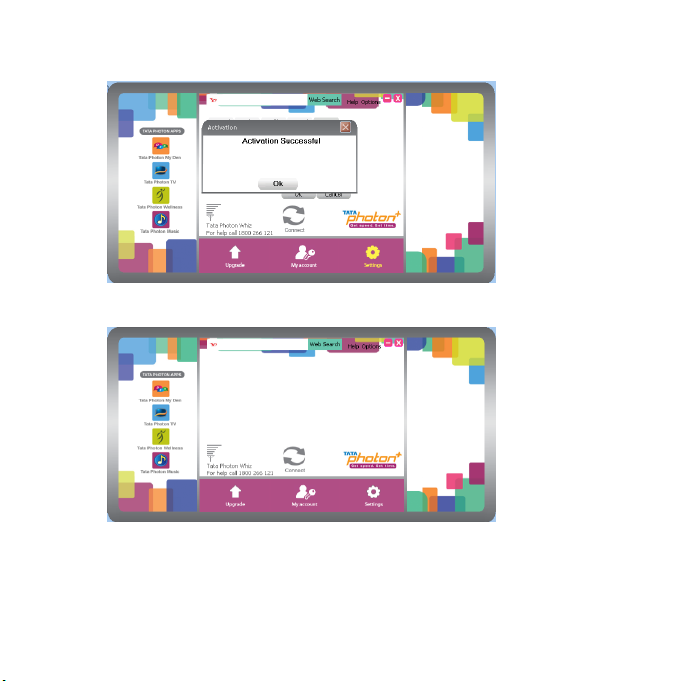
will see the following screen
5. Click on the “Connect” button and start surfing.
In case the activation fails, the following sequence of steps needs to be follow
ed
 Loading...