

Page 1

HP StorageWorks
All-in-One SB60
0c Storage
Blade installation instructions
Overview
Installation of a storage and server blade requires the following steps:
1. Install and configure an HP BladeSystem c-Class enclosure.
2. Install any blade options.
3. Install interconnect modules in the enclosure.
4. Connect the interconnect modules to the network.
5. Install a storage and server blade.
6. Complete the storage and server blade configuration.
Installing an HP BladeSystem c-Class
enclosure
Before perf
BladeSyste
The most cur
BladeSyste
(http://w
Documentation is also available in the following locations:
• Documentation C D that ships with the enclosure
• HP Business Support Center website (http://www.hp.com/support)
• HP Technical Documentation website (http://docs.hp.com)
orming any blade-specific procedures, install an HP
mc-Classenclosure.
rent documentation for blades and other HP
m components is available at the HP website
ww.hp.com/go/bladesystem/documentation).
© Copyright 1999, 2008 Hewlett-Packard Development Company,
L.P .
First edition: September 2008
rmationinthisdocumentissubjecttochangewithout
The info
notice.
Printed in Puerto Rico
www.hp.com
Installing blade options
Before installing and initializing the storage and server blade, install
any blad e options, such as an additional mezzanine card. For blade
options installation information, see the HP ProLiant BL460c Server
Blade User Guide on the Documentation CD or on the HP website
(http://www.hp.com/go/bladesystem/documentation).
Installing interconnect modules
For specific steps to install interconnect modules, see the documentation
that ships with the interconnect module.
To support network connections for specific signals, install an
interconnect module in the bay corresponding to the embedded NIC or
mezzanine signals.
G780-96002*
*A
Page 1
Page 2
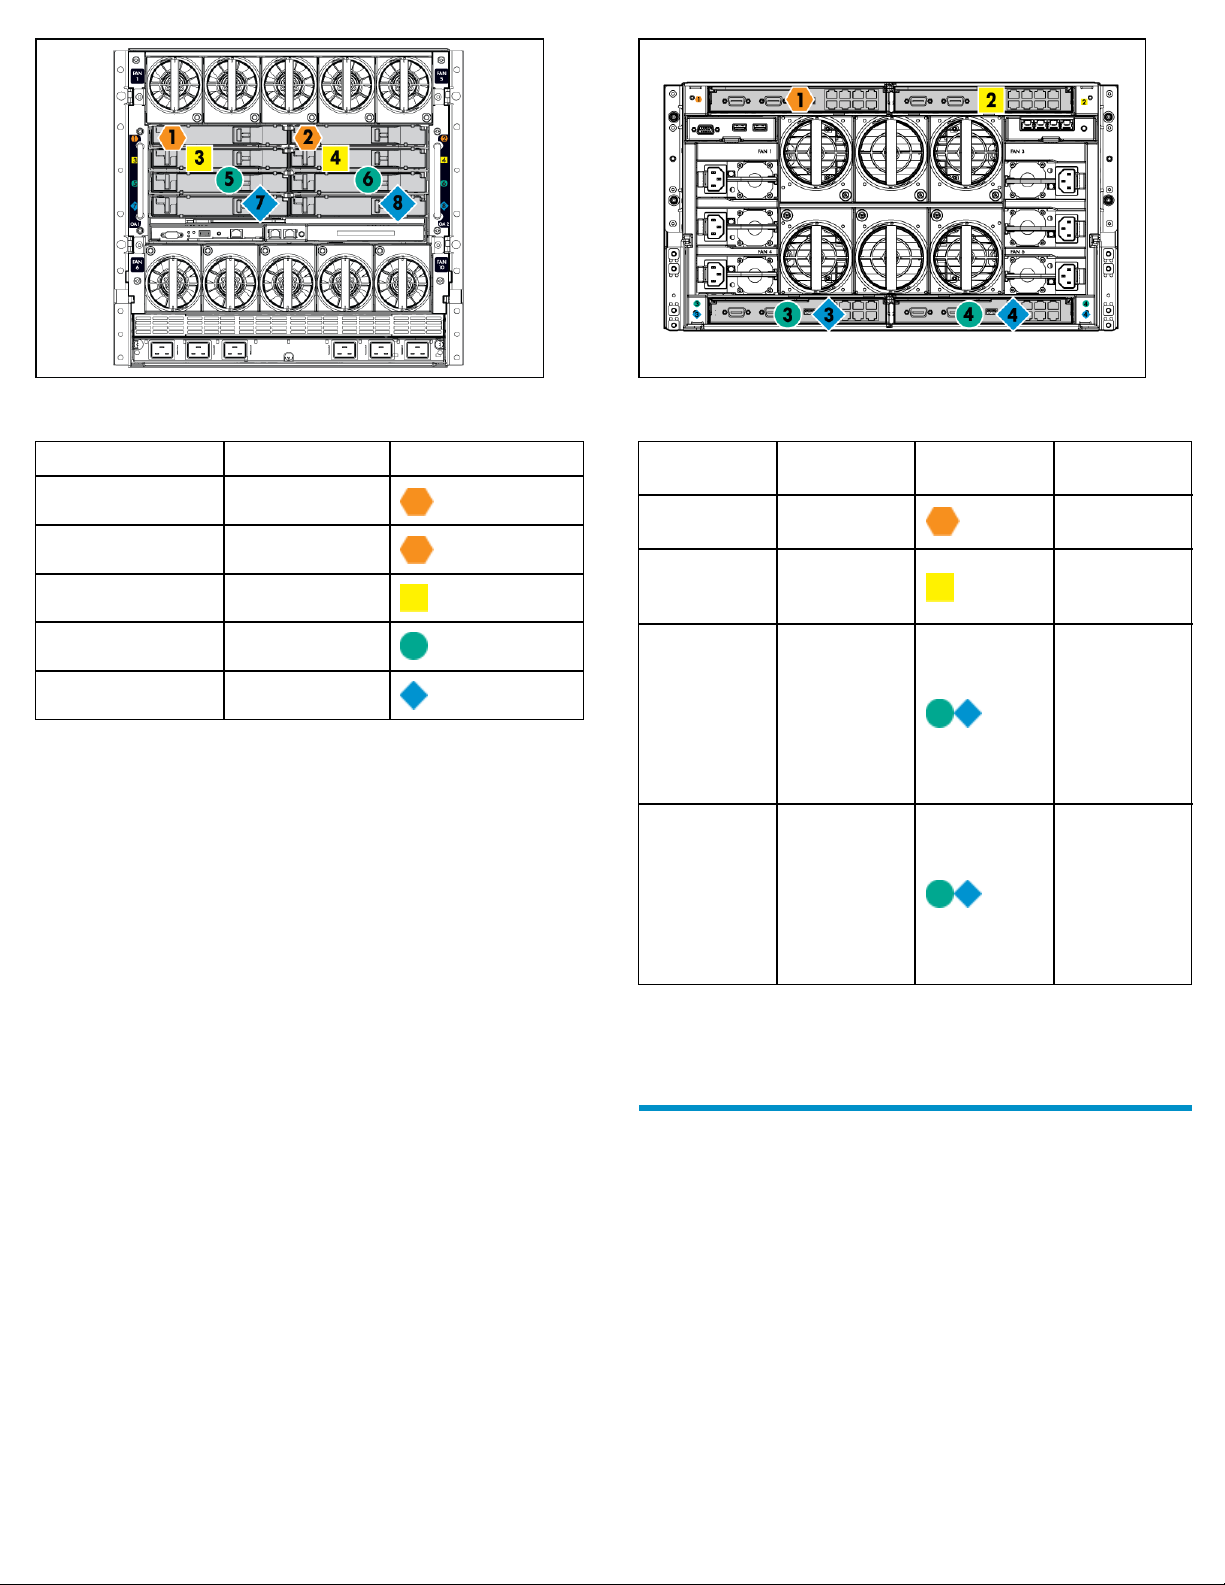
Figure 1 Inte
(c7000 encl
rconnect bay numbering and device mapping
osure)
Figure 2 Inte
(c3000 encl
rconnect bay numbering and device mapping
osure)
Blade signal Interconnect bay Interconnect bay label
NIC 1 (embedded)
NIC 2 (embedded)
Mezzanine 1
Mezzanine 2
1
2
3and4
5and6
7and8
)
Interconnect
bay
1
2
3, 4
Blade signal
NICs 1 and 2
(embedded
Mezzanine 1
Mezzanine 2 3, 4
anine 3
Mezz
For detailed port mapping information, see the HP BladeSystem
enclosure installation poster or the HP BladeSystem enclosure setup
and installation guide on the HP website (http://www.hp.com/go/
bladesystem/documentation).
Interconnect
bay label
Notes
Four port cards
connect to bay
2
• Four port
cards
• Ports 1 and
3connect
to bay 3
• Ports 2 and
4connect
to bay 4
• Four port
cards
• Ports 1 and
3connect
to bay 3
• Ports 2 and
4connect
to bay 4
Connecting to the net work
o connect the HP BladeSystem to a network, each enclosure must
T
be configured with network interconnect devices to manage signals
between the blades and the external network.
Two types of interconnect modules are available for HP BladeSystem
c-Class e nclosures: Pass-thru modules and switch modules. For more
information about interconnect module options, see t he HP website
(http://www.hp.com/go/bladesystem/interconnects).
Page 2
Page 3

Installing a storage and server blade
IMPORTANT:
If your HP AiO SB600c Storage Blade is factory-integrated, the
server and storage blades are pre-installed in the enclosure.
CAUTION:
To prevent improper cooling and thermal damage, do not operate
the blade or the enclosure unless all hard d rive and device bays
are populated with either a component or a blank.
The AiO SB600c consists of a server blade and storage blade. These
blades must be installed adjacent to one another in the enclosure as
a pair. In the figures below, the proper server blade / storage blade
pairinstallationlocationsareshownasdevicebays1and2,3and4,
and so on.
2. Prepare the storage blade for installation.
1. Remo
3. Install the storage blade.
4. Remove a blank from the adjacent device bay and repeat steps 2
through 3 to install the partner server bla de.
ve the blank.
Completing the configuration
To complete the HP BladeSystem enclosure configuration, see the
overview card that ships with the enclosure.
When the enclosure is powered on, the installed blades are also
powered on and the storage system installation process begins. The
installation process takes approximately 1 0–15 minutes and requires
no user interaction.
Page 3
Page 4

NOTE:
The HP AiO SB600c Storage Blade comes pre-installed with the
Microsoft Windows Storage Server 2003 R2 (Standard Edition)
operating system. There is no operating system installation
required.
After the enclosure has been configured and the storage system
installation process is complete, log on to the storage system using the
default user
After loggin
up your system with basic configuration information. Before using
the All-in-One Storage Manager wizards to schedule data migration
of SQL, Exch
All-in-On
For administration, service, and maintenance information,
see the following documentation available at the HP website
(http://
• HP Storag
• HP ProLia
• HP Stora
Guide
• HP ProL
name administrator an d password hpinvent.
ginforthefirst time, use the Rapid Startup Wizard to set
ange, or User-defined data, be sure to first install the
e Storage Manager Agent on those application servers.
www.hp.com/go/bladesystem/documentation):
eWorks All-in-One Storage Manager User Guide
nt BL460c Server Blade Maintenance and Service Guide
geWorks SB40c Storage Blade Maintenance and Service
iant Server Troubleshooting Guide
Page 4
 Loading...