

E
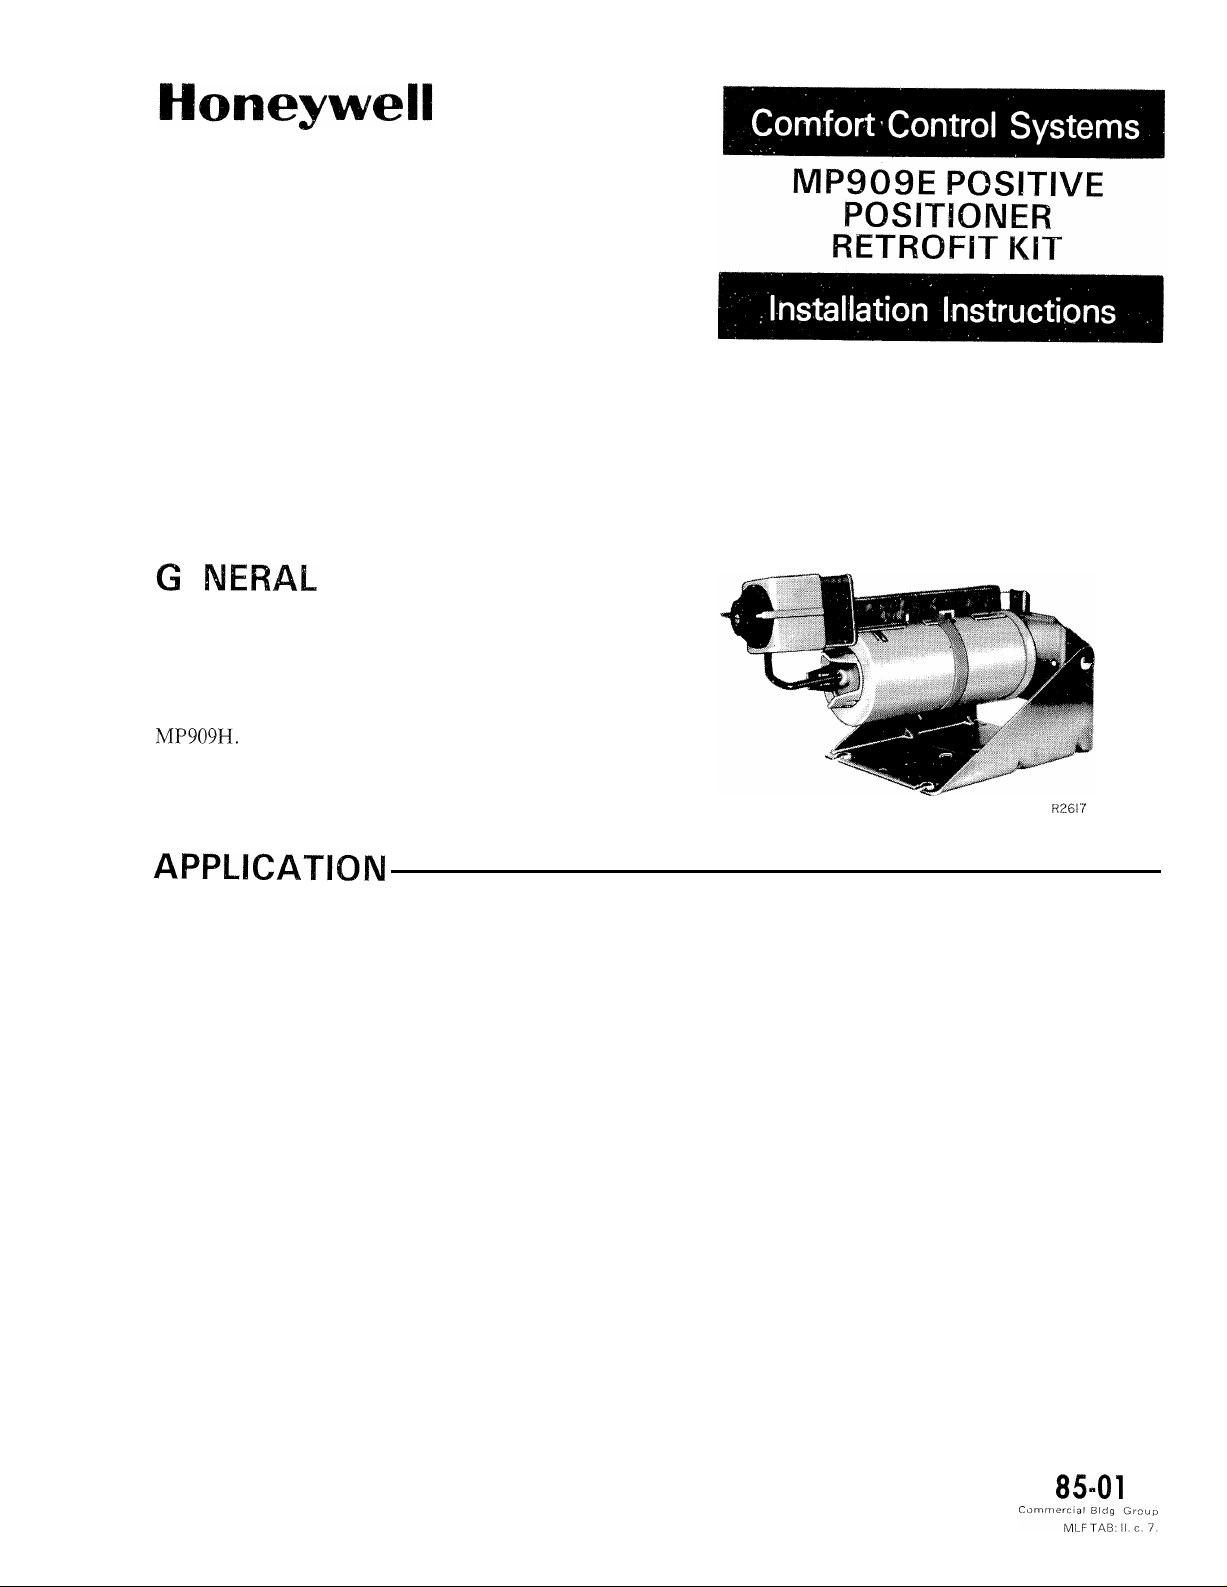
The MP909E Positive Positioner Retrofit Kit Part
No. 14004 137-001 (Fig. I), is designed for upgrading
MP909E Damper Operators that have a 5 to
69
kPa)
spring range. The addition of the positive posi-
tioner converts the MP909E to the equivalent of an
10
psi (34 to
These operators are used for proportional control of
variable volume terminal units, mixing boxes, and small
or medium sized dampers. Adding the positive positioner
12-82
to your 5 to
operator to the latest model.
10
psi (34 to 69
kPa)
MP909E updates your
Form No 04
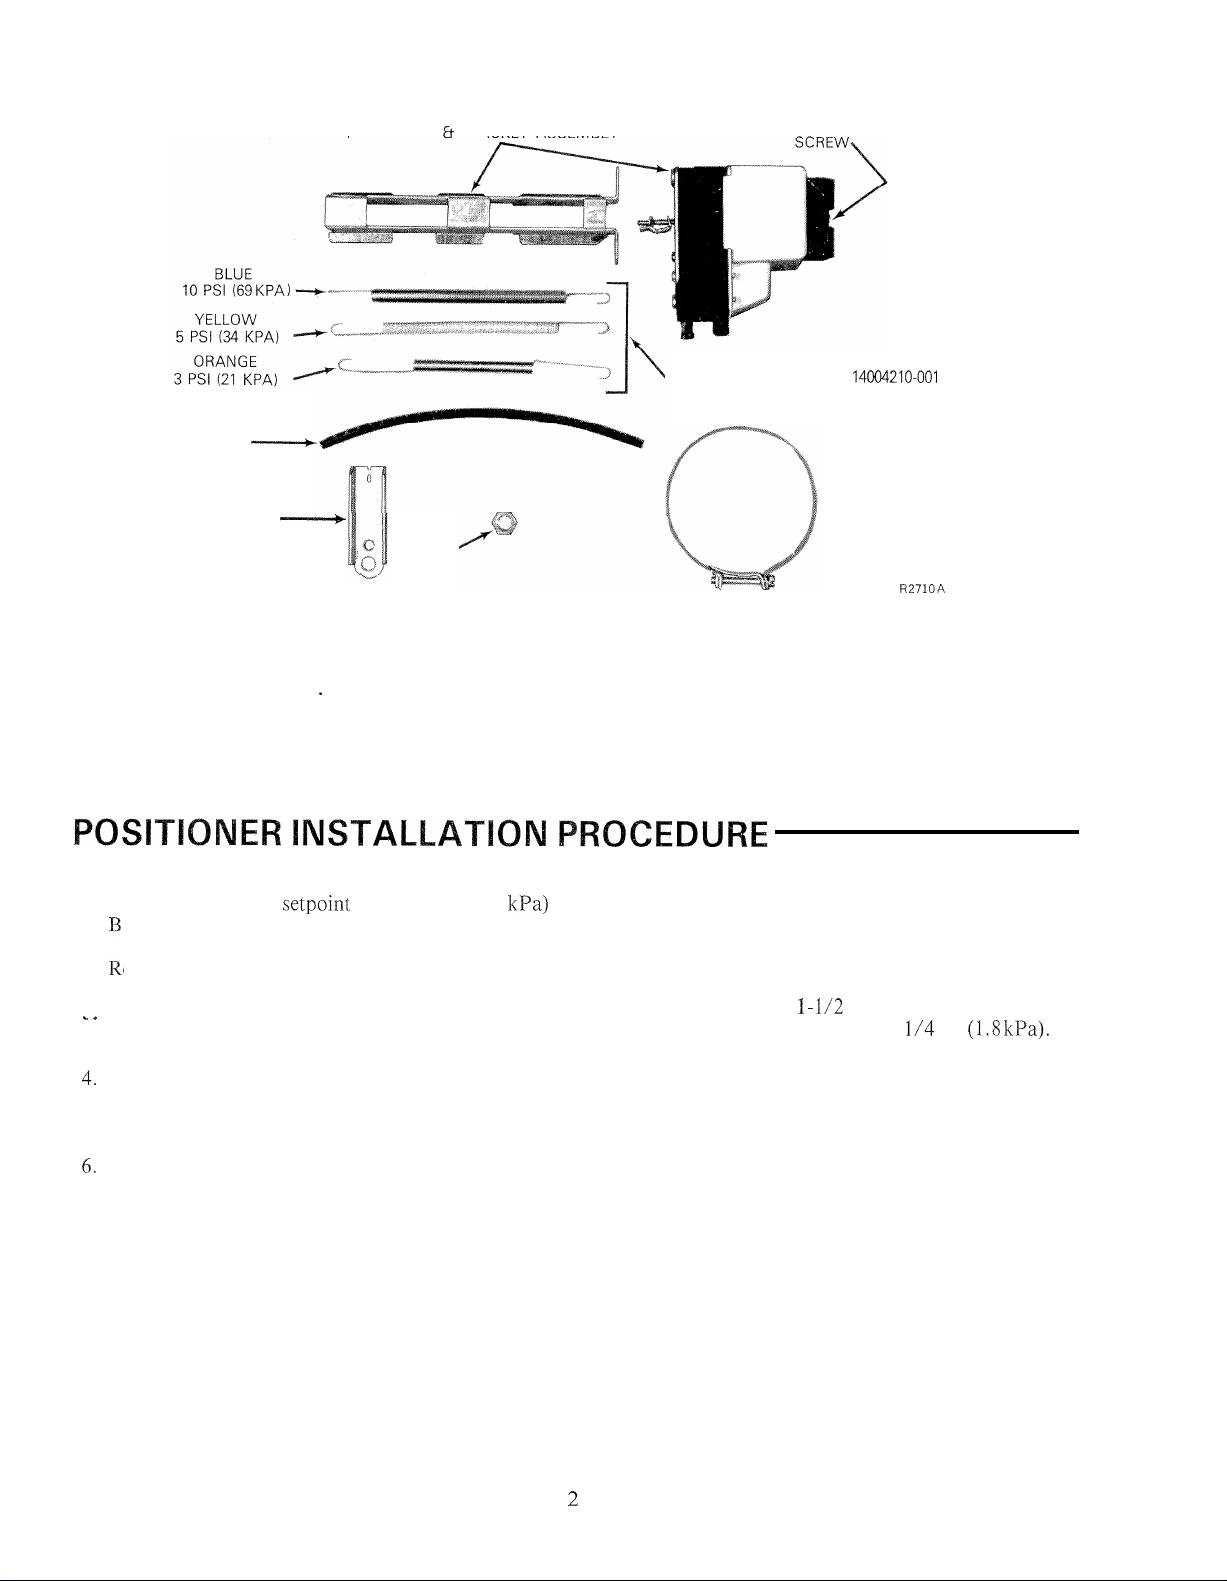
TUBE
POSITIONER BRACKET
ASSEMBLY
FACTORY
CALIBRATION
FEEDBACK SPRING KIT
LEVER
NUT
Fig. 1 MP909E Positive Positioner Retrofit Kit, Par
Reduce branch line air pressure to operator by
1,
adjusting controller
LP,
or by removing connected tubing.
2.
emove linkage from operator shaft.
3
Thread the nut provided in the kit (Fig. 1) all the way
to obtain 0 psi (0
onto the operator shaft.
Install lever on operator shaft.
5.
Reinstall linkage.
+--CLAMP
t No. 14004137-00
Slide the desired feedback spring of 3, 5, or
8.
kPa)
(21, 34, or 69
through the bracket and hook it to
1.
the lever and to the positioner.
9.
Set start point on positioner by turning the knob to
any setting between
and 13 psi (10 and 90
Each detent on the knob equals psi
Connect main and branch lines and perform opera-
10
tional check.
10
psi
kPa),
Secure positioner and bracket assembly in place with
clamp as shown in Figure 2.
Install tubing from operator inlet fitting to posi-
7.
tioner branch port.
85-0104
Adjust start point if necessary.
11.
NOTE:
Follow same procedure to convert new MP909E
operators disregarding Step 1.
 Loading...