


HVE1/HVE4/HVE8
Audio/Video Encoder
Audio/Video Encoder
HVE1 HVE1X
HVE4 HVE4X
HVE8 HVE8X
Getting Started Guide
Document 800-15611V2 – Rev A – 10/2013

Revisions
Issue Date Revisions
A 08/2013 New document
V1 Rev A 10/2013 Removed Preliminary status. Adjusted alignment and layout. Minor text changes
throughout.
V2 Rev A 10/2013 Replaced the photo of the HVE8(X) back panel. Corrected the callouts in Fig 3.
Removed references to the microSD card and PoE for HVE8(X). Replaced "SADP
(IP finder) software" with "IP Utility".
Cautions and Warnings
CAUTION
THIS SYMBOL INDICA TESTHAT
DANGEROUSVOLTAGE
CONSTITUTING A RISKOF
ELECTRIC SHOCK ISPRESENT
WITHIN THE UNIT.
CAUTION:TO REDUCE THE RISK OF ELECTRIC
SHOCK, DO NOT REMOVETHE COVER.
NO USER-SERVICEABLE PARTS INSIDE.
REFER SERVICING TOQUALIFIED SERVICE
PERSONNEL.
THIS SYMBOL INDICA TESTHAT
IMPORTANT OPERATING AND•
MAINTENANCE INSTRUCTIONS
ACCOMPANY THIS UNIT.
RISK OF ELECTRIC
SHOCK
DO NOT OPEN
Installation and servicing should be performed only by qualified and experienced technicians to conform to all local
codes and to maintain your warranty.
CAUTION 12 V DC models require the use of CSA Certified/UL Listed Class 2 power
adapters to ensure compliance with electrical safety standards.
Regulatory Statements
FCC Compliance Statement
Information to the User: This equipment has been tested and found to comply with the limits for a Class A digital
device, pursuant to part 15 of the FCC Rules. These limits are designed to provide reasonable protection against
harmful interference when the equipment is operated in a commercial environment. This equipment generates, uses,
and can radiate radio frequency energy and, if not installed and used in accordance with the instruction manual, may
cause harmful interference to radio communications. Operation of this equipment in a residential area is likely to cause
harmful interference in which case the user will be required to correct the interference at his own expense.
Canadian Compliance Statement
This Class A digital apparatus complies with Canadian ICES-003.
Cet appareil numérique de la Classe A est conforme à la norme NMB-003 du Canada.
Note Changes or modifications not expressly approved by the party responsible for
compliance could void the user’s authority to operate the equipment.
Document 800-15611V2 Rev A
10/2013
10 | HVE1/HVE4/HVE8 Encoders Getting Started Guide
Manufacturer’s Declaration of Conformance
North America
The equipment supplied with this guide conforms to UL 60950-1 and CSA C22.2 No. 60950-1.
Europe
The manufacturer declares that the equipment supplied is compliant with the essential requirements of the EMC
directive 2004/108/EC, conforming to the requirements of standards EN 55022 for emissions, EN 50130-4 for immunity,
and EN 60950 for electrical equipment safety.
Waste Electrical and Electronic Equipment (WEEE)
Correct Disposal of this Product (applicable in the European Union and other
European countries with separate collection systems).
This product should be disposed of, at the end of its useful life, as per applicable
local laws, regulations, and procedures.
Important Safeguards
BEFORE OPERATING OR INSTALLING THE UNIT, READ AND FOLLOW ALL INSTRUCTIONS.
AFTER INSTALLATION, retain the safety and operating instructions for future reference
1. HEED WARNINGS - Adhere to all warnings on the unit and in the operating instructions.
2. INSTALLATION
• Install in accordance with the manufacturer’s instructions.
• Installation and servicing should be performed only by qualified and experienced technicians to conform to
all local codes and to maintain your warranty.
• Do not install the unit in an extremely hot or humid location, or in a place subject to dust or mechanical
vibration. The unit is not designed to be waterproof. Exposure to rain or water may damage the unit.
• Any wall or ceiling mounting of the product should follow the manufacturer’s instructions and use a
mounting kit approved or recommended by the manufacturer.
3. POWER SOURCES - This product should be operated only from the type of power source indicated on the
marking label. If you are not sure of the type of power supplied to your facility, consult your product dealer or
local power company.
4. HEAT - Situate away from items that produce heat or are heat sources such as radiators, heat registers, stoves,
or other products (including amplifiers).
www.honeywell.com/security

| 11
5. WATER AND MOISTURE - Do not use this unit near water or in an unprotected outdoor installation, or any area
classified as a wet location.
6. MOUNTING SYSTEM - Use only with a mounting system recommended by the manufacturer, or sold with the
product.
7. ATTACHMENTS - Do not use attachments not recommended by the product manufacturer as they may result in
the risk of fire, electric shock, or injury to persons.
8. ACCESSORIES - Only use accessories specified by the manufacturer.
9. CLEANING - Do not use liquid cleaners or aerosol cleaners. Use a damp cloth for cleaning.
10. SERVICING - Do not attempt to service this unit yourself as opening or removing covers may expose you to
dangerous voltage or other hazards. Refer all servicing to qualified service personnel.
11. REPLACEMENT PARTS - When replacement parts are required, be sure the service technician has used
replacement parts specified by the manufacturer or have the same characteristics as the original part.
Unauthorized substitutions may result in fire, electric shock or other hazards.
Installation
The HVE1(X)/HVE4(X)/HVE8(X) encoders are highly advanced surveillance equipment that should be installed with
care. Please ensure that you install a manufacturer-recommended HDD (HVE8(X) models only). See Table 1-1 for a list
of recommended HDDs.
During encoder installation:
• Use brackets for racking mounting.
• Ensure that there is ample room for audio and video cables.
• When installing the cables, ensure that the bend radius of the cables is no less than five times its diameter.
• Connect both the alarm and the RS-485 cable.
• Allow at least 2cm (~0.75 inch) of space between rack-mounted devices.
• Ensure that the encoder is grounded.
• Ensure that the environmental temperature is within -10°C–55°C (14°F–131°F).
• Ensure that the environmental humidity is within 10%–90%.
Installing the Hard Disk Drive (HDD)
This section applies only to HVE8(X) models that have room for a Hard Disk Drive (HDD) for recording.
Preparing for Installation
This encoder comes from the factory without a HDD. Follow these instructions to install a HDD that is appropriate for
your situation according to the total capacity calculated in terms of the Schedule Recording Settings. The installation
and removal of the hard disk should be done by qualified professionals.
800-15611V2 - A - 10/2013

12 | HVE1/HVE4/HVE8 Encoders Getting Started Guide
Before installing a HDD for HVE(X), please ensure the power is disconnected from the device. Only a
factory-recommended HDD should be used for this installation.
Table 1 Tested Compatible HDDs
SEAGATE
Capacity HDD Model
3T ST3000VX000-9YW1
ST2000VX000-9YW1
2T ST2000VX002-1AH1
ST2000VM003-1CT1
ST1000VM002-9ZL1
1T ST31000322CS
ST1000VX000-9YW1
ST31000526SV
500G ST3500410SV
ST3500411SV
ST3250312CS
250G ST3250310SV
ST3250820SV
WD
Capacity HDD Model
2T WD20EURS-63S
1T WDC WD10EVDS-63U
Required Tools: Screwdriver
Installing the HDD
1. Use the screwdriver to unfasten the screws on both sides and the rear panel of the encoder, then remove the
cover from the chassis and set aside.
www.honeywell.com/security
| 13
Install Secure
Connect the power cord Connect the data line
Figure 1 Removing the Cover
2. Place the HDD into the slot on the chassis, and then secure it in position by tightening the screws at the bottom
of the chassis.
Figure 2 Installing and Securing the HDD
3. Remove the HDD data line from the accessories box. Plug one end of the data line to the circuit board, and the
other end to the data line port on the HDD. Connect the power cord to the HDD in the same way.
Figure 3 Connecting the Data Line and the Power Cord
4. Replace the chassis cover, and then tighten the screws on both sides and the rear panel of the encoder.
800-15611V2 - A - 10/2013

14 | HVE1/HVE4/HVE8 Encoders Getting Started Guide
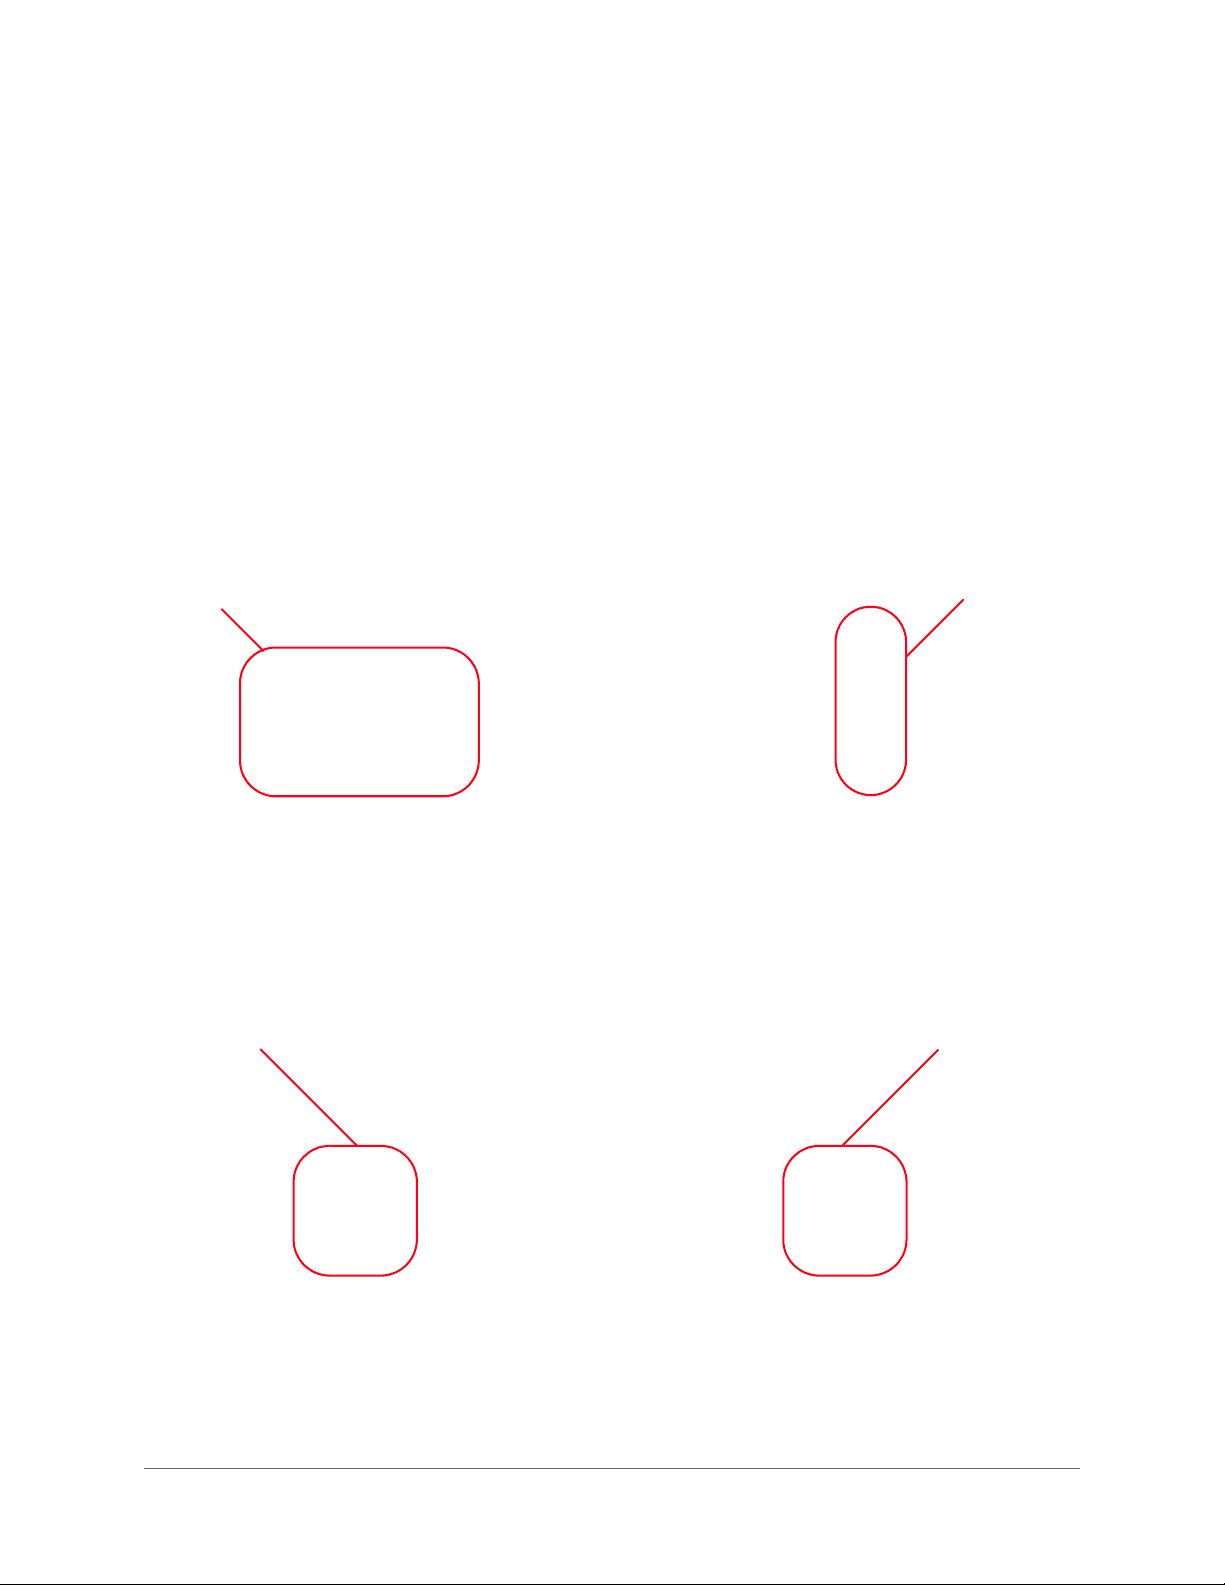
About the Encoder
HVE1(X)
Front Panel
Figure 4 HVE1 Front Panel
Table 2 HVE1 Front Panel
Interface Element Function
1 PWR LED Indicator Lights red when the device is powered on.
Lights orange when an SD card is inserted.
2 VIDEO IN BNC connector for video input.
3 LINE IN 3.5mm connector for two-way audio input. Connect to an audio input
device or an active pick-up, a microphone, etc.
4 AUDIO OUT 3.5mm connector for audio output. Connect an audio output device,
such as a loudspeaker.
5 microSD microSD interface for data storage, up to 32GB, Class 6 and above.
6 RESET Restore to the factory default settings by holding the RESET button for
more than 15 seconds after the power is turned on.
www.honeywell.com/security
 Loading...