

Page 1
Wireless GPS Receiver M-1000 QUICK GUIDE
Packing List
Standard Optional
M-1000 Wireless GPS Receiver x 1
Battery x 1
Cigarette adapter x 1
User guide and Driver CD x 1
M-1000 Quick Guide x 1
Warranty Card x 1
Instructions for First Use
1. Installing the Battery
Using the supplied rechargeable lithium-ion battery, install it as shown in the
adjacent diagram, and replace casing.
To ensure safe operation, only use battery as instructed.
Travel power supply x 1
HOLUX USB data cable x 1
Draadloze GPS Bluetooth M-1000 SNELGIDS
Inhoud verpakking
Standaard Optioneel
M-1000 Bluetooth GPS-ontvanger x 1
Batterij x 1
Adapter sigarettenaansteker x 1
Cd met handleiding en
stuurprogramma's x 1
M-1000 snelgids x 1
Garantiekaart x 1
Instructies voor eerste gebruik
1. De batterij installeren
Neem de bijgeleverde oplaadbare lithium-ionbatterij en installeer deze zoals
weergegeven in het schema hiernaast en plaats de behuizing terug.
Om een veilige werking te garanderen, mag u de batterij alleen gebruiken
zoals aangegeven.
Reisvoeding x 1
HOLUX USB-gegevenskabel x 1
2. Charge the Battery
3. Switch on the Power
4. Bluetooth Link
Note about Bluetooth connection
When you power on the M-1000, you need to wait 6 seconds for Bluetooth to conduct self-test before a connection is
established. Wait until the Bluetooth light starts to flash (at 3 seconds interval). Then a Bluetooth link can be established
between a PDA and the M-1000.
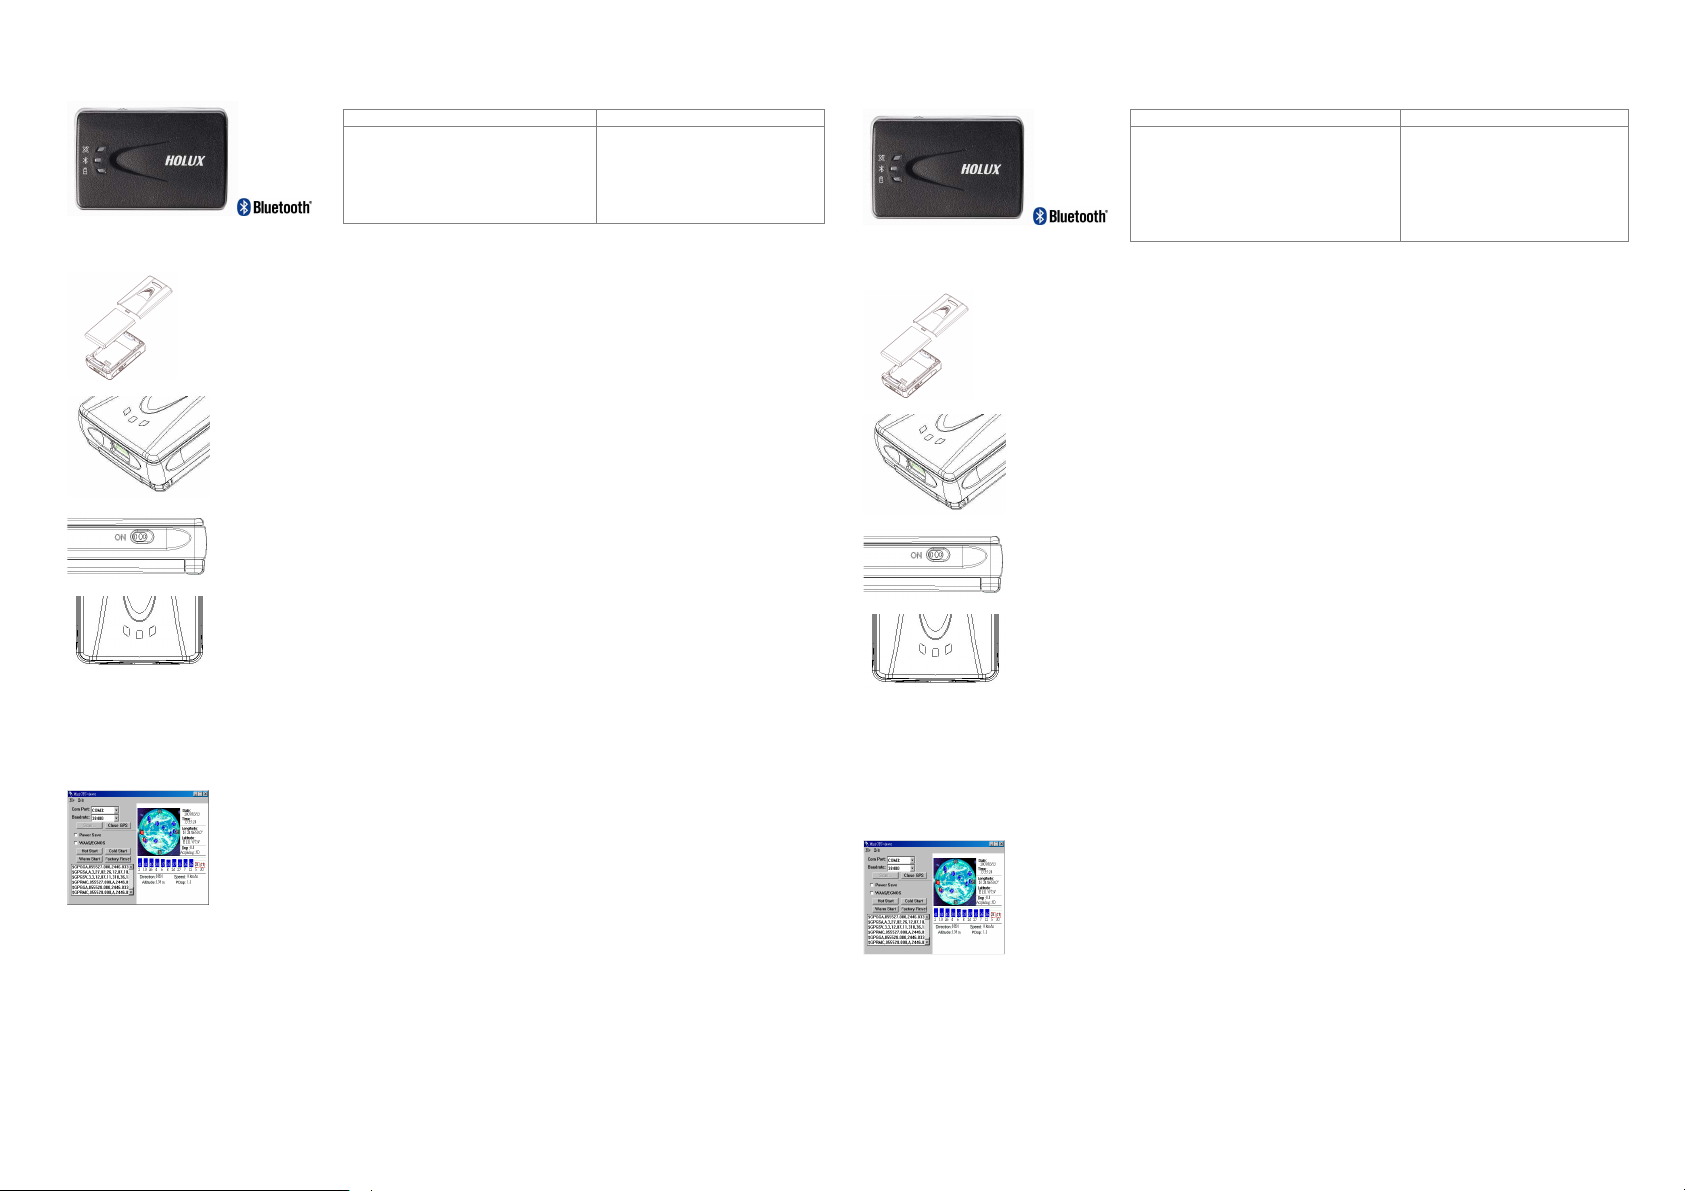
5. Mini GPS viewer
<Warning>
Do not place the M-1000 under strong sunlight for a long time. Do not place it in a high-temperature environment, or
near heat radiating devices such as a stove or radiator. Doing so will cause the device to breakdown and to function
unstably.
- For further information, please read the user’s manual in the supplied CD.
- M1000 PASSKEY – 0000
(For security, some PDAs will prompt users for the M-1000 Passkey)
Connect the supplied power cord to the mini USB socket, and attach to car
cigarette lighter.
You can also use common USB-Mini USB cable to charge by link M-1000 to
laptop. This common USB cable is for battery charging only, which can not
provide any data transmission function.
Always ensure that you have inserted the end of the power cord into the correct
socket when connecting the mini USB connector.
Slide the power switch to the ON position.
To operate link with a PDA (Personal Digital Assistant): Setup the Bluetooth
Manager, select Search, and link.
Select the HOLUX_ M-1000 device and choose SPP slave to establish the
Bluetooth link.
Refer to the “Software Installation” section for details if you have any problem
installing the Bluetooth link.
When the GPS connection is working normally, the status lamp indicates the
status by a flash 1 time/1 sec.
You can install the Mini GPS viewer program from the supplied CD to check
current positioning and satellite signal reception.
Enable the Mini GPS viewer, set the Baud rate to 38400, and press Scan for
automatic scanning. Once you find the correct Com Port, choose GPS Status to
start viewing.
Refer to the “Software Installation” section for details if you have any difficulty
with installation and use.
2. De batterij opladen
3. De voeding inschakelen
4. Bluetooth-verbinding
Opmerking over de Bluetooth-verbinding
Wanneer u de M-1000 inschakelt, moet u 6 seconden wachten tot Bluetooth een zelftest heeft uitgevoerd voordat een
verbinding wordt gemaakt. Wacht tot het Bluetooth-lampje begint te knipperen (met een interval van 3 seconden). Daarna
kan een Bluetooth-verbinding worden gemaakt tussen een PDA en de M-1000.
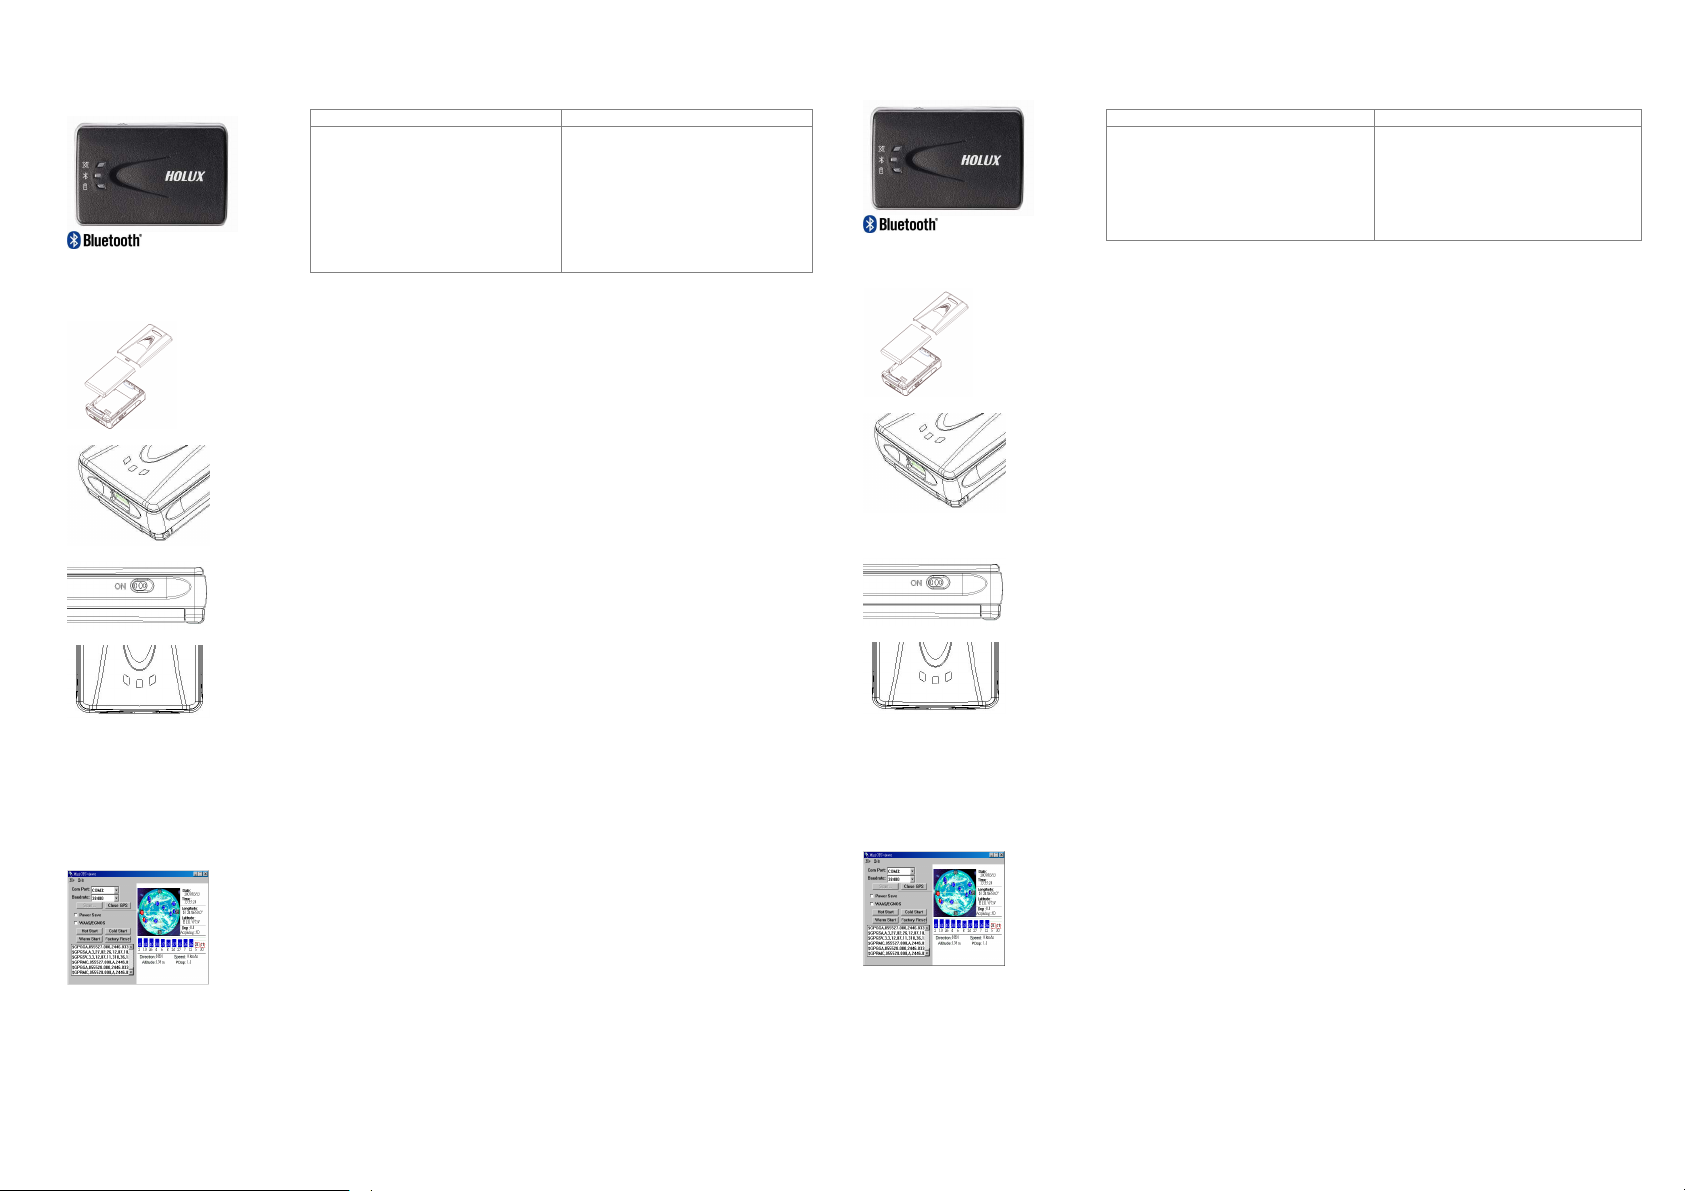
5. Mini GPS Viewer
<Waarschuwing>
Laat de M-1000 niet gedurende lange tijd in sterk zonlicht staan. Plaats het apparaat niet in een omgeving met een
hoge temperatuur of in de buurt van de verwarmingsapparaten zoals een kachel of radiator. Als u dit toch doet, kan
het apparaat defect raken of onstabiel werken.
- Lees de gebruiksaanwijzing op de bijgeleverde cd voor meer informatie.
- M1000 WACHTWOORDSLEUTEL – 0000
(Als beveiliging zullen sommige PDA's gebruikers vragen het M-1000-wachtwoord in te voeren.)
Sluit de bijgeleverde voedingskabel aan op de mini-USB-aansluiting en op de
sigarettenaansteker van de auto.
U kunt elke gewone USB-Mini-USB-kabel gebruiken om op te laden door de
M-1000 op de laptop aan te sluiten. Deze gewone USB-kabel is alleen
bedoeld voor het opladen en biedt geen gegevensoverdrachtfunctie.
Zorg er altijd voor dat u het uiteinde van de voedingskabel in de juiste
aansluiting hebt gestopt wanneer u de mini-USB-connector aansluit.
Schuif de voedingsschakelaar naar de positie "ON" (AAN).
Om een verbinding met een PDA (Personal Digital Assistant) te maken:
activeer de "Bluetooth Manager", selecteer "Search" (Zoeken) en maak de
verbinding.
l Selecteer het HOLUX_ M-1000-apparaat en kies SPP slave om de
"Bluetooth Link" (Bluetooth-verbinding) tot stand te brengen.
Raadpleeg het hoofdstuk "Software Installation" (Software-installatie) voor
details als u problemen ondervindt bij het installeren van de "Bluetooth Link"
(Bluetooth-verbinding).
Wanneer de GPS-verbinding normaal werkt, geeft het statuslampje de status
aan door 1 keer/sec. te knipperen.
U kunt het programma MiniGPSviewer installeren vanaf de bijgeleverde cd
om de huidige positionering en satellietsignaalontvangst te controleren.
Activeer de MiniGPSviewer, stel de baudrate in op 38400 en druk op "Scan"
(scannen) voor automatisch scannen. Zodra u de correcte Com-poort hebt
gevonden, kunt u de "GPS status" (GPS-status) selecteren om de weergave
te starten.
Raadpleeg het hoofdstuk "Software Installation" (Software-installatie) voor
details als u problemen ondervindt met de installatie en het gebruik
Page 2
Récepteur Sans fil De Bluetooth GPS M-1000 GUIDE DE MISE EN ROUTE
Contenu de l’emballage
Standard En option
Instructions pour la première utilisation
1. Installer la batterie
2. Charger la batterie
3. Allumer l’appareil
Utilisez la batterie rechargeable au Lithium ; insérez-la comme indiqué dans le
Pour un fonctionnement en toute sécurité, n’utilisez que la batterie que comme
Branchez le cordon d’alimentation fourni sur la prise mini-USB et sur
Vous pouvez aussi utiliser un câble mini-USB normal pour recharger le M-1000
Vérifiez toujours que vous avez corectement branché le cordon d'alimentation sur
Mettez le bouton d’alimentation sur "ON" (MARCHE).
1 x récepteur GPS Bluetooth
M-1000
1 x Batterie
1 x adaptateur pour allume-cigare
1 x manuel d’utilisation + CD du
pilote
1 x guide de mise en route du
M-1000
1 x carte de garantie
compartiment de la batterie et refermez le couvercle.
indiqué.
l’allume-cigare de votre voiture.
via un ordinateur portable. Ce câble USB est pour le rechargement de la batterie
uniquement. Il ne peut pas être utilisé pour le transfer de données.
la bonne prise lorsque vous utilisez le connecteur mini-USB.
1 x source d’alimentation de voyage
1 x cable de données USB HOLUX
Drahtloser Bluetooth GPS Empfänger M-1000 KURZANLEITUNG
Lieferumfang
Standard Optional
M-1000 Bluetooth GPS-Empfänger x 1
Akkus x 1
Zigarettenanzünderadapter x 1
Benutzerhandbuch- und Treiber-CD x
1
Anweisungen für die erstmalige Verwendung
1. Akku einlegen
2. Akku aufladen
3. Einschalten
M-1000 Kurzanleitung x 1
Garantiekarte x 1
Legen Sie wie links abgebildet den beigelegten Lithium-Ionen-Akku ein und
bringen anschließend die Abdeckung wieder an.
Befolgen Sie beim Verwenden des Akkus unbedingt die Anweisungen, um die
nötige Sicherheit zu gewähren.
Verbinden Sie das beigefügte Stromkabel mit dem Mini-USB-Anschluss und
dem Zigarettenanzünder im Auto.
Sie können auch ein übliches Mini-USB-Kabel verwenden, um den M-1000
mit einem Computer zu verbinden und damit den Akku aufzuladen. Das
übliche USB-Kabel dient nur zum Aufladen des Akkus und hat keine
Datenübertragungsfunktion.
Achten Sie immer darauf, dass Sie das Ende des Stromkabels in den richtigen
Anschluss einstecken, wenn Sie die Verbindung mit den Mini-USB- Anschluss
vornehmen.
Stellen Sie den Stromschalter in die "ON"-Position.
Netzteil für Reise x 1
HOLUX USB-Datenkabel x 1
4. Connexion Bluetooth
Note sur la connexion Bluetooth
Lorsque vous allumez le M-1000, veuillez attendre 6 secondes pendant que l’appareil autotest la connexion Bluetooth
avant d’établir une connexion Bluetooth. Veuillez attendre jusqu’à ce que le voyant Bluetooth clignote (une fois toutes les
3 secondes). Vous pouvez maintenant établir une connexion Bluetooth entre le M-1000 et un ANP (Assistant Numérique
Personnel).
5. Mini GPS Viewer
<Attention>
Ne placez pas le M-1000 directement au soleil pendant de longues périodes. Ne placez pas cet appareil dans des
endroits chauds ou près d’un chauffage comme un radiateur ou une cuisinière. Sinon cet appareil pourrait mal
fonctionner ou être endommagé.
- Pour plus d’informations, consultez le manuel de l'utilisateur sur le CD fourni.
- CODE DE PASSE DU M1000 – 0000
(Pour des raisons de sécurité, certains ANP peuvent vous demander d’entrer le code de passe du M-1000).
Pour établir une connexion avec un ANP (Assistant Numérique Personnel),
procédez comme suit : Activez le "Bluetooth Manager" (Gestionnaire Bluetooth),
sélectionnez Recherche et ouvrez la connexion.
Sélectionnez l’appareil HOLUX_ M-1000 et sélectionnez "SPP Slave"
(Secondaire SPP) pour établir la "Bluetooth Link" (connexion Bluetooth).
Consultez la section "Software Installation" (Installation du logiciel) pour plus de
détails ou si vous avez des problèmes avec la "Bluetooth Link" (connexion
Bluetooth).
Lorsque la connexion GPS est établie, le voyant d'état indique l'état en clignotant
1 fois par seconde.
Vous pouvez installer le programme MiniGPSviewer qui se trouve sur le CD fourni
pour vérifier votre position actuelle et la qualité de la réception satellite.
Activez le MiniGPSviewer, réglez le débit en bauds sur 38400 et appuyez sur
"Scan" (Balayage) pour faire un balayage automatique. Une fois que vous avez
trouvé le bon port COM, choisissez "GPS status" (Statut GPS) pour commencer à
l’utiliser.
Consultez la section “Software Installation” (Installation du logiciel) pour plus de
détails ou si vous avez des problèmes avec l’installation ou l’utilisation du logiciel.
4. Bluetooth-Verbindung
Hinweis zur Bluetooth-Verbindung
Wenn Sie den M-1000 einschalten, dann müssen Sie für 6 Sekunden auf den Bluetooth-Selbsttest warten, bis die
Verbindung zustande kommt. Warten Sie, bis das Bluetooth-Licht zu Blinken (in einem Zeitintervall von drei Sekunden)
anfängt. Erst dann besteht die Bluetooth-Verbindung zwischen dem PDA und dem M-1000.
5. Mini GPS Viewer
<Warnung>
Setzen Sie den M-1000 nicht über längere Zeit starker Sonneneinstrahlung aus. Stellen Sie das Gerät weder in einer
sehr warmen Umgebung auf noch in die Nähe eines wärmeerzeugenden Gerätes wie z.B. einem Herd oder
Heizkörper. Andernfalls kann das Gerät versagen oder unstabil arbeiten.
- Lesen Sie bitte das Benutzerhandbuch auf der beigelegten CD für weitere Informationen.
- M1000 PASSKEY – 0000
(Manche PDAs fordern aus Sicherheitsgründen den M-1000 Passkey an.)
Aktivieren Sie den "Bluetooth Manager" (Bluetooth- Manager), wählen
"Search" (Suchen) und bauen dann die Verbindung auf, um die Verbindung
mit einem PDA (Personal Digital Assistant) herzustellen.
Wählen Sie das Gerät HOLUX M-1000 und dann "SPP slave", um die
Bluetooth-Verbindung herzustellen.
Im Abschnitt "Software Installation" (Softwareinstallation) finden Sie weitere
Informationen zur Herstellung der "Bluetooth Link" (Bluetooth-Verbindung).
Wenn die GPS-Verbindung richtig funktioniert, blinkt das Status-Licht jede
Sekunde.
Sie können das Programm MiniGPS Viewer von der beigelegten CD
installieren, um die aktuelle Position und den Satellitensignalempfang zu
prüfen.
Führen Sie den Mini GPS Viewer aus, stellen die Baudrate auf 38400 ein und
tippen dann auf "Scan", um einen automatischen Suchlauf zu starten.
Tippen Sie nach dem Finden des richtigen COM- Anschlusses den
Registerreiter "GPS Status" an, um die Ansicht zu erhalten.
Im Abschnitt “Software Installation” (Softwareinstallation) finden Sie weitere
Informationen zur Installation und Verwendung.
Page 3

Ricevente Senza fili Di Bluetooth GPS M-1000 GUIDA RAPIDA
mador para ligação ao isqueiro
Contenuto della confezione
Standard Optional
1 Ricevitore GPS Bluetooth M-1000
1 Batteria
1 Adattatore di corrente
1 CD Guida all’uso e Driver
1 Guida rapida M-1000
1 Scheda garanzia
Istruzioni per il primo utilizzo
1. Installazione delle batterie
2. Caricare la batteria
3. Accensione
4. Collegamento Bluetooth
Note sul collegamento Bluetooth
Quando si accende M-1000, è necessario attendere 6 secondi per permettere a Bluetooth di seguire la diagnostica prima
che sia stabilita la connessione. Attendere finché la luce Bluetooth inizia a lampeggiare (ad intervalli di 3 secondi). Quindi è
possibile stabilire un collegamento Bluetooth tra il PDA e M-1000.
5. Mini GPS Viewer
<Avviso>
Non collocare M-1000 alla luce diretta del sole per periodi prolungati. Non collocarlo in luoghi soggetti ad alte
temperature, oppure vicino ad attrezzature che irradiano calore, come stufe o radiatori. Diversamente si provocherà
la rottura del dispositivo e l’instabilità del funzionamento.
- Per altre informazioni leggere il Manuale contenuto nel CD fornito in dotazione.
- PASSKEY di M1000 – 0000
(Per ragioni di sicurezza, alcuni PDA richiederanno la Passkey di M-1000)
Installare la batteria ricaricabile agli ioni di Litio, fornita in dotazione, come
mostrato nella figura qui a fianco e chiudere il coperchio.
Usare la batteria come da istruzioni per assicurare il funzionamento in sicurezza.
Collegare una il cavo d’alimentazione fornito in dotazione alla presa USB mini ed
all’accendisigari.
Per il caricamento si può anche usare un comune cavo USB-Mini per collegare
M-1000 al PC portatile. Questo cavo USB comune serve solo per caricare la
batteria e non può fornire alcuna funzione di trasferimento dei dati.
Assicurarsi sempre di avere inserito una estremità del cavo d’alimentazione alla
presa corretta quando si collega il connettore USB mini.
Far scorrere l'interruttore d'alimentazione sulla posizione "ON" (ACCENSIONE).
Collegamento ad un PDA (Personal Digital Assistant): Attivare "Bluetooth
Manager" (Gestione Bluetooth), selezionare "Search" (Cerca) ed eseguire il
collegamento.
Selezionare il dispositivo HOLUX_ M-1000 e scegliere "SPP slave" per stabilire il
"Bluetooth Link" (Collegamento Bluetooth).
Fare riferimento alla sezione "Software Installaion" (Installazione del software)
per i dettagli nel caso si riscontrino difficoltà per stabilire il "Bluetooth Link"
(Collegamento Bluetooth).
Quando la connessione GPS funziona normalmente, il LED di stato indica lo stato
lampeggiando 1 volta ogni 1 secondo.
Installare il programma Mini GPS Viewer, dal CD fornito in dotazione, per
verificare la posizione corrente e la ricezione del segnale dei satelliti.
Attivare Mini GPS Viewer, impostare Baud Rate (Velocità Baud) su 38400, e poi
premere Scan (Scansione) per eseguire la scansione automatica. Una volta
trovata la porta COM corretta, scegliere GPS Status (Stato GPS) per iniziare la
visualizzazione.
Fare riferimento alla sezione "Installazione del software" per i dettagli, se si
riscontrano difficoltà con l'installazione e l'uso.
1 Alimentatore da viaggio
1 cavo dati USB HOLUX
Receptor Wireless do GPS M-1000 GUIA DE CONSULTA RÁPIDA
Conteúdo da embalagem
Normal Optional
Receptor GPS Bluetooth M-1000 x 1
Bateria x 1
Transfor
do carro
CD com guia do utilizador e
controlador x 1
Instruções para utilização pela primeira vez
1. Colocação da bateria
2. Carregamento da bateria
3. Ligar a alimentação
4. Ligação por Bluetooth
Nota acerca da ligação por Bluetooth
Ao ligar o M-1000, tem de aguardar durante 6 segundos para que a função Bluetooth proceda ao auto teste antes de
estabelecer a ligação. Espere até o LED da função Bluetooth ficar intermitente(uma vez de 3 em 3 segundos). Quando tal
acontecer, é sinal que de que é possível estabelecer uma ligação Bluetooth entre a agenda electrónica e o M-1000.
5. Mini GPS Viewer
<Aviso>
Não deixe o M-1000 exposto à luz solar directa. Não coloque o dispositivo em locais onde hajam altas temperaturas
ou próximo de dispositivos que emitam calor tais como fogões e radiadores. Tal,
poderá provocar um mau funcionamento por parte do dispositivo.
- Para mais informações, leia o manual do utilizador incluído no CD fornecido.
- Senha do M1000 – 0000
(Por motivos de segurança, algumas agendas electrónicas pedem a senha do M-1000)
Guia de instalação rápida do M-1000
Certificado de garantia
Coloque a bateria recarregável de iões de lítio no dispositivo tal como mostra
a imagem e reponha a tampa do respectivo compartimento.
Para garantir uma utilização segura, utilize a bateria apenas como descrito
nas instruções.
Ligue o cabo de alimentação incluído na embalagem ao mini conector USB e
depois faça a ligação ao isqueiro do carro.
Pode também utilizar um vulgar cabo mini USB para fazer a ligação entre o
M-1000 e um laptop. Este cabo USB permite apenas o carregamento da
bateria não podendo ser utilizado para transmissão de dados.
Este cabo de alimentação permite apenas o carregamento da bateria não
podendo ser utilizado para transmissão de dados. Ao ligar o conector mini
USB certifique-se sempre de que introduziu a extremidade do cabo de
alimentação na tomada correcta.
Faça deslizar o comutador de alimentação para a posição "ON" (LIGAR).
Para ligar a uma agenda electrónica: Active o "Bluetooth Manager" (Gestor
Bluetooth), seleccione a opção "Search" (Procurar) e estabeleça a ligação.
Seleccione o dispositivo HOLUX_ M-1000 e escolha a opção "SPP slave"
(Escravo SPP) para estabelecer a ligação por Bluetooth.
Se tiver quaisquer problemas ao estabelecer a ligação por Bluetooth, consulte
a secção “Software Installation” (Instalação do software) para mais
informações.
Quando a ligação por GPS está a funcionar normalmente, o LED de estado
pisca de segundo a segundo.
O programa MiniGPS viewer pode ser instalado a partir do CD fornecido para
verificar a posição actual e a recepção do sinal de satélite.
Active o MiniGPS Viewer, defina a opção Baud Rate (Velocidade de
transmissão) para 38400, e prima o botão Scan (Procurar) para procurar
automaticamente. Quando encontrar a porta COM correcta, escolha a opção
GPS status (Estado do GPS) para começar a visualizar a informação.
Consulte a secção "Instalação do software" para obter mais informações caso
surjam problemas com a instalação e a utilização.
Fonte de alimentação portátil
Cabo de dados USB da HOLUX x 1
Page 4

Receptor Sin hilos del GPS M-1000 GUÍA RÁPIDA
Contenido del paquete
Estándar Opcional
1 receptor GPS Bluetooth M-1000
1 batería
1 adaptador para el encendedor
1 guía del usuario y 1 CD con los
controladores
1 guía rápida del dispositivo M-1000
1 tarjeta de garantía
Instrucciones para el primer uso
1. Instalar la batería
Utilice la batería de ion-litio recargable suministrada, instálela tal y como se
Para que el funcionamiento sea seguro, utilice la batería solamente como se
muestra en el diagrama adyacente y vuelva a colocar la carcasa.
indica.
1 fuente de alimentación
portátil
1 cable de datos USB de
HOLUX
無線
無線 GPS 接收器
無線無線
新手使用說明
新手使用說明
新手使用說明新手使用說明
1. 安裝電池
安裝電池
安裝電池安裝電池
接收器 M-1000 快速操作指南
接收器接收器
包裝內容物
標準配備 選購配備
M-1000 無線 GPS 接收器 x 1
電池 x 1
車用電源轉接器 x 1
使用手冊及驅動程式光碟 x 1
M-1000 快速操作指南 x 1
保固卡 x 1
請使用隨附的充電式鋰電池,並依照圖示安裝電池,然後裝上電池蓋。
為確保使用時的安全,請使用本公司建議的電池。
擕帶型電源轉接器 x 1
HOLUX USB 資料傳輸線 x 1
2. Cargar la batería
3. Conectar la alimentación
4. Enlace Bluetooth
Nota sobre la conexión Bluetooth
Cuando encienda el dispositivo M-1000, tendrá que esperar alrededor de 6 segundos para que la funcionalidad Bluetooth
realice la comprobación automática para poder establecer una conexión. Espera a que la luz Bluetooth comience a
parpadear (a intervalos de 3 segundos). A continuación, podrá establecer un enlace Bluetooth entre una unidad PDA y el
dispositivo M-1000.
5. Visor Mini GPS
<Advertencia>
No coloque el dispositivo M-1000 donde pueda incidir sobre él la luz del sol durante prolongados períodos de tiempo.
No lo coloque en lugares con elevada temperatura ni cerca de dispositivos que emitan calor, como por ejemplo un
horno o un radiador. Si lo hace, el dispositivo se averiará y no funcionará de forma estable.
- Para obtener más información, lea el manual del usuario incluido en el CD suministrado.
- CLAVE DE PASO DEL DISPOSITIVO M1000: 0000
(Por motivos de seguridad, algunas unidades PDA solicitarán al usuario la clave de paso del dispositivo M-1000)
Enchufe el cable de alimentación suministrado a la toma mini-USB y conéctelo al
encendedor de cigarrillos del automóvil.
También puede utilizar el cable USB-Mini-USB para realizar la carga mediante la
conexión del dispositivo M-1000 al equipo portátil. Este cable USB común USB
solamente se debe utilizar para cargar la batería; no proporciona ninguna
función de transferencia de datos.
Asegúrese siempre de que ha insertado el extremo del cable de alimentación en
la toma correcta cuando enchufe el conector mini-USB.
Desplace el conmutador de alimentación a la posición de "ON" (ENCENDIDO).
Para utilizar el enlace con una unidad PDA (Personal Digital Assistant, es decir,
Ayudante digital personal): Active "Bluetooth Manager" (Administrador Bluetooth)
y seleccione "Search" (Buscar) y establezca el enlace.
Seleccione el dispositivo HOLUX_ M-1000 y elija el "SPP slave" (esclavo SPP)
para establecer el "Bluetooth Link (Enlace Bluetooth).
Consulte la sección "Software Installation" (Instalar el software) para obtener detalles
si tiene algún problema al instalar el "Bluetooth Link" (Enlace Bluetooth).
Cuando la conexión GPS funciona correctamente, la lámpara de estado indicará
el estado parpadeando 1 vez por segundo.
Puede instalar el programa visor Mini GPS utilizando el CD incluido para
comprobar la posición y la recepción de la señal del satélite.
Habilite el visor Mini GPS, establezca el valor 38400 para Baud rate (Tasa de
baudios) y presione "Scan" (Buscar) para realizar una exploración automática.
Cuando encuentre el puerto COM correcto, elija "GPS Status" (Estado GPS)
para iniciar la visualización.
Consulte la sección “Software Installation” (Instalar el software) para obtener
detalles si tiene problemas con la instalación y uso del dispositivo.
2. 充電
充電
充電充電
3. 開機
開機
開機開機
4. 藍牙聯結
藍牙聯結
藍牙聯結藍牙聯結
藍牙連線需知
藍牙連線需知
藍牙連線需知藍牙連線需知
M-1000 開機後,請稍候 6 秒,藍牙需先進行自我測試後才能建立連線。當藍牙顯示燈開始閃爍(每三秒閃爍一次)後,
即會建立 PDA 與 M-1000 之間的藍牙連線。
5. Mini GPS Viewer
<警告
警告>
警告警告
請勿將
請勿將 M-1000 置於陽光直射處
請勿將請勿將
- 詳細資訊請參閱隨附光碟中的使用手冊
詳細資訊請參閱隨附光碟中的使用手冊。。。。
詳細資訊請參閱隨附光碟中的使用手冊詳細資訊請參閱隨附光碟中的使用手冊
- M1000 密碼
(基於安全性考量,某些機型的 PDAs 會建議使用者建立 M-1000 的密碼)
置於陽光直射處、、、、高溫環境中或高溫裝置周圍
置於陽光直射處置於陽光直射處
密碼 – 0000
密碼密碼
將隨附的電源線連接 mini USB 插槽,然後再連接汽車的點煙器(電源)。
亦可使用一般的 USB-Mini USB 連接線,將 M-1000 連接到筆記型電腦上充
電。此電源線僅供充電用,無資料傳輸功能。
接上 mini USB 時,請確定電源線已插入正確的插槽。
將電源開關推至 ON 的位置。
連接 PDA(個人數位助理):啟動 Bluetooth Manager,選擇 [Search](搜尋)
後聯結。
選取 [HOLUX_ M-1000] 裝置,然後選擇 [SPP slave] 建立藍牙聯結。
安裝藍牙聯結時若有任何問題,請參閱「安裝軟體」
一節。
GPS 連線正常運作時,狀態燈會每秒鐘閃爍一次。
使用者可使用隨附的光碟安裝 Mini GPS viewer 程式,確認目前的定位以及衛
星訊號接收狀況。
啟動 Mini GPS viewer、將傳輸速度(鮑率)設定為 38400,然後按下 [Scan]
(掃描)開始進行自動掃描,並在找到正確的序列埠之後,將 [GPS Status]
(GPS 狀態)選為「start viewing」(開始瀏覽)。
安裝及使用時若有任何問題,請參閱「安裝軟體」一節。.
高溫環境中或高溫裝置周圍((((如火爐或散熱器旁
高溫環境中或高溫裝置周圍高溫環境中或高溫裝置周圍
如火爐或散熱器旁),
如火爐或散熱器旁如火爐或散熱器旁
),以免導致本裝置故障
),),
以免導致本裝置故障。。。。
以免導致本裝置故障以免導致本裝置故障
80119-05N
 Loading...