

Hitachi IC35L020AVVN07, IC35L020AVVA07, IC35L040AVVN07, IC35L040AVVA07, IC35L060AVVA07 Quick installation guide
...
Quick installation guide
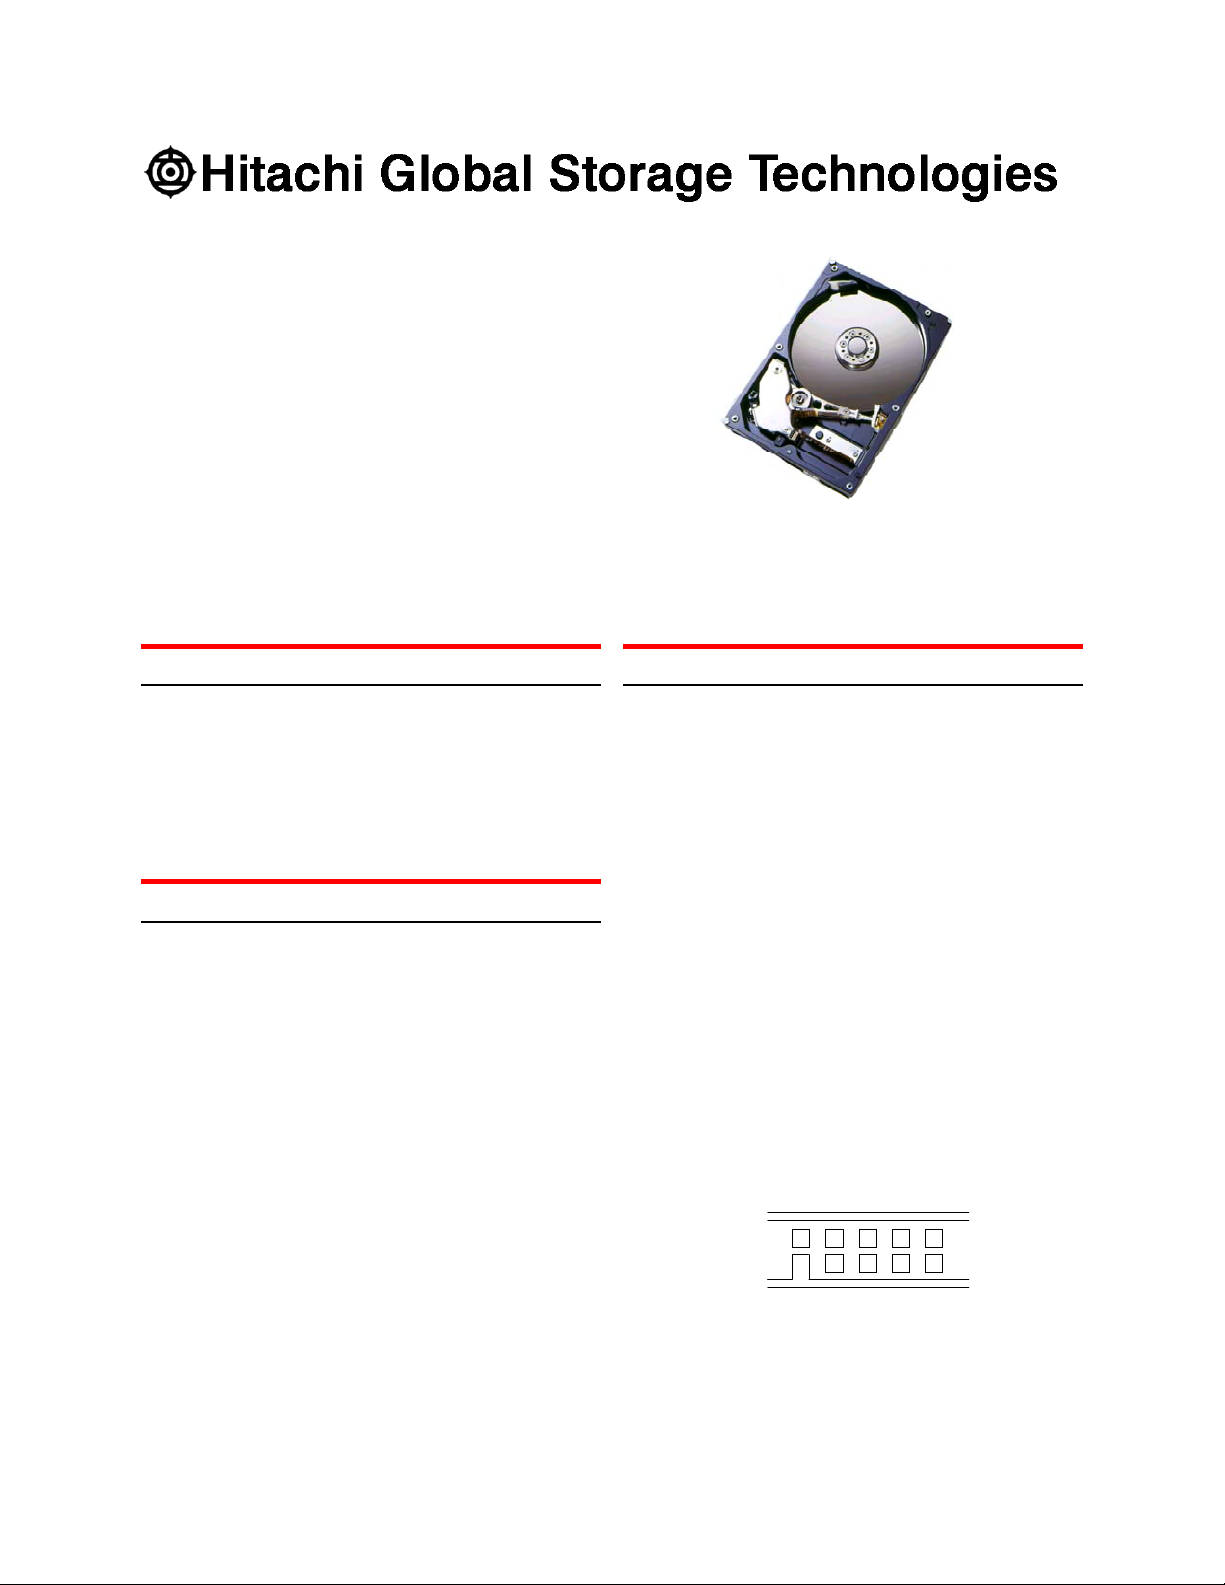
Hitachi Deskstar 120GXP
Ultra ATA/100 Hard disk drive
Models:
IC35L020AVVN07
IC35L020AVVA07
IC35L040AVVN07
IC35L040AVVA07
IC35L060AVVA07
IC35L080AVVA07
IC35L100AVVA07
IC35L120AVVA07
System requirements for Ultra ATA/100
If you do not have the components listed below, your
drive will function but at speeds lower than 100 MB/s.
y 40-pin, 80-conductor cable
y A controller card or motherboard chipset with Ultra
ATA/100 capability
y Ultra ATA/100 compatible BIOS or driver
Handling precautions
y Set the drive down gently to prevent damage from
impact or vibration.
y Do not open the ESD bag containing the drive until
needed.
y Handle the drive carefully by the edges. Do not
touch the exposed printed circuit board or any
electronic components.
y Do not press on the top or bottom of the drive.
y Do not cover the drive breather hole.
Before handling the drive, discharge any static
y
electricity from yourself and your clothing. With one
hand touch an unpainted metal surface on your
computer chassis, then touch the ESD bag with the
other hand. Remain in contact with the chassis and
the bag for a minimum of two seconds.
Quick installation procedure
Note: Back up all data before installing drive!
1. Turn off the computer.
2. Remove the computer cover as instructed by the
computer system manual.
3. Discharge static electricity (see Handling precautions).
4. Unplug the computer.
5. Note the mounting position of existing drives and
cables. If you are replacing a drive or any cable,
remove it now.
6. Remove the drive from the ESD bag.
7. Record the model, the part number, and the serial
number of the drive for future reference.
8. Insert the required jumpers. Refer to the jumper
block diagram below.
• If the drive is the only drive on a cable or the
master drive on a two-drive cable, leave the
jumpers as set at A-B and G-H for 16 head logical
architecture. The jumpers are factory-set to
Master-16 heads.
• If the drive is the slave drive on a two-drive
cable, set the jumpers at A-B and C-D for 16-head
logical architecture.
IAG
EC
HFDB
Page 1 version 1.1

Hitachi Global Storage Technologies
9. Attach the IDE cable.
• If you have a 40-pin 40-conductor cable,
attach the system connector of the cable to the
IDE port on the motherboard or controller card.
The pin 1 side of the IDE cable is marked with a
stripe. The connector can only be inserted one
way.
• If you have a 40-pin 80-conductor cable,
attach the drive to the appropriate color-coded
connector. Forty-pin 80-conductor cables are
color-coded black for Master, gray for Slave, and
blue for system connectors.
10. Attach the power supply cable to the drive. Match
the connector bevels.
11. Mount the drive secure ly.
12. Verify all attachments.
13. Replace the computer cover.
14. Plug in the computer.
15. Power on your system, Insert your operating system
setup disc or diskette and reboot your system.
16. Verify that the hard disk is recognized by the BIOS
and is reporting the full capacity of the drive.
Instructions for accessing your BIOS can be found
in the computer system manual or in the motherboard manufacturer documentation. If the drive is
not recognized in the BIOS, set the BIOS options of
your computer system to Auto Detection and LBA
mode if available. Once the drive is recognized
correctly in the BIOS, it is ready to be partitioned
and formatted.
17. Your operating system setup utility will provide
instructions on how to partition and format your
drive before it installs the operating system. For
additional information, see:
www.hgst.com/support
18. Once the operating system is installed, reboot the
system. If the system does not boot up, check all
the settings and try again. If the system still fails to
boot up, call the Hitachi Global Storage
Technologies Support Center for assistance.
© Copyright Hitachi Global Storage Technologies
Hitachi Global Storage Technologies
5600 Cottle Road
San Jose, CA 95193
Produced in the United States
6/03
All rights reserved
Deskstar™ is a trademark of Hitachi
Global Storage Technologies.
Microsoft, Windows XP, and Windows are trademarks
of Microsoft Corporation in the United States, other
countries, or both.
Other product names are trademarks or registered
trademarks of their respective companies.
References in this publication to Hitachi Global Storage
Technologies products, programs or services do not
imply that Hitachi Global Storage Technologies intends
to make these available in all countries in which Hitachi
Global Storage Technologies operates.
Product information is provided for information
purposes only and does not constitute a warranty.
Information is true as of the date of publication and is
subject to change. Actual results may vary.
This publication is for general guidance only.
Photographs may show design models.
11 June 2003
Page 2 version 1.1
 Loading...