

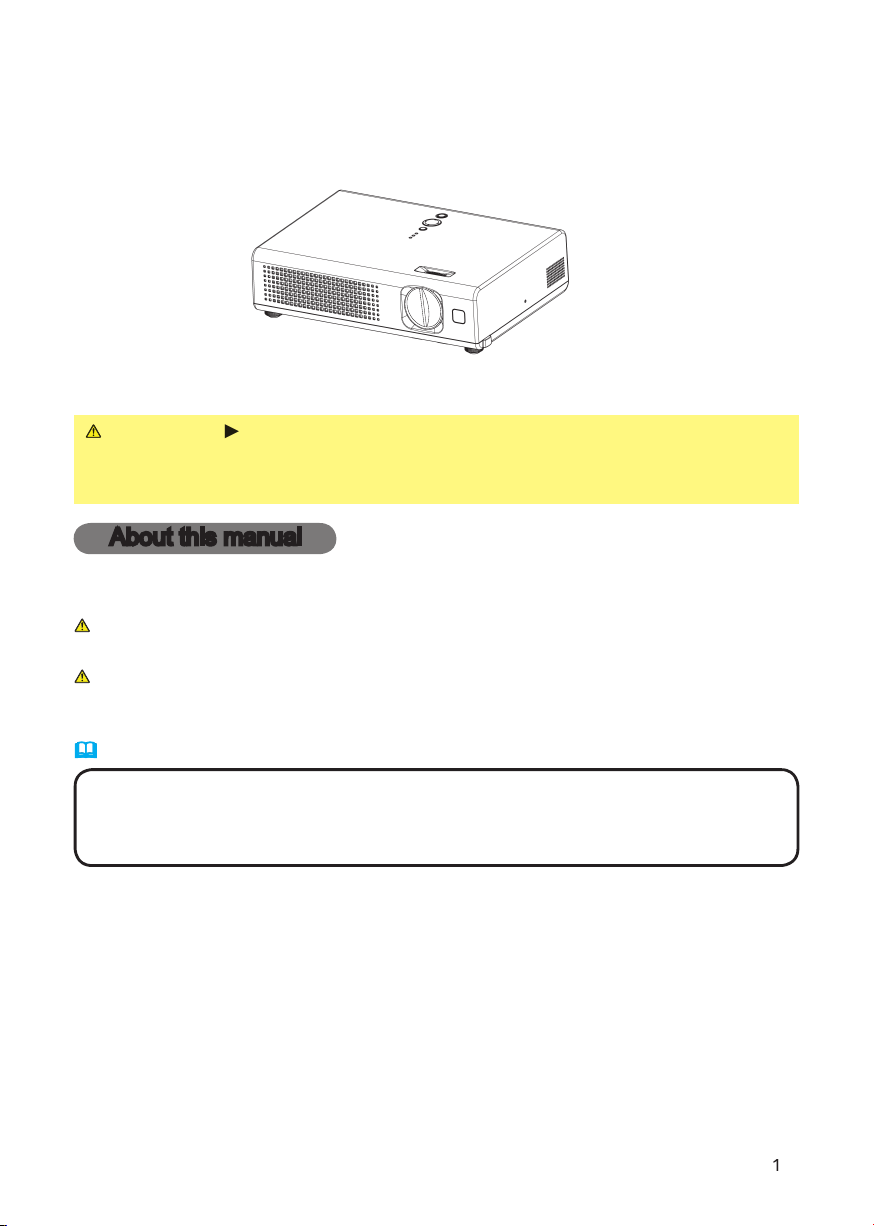
User's Manual – Operating Guide
Thank you for purchasing this projector.
WARNING
these manuals to ensure correct usage through understanding. After reading,
About this manual
Various symbols are used in this manual. The meanings of these symbols are
WARNING
This symbol indicates information that, if ignored, could possibly
This symbol indicates information that, if ignored, could result
Please refer to the pages written following this symbol.
• The information in this manual is subject to change without notice.
Trademark acknowledgment
All other trademarks are the property of their respective owners.
CP-RX60

About th
. . . . . . . . . .
s
. . . . . . . . . . . . . . . . .
2
s
. . . . . . . . . .
About contents of package
s
. . . . . . . . . . . . . . . . . . . . .
4
. . . . . . . . . . . . . . . . . . . . . .
. . . . . . . . . . . . . . . .
About the fi lter cover for bottom-up use
. . .
. . . . . . . . . . . . . . .
Arrangement
Adjusting the projector's elevator
f
. . . . . . . . . . . . .
Turning on the powe
. . . . . . . . . . .
T
. . . . . . . . . . .
Adjusting the volum
Temporarily muting the soun
. . . .
. . . . . . . .
. . . . . . .
. . . . . . . .
Adjusting the zoom (magnifying
Adjusting the focus
feature
. . . . . . . . . . . . . . . . . . . . . .
20
Adjusting the positio
. . . . . . . . . .
20
s
20
Temporarily blanking the scree
. . .
21
s
. . . .
22
. . . . . . . .
22
Contents
Contents
ASY
. . . . . . . . . . . . . . . . .
25
Aspect,
oom
. . . . . . . . . . . . . . .
27
. . . . . . . . . . . . . . . . .
Aspect, Over scan, V. position,
Auto adjust execute
. . . . . . . . . . . . . . . . .
Video format,
. . . . . . . . . . . . . . . . .
Zoom,
Volume
. . . . . . . . . . . . . . .
. . . . . . . . . . . . . . . .
Auto s
. . . . . . . . . . . . .
41
Air fi lte
43
45
Troubleshootin
. . . . . . . . . .
46
. . . . . . . . . . . . .
46
. . . .
48
s
Warranty and after-servic
s
. . . . . . . . . . . .
Projector features / About contents of package
Projector features
This projector is used to project various computer signals as well as NTSC / PAL
/ SECAM video signals onto a screen. It requires just a little space for installation
High Brightness
Low Noise
WHISPER mode is equipped for reducing acoustic noise to realize quieter
Compact Body
which gives you more fl exibility and usability to use it where you want.
About contents of package
• Keep the original packing materials for future reshipment. For
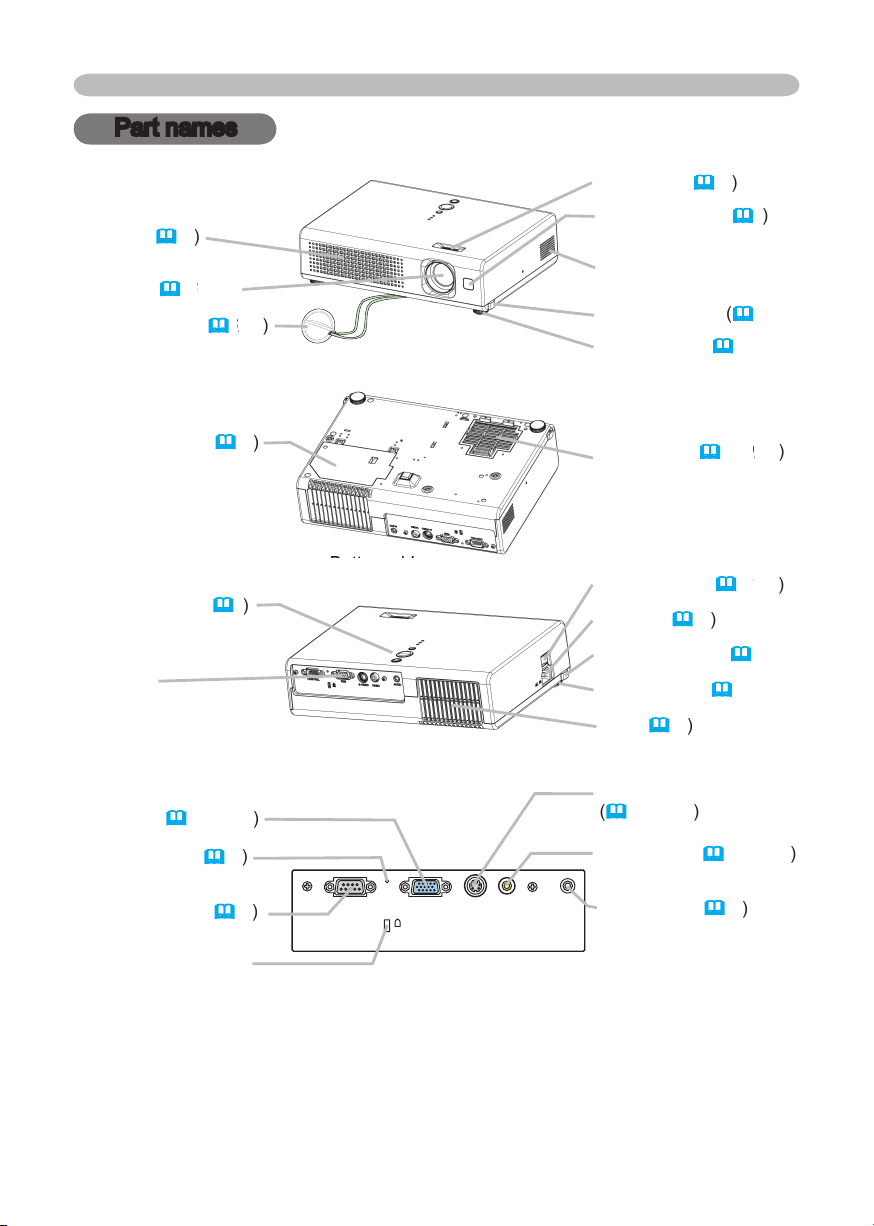
S-VIDEO
VIDEO
AUDIO
RGB
CONTROL
K
Part names
, 45
, 16
, 43
Vent (
AC inlet (
, 17
4, 18, 19
VIDEO port (
4, 18, 19
Part names
Vent (
AUDIO port (
4
4, 18, 19
5
STAN DBY/O N
INP U
T
MEN U
LAM P
TE MP
PO WER
VIDEO
RG
B
SEARC
H
FREEZE
OFF
ON
MAGNIFY
ASPECT AUTO
BLAN
K
MUTE
VOLUME
KEYSTONE
POSITION
ES
C
ENTE
R
MENU
RESE
T
ZOOM
+
-
Controls
LAMP indicator (48)
TEMP indicator (
POWER indicator (16, 17, 48)
48)
Part names
INPUT button (
Cursor buttons
▲,▼,◄,► (18~40)
STANDBY/ON button (
Remote control
SEARCH button (19)
RGB button (18)
VIDEO button (18)
ASPECT button (
MAGNIFY
ON button (21)
OFF button (21)
FREEZE button (21)
18)
19)
16, 17)
STANDBY/ON button
AUTO button (
BLANK button (21)
VOLUME button (18)
MUTE button (18)
KEYSTONE button (
Zoom
+ button (19)
- button (19)
(16, 17)
20)
20)
POSITION button (20)
ESC button (24)
MENU button (22)
Menu cursor buttons
▲,▼,◄,►(18~40)
ENTER button (18~40)
RESET button (
24)
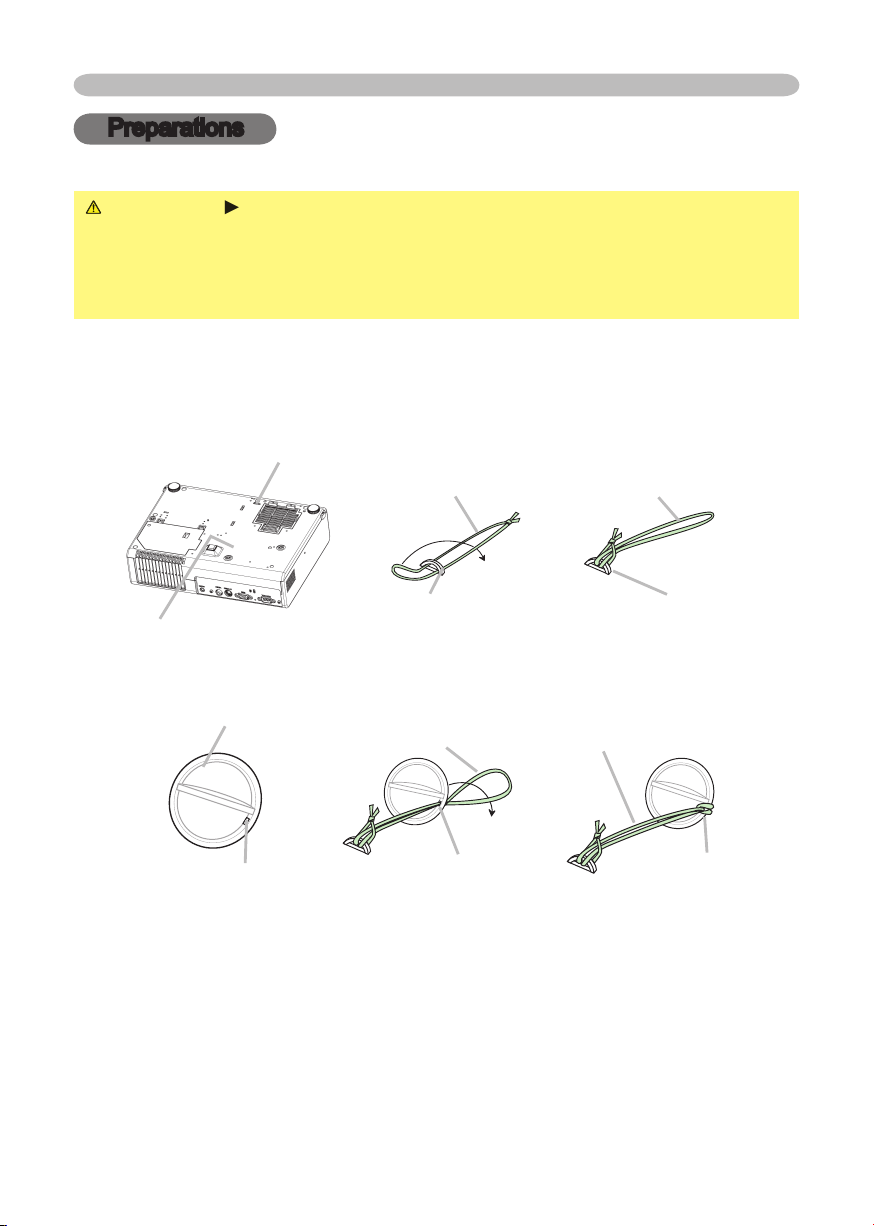
Preparations
WARNING
To avoid losing, please fasten the lens cover to the projector using the strap.
4.
Attach the lens cover to the lens of projector, and slowly turn over the
Preparations
Preparations
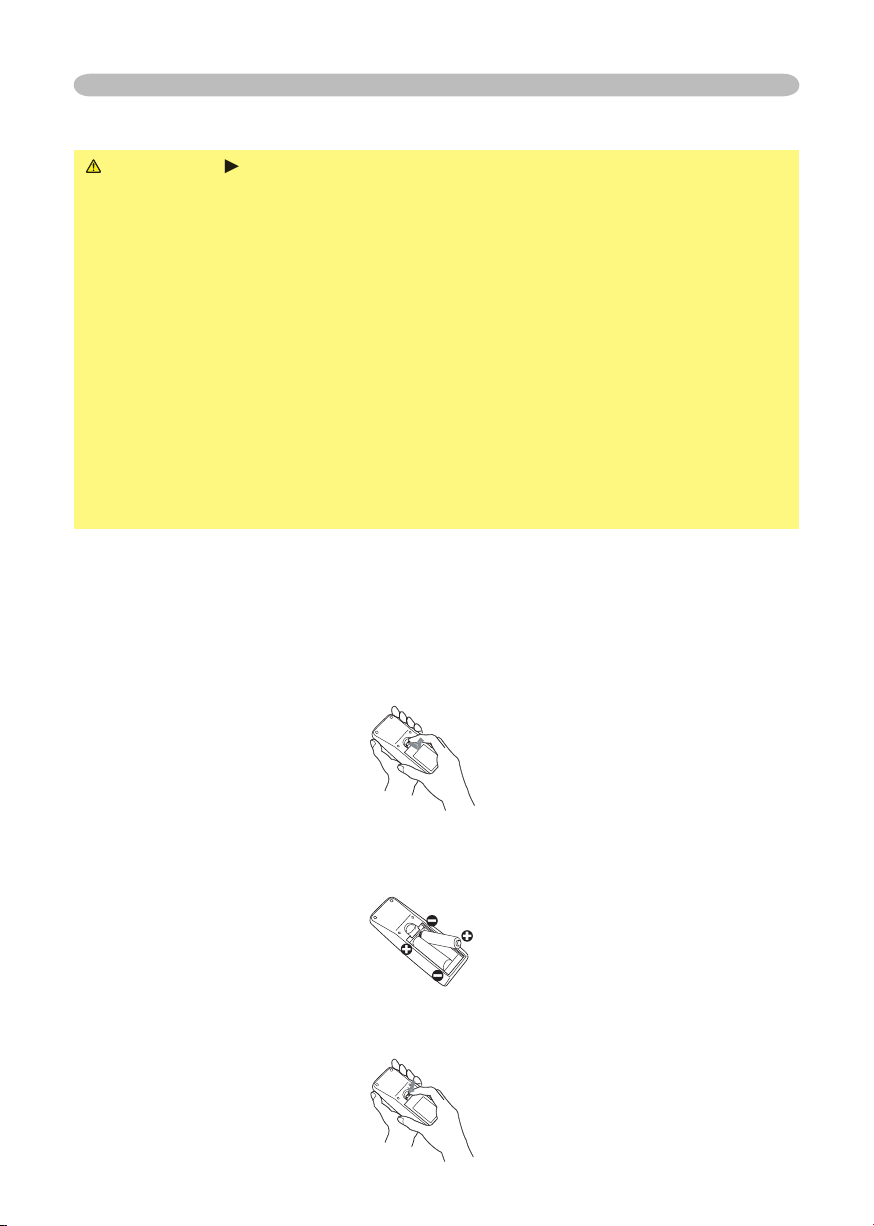
WARNING
Always handle the batteries with care and use them only as
which could result in fi re, injury and/or pollution of the surrounding environment.
types at the same time. Do not mix a new battery with used one.
To use the remote control, please load the batteries. Whenever the remote control
Take old batteries out and/or put new batteries in.
When putting in batteries, align and insert the two AA batteries according to
their plus and minus terminals as indicated in the remote control.
Preparations
you won’t be using the remote control for an extended period.
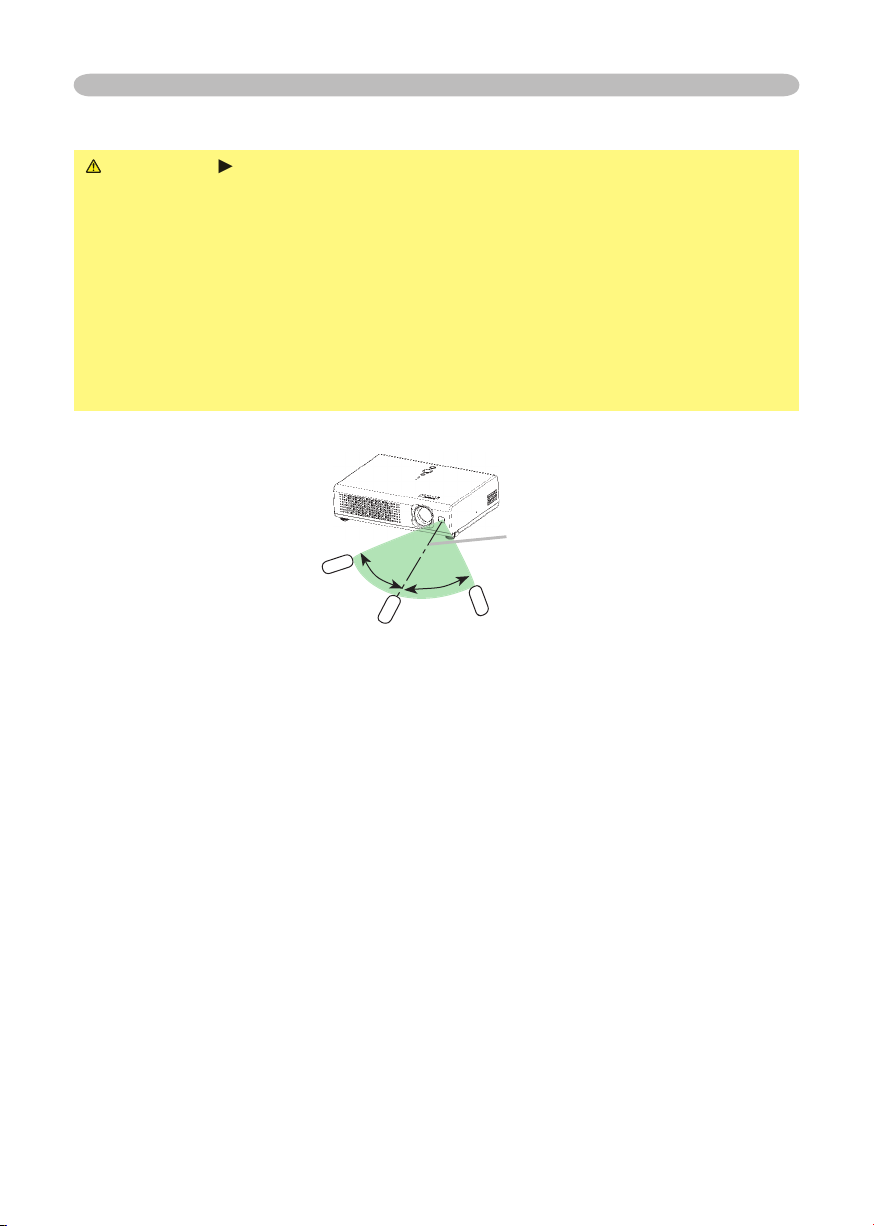
The remote control works with the projector’s remote sensor.
to the left and right of the remote sensor).
to send a remote signal to the sensor directly, please try.
that could block the remote control’s output signal to the projector.

Preparations
About the fi lter cover for bottom-up use
WARNING
the projector is cool adequately.
When the projector is installed bottom up, please use the accessory fi lter cover
for bottom-up use. It is higher than usual fi lter cover, to keep the space for intake
ventilation. Please change in the following procedure.
Air fi lter’s knob
Air fi lter (New or cleaned)
Tabs

Setting up
Setting up
WARNING
wobbly or inclined stand.
The high temperature of the projector could cause a fi re, a burn and/or
walls.
Put nothing containing the liquid near the projector.
Setting up
[m (inch)]
[m (inch)]
down
40
65.3
60
2.0
2.4
2.7
21.8
26.1
200
6.8
43.5
261.3
[m (inch)]
[m (inch)]
down
40
48.6
60.8
60
2.6
2.4
2.7
4.5
200
243.1
Arrangement
to determine the screen size and projection
distance.
The values shown in the table are calculated
At 16:9 screen
At 4:3 screen
4:3
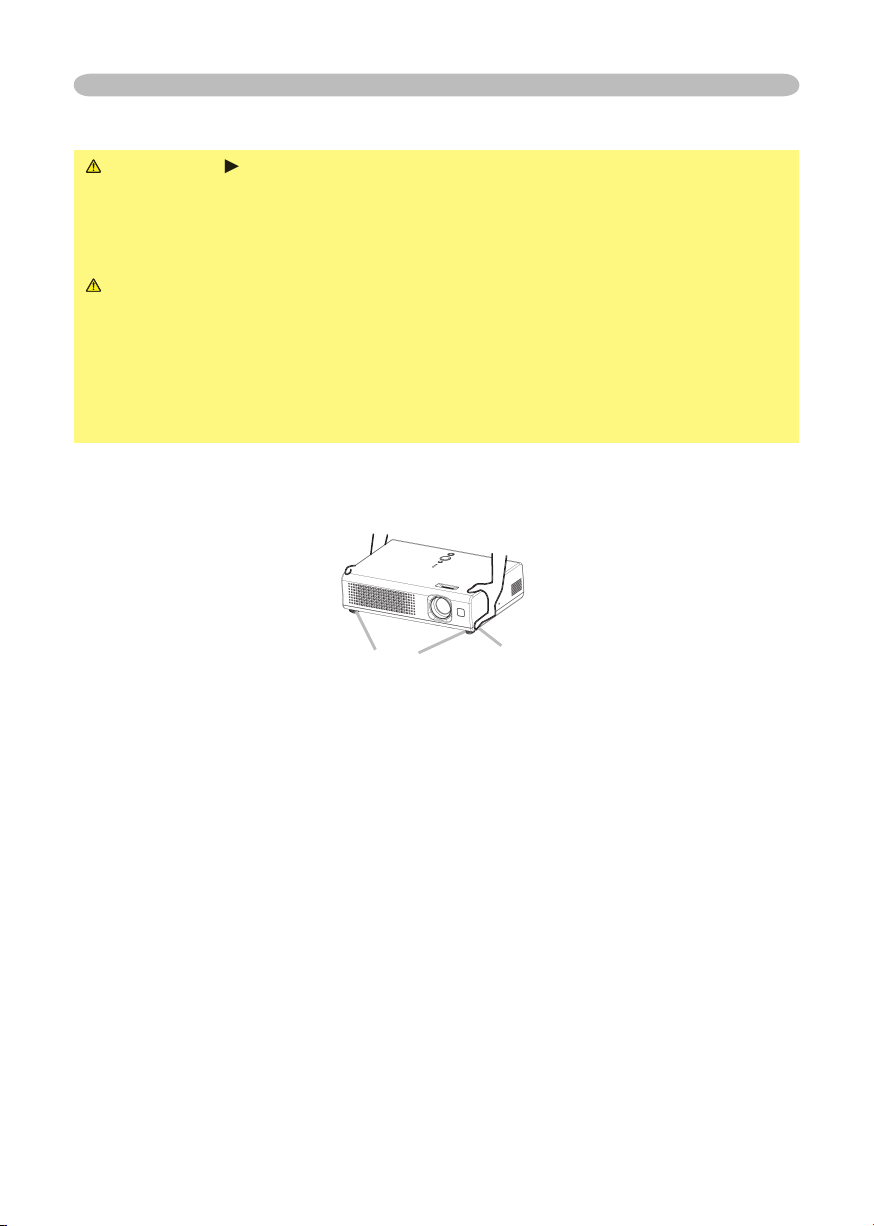
Adjusting the projector's elevator
WARNING
the projector is cool adequately.
the projector might crash down, overturn, smash your fi ngers and possibly
To prevent damaging the projector and injuring yourself,
You can use the elevator feet to make adjustments if the surface on which you
The elevator buttons and the elevator feet are on the both sides.
When you release the elevator buttons, the elevator feet will lock into position.
As necessary, you can also fi nely adjust the height of the projector by twisting
the elevator feet by hand.
Setting up
Setting up
Attempting to connect a live device to the projector may generate extremely
to the device and/or projector
Whenever attempting to connect a laptop computer to the projector,
to the instruction manual of the corresponding laptop computer.
these modes wi
this case, you may not be able to see a check box to select “Yes/No” for the
About Plug-and-Play capability
VESA DDC 2B. Plug-and-Play can be achieved by connecting this projector to

K
K
K
K
Setting up
Audio out
Audio cable (stereo mini)
Video out
Audio out
Audio cable (stereo mini)
Audio cable (stereo mini)
Audio out
Audio out
Audio cable (stereo mini)
Video cable
WARNING
your dealer to newly get correct one.
the side marked “O”).
Setting up
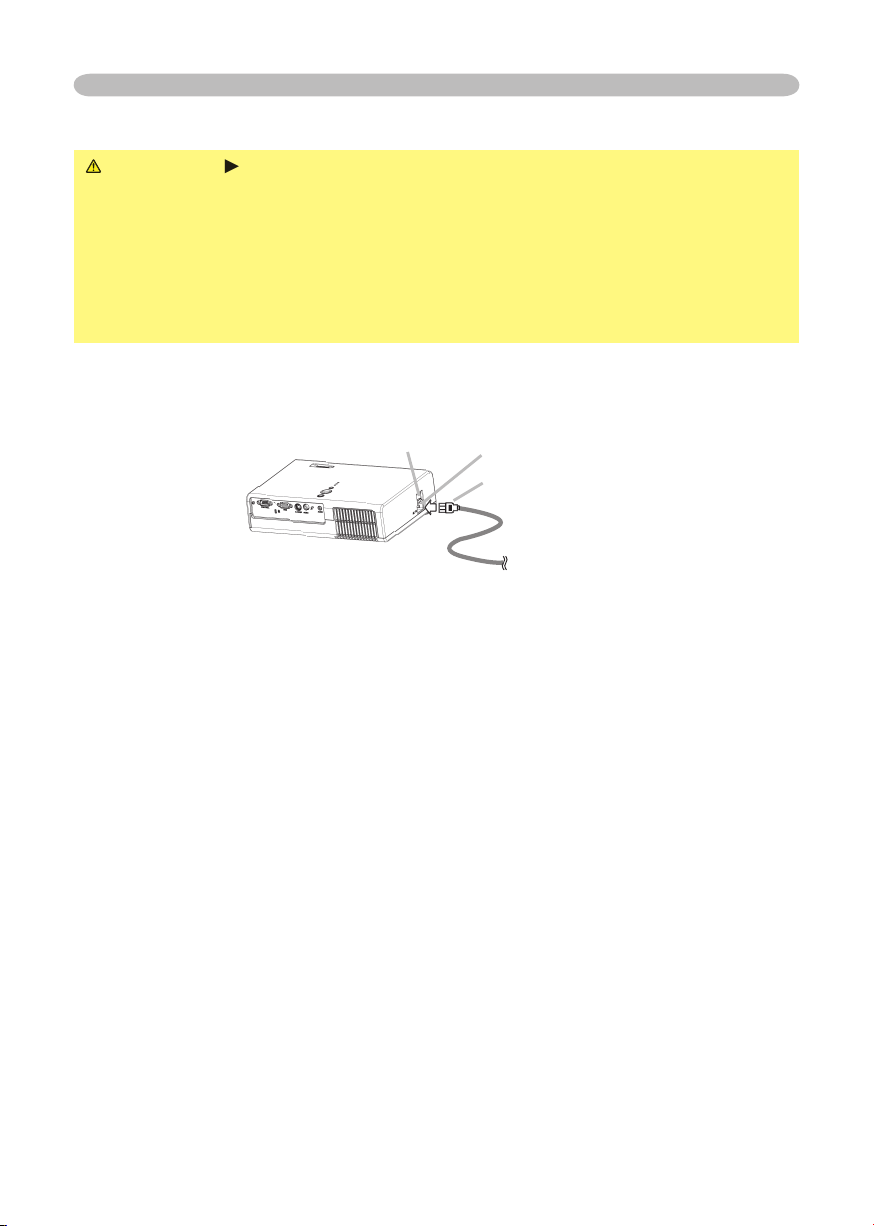
AC inlet

16
Power on/off
VIDEO
RG
B
SEARC
H
FREEZE
OFF
ON
MAGNIFY
ASPECT AUT
O
BLAN
K
MUTE
VOLUME
KEYST
ONE
POSITION
ES
C
ENTE
R
MENU
RESE
T
ZOOM
+
-
STANDB Y/O
N
INPU
T
MENU
LAM
P
TEM P
POW ER
Power on/off
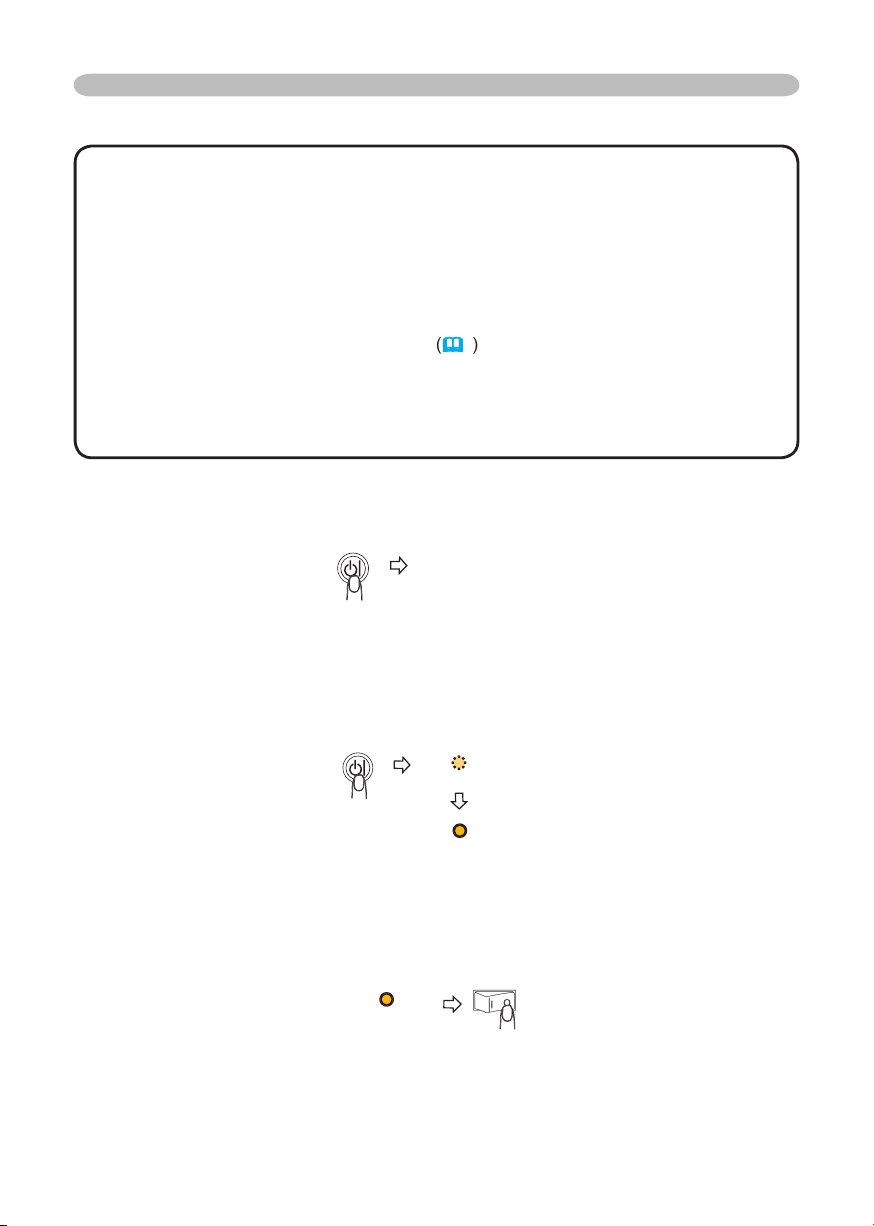
Turning on the power
WARNING ►When the power is on, a strong light is emitted. Do not look
into the lens or vents of the projector.
NOTE • Turn the power on in right order. Please power on the projector before
the connected devices.
POWER indicator
STANDBY/ON
button
Power switch
Make sure that the power cord is firmly and correctly connected to the
1.
projector and outlet.
Open the lens cover, and set the power switch to the ON position.
2.
The power indicator will light to solid orange. Then wait several seconds
because buttons may not function for these several seconds.
POWER
(Solid orange)
Press the STANDBY/ON button on the projector or remote control.
3.
The projector lamp will light up and the POWER indicator will begin blinking
green. When the power is completely on, the indicator will stop blinking and
light green.
POWER
(Blinking green)
POWER
(Solid green)
To display the picture, select an input signal according to the section "Selecting an
input signal"
(18)
.
Turning off the power
•
Turn the power off in right order. Please power off the projector after the
the lamp.
This Projector is controlled by an internal microprocessor. Under certain exceptional
such a case, please push the restart switch
4
by using a pin or similar. After making
sure that the power indicator lights to solid orange, set the power switch to the OFF
When a power supply is shut off with a power failure or the restart switch, before
turning on again, make the projector cool down at least 10 minutes without operating.
The message "Power off?" will appear on the screen for approximately 5
The projector lamp will go off, and the POWER indicator will begin blinking orange.
Then the POWER indicator will stop blinking and light to solid orange when the
to the OFF position. The POWER indicator will go off.
Power on/off
POWER
POWER
18
Operating
VIDEO
RG
B
SEARC
H
FREEZE
OFF
ON
MAGNIFY
ASPECT AUTO
BLAN
K
MUTE
VOLUME
KEYSTONE
POSITION
ES
C
ENTE
R
MENU
RESE
T
ZOOM
+
-
VIDEO
RG
B
SEARC
H
OFF
ON
MAGNIFY
ASPECT AUTO
BLAN
K
MUTE
VOLUME
VIDEO
RG
B
SEARC
H
FREEZE
OFF
ON
MAGNIFY
ASPECT AUTO
BLAN
K
MUTE
VOLUME
KEYSTONE
POSITION
ES
C
ENTE
R
MENU
RESE
T
ZOOM
+
-
VIDEO
RG
B
SEARC
H
FREEZE
OFF
ON
MAGNIFY
ASPECT AUTO
BLAN
K
MUTE
VOLUME
KEYSTONE
INPU
T
LAMP
TEMP
POWE R
VIDEO
RG
B
SEARC
H
FREEZE
OFF
ON
MAGNIFY
ASPECT AUTO
BLAN
K
MUTE
VOLUME
KEYSTONE
POSITION
ES
C
ENTE
R
MENU
RESE
T
ZOOM
+
-
VIDEO
RG
B
SEARC
H
ASPECT AUT
O
BLAN
K
VIDEO
RG
B
SEARC
H
FREEZE
OFF
ON
MAGNIF
Y
ASPECT AUT
O
BLAN
K
MUTE
VOLUME
KEYSTONE
POSITION
ES
C
ENTE
R
MENU
RESE
T
ZOOM
+
-
VIDEO
RG
B
SEARC
H
ASPECT AUT
O
BLAN
K
Operating
Adjusting the volume
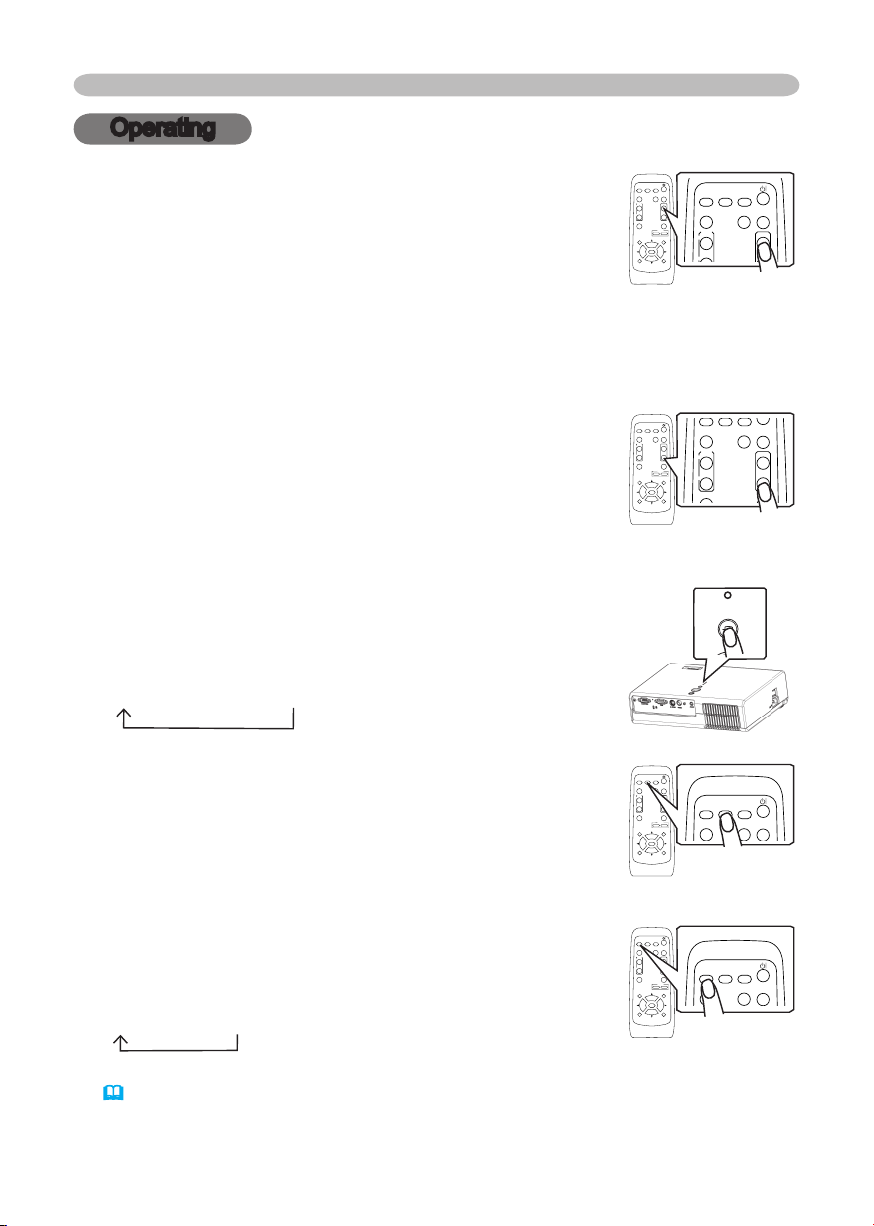
Press the VOLUME button on the remote control.
1.
A dialog will appear on the screen to aid you in adjusting
the volume.
Use the cursor buttons ▲/▼ to adjust the volume.
2.
To close the dialog and complete the operation, press the VOLUME button
again. Even if you don’t do anything, the dialog will automatically disappear
after a few seconds.
Temporarily muting the sound
Press the MUTE button on the remote control.
1.
A dialog will appear on the screen indicating that you
have muted the sound.
To restore the sound, press the MUTE button or
VOLUME button. Even if you don’t do anything, the
dialog will automatically disappear after a few seconds.
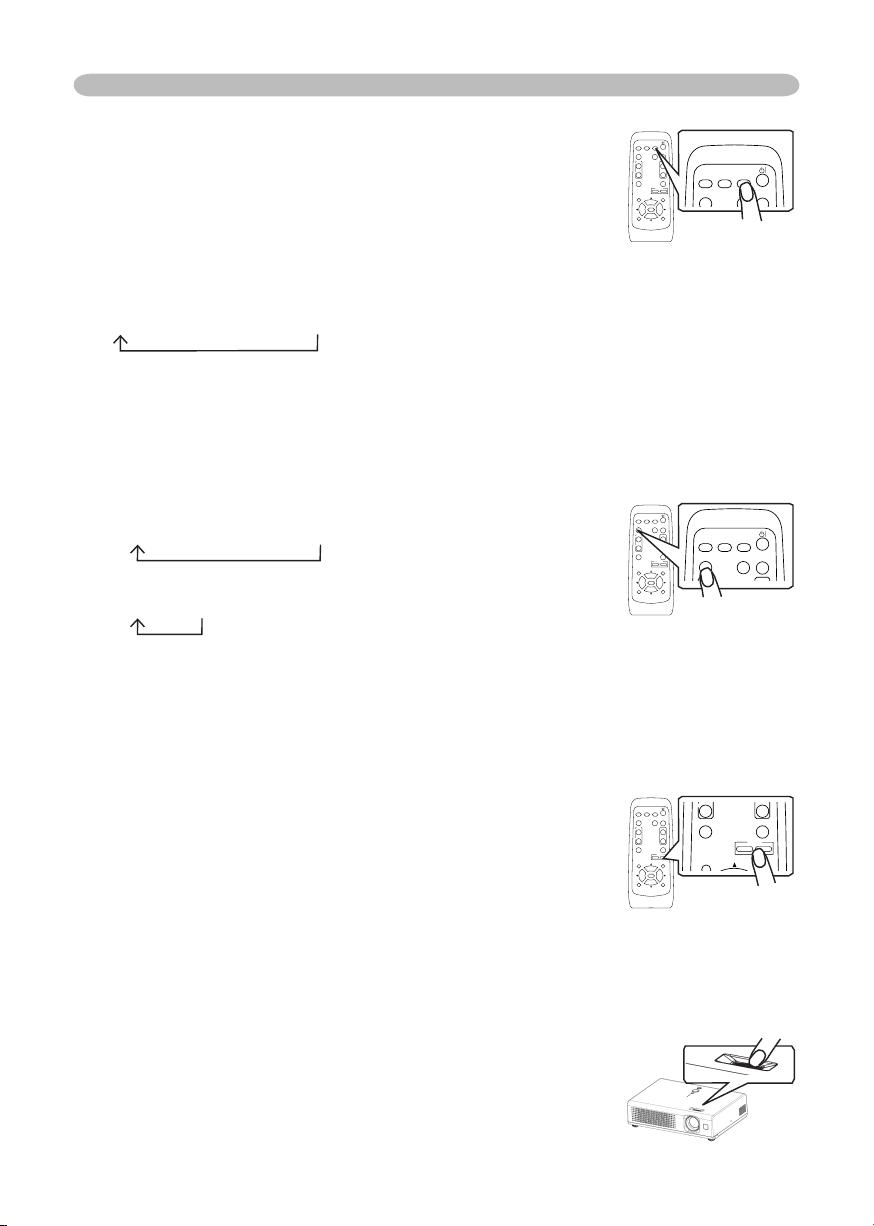
Selecting an input signal
Press the INPUT button on the projector.
1.
Each time you press the button, the projector switches
its input port as below.
RGB S-VIDEO VIDEO
Press the RGB button on the remote control to select
1.
the RGB port.
Press the VIDEO button on the remote control to select
1.
an input port for video signal.
Each time you press the button, the projector switches
its video input port as below.
S-VIDEO VIDEO
● When the TURN ON is selected to the item AUTO SEARCH of OPTION menu
(38)
, the projector selects the S-VIDEO port at first. If no input is detected at the
S-VIDEO port, projector will check the VIDEO port automatically.
19
Operating
VIDEO
RG
B
SEARC
H
STANDBY/ON
FREEZE
OFF
ON
MAGNIFY
ASPECT AUTO
BLAN
K
HOME
PAGE UP
PAGE DOWN
END
MUTE
VOLUME
KEYSTONE
POSITION
ES
C
ENTE
R
MENU
RESE
T
VIDEO
RG
B
SEARC
H
FREEZE
OFF
ON
MAGNIF
Y
ASPECT AUTO
BLAN
K
MUTE
VOLUME
KEYSTONE
POSITION
ES
C
ENTE
R
MENU
RESE
T
ZOOM
+
-
VIDEO
RG
B
SEARC
H
ASPECT AUT
O
BLAN
K
VIDEO
RG
B
SEARC
H
FREEZE
OFF
ON
MAGNIFY
ASPECT AUT
O
BLAN
K
MUTE
VOLUME
KEYSTONE
POSITION
ES
C
ENTE
R
MENU
RESE
T
ZOOM
+
-
VIDEO
RG
B
SEARC
H
MAGNIFY
ASPECT AUT
O
BLAN
K
VIDEO
RG
B
SEARC
H
FREEZE
OFF
ON
MAGNIFY
ASPECT AUTO
BLAN
K
MUTE
VOLUME
KEYSTONE
POSITION
ES
C
ENTE
R
MENU
RESE
T
ZOOM
+
-
VIDEO
RG
B
SEARC
H
FREEZE
OFF
ON
MAGNIFY
ASPECT AUT
O
BLAN
K
MUTE
VOLUME
KEYSTONE
POSITION
MENU
ZOOM
+
-
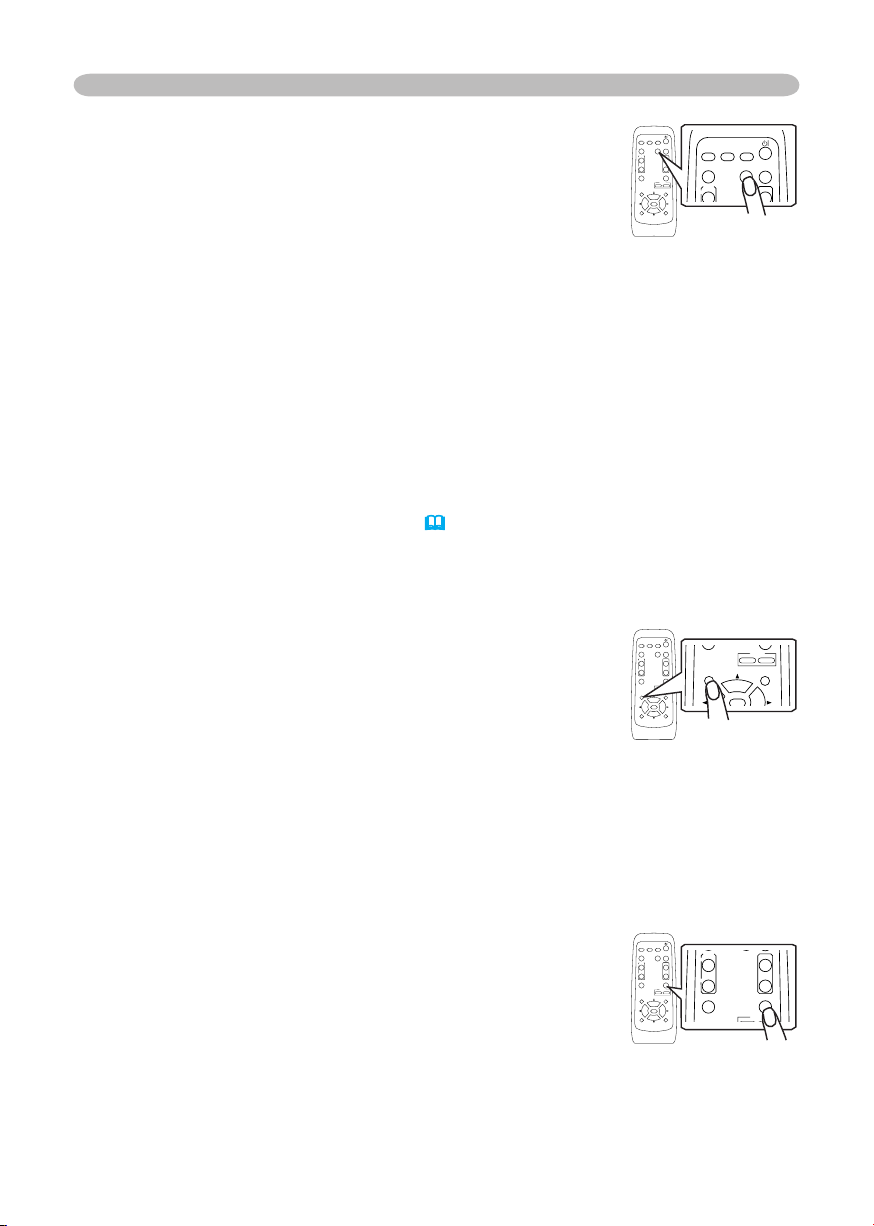
Searching an input signal
Press the SEARCH button on the remote control.
1.
The projector will begin to check its input ports in order
to find any input signals.
Then when an input is found, the projector will stop
searching and display the image. If no signal is found,
the projector will return to the state selected before the
operation.
RGB S-VIDEO VIDEO
Selecting an aspect ratio
Press the ASPECT button on the remote control.
1.
Each time you press the button, the projector switches the modes for aspect
ratio in turn.
At a RGB signal
NORMAL
At a video signal /no signal
4:3 16:9
● The NORMAL mode keeps the original aspect ratio of the signal.
● At a HDTV component video signal of 1125i (1080i) or 750p (720p), only 16:9
mode can be selected.
● Performing the automatic adjustment initializes the aspect ratio setting.
4:3 16:9
Adjusting the zoom (magnifying power)
Press the ZOOM +/- button on the remote control.
1.
A dialog will appear on the screen to aid you in
adjusting the zoom.
Use the ZOOM buttons +/- to adjust the zoom.
2.
To close the dialog and complete this operation, don’t
perform operation for a few seconds.
Adjusting the focus
Use the focus ring to focus on the picture.
1.
20
Operating
VIDEO
RG
B
SEARC
H
FREEZE
OFF
ON
MAGNIFY
ASPECT AUTO
BLAN
K
MUTE
VOLUME
KEYSTONE
POSITION
ES
C
ENTE
R
MENU
RESE
T
ZOOM
+
-
VIDEO
RG
B
SEARC
H
ON
MAGNIFY
ASPECT AUTO
BLAN
K
VOLUME
VIDEO
RG
B
SEARC
H
FREEZE
OFF
ON
MAGNIFY
ASPECT AUTO
BLAN
K
MUTE
VOLUME
KEYSTONE
POSITION
ES
C
ENTE
R
MENU
RESE
T
ZOOM
+
-
VIDEO
RG
B
SEARC
H
FREEZE
OFF
ON
MAGNIFY
ASPECT AUTO
BLAN
K
MUTE
VOLUME
KEYSTONE
POSITION
ENTE
R
MENU
ZOOM
+
-
VIDEO
RG
B
SEARC
H
FREEZE
OFF
ON
MAGNIFY
ASPECT AUTO
BLAN
K
MUTE
VOLUME
KEYSTONE
POSITION
ES
C
ENTE
R
MENU
RESE
T
ZOOM
+
-
VIDEO
RG
B
SEARC
H
FREEZE
OFF
ON
MAGNIFY
ASPECT AUTO
BLAN
K
MUTE
VOLUME
KEYSTONE
ZOO
M
Using the automatic adjustment feature
Press the AUTO button on the remote control.
1.
At a RGB signal
The vertical position, the horizontal position, the clock
phase and horizontal size will be automatically adjusted.
And the aspect ratio will be automatically selected.
Make sure that the application window is set to its maximum size prior to
attempting to use this feature. A dark picture may still be incorrectly adjusted.
Use a bright picture when adjusting.
At a video signal or s-video signal
The signal type mode best suited for the respective input signal and the aspect
ratio will be selected automatically. And the vertical position, the horizontal
position will be automatically adjusted.
At a component video signal
The vertical position, the horizontal position and the clock phase will be
automatically adjusted. And the aspect ratio will be automatically selected.
This function is available only when the AUTO mode is selected to the item
VIDEO FORMAT of INPUT menu
(32)
. For a component video signal, the
signal type is identified automatically, independently of this function.
● The automatic adjustment operation requires approximately 10 seconds. Also
please note that it may not function correctly with some input.
Adjusting the position
Press the POSITION button on the remote control.
1.
The “POSITION” indication will appear on the screen.
Use the cursor buttons ▲/▼/◄/► to adjust the picture
2.
position.
When you want to reset the operation, press the RESET button on the remote
control during the operation.
To complete this operation, press the POSITION button again. Even if you don’t
do anything, the dialog will automatically disappear after a few seconds.
● When this function is performed at a video signal, a certain extra such as a line
may appear outside a picture.
Correcting the keystone distortions
Press the KEYSTONE button on the remote control.
1.
A dialog will appear on the screen to aid you in correcting
the distortion.
Use the cursor buttons ▲/▼ to correct the distortion.
2.
To close the dialog and complete this operation, press
the KEYSTONE button again. Even if you don’t do anything, the dialog will
automatically disappear after a few seconds.
● This function may not be work well with some input.
● The adjustable range for correcting will vary among inputs.
21
Operating
VIDEO
RG
B
SEARC
H
FREEZE
OFF
ON
MAGNIFY
ASPECT AUTO
BLAN
K
MUTE
VOLUME
KEYSTONE
POSITION
ES
C
ENTE
R
MENU
RESE
T
ZOOM
+
-
VIDEO
RG
B
SEARC
H
OFF
ON
MAGNIFY
ASPECT AUTO
BLAN
K
MUTE
VOLUME
VIDEO
RG
B
SEARC
H
FREEZE
OFF
ON
MAGNIFY
ASPECT AUTO
BLAN
K
MUTE
VOLUME
KEYSTONE
POSITION
ES
C
ENTE
R
MENU
RESE
T
ZOOM
+
-
VIDEO
RG
B
SEARC
H
FREEZE
OFF
ON
MAGNIFY
ASPECT AUTO
BLAN
K
MUTE
VOLUME
KEYSTONE
ZOOM
+
-
VIDEO
RG
B
SEARC
H
FREEZE
OFF
ON
MAGNIF
Y
ASPECT AUTO
BLAN
K
MUTE
VOLUME
KEYSTONE
POSITION
ES
C
ENTE
R
MENU
RESE
T
ZOOM
+
-
VIDEO
RG
B
SEARC
H
ON
MAGNIFY
ASPECT AUTO
BLAN
K
VOLUME
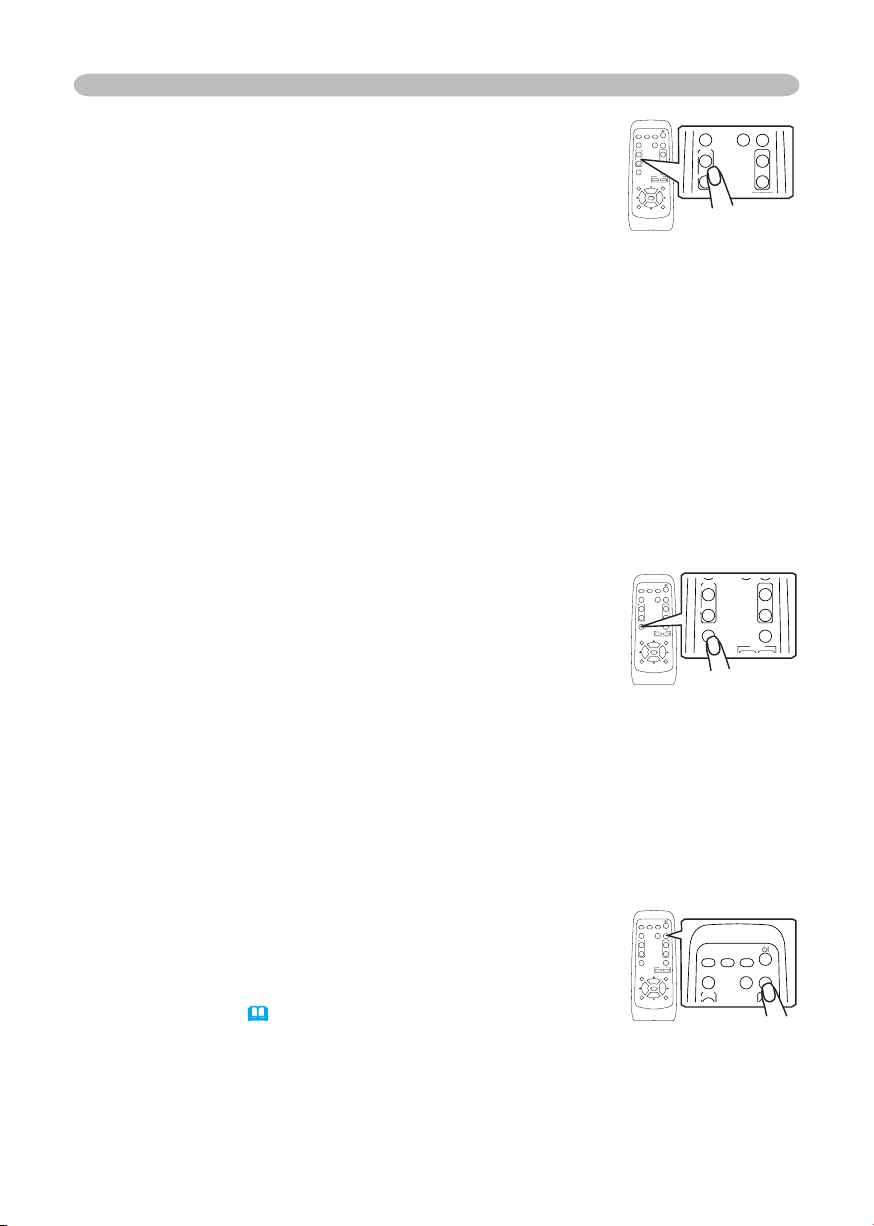
Using the partial magnify feature
Press the ON button of MAGNIFY on the remote control.
1.
The “MAGNIFY” indication will appear on the screen
(although the indication will disappear after several
seconds with no operation.), and the projector will enter the
MAGNIFY mode.
Use the cursor buttons ▲/▼ to adjust the zoom level.
2.
To move the zoom area, press the POSITION button in the MAGNIFY mode,
then use the cursor buttons ▲/▼/◄/►. And to finalize the zoom area, press
the POSITION button again.
To exit the MAGNIFY mode and restore the screen to normal, press the OFF
button of MAGNIFY on the remote control.
● The projector automatically exits the MAGNIFY mode when the input signal
changes, or when an operation of changing the display condition (automatic
adjustment, etc.) is executed.
● Although the keystone distortion condition may vary in the MAGNIFY mode, it
will be restored when the projector exit the MAGNIFY mode.
Freezing the screen
Press the FREEZE button on the remote control.
1.
The “FREEZE” indication will appear on the screen, and
the projector will enter the FREEZE mode.
To exit the FREEZE mode and restore the screen to normal,
press the FREEZE button again.
● The projector automatically exits the FREEZE mode when the input signal
changes, or when one of the projector’s buttons or the remote control buttons
of STANDBY/ON, SEARCH, RGB, VIDEO, BLANK, AUTO, ASPECT, VOLUME,
MUTE, KEYSTONE, POSITION and MENU is pressed.
● If the projector continues projecting a still image for long time, the LCD panel
might possibly be printed. Do not leave the projector in FREEZE mode for too
long.
Temporarily blanking the screen
Press the BLANK button on the remote control.
1.
The blank screen will be displayed instead of the screen
of input signal. Please refer to the item BLANK of section
SCREEN menu
To remove the blank screen and return to the input signal screen, press the
BLANK button again.
● The projector automatically returns to the input signal screen when the input
signal changes, or when one of the projector’s buttons or the remote control
buttons are pressed.
(35).
 Loading...