

Hickory VPO-54 Service Manual

Models
VPO-54
VPO-42
Installation and Operating Instructions
RETAIN THIS MANUAL FOR FUTURE REFERENCE
Visual Pizza Oven
Hickory Industries, Inc.
4900 Westside Avenue, North Bergen, NJ 07047
Tel: 201-223-0050 Fax: 201-223-0950
Website: www.hickorybbq.com
1 of 14
Please copy, cutout and place in a prominent location.
What To Do If You Smell A Gas Odor
Natural gas is lighter than air, and it has a very high ignition
temperature. For your protection, The Gas Company adds a distinctive odor
to natural gas, so leaks are easily detected.
If you smell a Natural gas or a Propane gas odor:
DON’T panic.
DON’T light a match, candle or cigarette.
DON’T turn electrical appliances or lights on or off.
For safety, a shut-off valve was installed on this appliance. If a leak
occurs at this appliance, the valve will permit you to turn off the gas at the
appliance rather than shutting off all gas service at the meter.
SHUT off the appliance shut-off valve.
· From a safe location, call your local Gas Company 24 hours a day,
seven days a week; or call 9-1-1.
2 of 14
INTENDED FOR OTHER THAN HOUSEHOLD USE
OVEN MUST BE KEPT CLEAR OF COMBUSTIBLES AT ALL TIMES
IMPORIMPOR
IMPOR
IMPORIMPOR
After the gas supply has been connected to your unit, it is extremely important to check piping
for possible leaks. To do this, use soap and water solutions, or solutions which are expressly
made for this purpose. DO NOT USE matches, candles, flames, or other sources of ignitions
since these methods are extremely dangerous.
In a prominent location post instructions to be followed in the event you smell gas. Obtain these
instructions from your local gas supplier.
Do not store or use gasoline or other flammable vapors
and liquids in the vicinity of this or any other appliance.
Improper installation, adjustment, alteration, service or maintenance can cause property damage,
injury or death. Read the Installation, Operating and Maintenance Instructions thoroughly before
installing or servicing this equipment. Initial heating of oven may generate smoke or fumes and
must be done in a well ventilated area. Overexposure to smoke or fumes may cause nausea or
dizziness.
TT
ANT INSTRANT INSTR
T
ANT INSTR
TT
ANT INSTRANT INSTR
FOR FOR
FOR
FOR FOR
YY
OUR SAFETYOUR SAFETY
Y
OUR SAFETY
YY
OUR SAFETYOUR SAFETY
WARNINGWARNING
WARNING
WARNINGWARNING
UCTIONSUCTIONS
UCTIONS
UCTIONSUCTIONS
NOTE: Only Pizza and Bread Products can have direct contact with the deck. All other food
products must be placed in cast iron pans or suitable metal pans avoid direct contact with the
deck. Otherwise commingling of product and flavors will happen. Metal screens can be used, but
marring will occur on the steel deck. This equipment has been engineered to provide you with
year round dependable service when used according to the instructions in this manual and standard
commercial kitchen practices
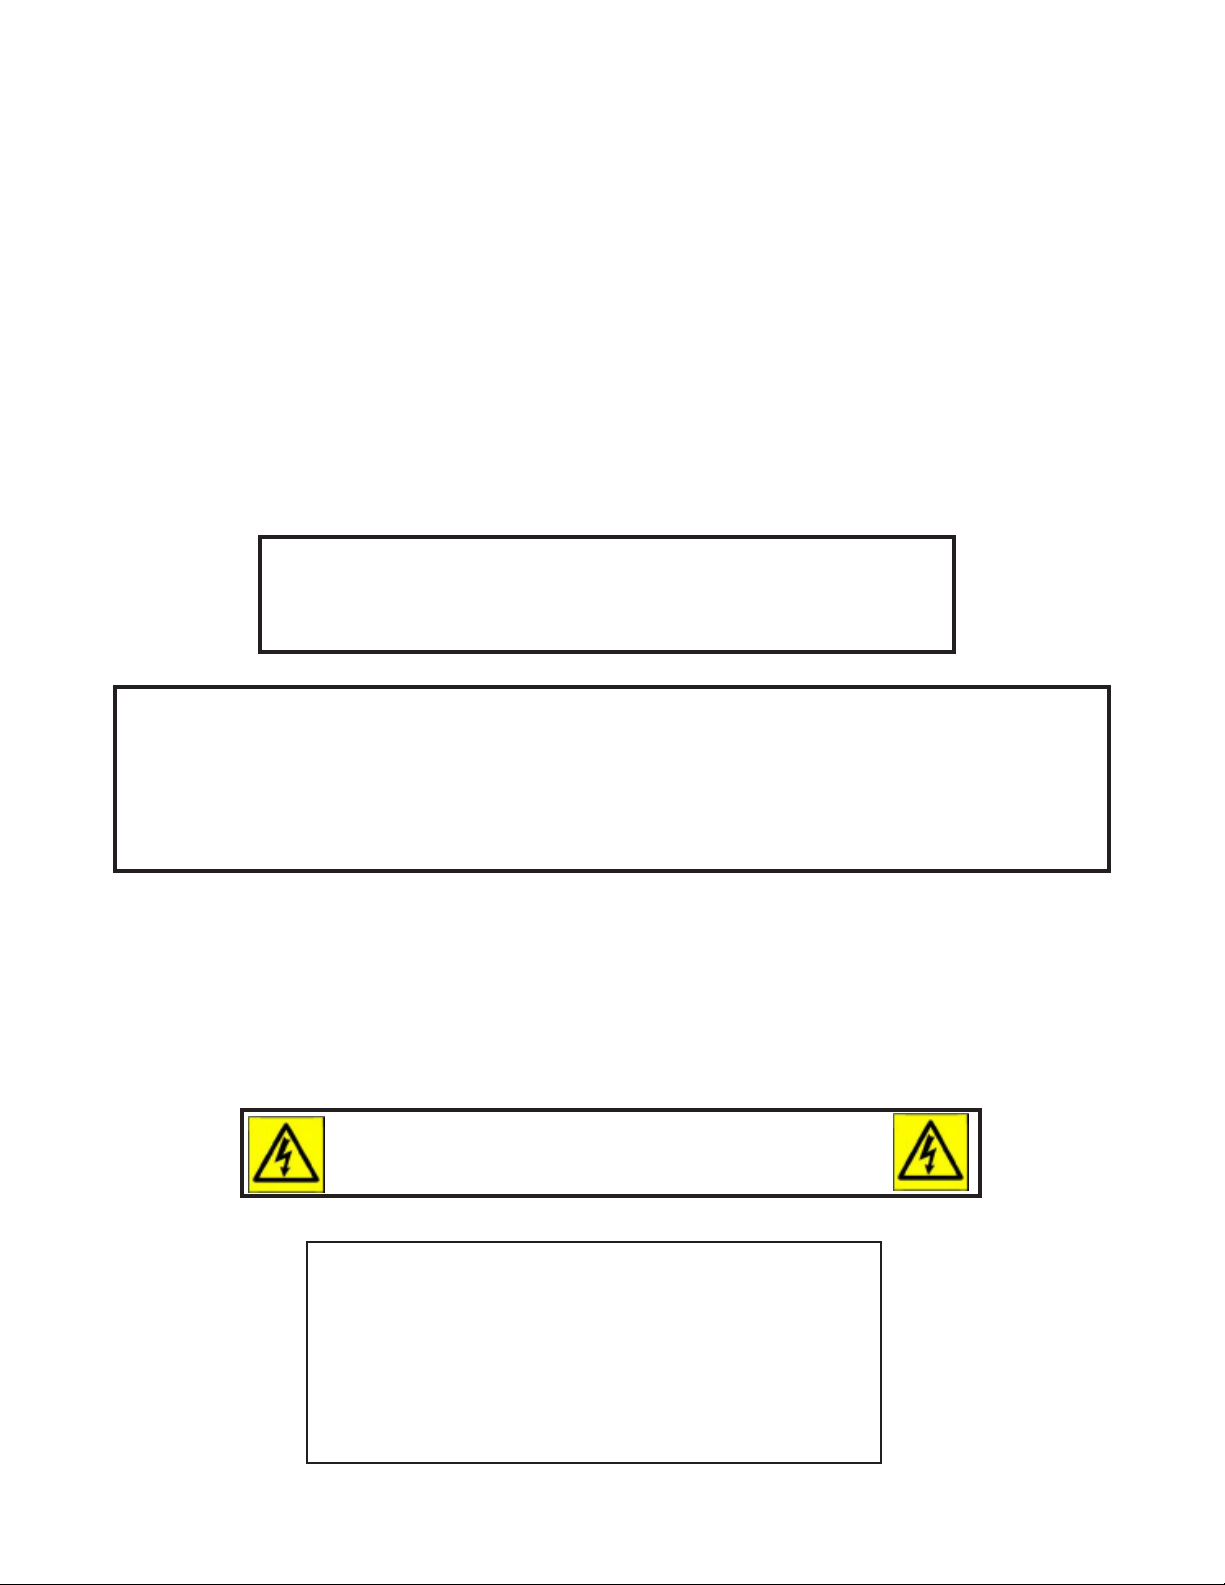
As a safety precaution, disconnect the power supply to
the appliance before cleaning or servicing this appliance.
Instruction Plate:
Before lighting this piece of equipment, ensure
that the ventilation hood is turned on
.
1. Pull E-stop switch; 2. Turn on power switch; 3. Press the
preheat button on the display panel; 4. Lower and upper burn-
ers will light. In case of flame failure, reset the alarm(s) and
wait five minutes before relighting the appliance.
3 of 14
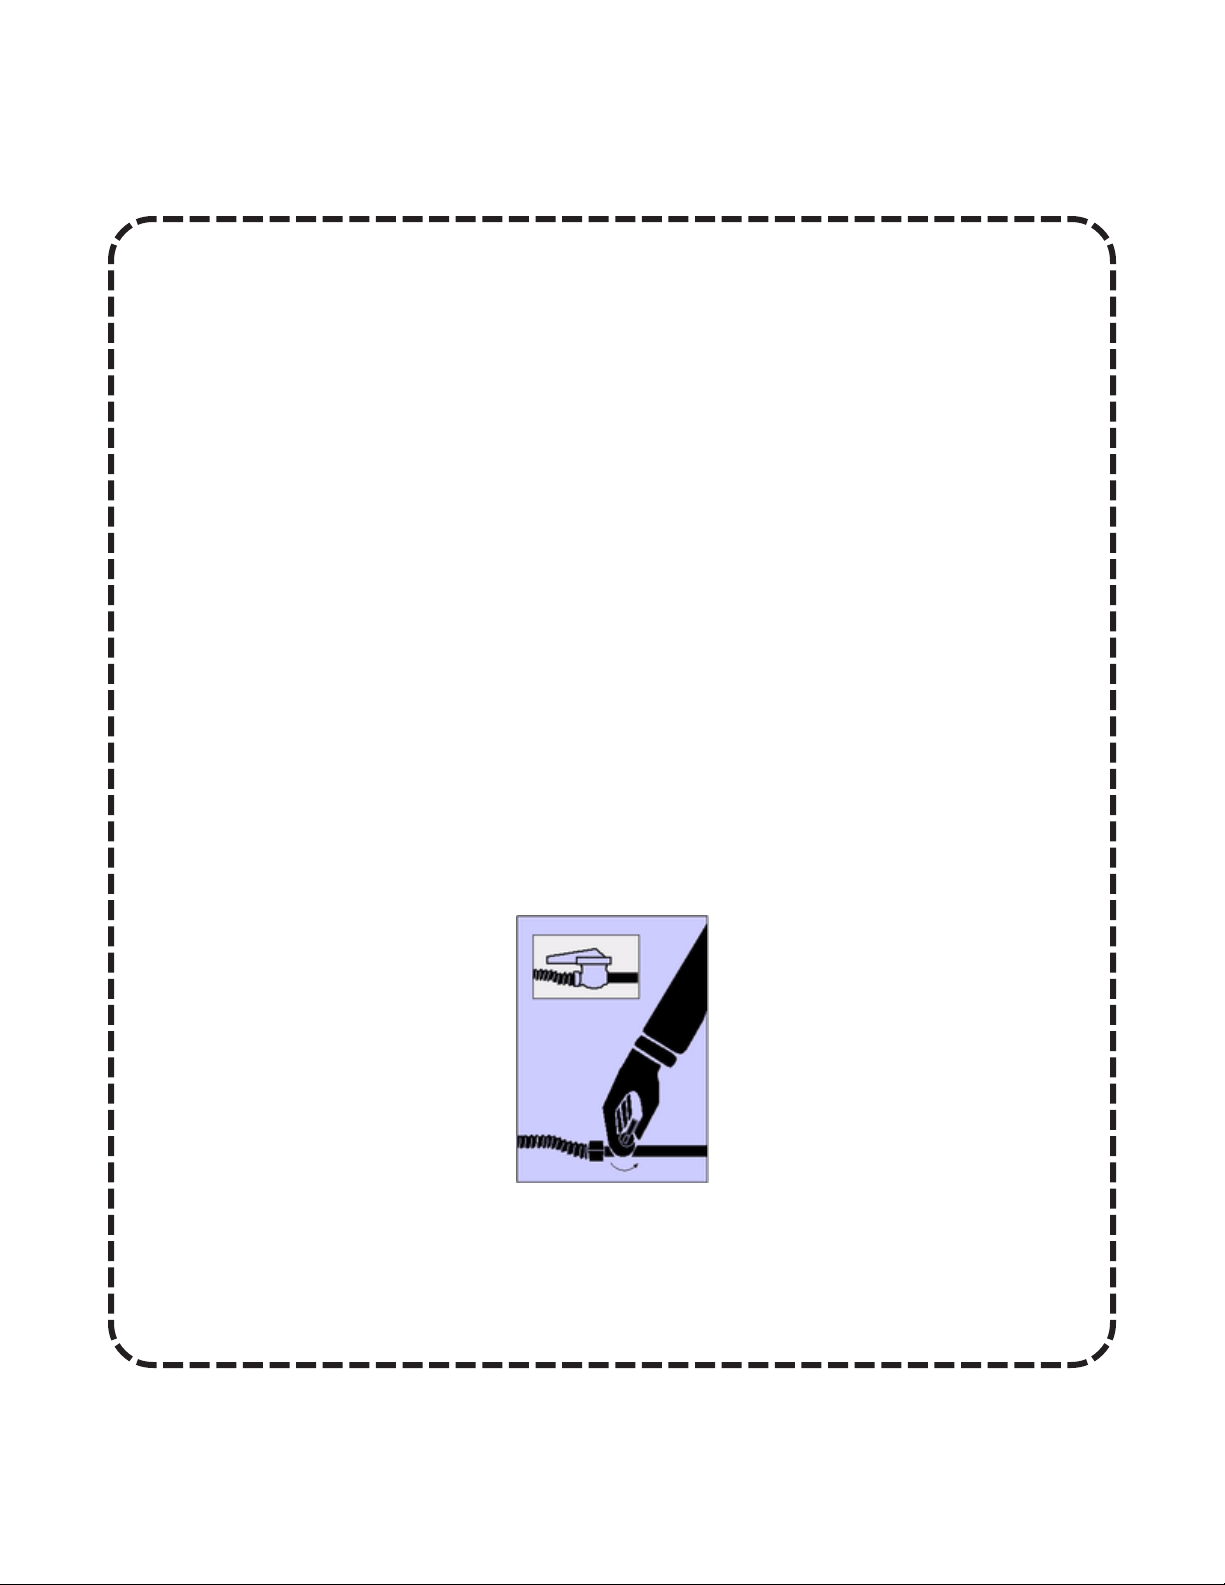
NOTICE: In order to be able to service this appliance, it must
be installed with the casters supplied, a connector complying
with ANSI 22 7 .69 CSA 6.7 6 and a quick-disconnect device
complying with ANSI 227.47 CSA 6.9. It must also be installed
with restraining means to guard against transmission of strain
to the connector as specified in the appliance manufacturer’s
instructions.
For Natural Gas: when upper burners (3) are equipped
with No. 42 drill size orifice and lower burners (2) are
equipped with No. 32 drill size orifice.
For LP Gas: when upper burners (3) are equipped with
No. 50 drill size orifice and lower burners (2) are equipped
with No. 41 drill size orifice.
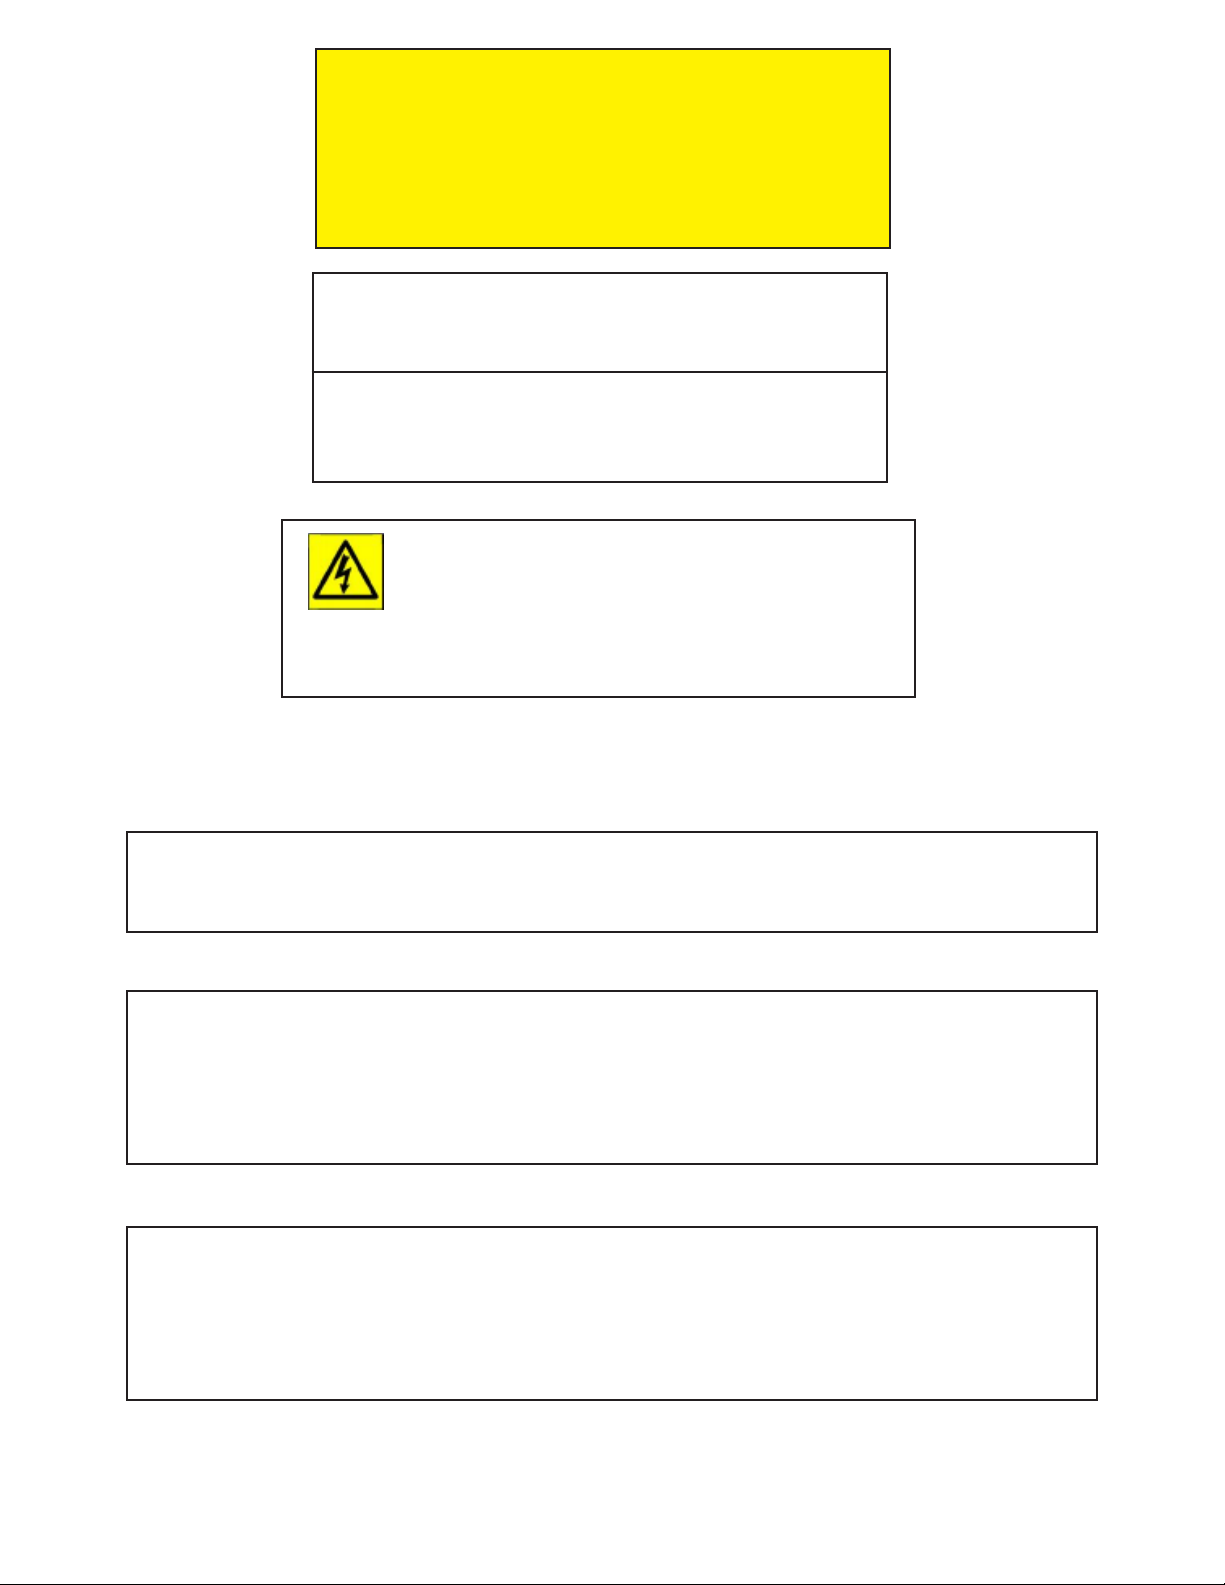
Electrical diagrams for this appliance are located
behind the rear electrical box cover as well as in this
manual.
ENSURE YOU DISCONNECT THE POWER
BEFORE OPENING REAR ENCLOSURE!
INSTALLATION GUIDELINES
GAS
Gas installation must conform with local codes, or in the absence of local codes, with the National
Fuel Cas Code, ANSI 2223.1 /NFPA 54, or the Natural Gas and Propane Installation Code,
CSA B749.1
ELECTRICAL INSTALLATION
This appliance, when installed, must be electrically grounded in accordance with local codes, or in
the absence of local codes, with the National Electrical Code, ANSI/NFPA 70, or the Canadian
Electrical Code, CSA C22.2, as applicable. For your convenience, this appliance has been
wired with a NEMA 5-15 cord and plug and should be plugged in to a corresponding NEMA 5-15
receptacle. The grounding prong SHOULD NOT BE CUT. Cutting the grounding prong will
void the manufacturers warranty
PRESSURE TEST
The appliance and its individual shut off valve must be disconnected from the gas supply piping
system during any pressure testing of that system at test pressures in excess of 1/2 psi (3.5 kpa).
The appliance must be isolated from the gas supply piping system by closing its individual manual
shut off valve during any pressure testing of the gas supply piping system at test pressures equal
to or less than 1/2 psi (3.5 kpa).
4 of 14

Index
Installation Instructions
1 Receiving
2 Clearances
3 Setup
4 Gas and Electrical Connections
5 Pizza Deck Care
6 Burner Lighting Procedure
7 Aeration Adjustments
Operating Instructions
1 Burner Lighting Procedure
2 Breaking In
3 Pre-Heating
4 Baking/Cooking
Cleaning & Maintenance
1 Stainless Steel Surfaces
2 Deck Maintenance
3 Lights
4 Ignitors
5 Glass
6 Parts Breakdown
For North America: 120V, 1 Phase, 60 Hz.
Unit comes with a NEMA 5-15 Plug
Type of Gas Manifold Pressure
Natural 5.5” Water Column
LP 11” Water Column
Installation Instructions
1 Receiving:
Read the notice on the outside carton regarding damage in transit. Damage discovered after
opening the crate(s) / carton(s) is “CONCEALED DAMAGE” and the carrier must be notified immediately
to send an inspector and also furnish the forms for the consignee’s claim against the carrier.
When oven arrives, it should consist of : A crate or carton containing your new oven, a carton,
containing 4 legs with mounting hardware (if removable legs were shipped). Your glass posts and glass
will be packaged in bubble wrap.
Installation must conform with local codes and/or with the latest edition of the ANS Z-233.1 National
Fuel Gas Code in USA/ CAN/CGA-B149.1 or 2 Installation Code in Canada.
This appliance must be installed by a competent person.
Place the oven and parts as close as possible to the area of final installation before un-crating.
2 Clearances:
Minimum Clearance From Combustible Construction Non-Combustible Construction
Left Side 12” 6”
Right Side 12” 6”
Rear 24” 12”
5 of 14
 Loading...