

Page 1
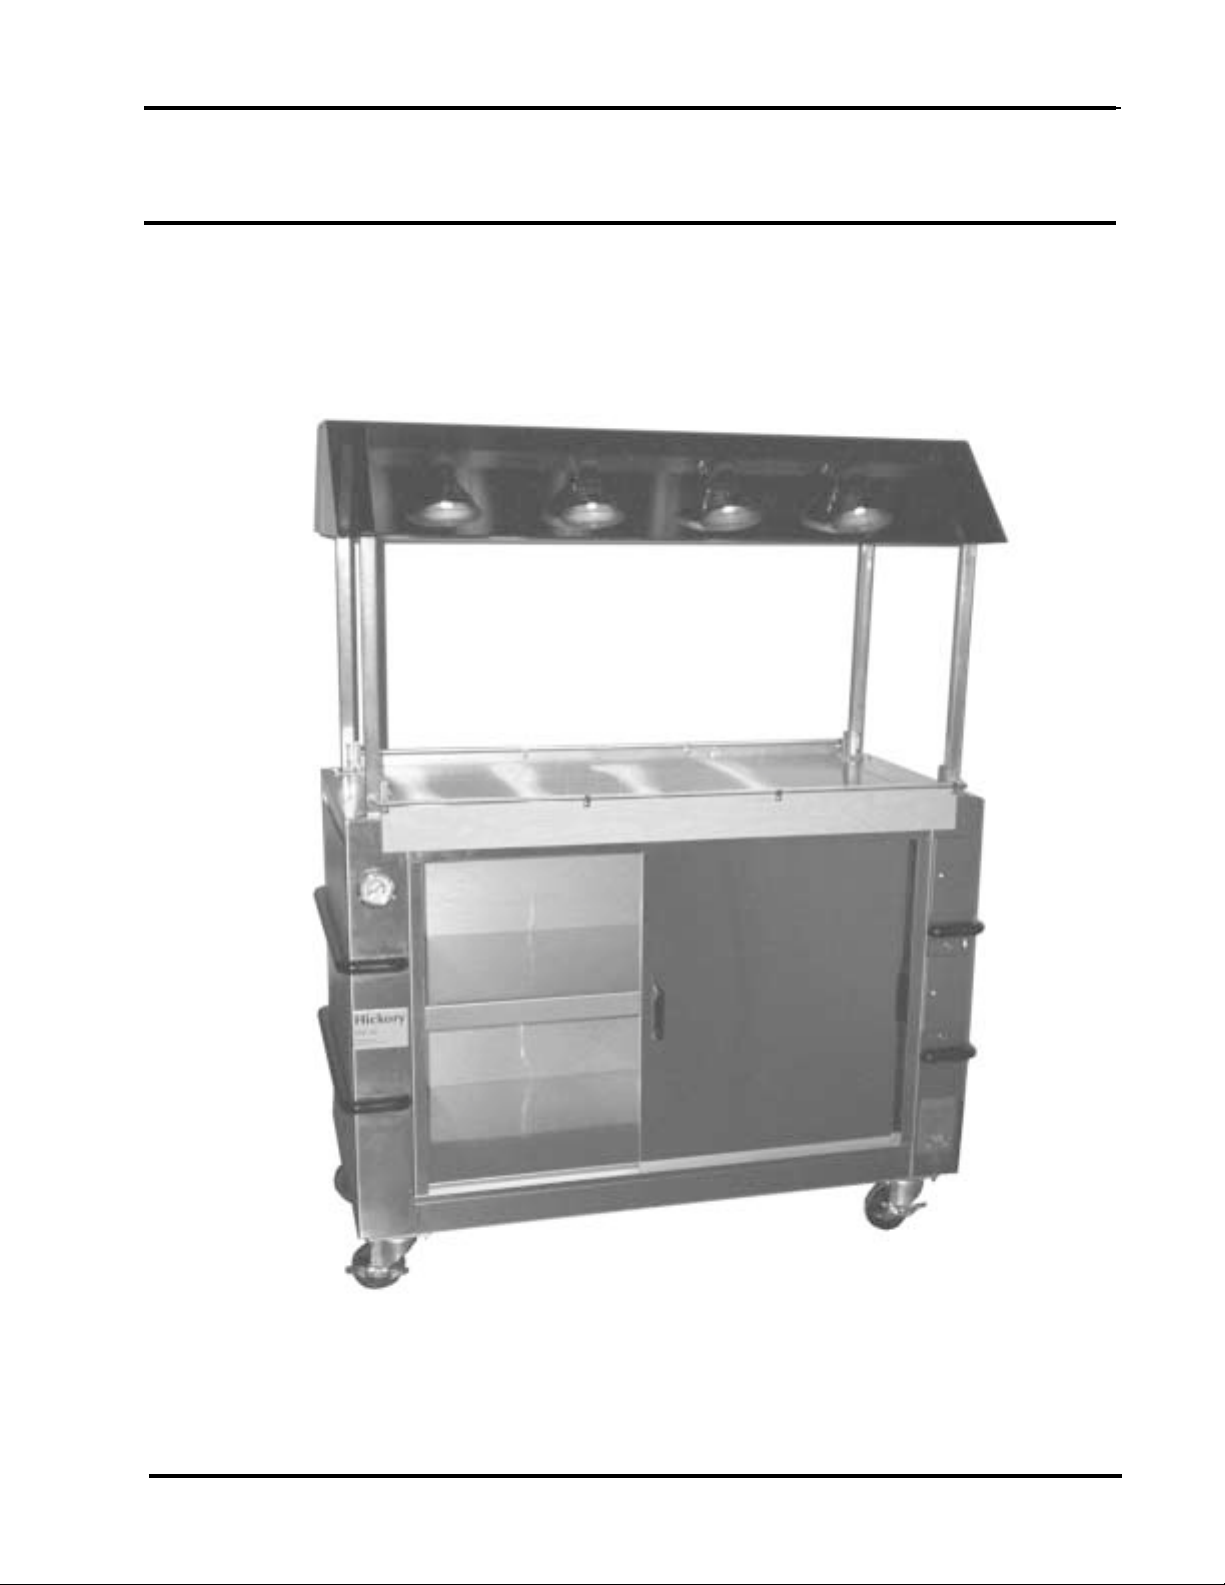
Hickory Industries, Inc.
Operation Manual
Hickory Warmers
Models: DW40, DW60, DWK40plus, DWK60plus
USA
DW40
4900 Westside Avenue, North Bergen, New Jersey 07047
Tel: [201] 223-0050 Fax: [201] 223-0950
Warmer Manual 2/09/97
Page 1 of 5
Page 2

Hickory Industries, Inc.
1.0 Installation Instructions
a. When installing these units, it is important to comply with most recently estab-
lished rules and regulations as deemed pertinent by the local and national electrical, ventilation, sanitation, and fire codes.
b. The units must be installed in such a way that proper ventilation and heat ex-
change is assured. The room must be ventilated in accordance to the valid
codes and regulations.
c. The units are to be installed securely and horizontally. The units may be in-
stalled on combustible floors. The units may be installed on wheels or adjustable legs.
d. The minimum clearance to rear or side walls must be 3 inches. It is also impor-
tant to insure that the bottom of the units is kept clear so that proper ventilation
or air exchange can occur.
e. These units operate with 120 Volt, single phase, 60 Hz. A 30 Amp. line is re-
quired. A NEMA 5-30P plug is supplied with the unit.
NOTE: The unit can only be plugged in to a properly grounded system. Do not
cut off the grounding prong or replace this plug with a two pronged unit.
f. Install the 65 Watt heating lamps by screwing them into the open sockets.
When replacing these lamps, replace only with 65 WATT MAXIMUM LAMPS
ONLY.
g. Install the safety plexiglass into the appropriate slides in the upper, open section
of the warmer .
The unit is now ready for use.
2.0 Operating
In order to start the warming process, the warmer temperatures must be set.
The heating cycle will start only when the following procedure is followed:
a. The electrical plug is connected to an outlet. A NEMA 5-30R receptacle is
required
b. A warming temperatures must be set on the thermostats (from HI to LO).
c. The lighting (dimmer) switch must be activated for the upper, exterior lighting
and the toggle switch is placed to the "on" position for the interior lighting.
4900 Westside Avenue, North Bergen, New Jersey 07047
Tel: [201] 223-0050 Fax: [201] 223-0950
Warmer Manual 2/09/97
Page 2 of 5
Page 3

Hickory Industries, Inc.
The "front" of the warmer is the side with the sliding doors. On the front, right
hand side of the warmer there are two control boxes. The upper box is for the
lighting, the lower box for the temperature settings. These boxes can only be
opened with a screw driver.
With the lower control box open, preheat the unit. To preheat, set both infinite
switches to "HI". After an hour, set accordingly. See chart below. The system
will cycle on and off as needed to maintain the set temperature point. Note that
the temperature setting varies according to the amount of product placed on and
in the warmer.
Pre-Heat:
Turn switches to "HIGH" for 1 hour before placing product on the warmer
shelves.
Warmer Switch Settings:
Upper Switch Setting Lower Switch Setting
High = 185°F High = 210°F
Position 6 = 165°F Position 6 = 175°F
Position 5 = 145°F Position 5 = 159°F
Temperature Guide Lines: After initial preheat, lower switch to setting 5. Take
initial product temperature before placing in designated shelf. Monitor tempera-
tures initially every 1/2 hour. Product cannot fall below 140°F. If product seems
to be dropping, increase setting on temperature switch. If product seems to be
rising, decrease setting on temperature switch. After desired temperature is
established, mark the temperature in your temperature log and use this setting
on the switches for future warmer operation.
On the front left hand side of the warmer, there is a thermostat which displays
the actual air temperature in the lower, enclosed compartment. The (lower)
thermostat setting should be adjusted according to the desired temperature
indicated on the display.
There are two LED lights above and below the temperature control box. The
upper light is for the upper warmer, the lower light for the lower, enclosed sec-
tion. All the LEDs indicate is that the warming section are switched "on". The
upper control box has a round dimmer switch which controls the intensity
(brightness) of the heating lights in the upper section of the warmer. Adjust this
switch as desired.
Below the dimmer switch is a toggle switch which controls the lights in the lower,
enclosed section of the warmer. This switch only works as an on/off switch.
4900 Westside Avenue, North Bergen, New Jersey 07047
Tel: [201] 223-0050 Fax: [201] 223-0950
Warmer Manual 2/09/97
Page 3 of 5
Page 4

3.0 Lamp Replacement
Upper Lamp Replacement:
Replace upper lamps with 65 watt lamps only. Any higher wattage lamps will
draw too much current and cause the circuit breaker to trip or fuse to blow.
Lower Lamp Replacement:
1. Remove electrical plug from receptacle.
2. CAUTION: DO NOT WORK ON THE WARMER WITH THE WARMER
PLUGGED IN.
3. Slide open lower sliding door.
4. Let warmer cool down.
5. Grasp glass cover with hot gloves and turn counterclockwise and remove.
6. Unscrew lamp and replace with 40 watt lamp maximum.
7. Reinstall the glass shield and tighten by turning clockwise.
8. Plug warmer back into receptacle.
9. Return warmer to operation.
Hickory Industries, Inc.
4.0 Chicken Container Merchandising Recommendations
For successful merchandising of rotisserie chickens using plastic dome contain-
ers, the following is provided as a guide to deli managers.
1. Some domes have an FDA approved anti-fog coating that will last up to 5 hours.
Chickens should be cooked and displayed throughout the day as needed,
not one big lot in the morning. This will insure an appetizing display of the
chicken without the condensation forming and give a fresher appearance.
2. The container acts somewhat like a "mini oven" and helps keep chicken warm.
Case temperatures need to be closely monitored and adjusted to keep the
chickens fresh longer and keep them from drying out.
a. Internal temperature of the chickens should be checked at different intervals of
the day . The internal temperature should be above 140 degrees.
b. If you find the internal temperature is higher than 155-160 degrees, the
container will probably melt or distort! Y ou will need to slowly reduce
the temperature settings every 30 minutes until the internal temperature
is constantly and consistently between 145-155 degrees.
c. The domes will begin to melt at 180 degrees---- if either the chicken is at 180
or the air surrounding it is at 180.
d. The black base can withstand temperatures of 250 degrees.
e. If any distortion appears on the dome-----------your case temperature is too
4900 Westside Avenue, North Bergen, New Jersey 07047
Tel: [201] 223-0050 Fax: [201] 223-0950
Warmer Manual 2/09/97
Page 4 of 5
Page 5

Hickory Industries, Inc.
high. This means the chicken is till cooking as well as drying out.
3. Case lights can cause small high temperature areas thoughout the case. If your
domes seem to be distorting at one or more spots in the case consider
reducingthe light intersity and or the light wattage.
4. Inform your customers that the containers are ONE TIME micorwaveable for up
to 2 minutes if they re-heat the chicken at home. Follow the instructions.
5. REMEMBER IF:
CONDENSA TION FORMS- ---------The chicken is still cooking &
the temp is too hot. Or the chiken has
been out for over 5 hours.
DOMES MEL TING--------------------- Case temp or lights are too high.
CHICKENS ARE UNDER 140----- Review case temperature and riase slowly or
or make sure that chcikens are going to the
warmer directly after they have been cooked.
If you have continuing problems please contatc your Hickory distributor or the
packaging supplier .
Some general informaiton about plastic dome coantiners:
1. Containers do come in differnt sizes so that the appearnce size of the chicken is
not diminshed byt the size of the container .
2. Most domes have an FDA approved anti-fog coating which will last for up to 5
hours.
3. Containers are gernally stackable. Stacking lugs in the base nestle in positions
on the dome.
4. Some domes have steam vents to allow for dissapation of the mositure.
5. Raised rib area on the bottom of the container keeps the chickens out of their
own juices.
6. Some dome contianers come with a deli seal to keep the container leak proof.
7. Domes can withstand temperatures no higher than 180 degrees.
8. The base can withstand termperatures of up to 250 degrees.
5.0 Warranty and Conditons
Hickory Industries, Inc. will warrant all warmers for one year from date of invoice,
including parts and labor , with the exception of glass, bulbs, and ceramics or user
abuse. Conditions: the warranty card and all necessary documents have been
returned to Hickory by the suer after receipt of the warmer. Hickory reserves the
right to have authorized technicians review all warranty claims. If negligence or
abuse is found, hickory will disallow the claim.
4900 Westside Avenue, North Bergen, New Jersey 07047
Tel: [201] 223-0050 Fax: [201] 223-0950
Warmer Manual 2/09/97
Page 5 of 5
 Loading...