

Hickory N-7.5E Installation Manual
Hickory Industries, Inc.
Installation & Operation Manual
USA
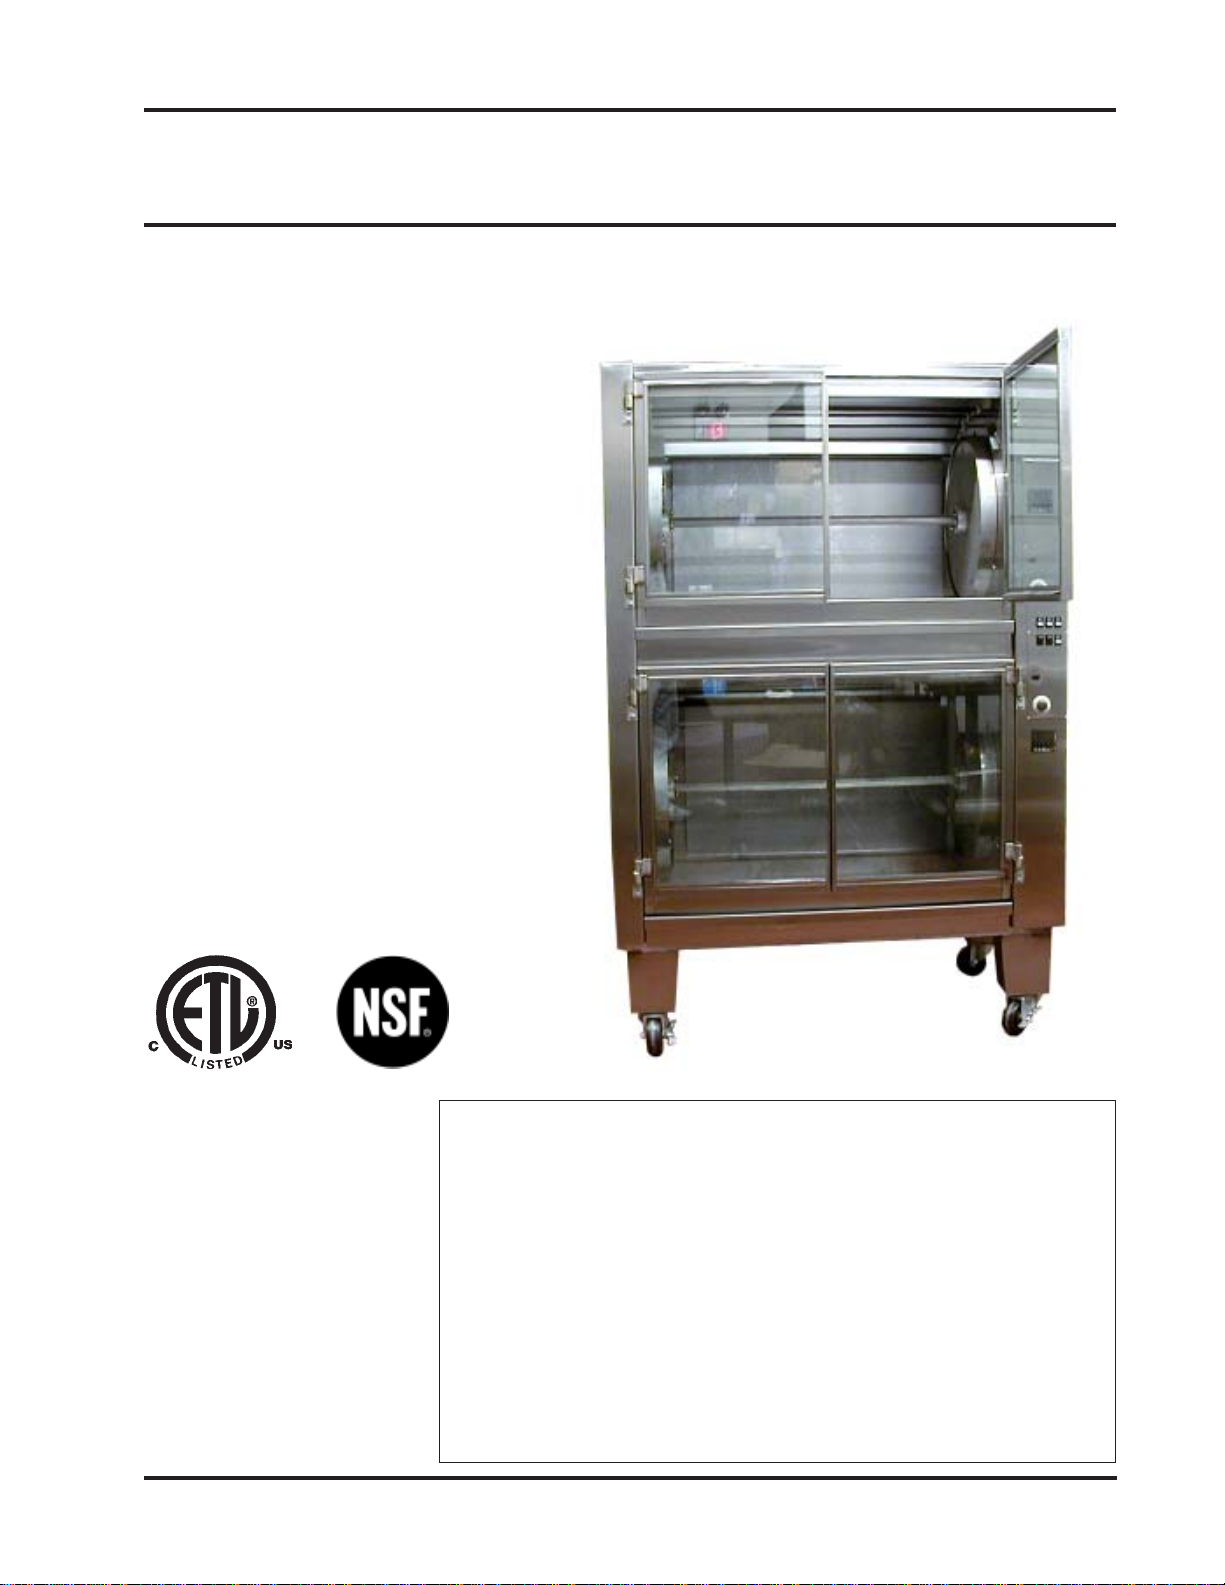
Hickory Rotisseries
Models: N/7.5E
N/14.5E (Shown)
Voltage: 208V, 3 phase, 5 Wire
Amperage Draw: Line 1 , Line 2 , Line 3 , Nueltral .
N/7.5E N/14.5E
Elements: 612
Watts Per Element: 2000 2000
Total Cooking Wattage: 12,000 24,000
Lighting: (2)25W (4)W
Lamps should be replaced with 120V, 25W, 300°C rated bulbs or equivalent
only.
Minimum Installation Clearance:
3 Inches sides, 6 inches rear.
Specifications and manual subject to change without notice
4900 Westside Avenue, North Bergen, New Jersey 07047
Tel: [201] 223-0050 Fax: [201] 223-0950
N/14.5E - 6/15/04
Page 1 of 24

Hickory Industries, Inc.
Table of Contents
Installation Tips .................................................. 3
Overview Of The Unit ......................................... 4
Unpacking The Unit ............................................ 5
Setting Up The Rotisserie .................................. 5
Control Panel Overview ...................................... 5
Spit Preparation Using Angle Spits .................... 6
Spit Preparation Using Spits & Skewers ............ 13
Daily Operation .................................................. 18
Cleaning ............................................................ 19
Thermometer Guidelines .................................... 20
Temperature Chart ............................................. 21
Do's and Don'ts ................................................. 22
Parts Diagram ................................................... 23
Electrical Diagram ............................................. 24
Warranty ............................................................ 25
4900 Westside Avenue, North Bergen, New Jersey 07047
Tel: [201] 223-0050 Fax: [201] 223-0950
N/14.5E - 6/15/04
Page 2 of 24

Hickory Industries, Inc.
Installation Tips
a. When installing these units, it is important to comply with
the most recently established rules and regulations as
deemed pertinent by the local and national electrical, ventilation, sanitation, and fire codes. The Model 14.5E was tested
for safety by Intertek Testing Services ETL Semko.
b. Electric units normally do not require venting. The room
where the units are being installed must be ventilated in accordance to the valid codes and regulations.
c. The units are to be installed securely and horizontally.
The units may be installed on combustible floors.
d. The minimum clearance to the side walls must be 3
inches and 6" to the rear wall. It is also important to insure
that the bottom of the units is kept clear so that proper ventilation or air exchange can occur.
e. When installing the unit, ensure that a qualified
electricain performs the electrical connection. The unit requires 208V three phase power with a nueltral and a ground.
f. After the unit is installed, ensure that the operator and or
installer reads the operating manual for proper operation.
g. After installation, when the unit is turned on, it may
smoke slightly. This is due to cleaning oils sprayed on the
unit prior to shipping. This is normal.
4900 Westside Avenue, North Bergen, New Jersey 07047
Tel: [201] 223-0050 Fax: [201] 223-0950
N/14.5E - 6/15/04
Page 3 of 24

Hickory Industries, Inc.
Unpacking the unit:
a. After the unit is un-crated, roll the unit and all accessories into place.
b. Remove all vinyl paper from the stainless steel surfaces
c. Remove all tape from glass surfaces and metal surfaces
d. Carefully remove and inspect parts that are inside the unit. Ensure that all materials
sent with the crate are inspected:
Items that are sent with the unit are:
(extra parts vary from customer to customer)
Cooking Spits (7) Spits and skewers, Angle spits or thermowave spits.
Removable rear cleaning panel (2)
Ball Knobs (4)
Log Carrier (1) Installed on the rear burner
Thumbscrew Key (1) If sent with spits and skewers
Setting Up The Rotisserie
a. Clean, rinse and sanitize the spits. If baskets and accessories are ordered, clean and
sanitize as well.
b. Place the ball knobs on the doors.
Tighten firmly.
c. Place the removable rear panel on the rear of the unit.
4900 Westside Avenue, North Bergen, New Jersey 07047
Tel: [201] 223-0050 Fax: [201] 223-0950
N/14.5E - 6/15/04
Page 4 of 24

Hickory Industries, Inc.
Timer (Upper)
Thermostat (Upper)
Fuse .5A (Protects
Lights and motors)
Switches
Timer:
Displays the time of day.
Allows the unit to cook and can
be used to shut the heat OFF
at the end of a cook.
TIMER NEEDS TO ON FOR
THE UNIT TO COOK
Thermostat:
Cycles heat ON and OFF during cooking.
Product that has marinades, citrus, rubs etc., may burn which can be
remedied by turning the thermostat at a lower temperature.
Turns lights ON / OFF
Control Panel Overview
Motor Switch:
Turns motor ON / OFF
4900 Westside Avenue, North Bergen, New Jersey 07047
Tel: [201] 223-0050 Fax: [201] 223-0950
Temperature Switch:
Turns heat ON / OFF Indicator is illuminated when the
thermostat calls for heat.
Light Switch:
N/14.5E - 6/15/04
Page 5 of 24
Hickory Industries, Inc.
Spitting Chickens
The most important part in getting started with a rotisserie is knowing how to properly spit the product.
This is quite easy, but it must be learned! As an operator, you will become an expert in spitting chickens
within half an hour! There are two types of commonly used spits: the angle spit and the regular spit. The
following pages describe and show how spitting is done with both these types of spits.
A. Using Angle Spits
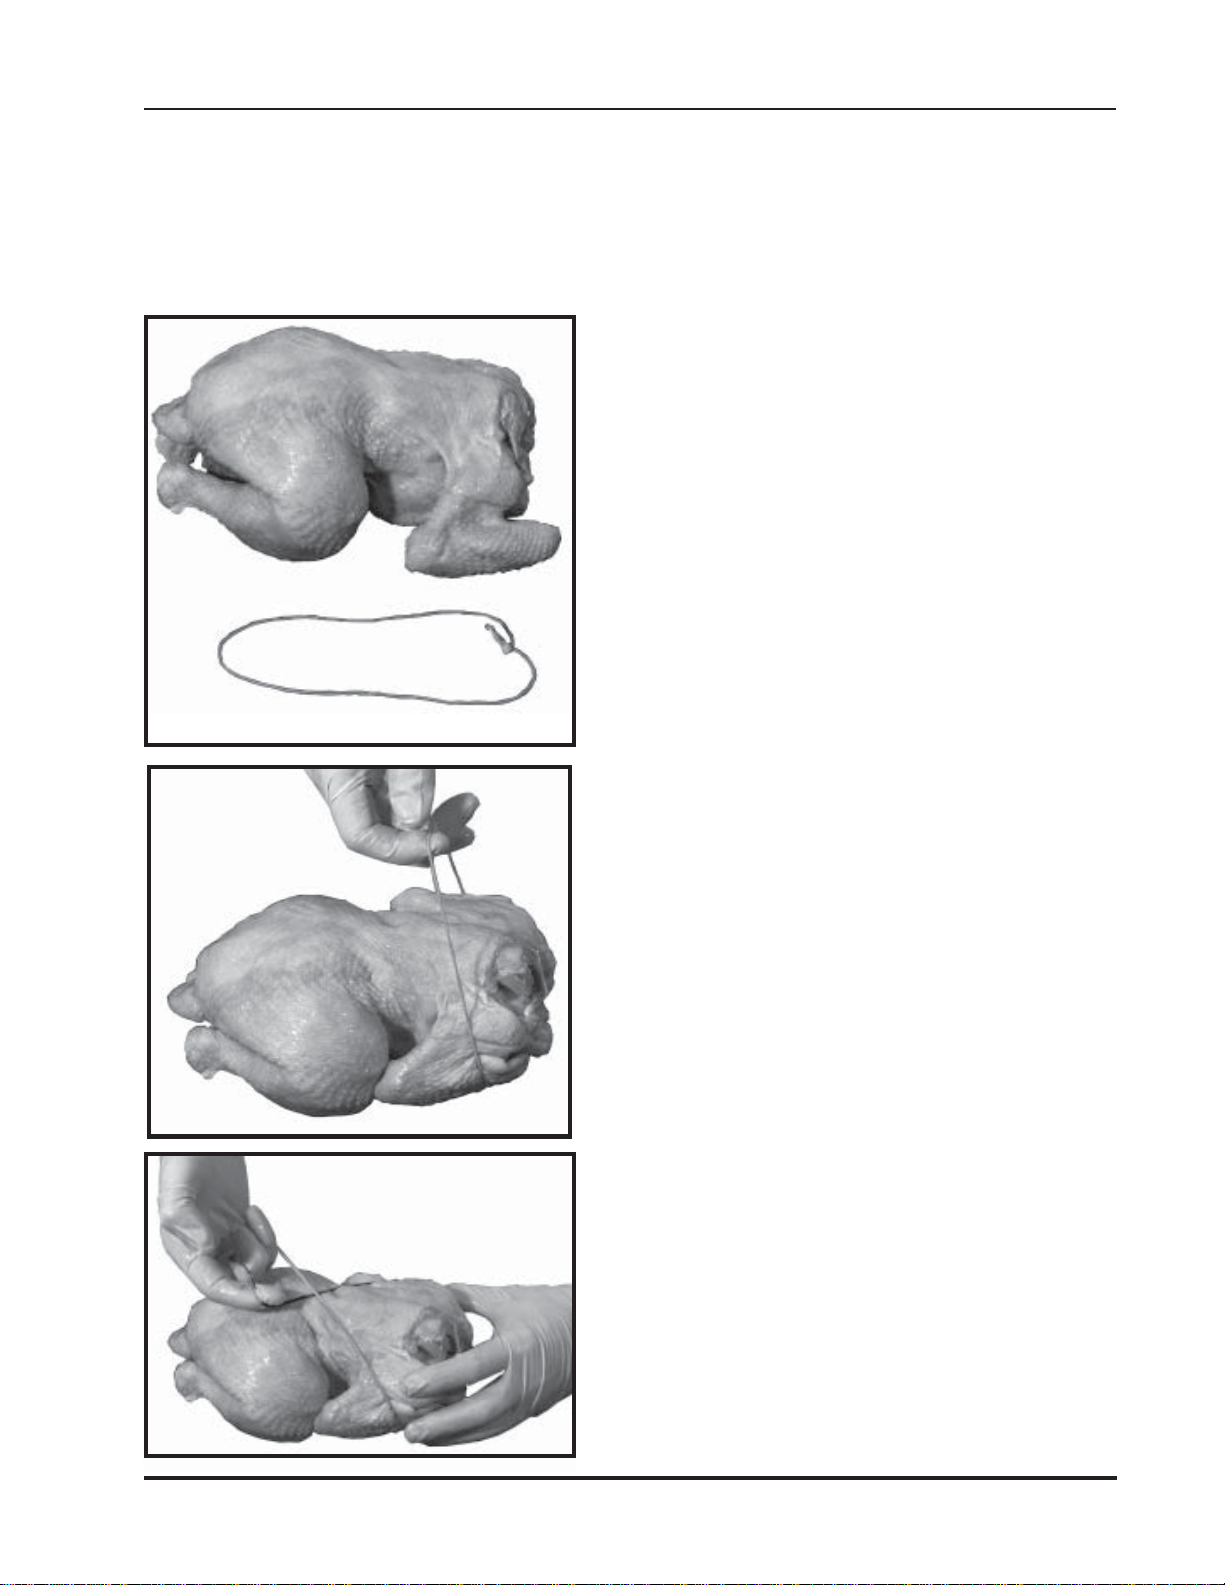
Figure 1. Chickens Ties
When using a “V” or angle spit, it is very important to tie
or truss the product being cooked. This prevents the
product from moving around the spit and also prevents
damage by preventing the legs and wings from flopping.
In this section, we will show how to properly truss a
chicken. It is important to use a tie to fit the size of the
product. In this case, we are tieing a 2 3/4 lb. chicken
with a 6” tie.
Figure 2. Trussing Wings
With the back of the chicken facing up, take the tie and
wrap it around the breast, making sure to tuck the wings
against the breast. Pull on the tie as pictured. You will
also need to hold the chicken with your other hand.
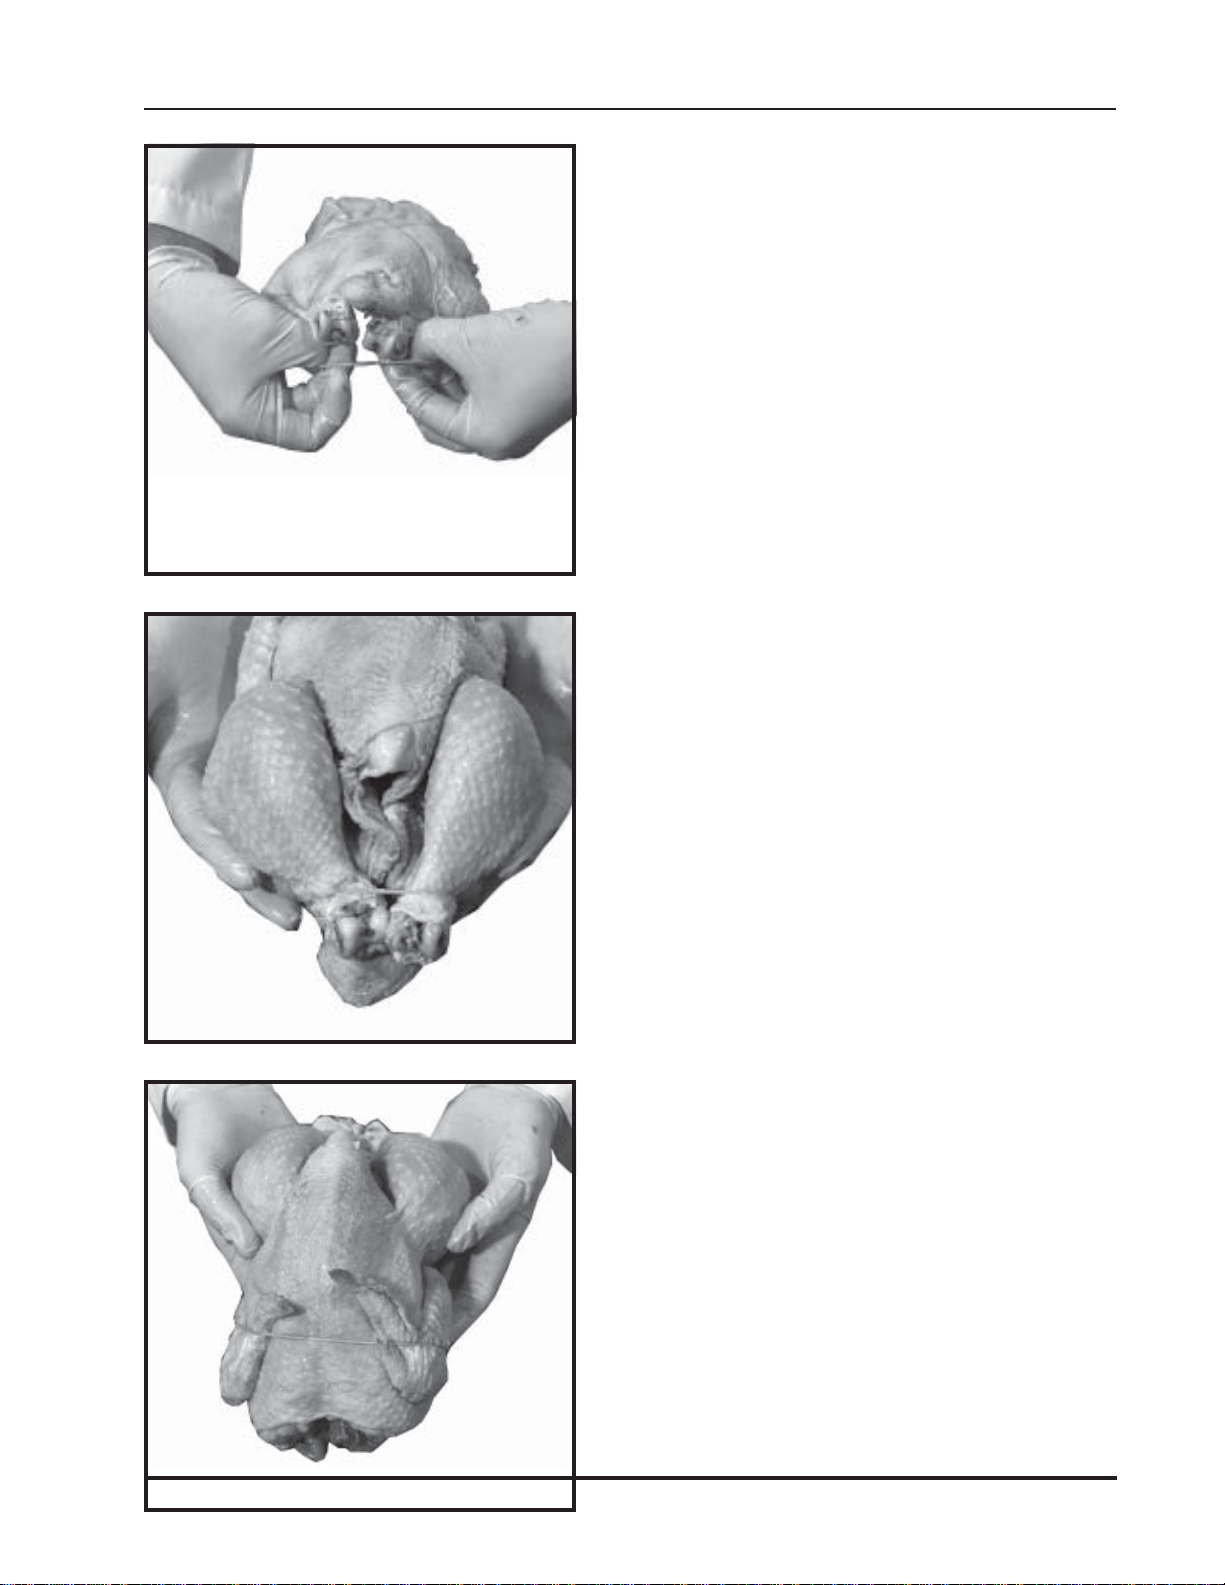
Figure 3. Trussing Across Back
While pulling on the tie, cross the strings so that you
make an “X” across the back of the chicken. With the
“loop” in your hand, you will now need to tie the legs of
the chicken.
4900 Westside Avenue, North Bergen, New Jersey 07047
Tel: [201] 223-0050 Fax: [201] 223-0950
N/14.5E - 6/15/04
Page 6 of 24
Hickory Industries, Inc.
Figure 4. Trussing Legs
While pulling on the tie, loop the strings over the legs of
the chicken.
Figure 5. Trussed Legs
Make sure that both legs are securely held by the tie.
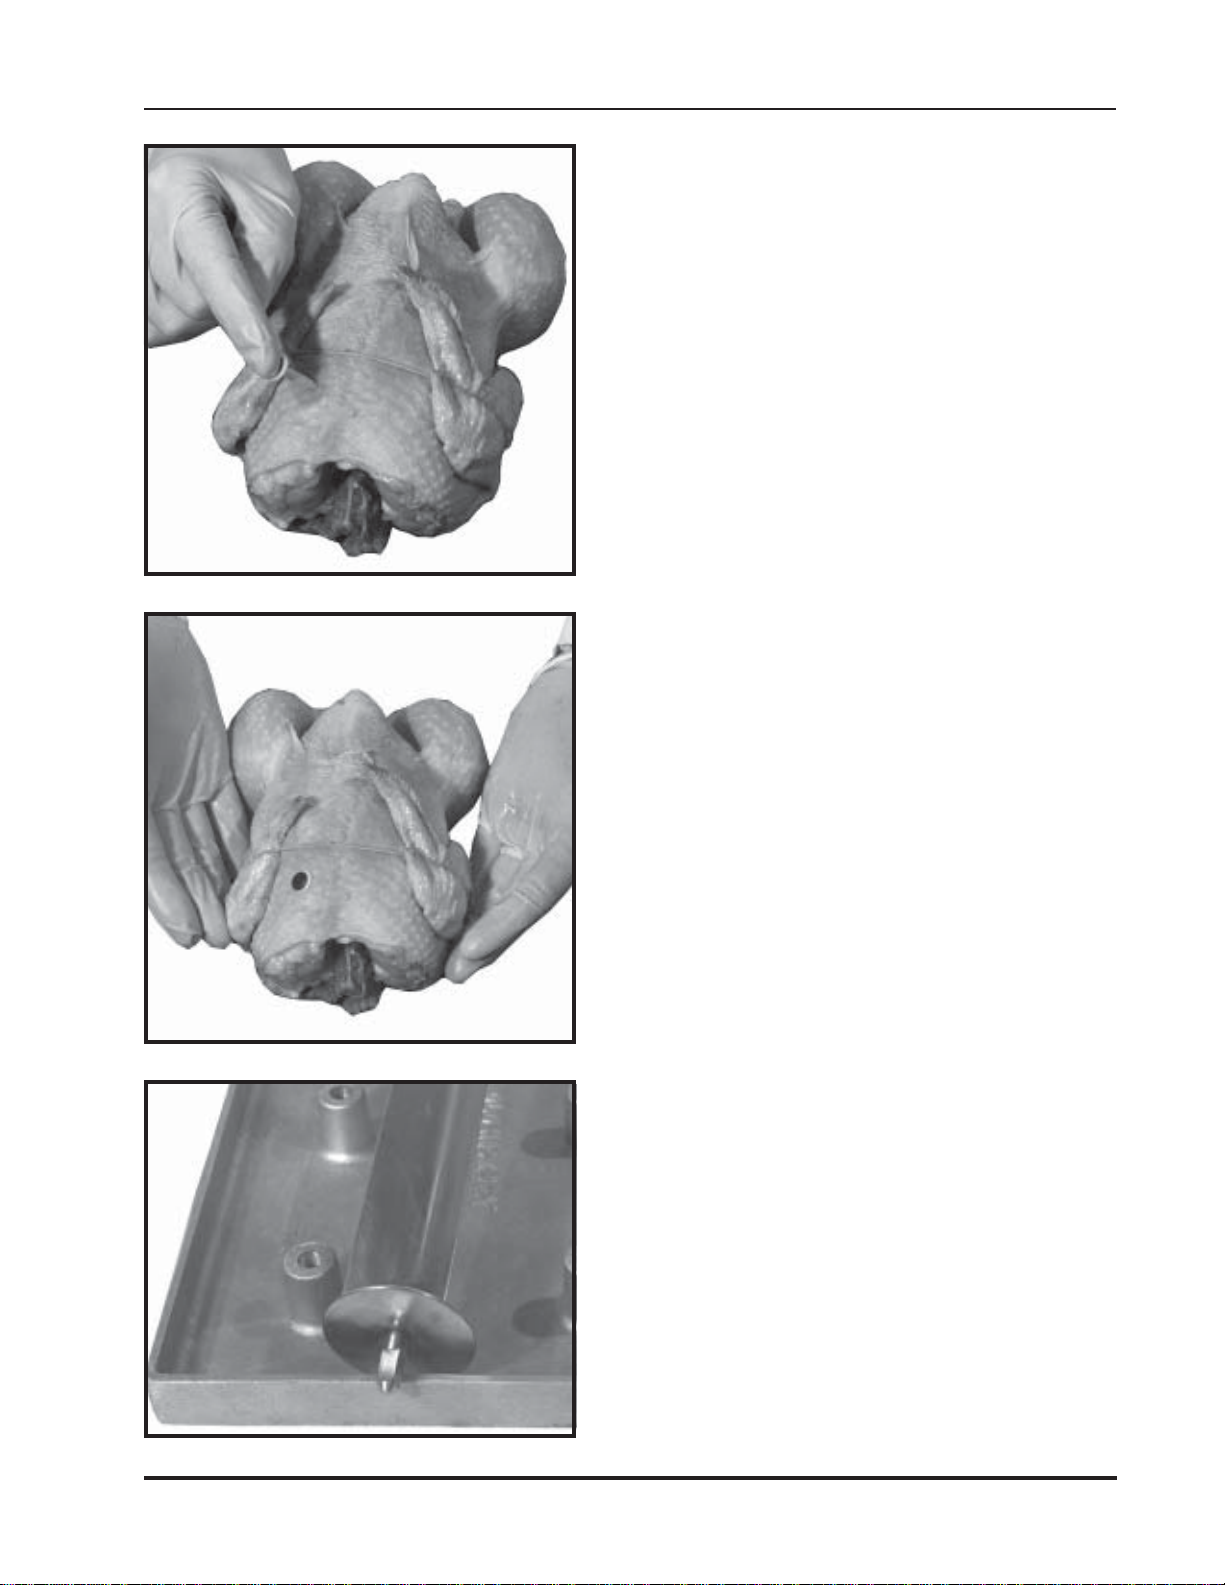
Figure 6. Trussed wings
Make sure that both wings are securely held by the tie
against the breast of the chicken.
4900 Westside Avenue, North Bergen, New Jersey 07047
Tel: [201] 223-0050 Fax: [201] 223-0950
N/14.5E - 6/15/04
Page 7 of 24
Hickory Industries, Inc.
Figure 7. Pop-up Thermometer
The only way to tell if a chicken is done is take
the internal temperature. Since it can be difficult
to probe the chickens while they are in the rotisserie, we recommend the use of pop-up thermometer. These inexpensive items should be
place in the thickest part of the chicken, which is
the breast. The thermostat will “pop-out” when
the internal temperature reaches 185º F.
Figure 8. Chicken Ready to Spit
With the chicken trussed and the pop-up thermometer in
place, the chicken is ready to be spitted with an angle
spit.
Figure 9. Spitting Accessories
In order to make the use of the angle spits fast
and easy, we offer an accessory called a Spit
Holder (Hickory Part 195). This aluminum plate
offers six holes where the base (square-end) of
the angle spit can be inserted.
4900 Westside Avenue, North Bergen, New Jersey 07047
Tel: [201] 223-0050 Fax: [201] 223-0950
N/14.5E - 6/15/04
Page 8 of 24
 Loading...