

Page 1
Virtual DJ DJC Edition - Record the microphone input in the mix
Before attempting to record the microphone, it is important to understand the
various modes available in regards to the DJ Console Mk4.
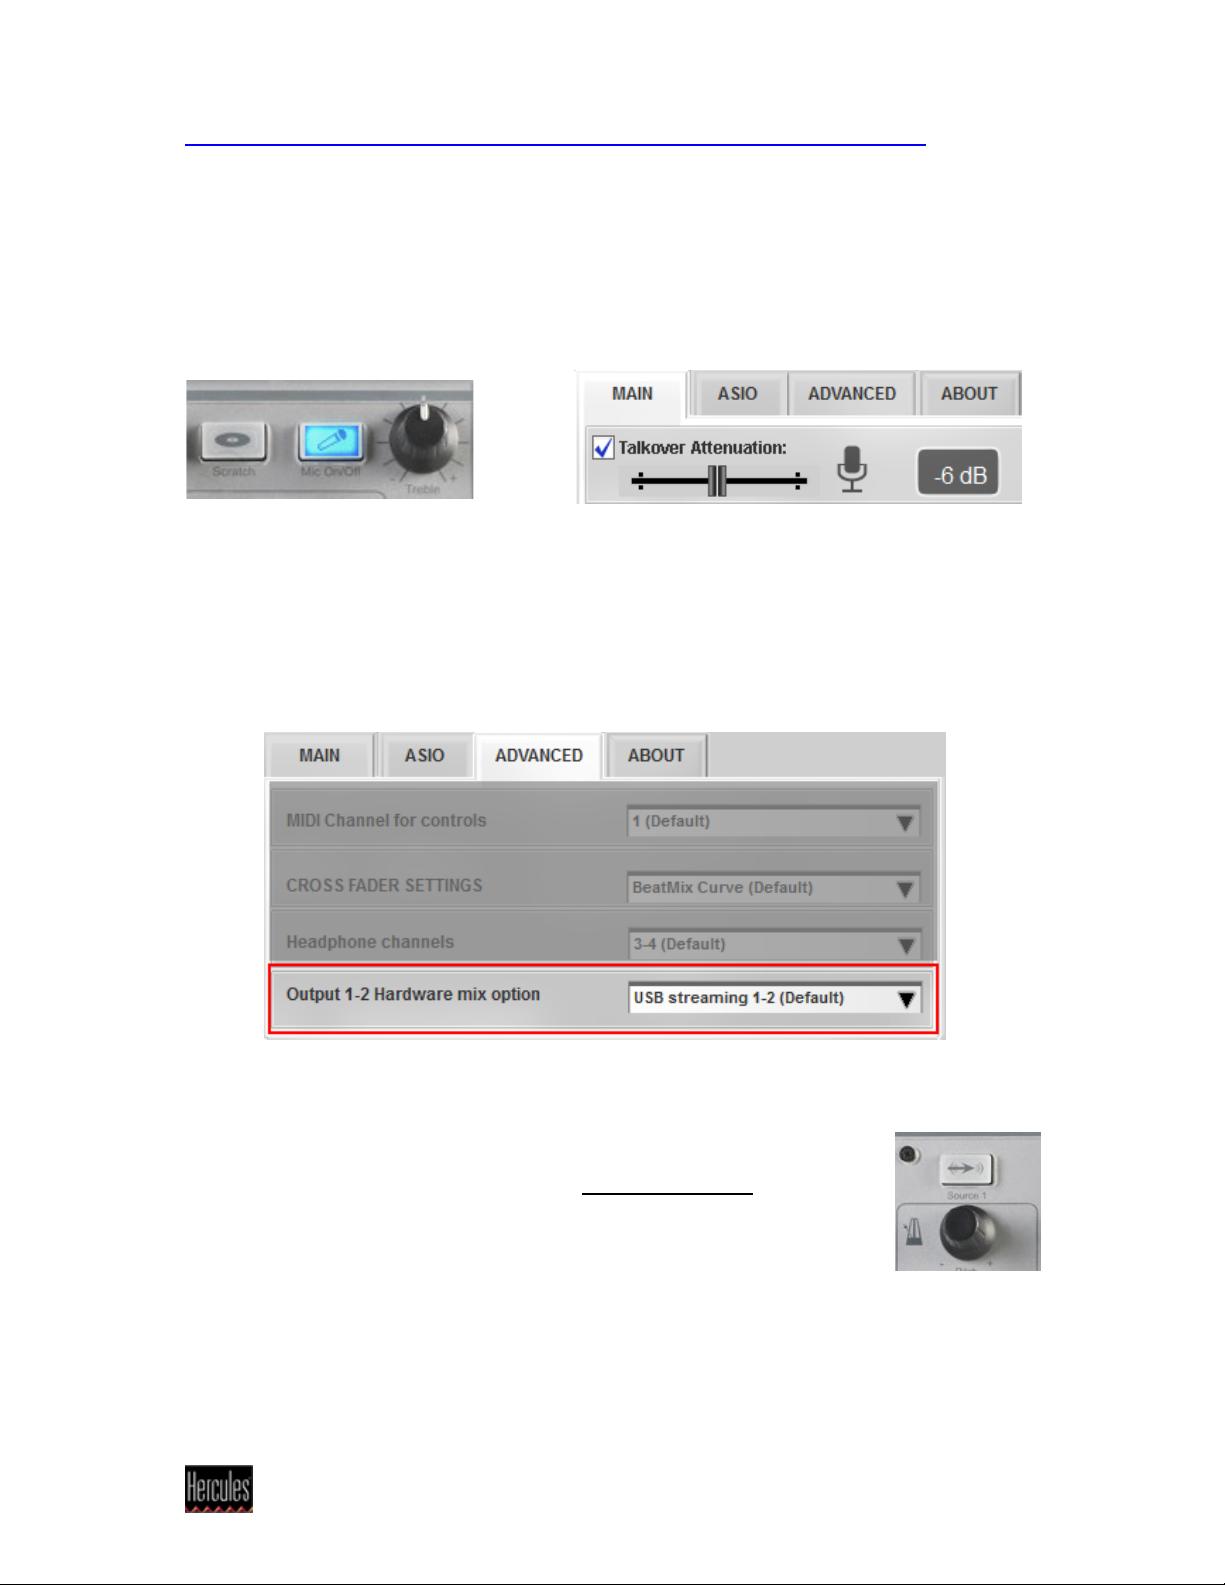
Talk Over: This mode is enabled when pressing button Mic On/Off. The signal of
the microphone is automatically sent to Output 1-2 of the Mk4, along with the main
mix. This is useful when you want to talk to the audience to over the music, which
level will be reduced according to amount selected in the control panel.
However, in this mode, the microphone input cannot be recorded as the software
doesn’t get the microphone signal.
Hardware Mix mode: This function in the control panel Advanced tab does
essentially the thing as the Talk Over function, but without the level attenuation. It
can also be applied to the Line In 1-2 input.
Again, this mode is not to be used as the software doesn’t get the microphone
signal.
In order to be recorded, in Virtual DJ (or other applications), your
microphone has to be configured as an External Source, in the
same way you would use a CD player or a turntable.
1- Connect your microphone to DJ Console Mk4 microphone input.
2- Launch Virtual DJ
Hercules® Technical support - 1 -
Page 2
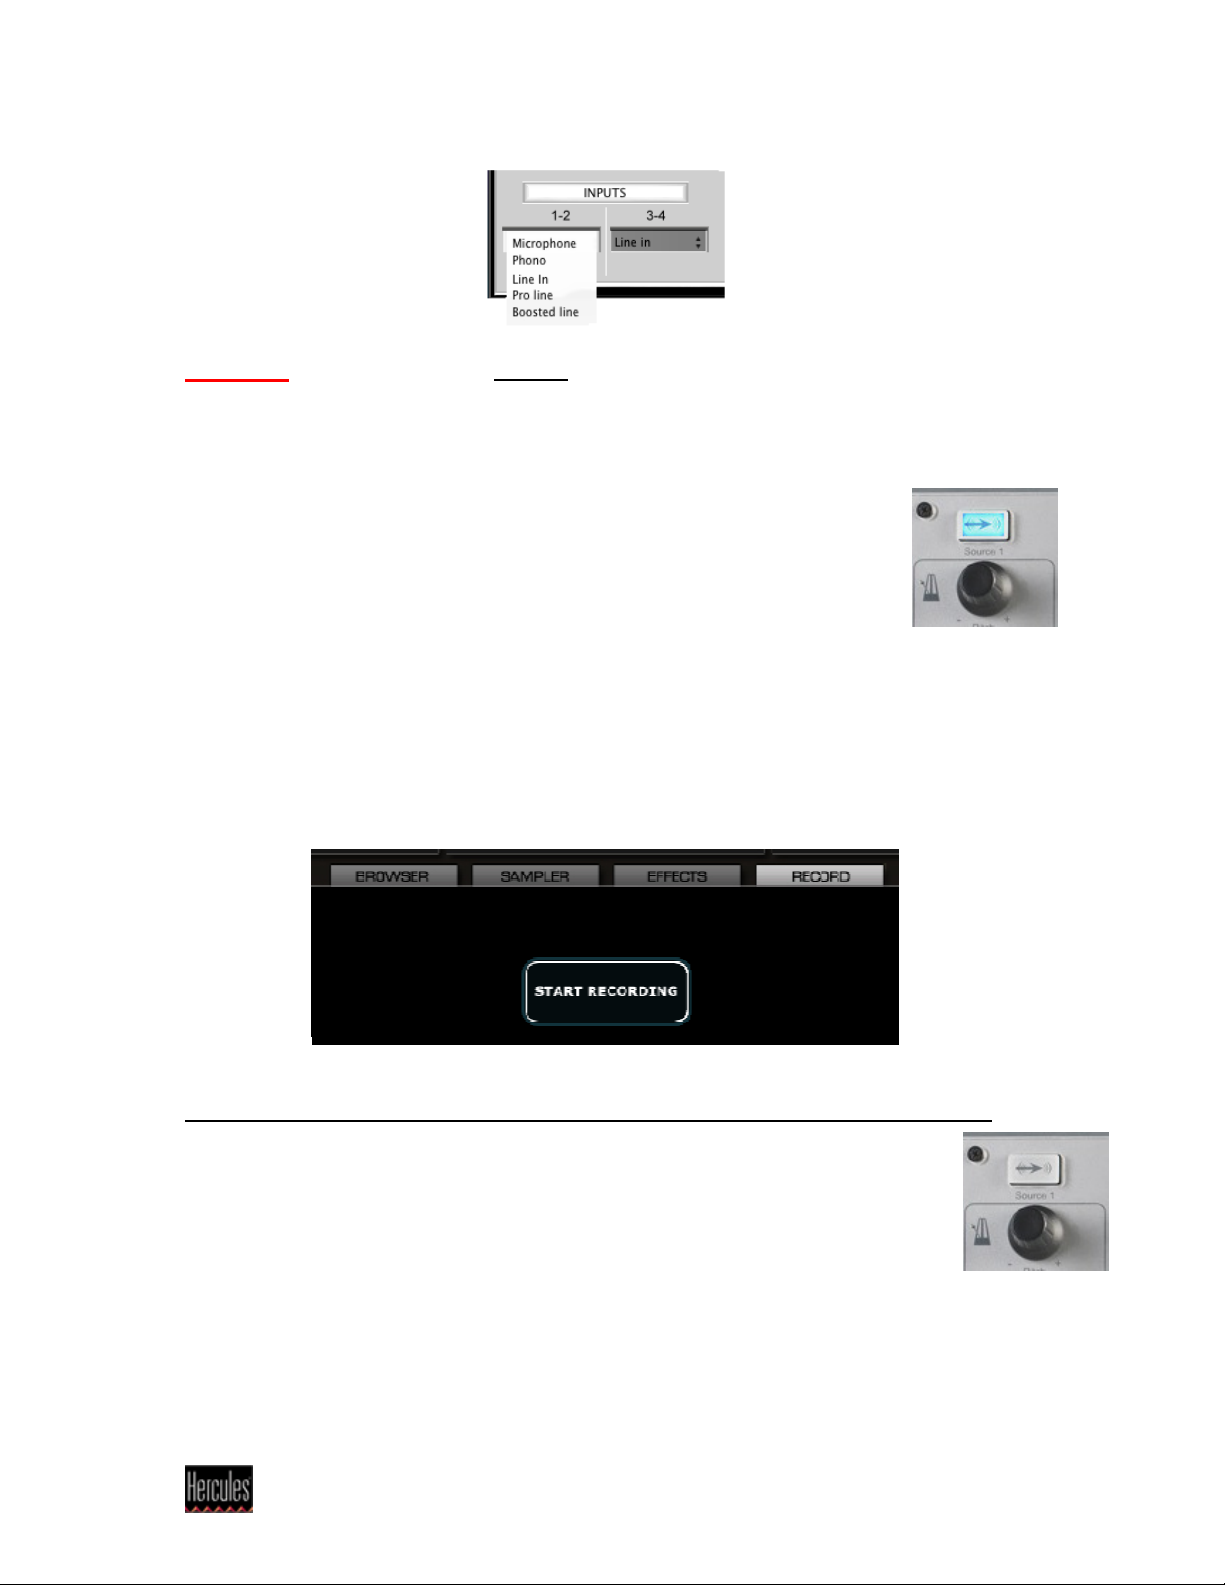
3- Open DJ Console Mk4 control panel and set the Microphone as sound source
on input 1-2.
Important: This must be done AFTER VirtualDJ is launched, since the software
sets the Line-In as default input on channel 1-2 on start up.
4- Load on deck B (right) the music track you want to play, and place the crossfader in central position between deck A and deck B.
5- Turn On the external source by pushing the Source 1 button on DJ
Console Mk4, Using the microphone, you should hear your voice in the
mix.
6- First adjust the microphone level using the Mic Volume knob. If
necessary, you can also use the Gain knob in Virtual DJ.
You can also modify the equalisation using the deck’s Bass, Medium and Treble
controls.
7- Once you are happy with the configuration, click the RECORD tab in the Virtual
DJ interface, and click Start recording.
Type the name for the file that will be created, and click on Save to start recording.
You can now record your voice on the microphone and music playing on Deck B.
Click the button again to stop the recording.
8- Switch off the external source (Source 1 button LED off), when you want
to use Deck A for playing MP3s.
Remark for a standard use: if your microphone output volume is too low when
used on DJ Console Mk4 in Talk-Over mode, you can also use the same process
(steps 3 to 6) to get a louder output volume. In this way, you lose the talk-over
mode, but you get an additional software gain.
Hercules® Technical support - 2 -
 Loading...