

Page 1
Model HEC-103/104/123/124
SECTION 3. OPERATION
3-1. INTRODUCTION This section provides explanations of all controls, along
with operating procedures and daily maintenance. Read the
Introduction, Installation and Operation Sections before
operating the unit.
T o access the controls, the bottom, front panel must be
removed by pulling out on one corner of the panel and
unsnapping it from the clips.
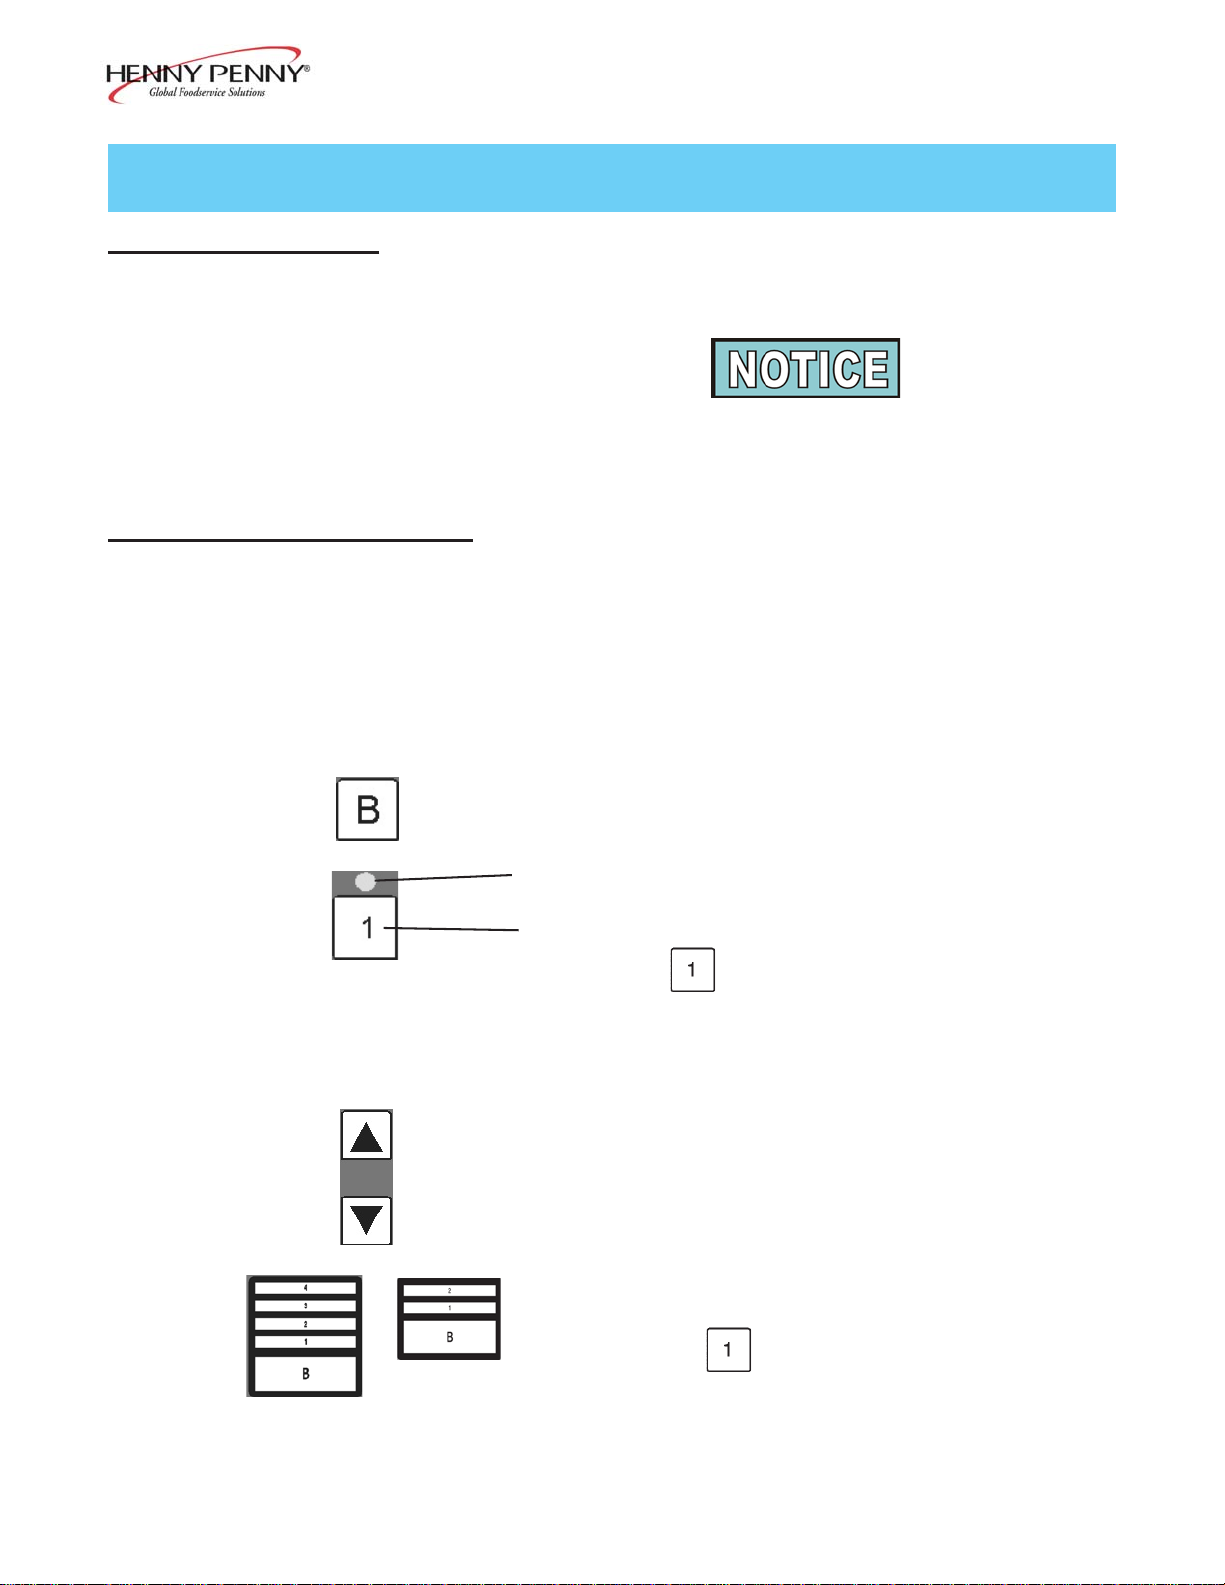
3-2. OPERATING CONTROLS Refer to control diagrams on next page.
Figure Item Description Function
No No.
no t _ Power Switch A rocker switch that sends electrical current to the operating
shown components and lights when turned on
3-1 1 Digital Display Shows the cabinet temperature, error codes and the selections
in the Program Modes
3-1 2 Press to set the base heat value and to toggle through the
Program Mode
3-1 3 Lights when the heat is on for that particular shelf
Press and hold to set the corresponding shelf heat value; ex:
press and hold to set the heat value of the bottom shelf;
the shelf buttons, 1 to 4, are also used in the Special Program
Mode to turn on and off the heat outputs for each shelf
3-1 4 Used to set the heat values of the shelves and base; press and
hold, while turning on power switch to enter the Special Program
Mode; used in Special Program Mode to turn off and on heat
outputs
3-1 5 or A diagram showing which button controls which shelf;
ex: press and hold to set the bottom shelf heat value
3-1 705
Page 2
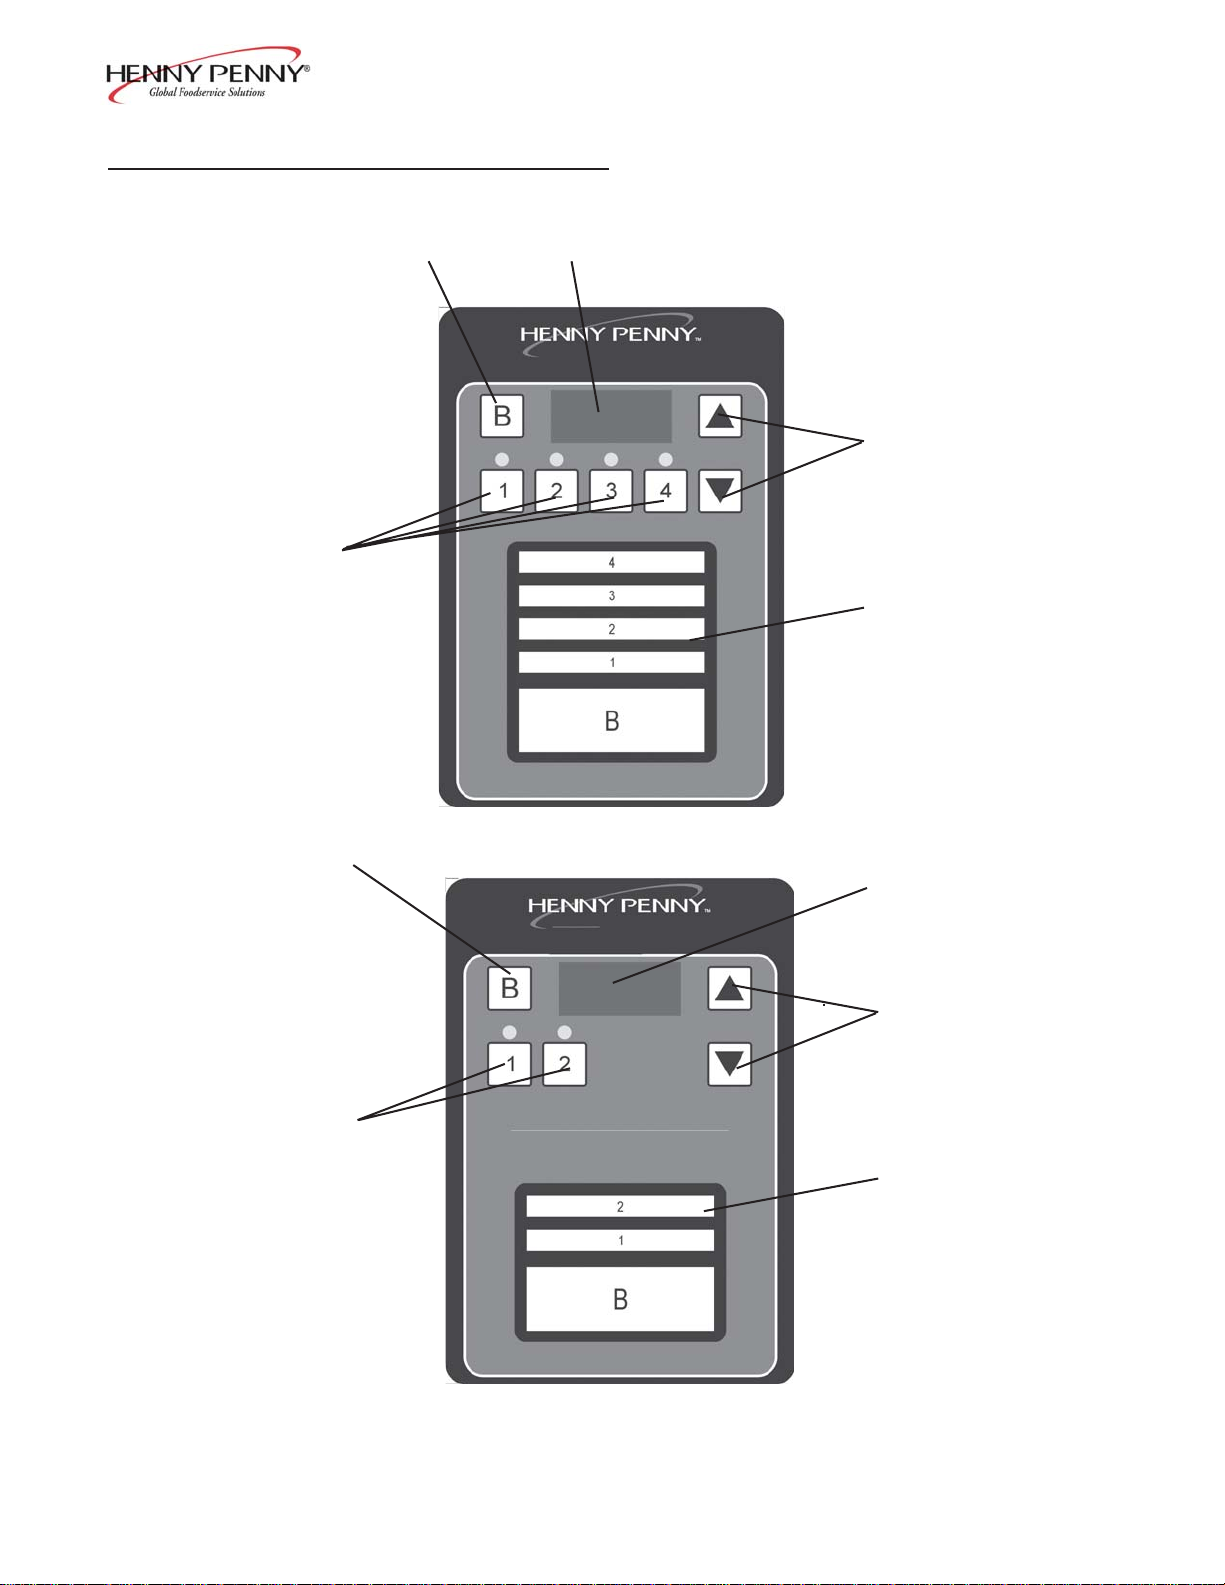
3-2. OPERA TING CONTROLS (Continued)
21
3
Model HEC-103/104/123/124
4
5
HEC-103 & HEC-104
2
1
4
3
5
HEC-123 & HEC-124
705 3-2
Page 3

3-3. ST ART UP
Model HEC-103/104/123/124
Before using the heated express cabinet, thoroughly clean the unit
as described in the Cleaning Procedures Section of this manual.
1. Turn the power switch to the ON position.
2. If the heat values for the shelves have not been set, pull out on one
corner of the bottom front panel, and unsnap it from the unit, to
access the controls.
3. Press and hold and use to set the heat value of the
base (or bottom) shelf. It can be set from “OFF” to a maximum
of “10”.
The upper heat settings read 1, 2, 3, etc. 1 meaning the heat is on
10% of the time, 10 meaning the heat is on 100% of the time.
If “LOC” shows on the display when trying to set the heat value,
this means the controls are locked and the settings cannot be
changed until unlocked in the Special Program Mode.
4. Press and hold each shelf button and use to set the heat
value to each corresponding shelf.
These can be set from “OFF” to a maximum of “10”. Use the
diagram below the buttons to find which button controls which
shelf. Ex: Press and hold to set the bottom shelf heat
value.
A heat value setting of 8 for the base and all shelves is recommended to hold prepackaged whole chickens .
5. Once controls are set, replace front panel by lining up the clips
and firmly snapping them into place.
6. Allow unit to preheat for about 30 minutes.
7. Prepackaged food products can now be placed on each shelf.
All shelf surfaces are hot! Burns could result!
3-3 705
Page 4

Model HEC-103/104/123/124
3-4. OPERA TION WITH
PRODUCT
3-5. CLEANING
PROCEDURES
1. Place the hot, prepackaged product on each of the shelves.
T o assure quality product, stacking prepackaged product is not
recommended.
2. Serve the product first that has been in the cabinet the longest.
1. Turn power switch to OFF .
2. Disconnect the electrical supply to the cabinet.
T o avoid burns, allow the unit to cool before cleaning.
3. Remove all product from the cabinet.
4. Wipe down each shelf with a soft cloth, soap and water .
The panels in the base (bottom shelf) can be removed for more
thorough cleaning. The holes in the center of each panel help in
removing the panels.
5. Clean the exterior of the cabinet with a damp cloth.
6. Clean the side glass with non-streaking liquid glass cleaner and a
soft cloth.. Do not use abrasive cleaners.
Do not use steel wool, other abrasive cleaners or
cleaners/sanitizers containing chlorine, bromine, iodine
or ammonia chemicals, as these will deteriorate the
stainless steel material, shorten the life of the unit, and
scratch the black coating on the side glass.
Do not use a water jet (pressure sprayer) to clean
the unit, or component failure could result.
7. Allow the unit to thoroughly dry before adding more product.
903 3-4
Page 5

Model HEC-103/104/123/124
3-6. SPECIAL PROGRAM
MODE
This mode includes the lock/unlock feature, control initialization, and
testing of the outputs and displays.
1. Turn power switch off.
2. Press and hold both while turning on the power switch.
3. “SP” shows in display , followed by “P=L” or P=U”.
4. Press to either lock (“P=L”) or unlock (“P=U”) the controls.
Locking the controls will not allow anyone to change the heat
values of the shelves until the controls are unlocked.
5. Press .
6. “In” shows in the display. Press and hold or to
re-initialize the controls, which sets all heat settings to “OFF”, or to
factory set parameters. “In3”, “In2”, “In1” shows in the display ,
followed by “In-”, “SyS”, indicating the initialization is complete.
7. Press .
8. “OP” shows in the display . Press and release the shelf buttons (1
to 4) to turn off and on the heat outputs for each shelf. Press and
release to turn off and on the base heat outputs. Press
to turn off and on all displays and outputs.
9. Press and hold to exit Special Program Mode.
Press and hold at any time to exit the Special Program
Mode, or if no buttons are pressed for 1 minute, controls automatically exits Special Program Mode.
3-5 503
 Loading...