

Heatmiser PRT-TS WiFi User Manual

1
Model: PRT-TS WiFi
Model: PRT-TS WiFi
2
Model: PRT-TS WiFi
WiFi Series
1
2
3-4
5-6
7-8
9-11
11-12
13
13
14
15
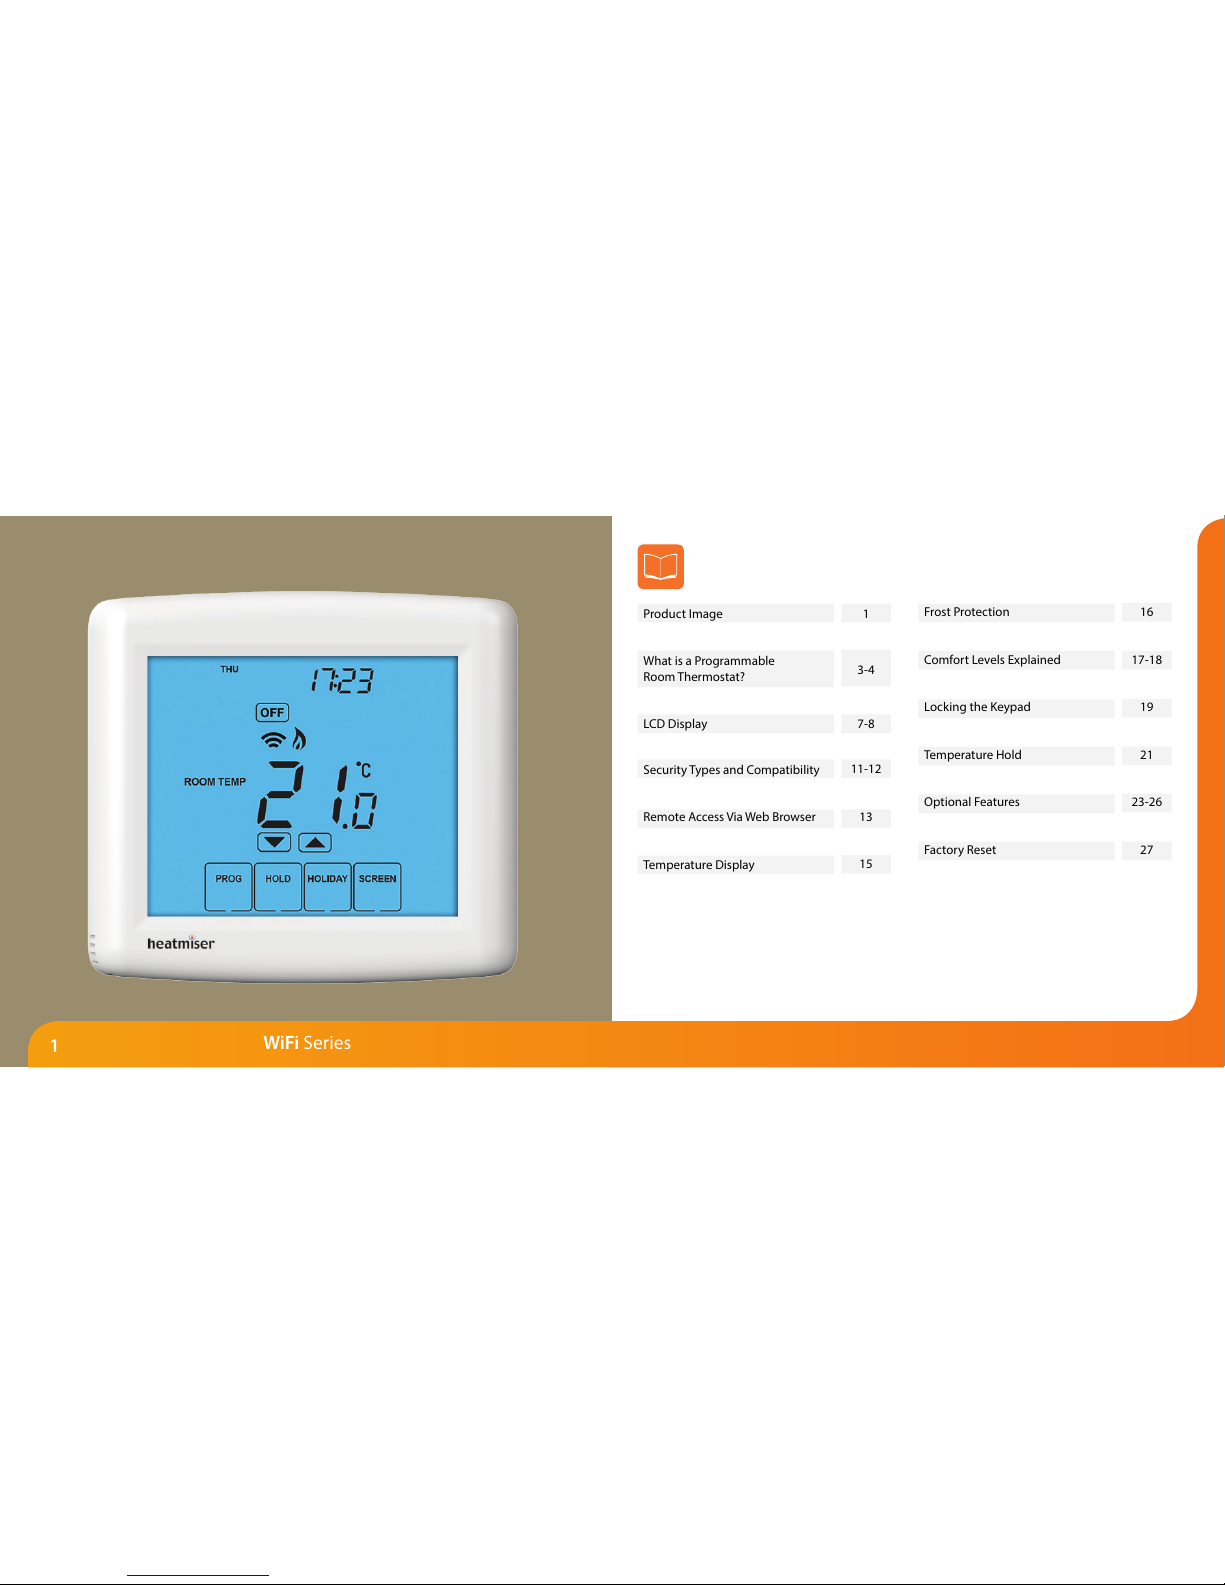
Product Image
Table of Contents
What is a Programmable
Room Thermostat?
Installation Procedure
LCD Display
WiFi Setup
Security Types and Compatibility
Remote Access Via Web App
Remote Access Via Web Browser
Setting the Clock
Temperature Display
16
16
17-18
19
19
20
21
22
23-26
27
27
28-30
Frost Protection
Heating ON/OFF
Comfort Levels Explained
Clean Screen
Locking the Keypad
Temperature Control
Temperature Hold
Holiday Programming
Optional Features
Re-calibrating the Thermostat
Factory Reset
Wiring Diagrams
Model: PRT-TS WiFi
Table Of Contents
2
1
Model: PRT-TS WiFi

43
WiFi Series Model: PRT-TS WiFi
What is a Programmable Room Thermostat?
The best way to do this is to set the room thermostat to a low temperature
– say 18°C , and then turn it up by 1°C each day until you are comfortable with the
temperature. You won’t have to adjust the thermostat further. Any adjustment above
this setting will waste energy and cost you more money.
If your heating system is a boiler with radiators, there will usually be only one
programmable room thermostat to control the whole house. But you can have
dierent temperatures in individual rooms by installing thermostatic radiator valves
(TRVs) on individual radiators.
If you don’t have TRVs, you should choose a temperature that is reasonable for the
whole house. If you do have TRVs, you can choose a slightly higher setting to make
sure that even the coldest room is comfortable, then prevent any overheating in other
rooms by adjusting the TRVs.
You are able to temporarily adjust the heating program by overriding or using the
temperature hold feature. These features are explained further on pages 20 and 21 of
this manual.
Programmable room thermostats need a free ow of air to sense the temperature,
so they must not be covered by curtains or blocked by furniture. Nearby electric
res, televisions, wall or table lamps may also prevent the thermostat from working
properly.
A programmable room thermostat is both a programmer and a room thermostat.
The programmer allows you to set “On” and “O” periods to suit your own lifestyle.
The room thermostat works by sensing the air temperature, switching on the heating
when the air temperature falls below the thermostat setting, and switching it o once
this set temperature has been reached.
So a programmable room thermostat lets you choose what times you want the heating
to be on, and what temperature it should reach while it is on. It will allow you to select
dierent temperatures in your home at dierent times of the day (and days of the week)
to meet your particular needs and preferences.
Setting a room thermostat to a higher temperature will not make the room heat up
any faster. How quickly the room heats up depends on the design & size of the heating
system.
Similarly reducing the temperature setting does not aect how quickly the room cools
down. Setting a programmable room thermostat to a lower temperature will result in the
room being controlled at a lower temperature, and saves energy.
The way to set and use your programmable room thermostat is to nd the lowest
temperature settings that you are comfortable with at the dierent times you have
chosen, and then leave it alone to do its job.
65
WiFi Series Model: PRT-TS WiFi
1
3 4
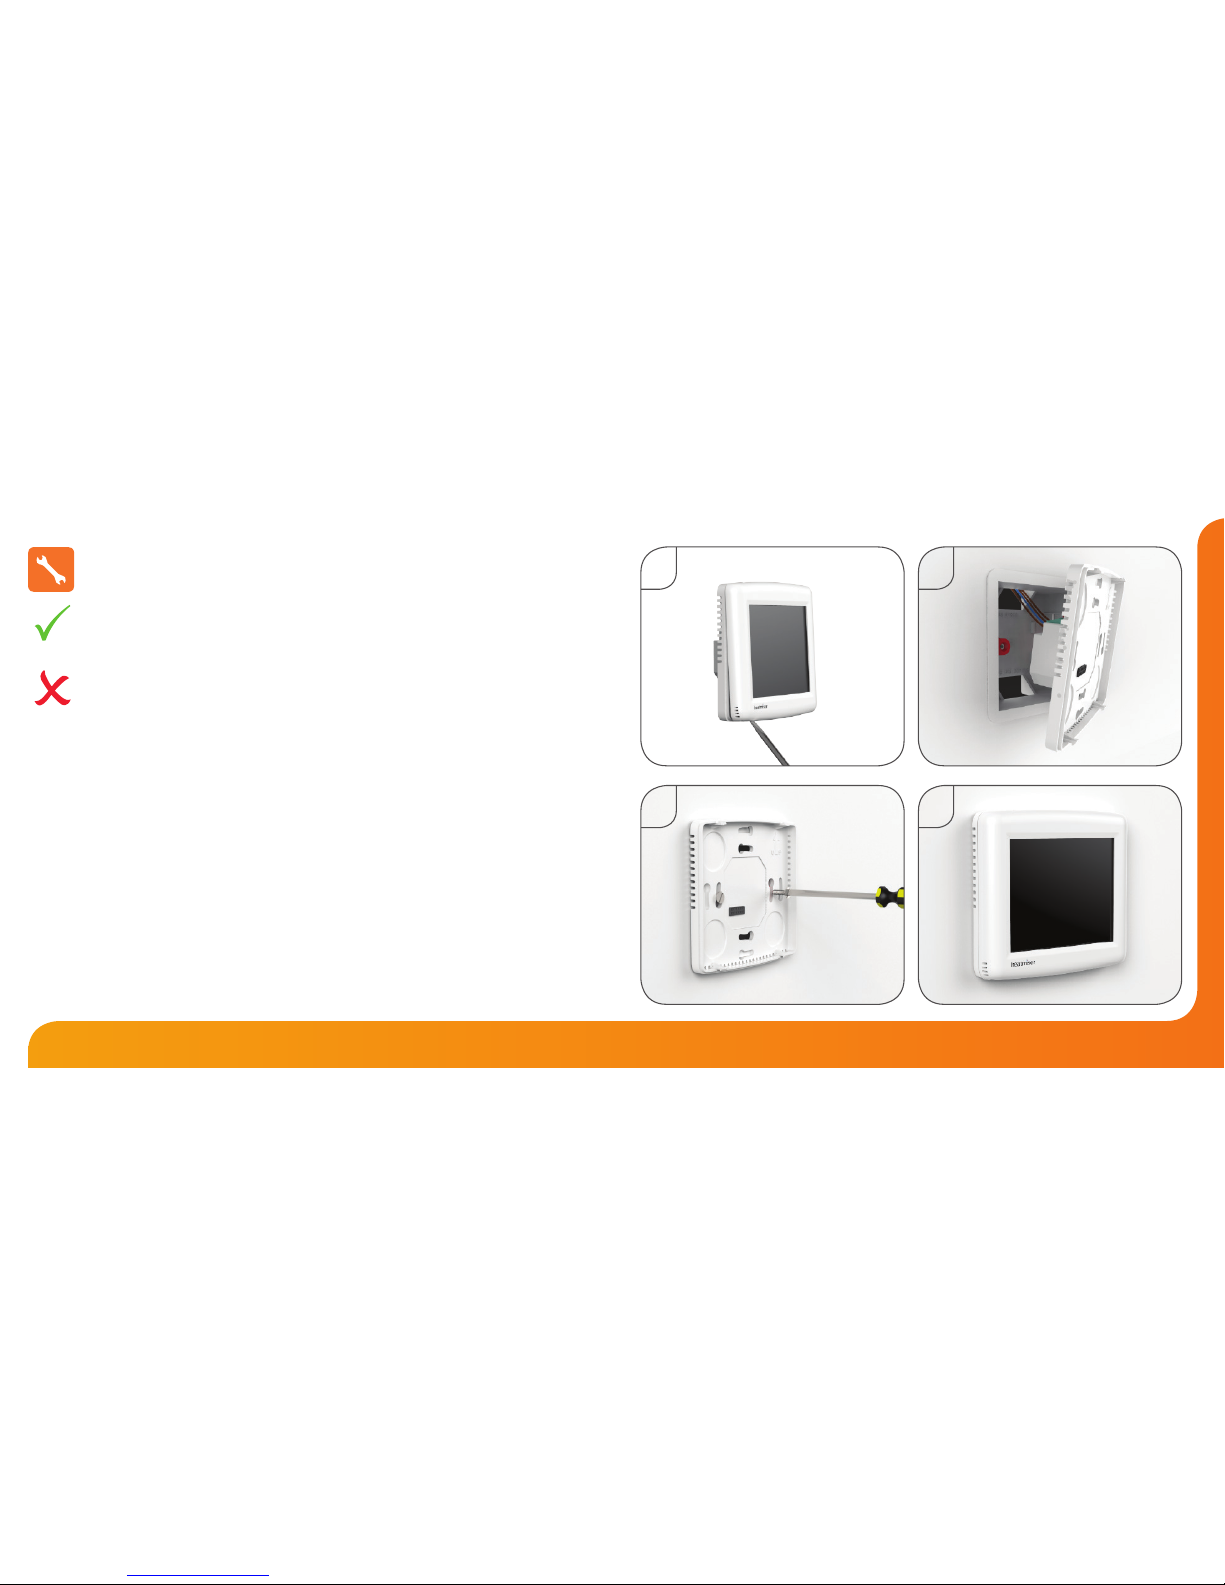
Installation Procedure
This WiFi Series thermostat is designed to be ush mounted and requires a back
box of 35mm (minimum depth) to be sunk into the wall prior to installation.
Step 1
Carefully separate the front half of the thermostat from the back plate by placing a
small at head terminal driver into the slots on the bottom face of the thermostat.
Step 2
Place the thermostat front somewhere safe.
Terminate the thermostat as shown in the diagrams on pages 28-30 of this booklet.
Step 3
Screw the thermostat back plate securely into the back box.
Step 4
Clip the front of the thermostat back onto the thermostat back plate.
Do
Mount the thermostat at eye level.
Read the instructions fully so you get the best from our product.
Don’t
Do not install near to a direct heat source as this will aect functionality.
Do not push hard on the LCD screen as this may cause irreparable damage.
2
87
WiFi Series Model: PRT-TS WiFi
1
4
32
5
9
10
18
17
14
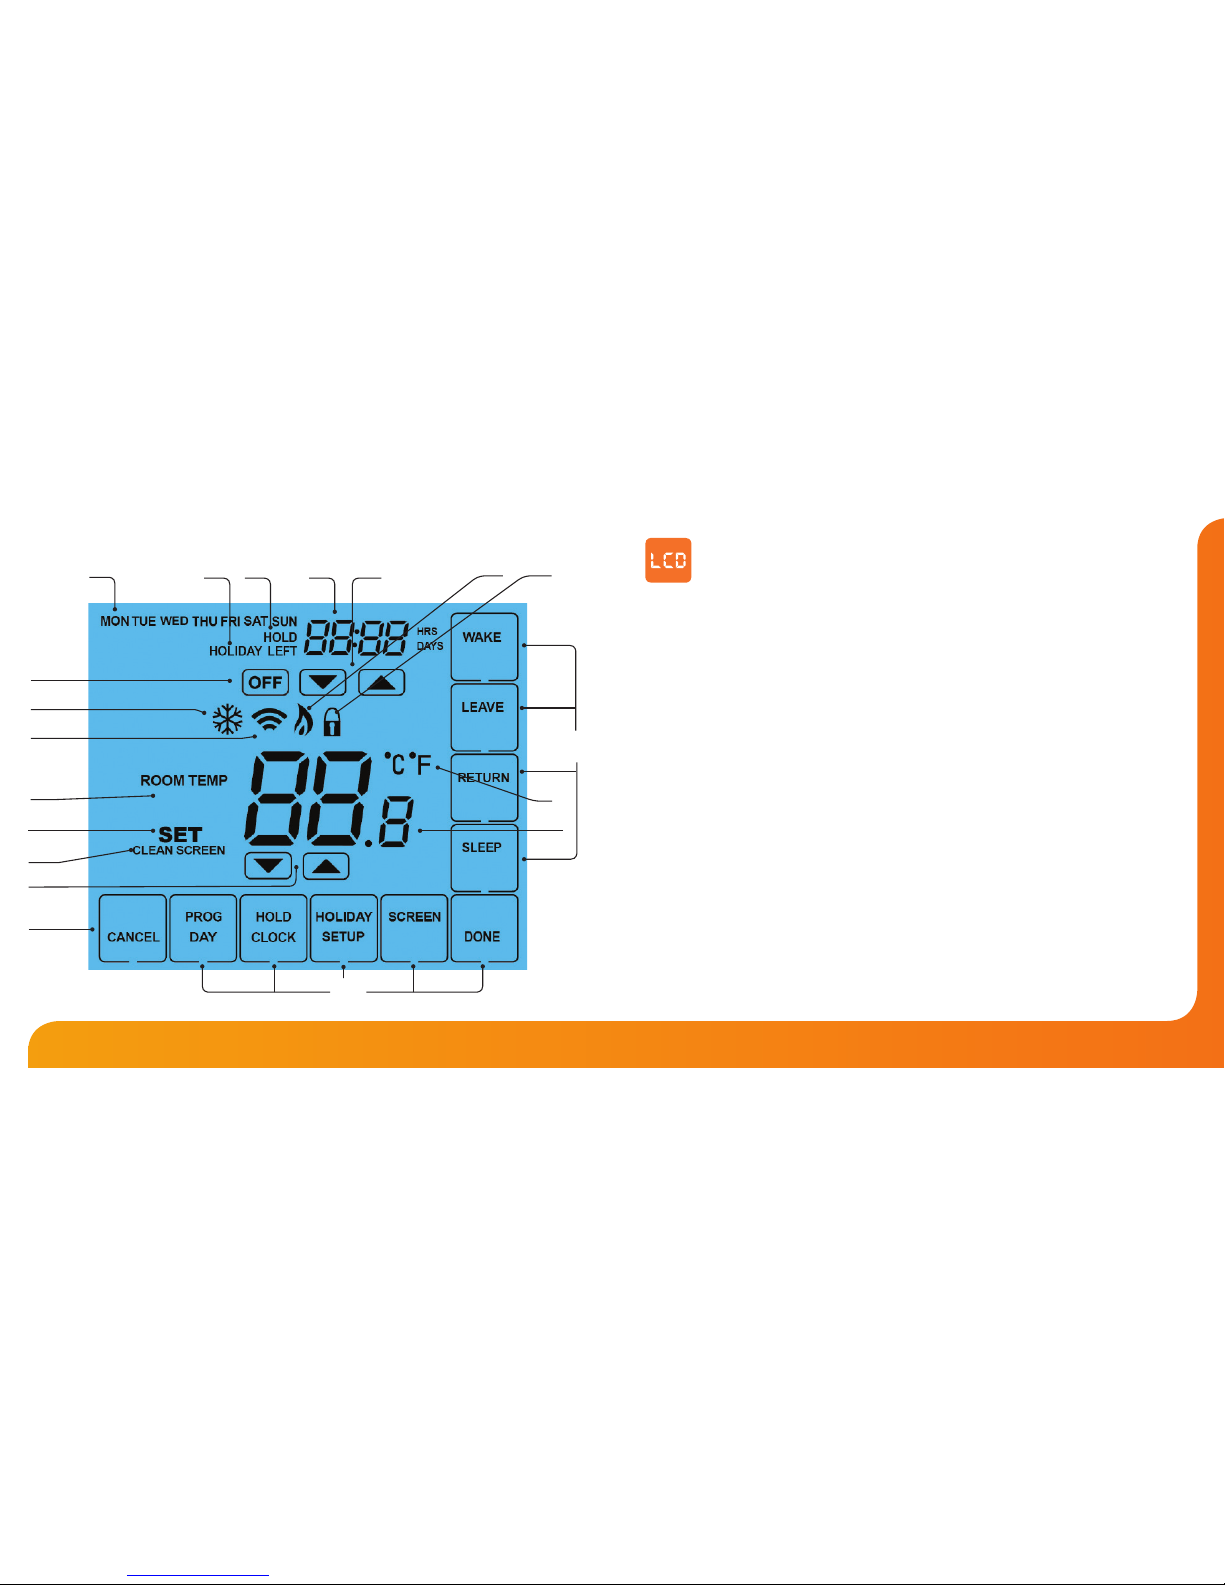
1. Day Indicator - Displays the day.
2. Holiday Indicator - Displayed when the programmer is in Holiday mode.
3. Temperature Hold - Displayed when the programmer is in Hold mode.
4. Clock - Displays time in normal operation, time left in hold or days left in
holiday mode.
5. Up/Down Keys - Increase or decrease values shown on top digit group.
6. Flame Icon - Displayed when the heating is ON and ashes when the Optimum
Start function is in operation.
7. Keypad Lock Icon - Displayed when the keypad is locked.
8. OFF Key - Single press to enable/disable frost protection mode, press and hold to turn
the display o.
9. Frost Icon - Displayed when the thermostat is in frost protection mode.
10. WiFi Icon - Displayed when a WiFi connection is established.
11. Room Temp - Indicates current temperature sensor mode.
12. Set - Indicates when changes are being made to programs or temperature set
points.
13. Clean Screen - Freezes screen temporarily to enable cleaning.
14. Up/Down Keys - Increase or decrease values shown on bottom digit group.
15. Cancel - Used to exit setup/program operations.
16. Setup/Programming Keys - Used to navigate setup options.
17. Current Temp - Indicates the current sensor temperature.
18. Units of Temperature - Degrees Celsius or Fahrenheit.
19. Comfort Level Selection Keys - Used in comfort level setup (see page 17).
LCD Display
6
11
12
13
16
19
7
15
8

109
WiFi Series Model: PRT-TS WiFi
Setting Up Your WiFi Thermostat
Step 1:
Download and install the WiFi thermostat setup utility from our web site:
www.heatmiser.co.uk/wi
Step 2:
Connect the thermostat to your PC with the USB cable provided. This will power the
thermostat through the USB port and will allow you to test the WiFi connection.
Open the setup utility and press Read to view the current thermostat conguration.
Step 3:
Enter the SSID, Security Type and Security Code of your wireless network.
These settings can usually be found on the underside of your wireless router.
For more information please consult your router manual.
See page 11 for additional information on security types and compatibility.
Step 4:
Enter a xed IP address for your WiFi thermostat outside of the router DHCP range.
It is likely that your network will be congured to operate on a DHCP basis.
This means your router automatically issues an IP address to a device that
successfully connects to the network.
Your WiFi thermostat needs a xed IP address in order for local and remote access
to operate and you must set this up manually.
Log into your wireless router and navigate to the LAN settings page.
Find and select the DHCP setup details.
This should dene the IP range that can be assigned to devices connecting to
the network.
As an example, you may have an IP starting range 192.168.1.1 and ending
192.168.1.99. This means you can safely provide your WiFi thermostat the IP
address 192.168.1.100 as no other devices will be assigned this address by the
router.
If your DHCP range is from 192.168.1.1 to 192.168.1.253 you cannot use 254 or
above.
You need to change the DHCP range, taking care not to change any of the rst
3 numbers.
Tip! When setting up an IP address, the rst three sets of numbers must be the
same as the router IP address and the fourth set must not be used elsewhere on the
network.
Step 5:
Enter the Subnet mask for the network.
This information can usually be found on the underside of your wireless router.
Step 6:
Enter the IP address of your gateway and DNS. In most cases, this is the IP
address of your wireless router.
If you have a multi-zone system and are using the Multi-Link, the Gateway of
the thermostat will need to be congured as the IP address of the Multi-Link.
 Loading...