

Heatmiser DT, PRT, PRT-R, PRT/HW, PRT-R2 Operating Instructions Manual
Operating
Instructions
DT, PRT, PRT/HW
PRT-R, PRT-R2
Heatmiser UK Ltd Tel: +44(0)1254 776343
Primrose House www.heatmiser.co.uk
Primrose Street
Darwen
Lancashire
BB3 2DE
Contents
1.Installation
1. The thermostat is flush mount, a back box of
35mm should have been sunk in the wall prior to
installation.
2. The thermostat should be mounted at around
6ft or eye level.
3. Do not install near a direct heat source.
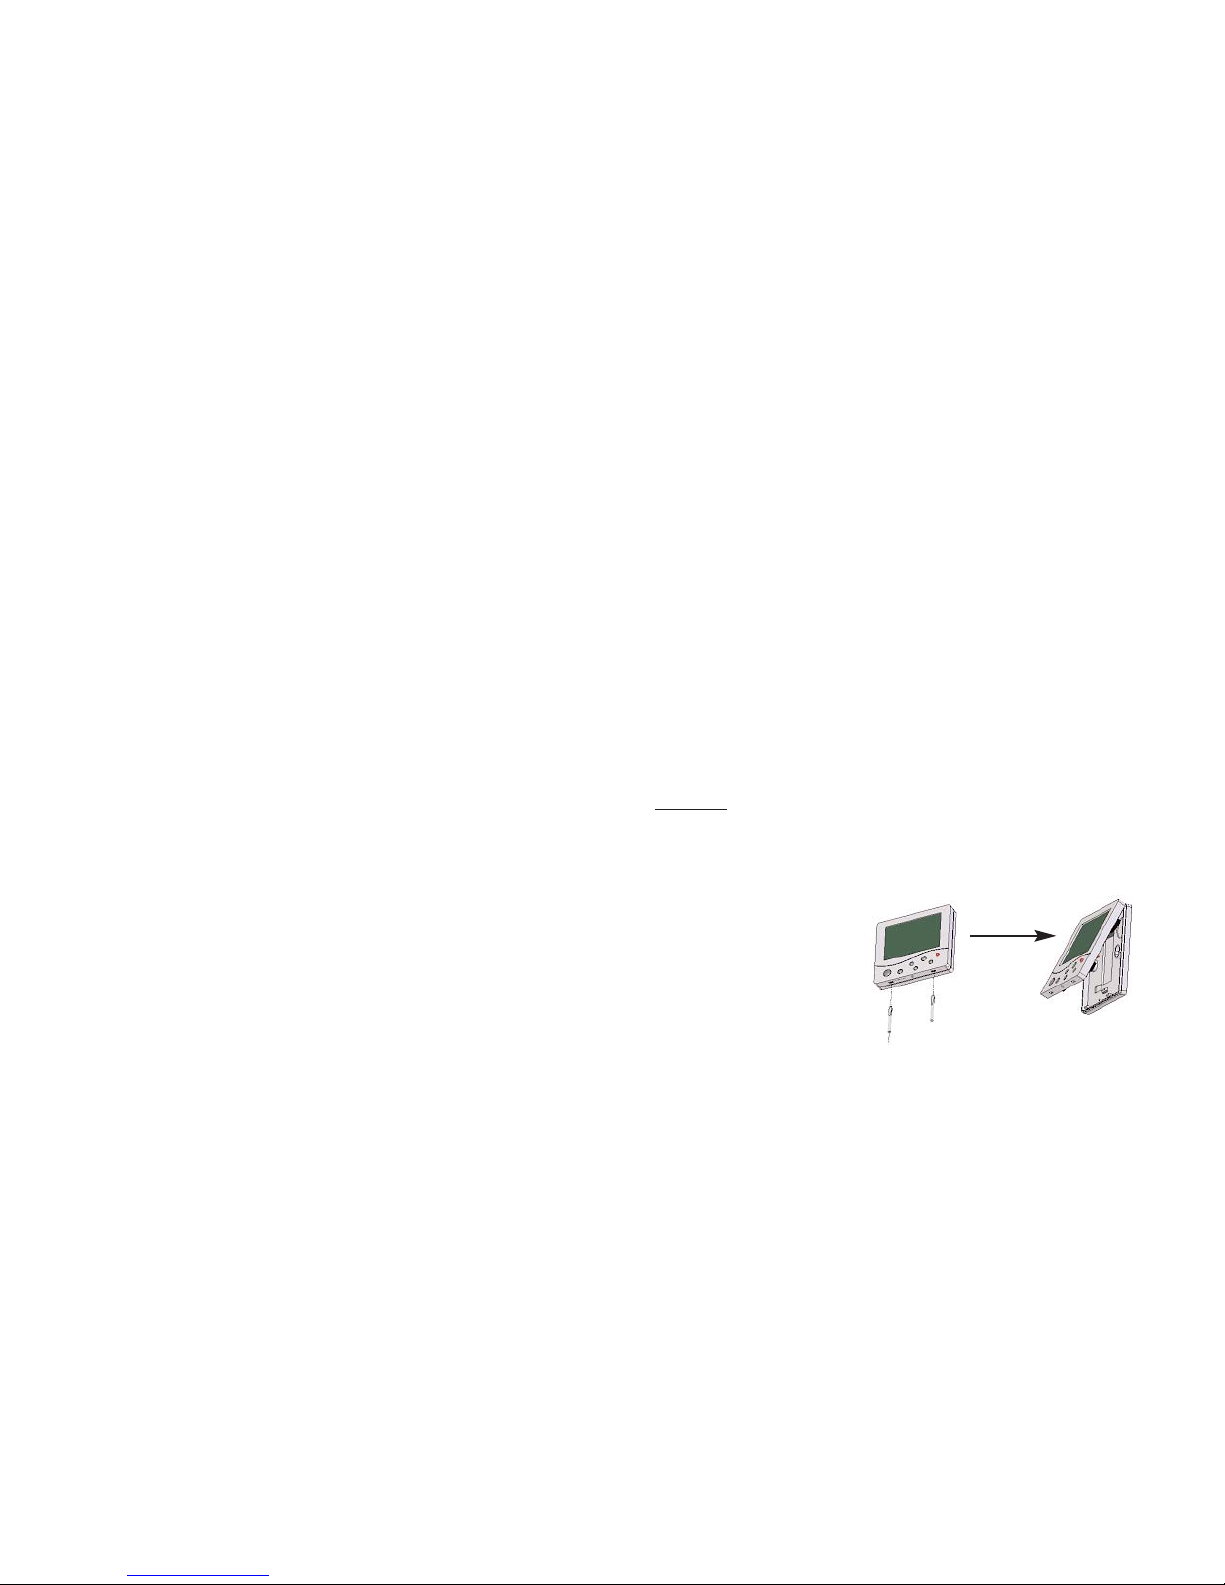
Step 1
Carefully separate the front half of the thermostat
from the back plate by placing a small flat head
terminal driver in to the slots on the bottom face
of the thermostat.
Contents 1
Installation 2-4
Terminology 5-7
Frost protection (Stat off) 8
Temperature calibration 8
Setting the clock 9
Manual heating override 10
Floor limit setting 10
Programming comfort levels 11-12
Programming hot water levels 12
Hot water override 13
Wiring
DT Wiring Diagrams 14-16
PRT Wiring Diagrams 15-20
PRT/HW Wiring Diagrams 21-22
PRT-R Wiring Diagrams 23
PRT-R2 Wiring Diagrams 24
1
2
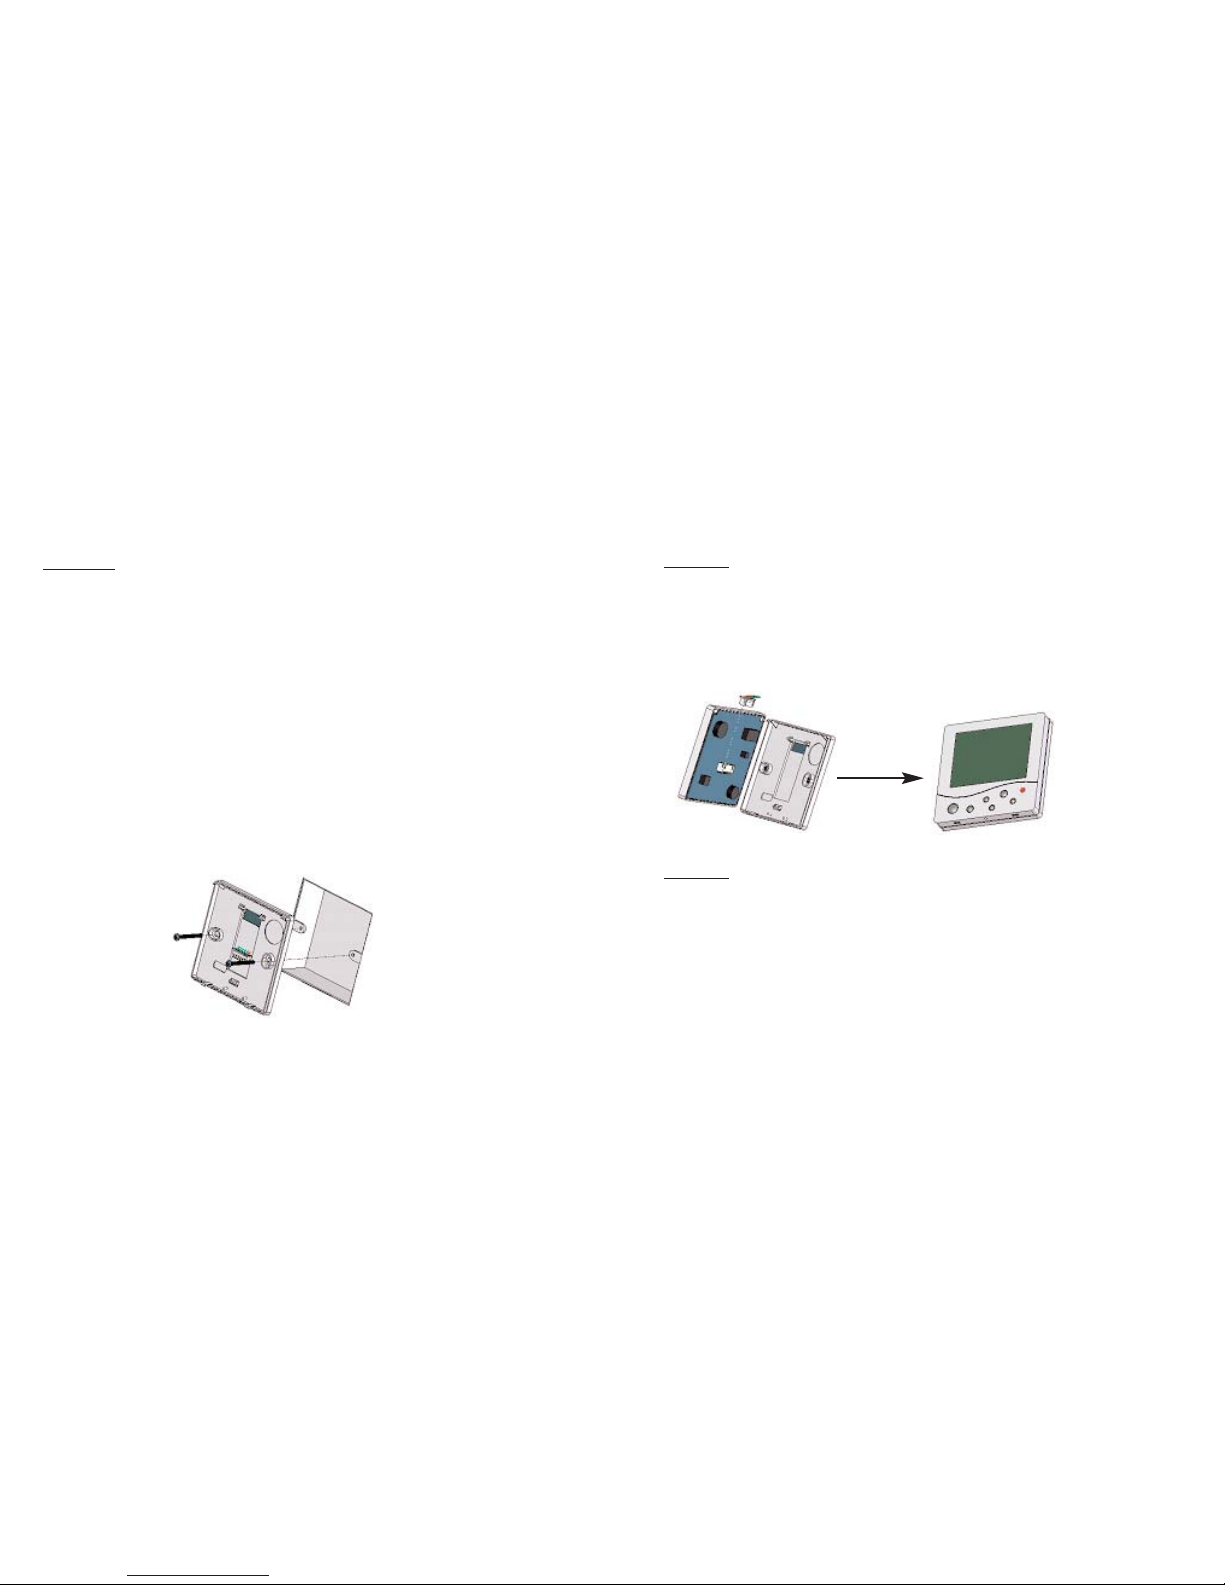
Step 2
Carefully unplug the ribbon connector which is
plugged in to the front half of the thermostat.
Place the thermostat front half somewhere safe.
Terminate the thermostat as shown in the
diagrams at the back of this booklet.
Screw the thermostat back plate on to the back
box.
Step 3
Re-connect the thermostat ribbon cable and clip
the two halves together.
Step 4
Turn on the power to the thermostat and allow
the thermostat to stabilise for 1 hour before
calibrating.
3
4

2.Terminology
Set Temperature
This is the temperature the thermostat is currently
controlling to. At any time, you can press the
Up/Down arrow key and the display will show the
Set Temperature for 30 seconds.
R
T (Room Temperature)
This is the actual room temperature.
Fr
ost Protection ( By pressing “H”)
To protect the fabric of the building, the
thermostat has a “frost protection” facility. Should
the temperature drop below this temperature the
heating will be switched on. On certain models
the frost protection temperature is adjustable.
Temperature Calibrating
When the thermostat is first installed it requires
calibrating. This means taking an accurate
reading from a thermometer and then adjusting
the thermostat to compensate for any difference.
This only needs to be done once and it is
recommended that it is done after the thermostat
has been operating for 1 hour.
Clock
The programmable models in the range have a
built in clock. This is displayed in 24 hr format.
Fr
ost Protection (Thermostat Off)
The thermostat can be made to offer frost
protection even when the thermostat is turned off
by the On/Off button. In order for this to work, this
function must be enabled.
6
5
 Loading...