

Heatmiser IQ+ User Manual
553352
HEATMISER IQ+
NETWORK CONTROL SYSTEM
BASIC NETWORK USER GUIDE
Euro Gas & Mechanical Services (Midlands) Ltd
Trading As PW Maintenance
Unit 5 Image Business Park, East Cannock Rd, Cannock, WS12 1LT.
Tel: 0800 0124668 Fax: 0845 557 8121
Email office@pwmaintenance.co.uk http://www.pwmaintenance.co.uk
Vat Registration Number GB 206 3847 14 Registered In England 09101293

Welcome to the Heatmiser IQ+ Network Control System
First off don’t panic! This may seem very complicated but rest assured, after a couple of times you will realise
that the controller is very easy to work with. Read the instructions first and work out everything before hand
to enter into the system. If you get completely stuck you can always call us for help!
Your heating system has been installed by us with a network system to allow easy operation from a central
control location.
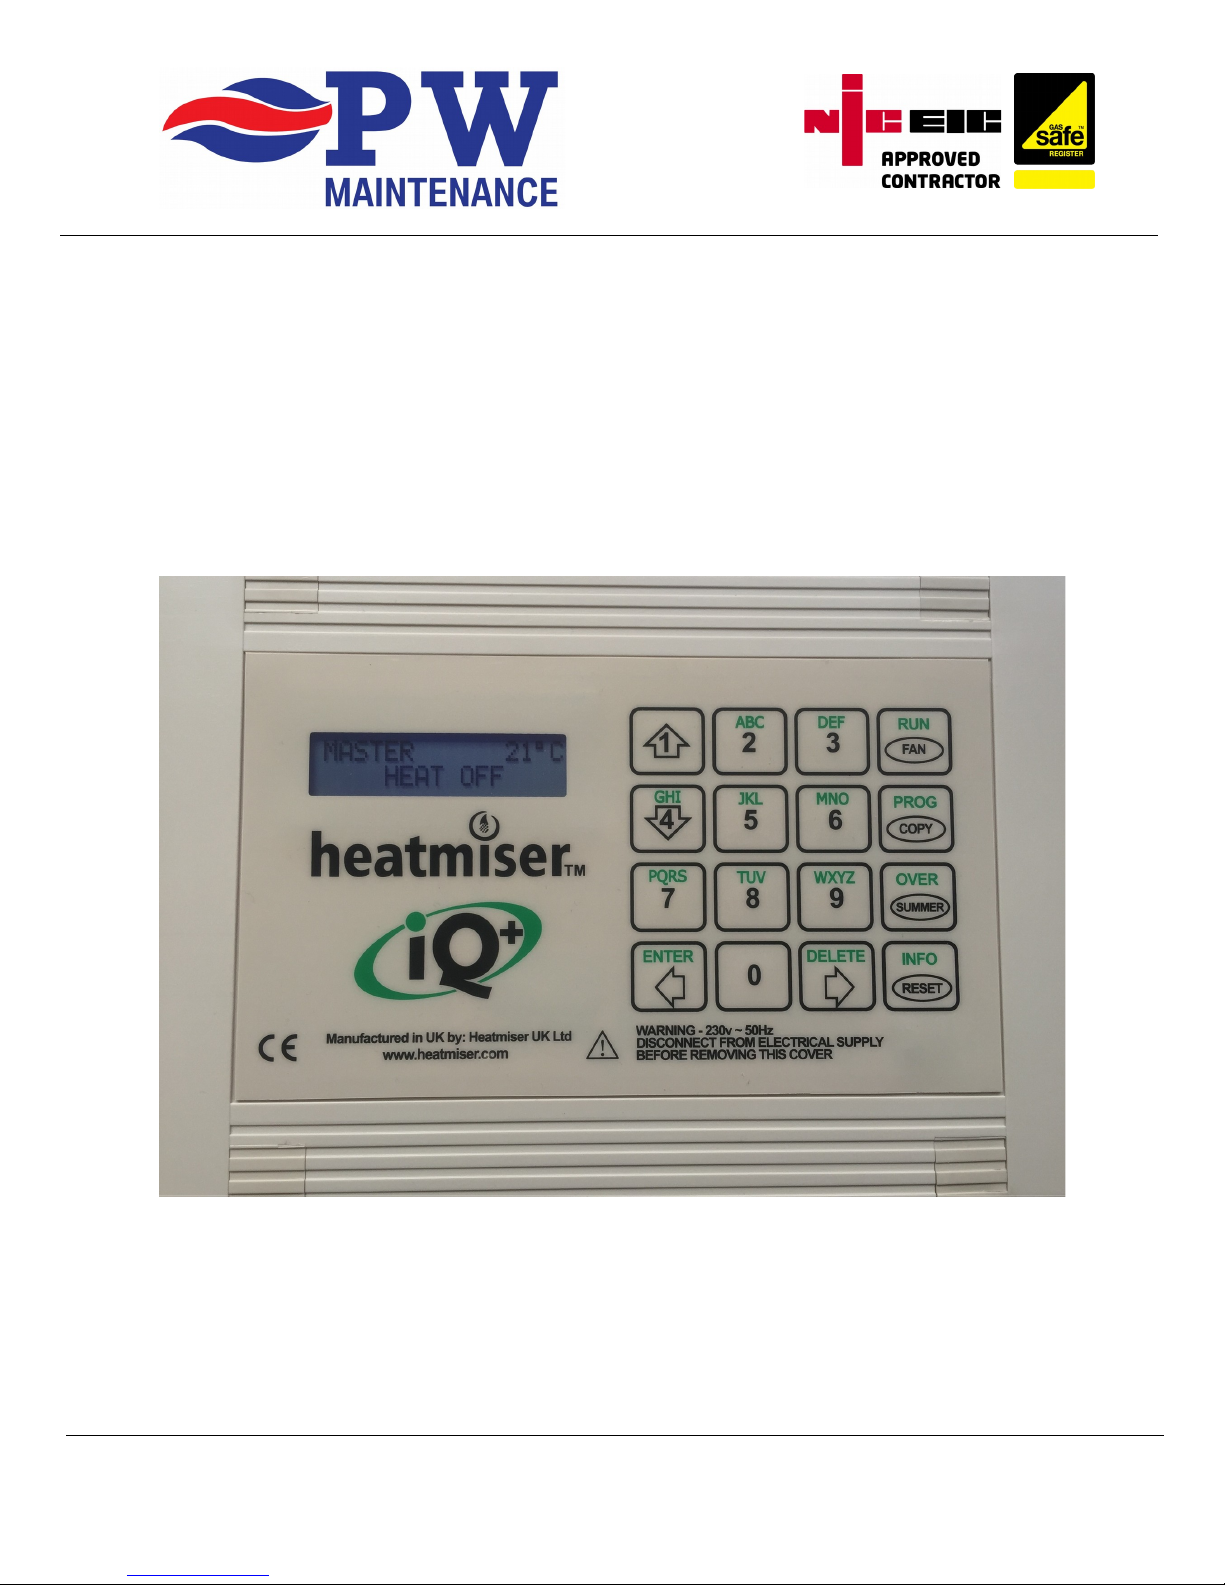
Within the building we will have installed a wall mounted Heatmiser IQ+ at low level. We call this the
MASTER.
Each of the remote heaters will also have a Heatmiser IQ+ unit fitted and wired to them. We call these
SLAVES.
The Master unit is connected to the Slave units using a serial RS485 protocol which is designed for an
industrial / commercial environment. Communications between Master and Slave only occurs when changes
you make are uploaded to a Slave controller.
In the event of the data cabling being damaged, your system will continue to operate normally as the Slave
controllers hold, store and run the program.
The Master unit will communicate with the Slave units and allow you to program them directly, we will show
you how to do this as you work through the guide.
Please note, that the information displayed on the Master unit (Heat On, Heat Off) should be ignored.
This information is irrelevant when used as a Network Master unit.
Getting to know the controller
Familiarise yourself with the layout of the buttons on the keypad.
Some buttons handle multiple tasks, the controller will already know what the button will do depending on
what mode you are in. There are no function or shift keys to worry about.
Make a mental note of the ← and the → arrow keys which are shared with [ENTER] and [DELETE].
The LCD Display is clear and will show the relevant information as you work through the controller.
Programming Modes 1 & 2
There are two separate modes of programming available from the Master controller.
Mode 1 - System Programming such as temperature adjustment, time clock controls.
Mode 2 - User operation such as turning on the main fan, issue lockout reset
Mode 1 is password protected by a network password.
Mode 2 is not password protected and can be used by anyone.
 Loading...