

hatcocorp.com
ADVERTENCIA
Register Online!
(see page 2)
S’inscrire en ligne!
(voir page 13)
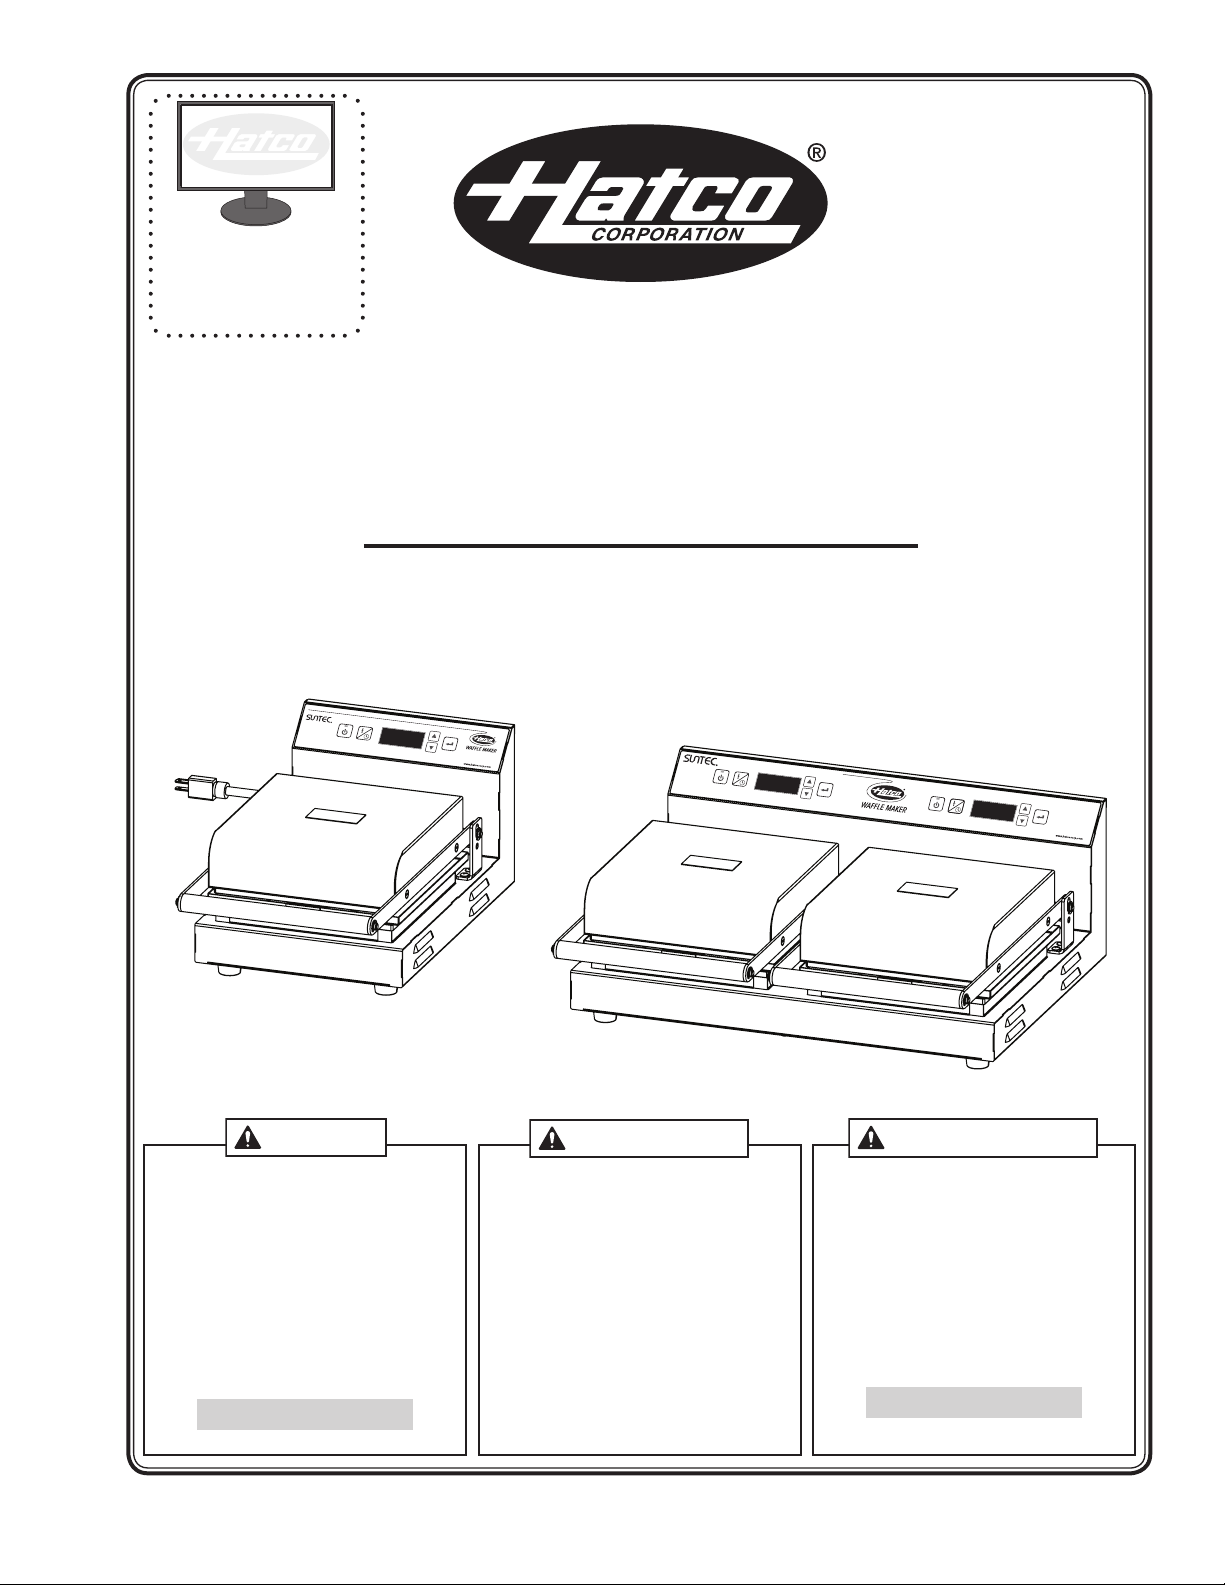
Installation and Operating Manual
Manuel d’installation et d’utilisation
Waffle Makers
Gaufriers
RWM Series • Série RWM
Do not operate this equipment unless you
have read and understood the contents
of this manual! Failure to follow the
instructions contained in this manual
may result in serious injury or death.
This manual contains important safety
information concerning the maintenance,
use, and operation of this product. If
you’re unable to understand the contents
of this manual, please bring it to the
attention of your supervisor. Keep this
manual in a safe location for future
reference.
P/N 07.04.896.00 © 2018 Hatco Corporation
WARNING
English = p 2
No opere este equipo al menos que haya
leído y comprendido el contenido de este
manual! Cualquier falla en el seguimiento
de las instrucciones contenidas en
este manual puede resultar en un serio
lesión o muerte. Este manual contiene
importante información sobre seguridad
concerniente al mantenimiento, uso y
operación de este producto. Si usted
no puede entender el contenido de
este manual por favor pregunte a su
supervisor. Almacenar este manual en
una localización segura para la referencia
futura.
AVERTISSEMENT
Ne pas utiliser cet équipement sans avoir
lu et compris le contenu de ce manuel ! Le
non-respect des instructions contenues
dans ce manuel peut entraîner de
graves blessures ou la mort. Ce manuel
contient des informations importantes
concernant l’entretien, l’utilisation et le
fonctionnement de ce produit. Si vous ne
comprenez pas le contenu de ce manuel,
veuillez le signaler à votre supérieur.
Conservez ce manuel dans un endroit
sûr pour pouvoir vous y référer plus tard.
Français = p 13
WARNING
CAUTION
CONTENTS
English
Important Owner Information .............................................. 2
Introduction ...........................................................................2
Important Safety Information .............................................. 3
Model Description ................................................................4
Model Designation ...............................................................4
Specifications ....................................................................... 5
Plug Configurations ............................................................. 5
Electrical Rating Charts ....................................................... 5
Dimensions .......................................................................... 5
Installation .............................................................................6
General ................................................................................ 6
IMPORTANT OWNER INFORMATION
Record the model number, serial number, voltage, and purchase
date of the unit in the spaces below (specification label located
on the back of the unit). Please have this information available
when calling Hatco for service assistance.
Model No. ________________________________________
Serial No. _________________________________________
Voltage ___________________________________________
Date of Purchase ___________________________________
Register your unit!
Completing online warranty registration will prevent delay in
obtaining warranty coverage. Access the Hatco website at
www.hatcocorp.com, select the Support pull-down menu,
and click on “Warranty”.
Operation ...............................................................................7
General ................................................................................ 7
Control Panel ....................................................................... 7
Operating the Unit ...............................................................7
Changing Between Fahrenheit and Celsius ........................ 9
Adjusting the Temperature Setting ......................................9
Adjusting the Timer Setting .................................................9
Maintenance ........................................................................ 10
General .............................................................................. 10
Daily Cleaning ...................................................................10
Troubleshooting Guide ...................................................... 11
Limited Warranty ................................................................12
Authorized Parts Distributors ........................... Back Cover
Business
Hours: 7:00 am to 5:00 pm Monday–Friday,
Central Time (CT)
(Summer Hours: June to September—
7:00 am to 5:00 pm Monday–Thursday
7:00 am to 4:00 pm Friday)
Telephone: 800-558-0607; 414-671-6350
E-mail: support@hatcocorp.com
24 Hour 7 Day Parts and Service
Assistance available in the United States
and Canada by calling 800-558-0607.
Additional information can be found by visiting our web site at
www.hatcocorp.com.
INTRODUCTION
Hatco Waffle Makers cook continuous, excellent-quality waffles
for commercial kitchens, display cooking locations, and buffets.
The adjustable time and temperature controls enable operators
to cook consistent quality waffles from a variety of different
batters. Exclusive heating elements provide exceptional heat
distribution throughout the entire cooking plate, ensuring the
even cooking of each waffle.
Hatco Waffle Makers are products of extensive research and
field testing. The materials used were selected for maximum
durability, attractive appearance, and optimum performance.
Every unit is inspected and tested thoroughly prior to shipment.
This manual provides installation, safety, and operating
instructions for Waffle Makers. Hatco recommends all
installation, operating, and safety instructions appearing in this
manual be read prior to installation or operation of a unit.
Safety information that appears in this manual is identified by
the following signal word panels:
WARNING indicates a hazardous situation which, if not
avoided, could result in death or serious injury.
CAUTION indicates a hazardous situation which, if not
avoided, could result in minor or moderate injury.
NOTICE
NOTICE is used to address practices not related to
personal injury.
2
Form No. WMM-1118

English
WARNING
WARNING
CAUTION
IMPORTANT SAFETY INFORMATION
Read the following important safety information before using this equipment to avoid serious
injury or death and to avoid damage to equipment or property.
ELECTRIC SHOCK HAZARD:
• Plug unit into a properly grounded electrical receptacle
of the correct voltage, size, and plug configuration. If
plug and receptacle do not match, contact a qualified
electrician to determine and install proper voltage and
size electrical receptacle.
• Turn OFF power switch, unplug power cord, and
allow unit to cool before performing any cleaning,
adjustments, or maintenance.
• Unit is not weatherproof. Locate unit indoors where
ambient air temperature is a minimum of 70°F (21°C).
• DO NOT submerge or saturate with water. Unit is not
waterproof. Do not operate if unit has been submerged
or saturated with water.
• Do not steam clean or use excessive water on unit.
• This unit is not “jet-proof” construction. Do not use jetclean spray to clean this unit.
• Do not clean unit when it is energized or hot.
• Do not allow liquids to spill into unit.
• Do not pull unit by power cord.
• Do not allow power cord to hang over edge of counter.
• Discontinue use if power cord is frayed or worn.
• Do not attempt to repair or replace a damaged power
cord. Cord must be replaced by Hatco, an Authorized
Hatco Service Agent, or a person with similar
qualifications.
• This unit must be serviced by qualified personnel only.
Service by unqualified personnel may lead to electric
shock or burn.
• Use only Genuine Hatco Replacement Parts when
service is required. Failure to use Genuine Hatco
Replacement Parts will void all warranties and may
subject operators of the equipment to hazardous
electrical voltage, resulting in electrical shock or burn.
Genuine Hatco Replacement Parts are specified to
operate safely in the environments in which they are
used. Some aftermarket or generic replacement parts
do not have the characteristics that will allow them to
operate safely in Hatco equipment.
EXPLOSION HAZARD: Do not store or use gasoline or
other flammable vapors or liquids in the vicinity of this or
any other appliance.
Make sure all operators have been instructed on the safe
and proper use of the unit.
This unit is not intended for use by children or persons
with reduced physical, sensory, or mental capabilities.
Ensure proper supervision of children and keep them away
from the unit.
Never leave unit unattended during use.
Do not use unit for any purpose other than for which it is
designed.
FIRE HAZARD:
• Locateunitaminimumof2″(51mm)fromcombustible
walls and materials. If safe distances are not maintained,
discoloration or combustion could occur.
• Do not obstruct air ventilation openings on outer
housing of unit. Unit combustion or malfunction may
occur.
This unit has no “user-serviceable” parts. If service
is required on this unit, contact an Authorized Hatco
Service Agent or contact the Hatco Service Department at
800-558-0607 or 414-671-6350.
BURN HAZARD:
• Some exterior surfaces on unit will get hot. Avoid
unnecessary contact with unit.
• Do not come in contact with cooking plates during
operation. Both plates are very hot.
• Allow unit to cool before performing any cleaning,
adjustments, or maintenance.
Locate unit at proper counter height in an area that is
convenient for use. Location should be level and strong
enough to support weight of unit and contents.
NOTICE
Do not locate unit in an area subject to excessive
temperatures or grease from grills, fryers, etc. Excessive
temperatures and grease could cause damage to unit.
Damage to any countertop material caused by heat
generated from Hatco equipment is not covered under
the Hatco warranty. Contact manufacturer of countertop
material for application information.
For steel surfaces, use non-abrasive cleaners and cloths
only. Abrasive cleaners and cloths could scratch finish of
unit, marring its appearance and making it susceptible to
soil accumulation.
Do not use harsh chemicals such as bleach, cleaners
containing bleach, or oven cleaners to clean this unit.
This unit is intended for commercial use only—NOT for
household use.
Clean unit daily to avoid malfunctions and maintain
sanitary operation.
Form No. WMM-1118
3

MODEL DESCRIPTION
R W M - x x
Round
Waffle Maker
1 = Single Iron
2 = Dual Iron
Waffle Plate Style
No Character = Standard
B = Belgian
RWM-1, RWM-1B
RWM-2, RWM-2B
Handle
Control Panel
Power I/O Switch
(on back)
Drip Tray
All Models
Hatco Waffle Makers consist of an easy-to-clean stainless steel
frame and aluminum cooking plates. The cooking plates are
round, with plates available for either standard or Belgian-style
waffles. The standard cooking plates produce waffles that are
7″ (178 mm) in diameter and 5/8″ (16 mm) thick. The Belgianstyle cooking plates produce waffles that are 7″ (178 mm) in
diameter and 1″ (25 mm) thick.
The units feature a Power I/O (on/off) switch on the back, a
multi-function control panel, and a removable drip tray. All units
are equipped with a factory attached 6′ (1829 mm) power cord
and plug.
RWM-1 and RWM-1B Models
These models are single iron waffle makers with either standard
or belgian-style waffle cooking plates.
RWM-2 and RWM-2B Models
These models are dual iron waffle makers with either standard
or belgian-style waffle cooking plates.
English
MODEL DESIGNATION
Waffle Makers
4
Form No. WMM-1118

English
WARNING
1(0$31(0$3
Front View Side View
C
BA
ED
SPECIFICATIONS
Plug Configurations
Units are supplied from the factory with an electrical cord and
plug. Plugs are supplied according to the application.
ELECTRIC SHOCK HAZARD: Plug unit into a properly
grounded electrical receptacle of the correct voltage,
size, and plug configuration. If plug and receptacle do not
match, contact a qualified electrician to determine and
install proper voltage and size electrical receptacle.
NOTE: Receptacle not supplied by Hatco.
Plug Configurations
Electrical Rating Chart
Model Voltage Watts Amps Plug Configuration Unit Weight
RWM-1
RWM-1B
RWM-2
RWM-2B
* 120 V Canadian units operate at 1800 W and 15 A with a NEMA 5-20P plug configuration.
120 900 7.5 NEMA 5-15P 16 lbs. (7 kg)
120* 1800 15 NEMA 5-15P, NEMA 5-20P 33 lbs. (15 kg)
Dimensions
Model
RWM-1
RWM-1B
RWM-2
RWM-2B
Width
(A)
9-5/8″
(244 mm)
19-5/8″
(498 mm)
Depth
(B)
17-11/16″
(449 mm)
17-11/16″
(449 mm)
Height
(C)
8-1/16″
(204 mm)
8-1/16″
(204 mm)
Footprint
Width (D)
8-1/4″
(209 mm)
18-1/4″
(463 mm)
Footprint
Depth (E)
11-3/16″
(284 mm)
11-3/16″
(284 mm)
Form No. WMM-1118
5

INSTALLATION
WARNING
CAUTION
General
Hatco Waffle Makers are shipped pre-assembled and ready
to use. Care should be taken when unpacking the shipping
carton to avoid damage to the unit. The following installation
procedure must be performed before connecting electricity and
operating the unit.
ELECTRIC SHOCK HAZARD: Unit is not weatherproof.
Locate unit indoors where ambient air temperature is a
minimum of 70°F (21°C).
FIRE HAZARD:
• Locateunitaminimumof2″(51mm)fromcombustible
walls and materials. If safe distances are not maintained,
discoloration or combustion could occur.
• Do not obstruct air ventilation openings on outer
housing of unit. Unit combustion or malfunction may
occur.
1. Inspect the shipping carton for obvious signs of transit
damage. If damaged, inform the freight company
immediately. CAUTION! Stop! Do not attempt to use
unit if damaged. Contact Hatco for assistance.
2. Remove the unit and any loose components/accessories
from the shipping carton. The following loose components
are included in every Waffle Maker
• Cleaning Brush
NOTE: To prevent delay in obtaining warranty coverage,
complete online warranty registration. See the
IMPORTANT OWNER INFORMATION section for
details.
3. Remove tape and protective packaging from all surfaces
of the unit.
• Make sure to remove all protective film from the stainless
steel surfaces.
4. Inspect the unit for freight damage such as dents in
housing or broken handles. If damaged, inform the freight
company immediately. CAUTION! Stop! Do not attempt
to use unit if damaged. Contact Hatco for assistance
English
Locate unit at proper counter height in an area that is
convenient for use. Location should be level and strong
enough to support weight of unit and contents.
NOTICE
Do not locate unit in an area subject to excessive
temperatures or grease from grills, fryers, etc. Excessive
temperatures and grease could cause damage to unit.
Damage to any countertop material caused by heat
generated from Hatco equipment is not covered under
the Hatco warranty. Contact manufacturer of countertop
material for application information.
5. Place the unit in the desired location.
• Locate the unit in an area where the ambient air
temperature is constant and a minimum of 70°F
(21°C). Avoid areas that may be subject to active air
movements or currents (i.e., near exhaust fans/hoods
and air conditioning ducts).
• Make sure the unit is at the proper counter height in an
area convenient for use.
• Make sure the countertop is level and strong enough to
support the weight of the unit and food product.
• Make sure all the feet on the bottom of the unit are
positioned securely on the countertop.
6
Form No. WMM-1118

English
Drip Tray
Installling Drip Tray Drip Tray Installed
Bottom
Cooking
Plate
CAUTION
Power I/O
Switch
LED Display
Time/Temperature Button
Arrow Buttons
Standby Button
Enter Button
OPERATION
General
Hatco Waffle Makers are designed for ease of operation and
versatility. Use the following information and procedures to
operate a waffle maker.
WARNING
Read all safety messages in the IMPORTANT SAFETY
INFORMATION section before operating this equipment.
Control Panel
The following are descriptions of the controls used to operate a
Waffle Maker. Controls are located on the control panel as well
as on the back of the unit.
Power I/O Switch
The Power I/O (on/off) switch controls power to the unit. It is
located on the back of the unit. Use the Power I/O switch for
daily or long-term shutdown of the unit.
LED Display
The LED display shows time, temperature, and error information
for the waffle maker.
Standby Button
The lighted Standby button ( ) toggles the unit between
operating mode and standby mode. Use standby mode for shortterm shutdown of the unit.
• In standby mode, the light will be red.
• In operating mode, the light will be green.
Operating the Unit
Startup
1. Plug the unit into a properly grounded electrical receptacle
of the correct voltage, size, and plug configuration. See the
SPECIFICATIONS section for details.
NOTE: The unit is preset at the factory to a temperature of 385°F
(196°C) and a timer setting of 3:30. The temperature
range of the unit is 220°–425°F (104°–218°C). The
timer setting range of the unit is 0:10–10:00. Refer to
procedures in this section to make adjustments to these
settings.
2. Make sure the drip tray is in position on the bottom cooking
plate.
Installing the Drip Tray (RWM-1 shown)
Time/Temperature Button
The Time/Temperature button ( ) toggles the LED display
through temperature and time settings.
Arrow Buttons
The Arrow buttons ( ) are used to change time and
temperature settings.
• Press the button to increase a time or temperature
setting.
• Press the button to decrease a time or temperature
setting.
Enter Button
The Enter button ( ) starts a cooking cycle and resets the
timer at the end of a cycle.
BURN HAZARD:
• Some exterior surfaces on unit will get hot. Avoid
unnecessary contact with unit.
• Do not come in contact with cooking plates during
operation. Both plates are very hot.
3. Move the Power I/O switch located
on the back of the unit to the “I” (on)
position to turn on power to the unit.
• A beep will sound, the LED
display will flash, and the light on
the button will illuminate from
green to red.
continued...
Form No. WMM-1118
Control Panel
7

OPERATION
Drip Tray
Bottom
Cooking
Plate
Top
Cooking
Plate
Handle
4. Press the button to turn on the waffle maker (operating
mode).
• The button will illuminate green, the LED display
will show the current temperature of the unit, and
preheating will begin.
5. Using the included heat-resistant cooking brush, carefully
apply an oil-based, non-stick shortening evenly onto each
cooking plate. Make sure the shortening makes it to the
bottoms of the grooves in each plate.
6. Close the waffle maker and allow unit to heat for 30
minutes.
• When preheating is complete (approximately 10
minutes), three short beeps will sound and the LED
display will show the current timer setting. Continue to
allow the unit to heat for the full 30 minutes to season
the plates.
7. Open the waffle maker, and spread waffle batter onto
the bottom cooking plate. The amount of batter will
be determined by the type of batter and the size of the
cooking plates.
8. Close the waffle maker, and press the ( ) button to start
the timer.
9. When cooking is complete, several beeps will sound and
the LED display will flash zeros.
• Touch the button to reset the timer.
10. Carefully open the waffle maker and immediately remove
the waffle using a pair of tongs or other appropriate utensil.
11. Discard the waffle.
• The first waffle after startup will soak up excess
shortening, preparing the waffle maker for cooking.
Important Note
Perform the entire “Startup” procedure each time the waffle
maker is turned on. Seasoning the cooking plates and
discarding the first waffle are important steps toward ensuring
quality waffles and non-stick operation.
Cooking Waffles
1. Make sure the “Startup” procedure is complete.
2. Open the waffle maker, and spread waffle batter onto
the bottom cooking plate. The amount of batter will
be determined by the type of batter and the size of the
cooking plates.
3. Close the waffle maker, and press the button to start
the timer.
4. When the cooking cycle is complete, several beeps will
sound and the LED display will flash zeros.
• Touch the button to reset the timer.
5. Carefully open the waffle maker, and immediately remove
the waffle using a pair of tongs or other appropriate utensil.
6. Continue to cook waffles by repeating steps 2–5 of this
procedure.
• If the waffles begin sticking to the cooking plates, spray
the top and bottom cooking plates lightly with an oilbased food release spray. Continue to spray the plates
in between waffles as needed.
English
Waffle Maker in open position (RWM-1 shown)
Standby Shutdown
Use standby shutdown to put the waffle maker in standby mode
during extended periods of non-use.
1. Press the
unit into standby mode. The light will be red.
• The heating elements and LED display will shut down.
Daily Shutdown
Use the following procedure to shutdown the waffle maker at
the end of each day.
1. Press the
unit into standby mode.
2. Move the Power I/O switch located on the back of the unit
to the “O” (off) position to turn off power to the unit.
3. Perform the “Daily Cleaning” procedure in the Maintenance
section of this manual.
button to shut down operation and put the
button to shut down operation and put the
8
Form No. WMM-1118
 Loading...