

Page 1
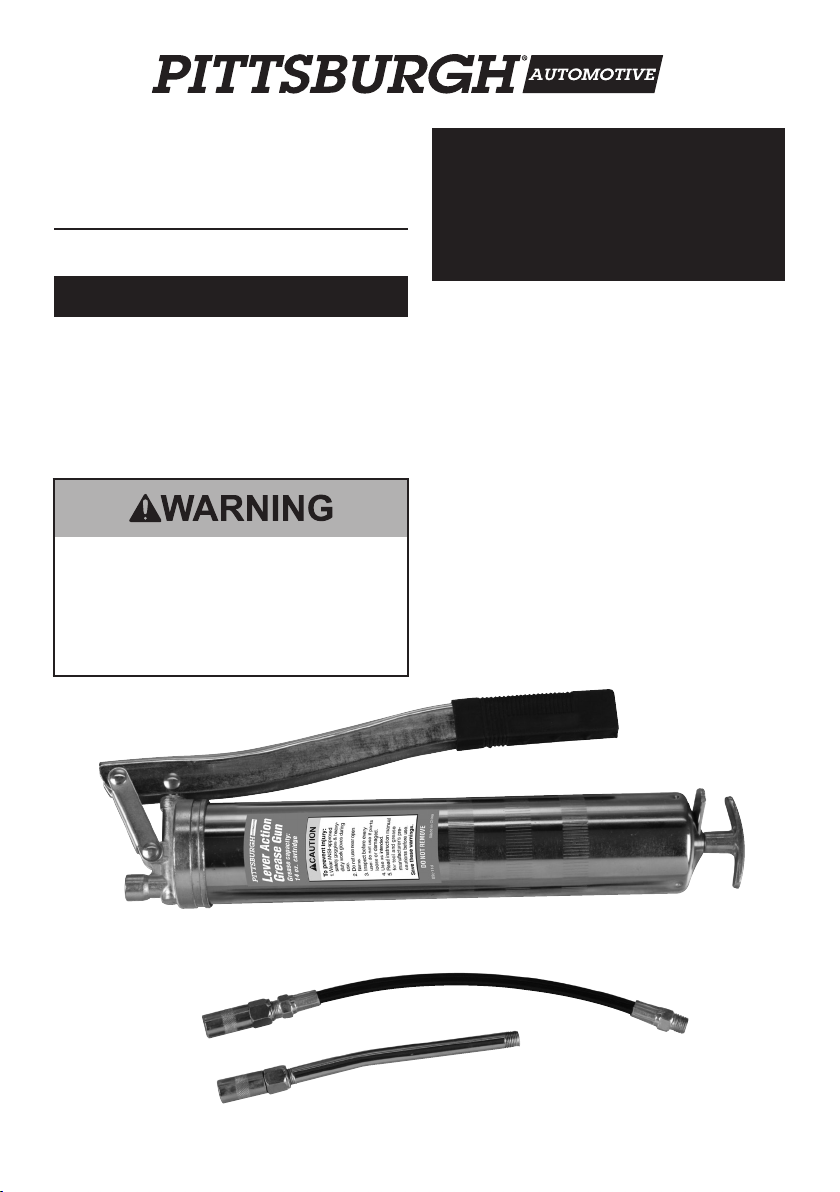
Lever Action
Grease Gun
When unpacking, make sure that the
product is intact and undamaged.
If any parts are missing or broken,
please call 1‑800‑444‑3353
as soon as possible.
01703 Grease Gun
INSTRUCTIONS AND
PRECAUTIONS
Visit our website at:
http://www.harborfreight.com
Read this material before
using this product.
Failure to do so can result
in serious injury.
SAVE THIS MANUAL.
Copyright© 2005 by Harbor Freight Tools®.
All rights reserved. No portion of this document
or any artwork contained herein may be
reproduced in any shape or form without the
express written consent of Harbor Freight Tools.
Diagrams within this document may not be drawn
proportionally. Due to continuing improvements,
actual product may differ slightly from the
product described herein. Tools required for
assembly and service may not be included.
For technical questions or replacement
parts, please call 1‑800‑444‑3353.
Manual Revised 11f
Page 2

Specications
Capacity
Function Method Manual (Piston and Lever)
Extension Pipe 6 IN. Long
Coupler Type 4 Jaw
14 OZ. Standard
Grease Cartridge
Important Safety Information
The warnings, cautions, and instructions
discussed in this instruction manual
cannot cover all possible conditions
and situations that may occur. It must
be understood by the operator that
common sense and caution are factors
which cannot be built into this product,
but must be supplied by the operator.
1. Wear ANSI‑approved safety
goggles and heavy‑duty
work gloves during use.
2. Do not use near open ame.
3. Inspect before every use; do not
use if parts are loose or damaged.
4. Use as intended only.
Do not use Grease Gun to hold or
dispense any other materials.
5. Properly load cartridge before use.
6. Read grease manufacturer’s
cautions before use.
7. Maintain a rm grip on the
tool with both hands.
8. Keep body of Grease Gun dry, clean,
and free from oil and grease.
9. Read and understand all instructions
and safety precautions as outlined
in the manufacturer’s manual for the
vehicle (or object) to be lubricated.
Page 2 For technical questions, please call 1‑800‑444‑3353. SKU 01703
Page 3

10. Keep work area clean.
Cluttered areas invite injuries.
11. Keep children away. Children must
never be allowed in the work area.
12. Store idle equipment. When not
in use, tools must be stored in a dry
location to inhibit rust. Always lock up
tools and keep out of reach of children.
13. Dress properly. Do not wear loose
clothing or jewelry as they can be
caught in moving parts. Wear restrictive
hair covering to contain long hair.
14. Do not overreach. Keep proper
footing and balance at all times.
15. Maintain tools with care.
Follow instructions for lubricating
and changing accessories.
16. Stay alert. Watch what you are
doing, use common sense. Do not
operate any tool when you are tired.
17. Check for damaged parts. Before
using any tool, any part that appears
damaged should be carefully checked
to determine that it will operate
properly and perform its intended
function. Any part that is damaged
should be properly repaired or
replaced by a qualied technician.
18. Replacement parts and accessories.
When servicing, use only identical
replacement parts. Use of any
other parts will void the warranty.
19. Do not operate tool if under the
inuence of alcohol or drugs.
Read warning labels on prescriptions to
determine if your judgment or reexes
are impaired while taking drugs. If there
is any doubt, do not operate the tool.
20. Maintenance. For your safety, service
and maintenance should be performed
regularly by a qualied technician.
Page 3For technical questions, please call 1‑800‑444‑3353.SKU 01703
Page 4

Filling the Grease Gun
Installing Grease Cartridge
Cartridge
Suction Filling
Release
Barrel
Latch
Plunger
Rod
1. Unscrew and remove the head of
the Grease Gun from the Barrel.
2. Remove the rubber plunger (it is for
bulk loading use only). Use a 12mm
wrench to remove the nut, then
carefully pry out the rubber plunger.
It is under spring pressure, so hold
onto it. The plastic disc behind the
plunger is used for grease tubes.
3. Pull the Plunger Rod all the way back
and ensure it is locked in place.
4. Remove both ends from a 14 ounce
grease cartridge (not included), and
insert the cartridge into the Barrel in the
direction indicated on the cartridge.
5. Screw the Head back onto the Barrel.
6. Depress the Release Latch,
and push the Plunger Rod
forward as far as possible.
1. Unscrew and remove the
Head from the Barrel.
2. Insert the open end of the Barrel
into the grease. Slowly pull the
Plunger Rod back while pushing
the Barrel deeper into the grease
to prevent air pockets from
being pulled into the Barrel.
3. When the Plunger Rod is fully
extended, remove the Barrel from
the grease. Wipe the exterior of
the Barrel clean of grease.
4. Then, screw the Head
back onto the Barrel.
5. Depress the Release Latch, and push
the Plunger Rod back into the Barrel.
Page 4 For technical questions, please call 1‑800‑444‑3353. SKU 01703
Page 5

Using a Filler Pump
Lever
Loader
Port
1. Pull back on the Plunger Rod until the
Plunger Rod is extended only halfway.
2. Remove the Loader Cover Screw.
3. Attach the Loader Port of the
Grease Gun to the Filler Valve
on the grease container.
4. Operate the Filler Pump on
the grease container to ll the
Barrel of the Grease Gun.
5. WARNING! Read and understand
all safety warnings and instructions
as outlined in the owner’s
manual of the Filler Pump.
6. When the Plunger Rod automatically
extends about 8 inches out from the
rear of the Barrel, the Barrel is lled.
7. Disconnect the Grease Gun from the
Filler Valve on the grease container.
Then, depress the Release Latch
and push the Plunger Rod forward
into the Barrel as far as possible.
Operating Instructions
Read the ENTIRE IMPORTANT
SAFETY INFORMATION
section at the beginning of
this document including all
text under subheadings
therein before set up or use of
this product.
1. Clean the Grease Gun carefully
and completely with a clean
cloth before each use.
2. Insert the Coupler of the Grease Gun
fully onto the clean grease tting
of the object you are lubricating.
3. With one hand, hold the Barrel securely.
With the other hand, pump the Handle
of the Grease Gun several times or
until a small amount of grease begins
to ow back out of the grease tting.
4. Remove the Coupler from the
grease tting, and wipe any excess
grease from the exterior of the
grease tting and Coupler.
5. When nished, store the Grease
Gun in a clean, dry, safe location
out of reach of children.
Expelling Air Pockets
from the Barrel
NOTE: If the Grease Gun does
not work properly, there may be
air pockets in the Barrel.
1. Unscrew the Head 1‑1/2 turns.
2. Depress the Clamp and slowly push
the Handle forward to the Barrel.
3. After all excess air is expelled from
the Barrel, retighten the Head.
Page 5For technical questions, please call 1‑800‑444‑3353.SKU 01703
Page 6

Maintenance and Servicing
1. Before each use, inspect the general
condition of the Grease Gun.
Check for cracked or damaged parts,
misaligned or binding of moving parts,
leaking connections, and any other
condition that may affect the product’s
safe operation.
If a problem occurs, have the problem
corrected before further use.
Do not use damaged equipment.
2. After every use, dry with a soft cloth,
remove all grease and debris from
the Grease Gun. Do not use solvents
to clean or immerse in any liquids.
3. When storing, keep in a clean, dry and
safe location away from children.
4. CAUTION! All maintenance, service,
and repairs not discussed in this
manual should only be performed
by qualied service technician
Record Serial Number Here:
Note: If product has no serial number,
record month and year of purchase instead.
Page 6 For technical questions, please call 1‑800‑444‑3353. SKU 01703
Page 7

Limited 90 Day Warranty
Harbor Freight Tools Co. makes every
effort to assure that its products meet
high quality and durability standards, and
warrants to the original purchaser that this
product is free from defects in materials
and workmanship for the period of 90 days
from the date of purchase. This warranty
does not apply to damage due directly or
indirectly, to misuse, abuse, negligence or
accidents, repairs or alterations outside
our facilities, criminal activity, improper
installation, normal wear and tear, or to
lack of maintenance. We shall in no event
be liable for death, injuries to persons
or property, or for incidental, contingent,
special or consequential damages arising
from the use of our product. Some states
do not allow the exclusion or limitation
of incidental or consequential damages,
so the above limitation of exclusion may
not apply to you. THIS WARRANTY IS
EXPRESSLY IN LIEU OF ALL OTHER
WARRANTIES, EXPRESS OR IMPLIED,
INCLUDING THE WARRANTIES OF
MERCHANTABILITY AND FITNESS.
To take advantage of this warranty, the
product or part must be returned to us
with transportation charges prepaid. Proof
of purchase date and an explanation
of the complaint must accompany the
merchandise. If our inspection veries
the defect, we will either repair or replace
the product at our election or we may
elect to refund the purchase price if
we cannot readily and quickly provide
you with a replacement. We will return
repaired products at our expense, but if
we determine there is no defect, or that
the defect resulted from causes not within
the scope of our warranty, then you must
bear the cost of returning the product.
This warranty gives you specic legal
rights and you may also have other
rights which vary from state to state.
Page 7For technical questions, please call 1‑800‑444‑3353.SKU 01703
Page 8

3491 Mission Oaks Blvd. • PO Box 6009 • Camarillo, CA 93011 • (800) 444-3353
 Loading...