

Page 1
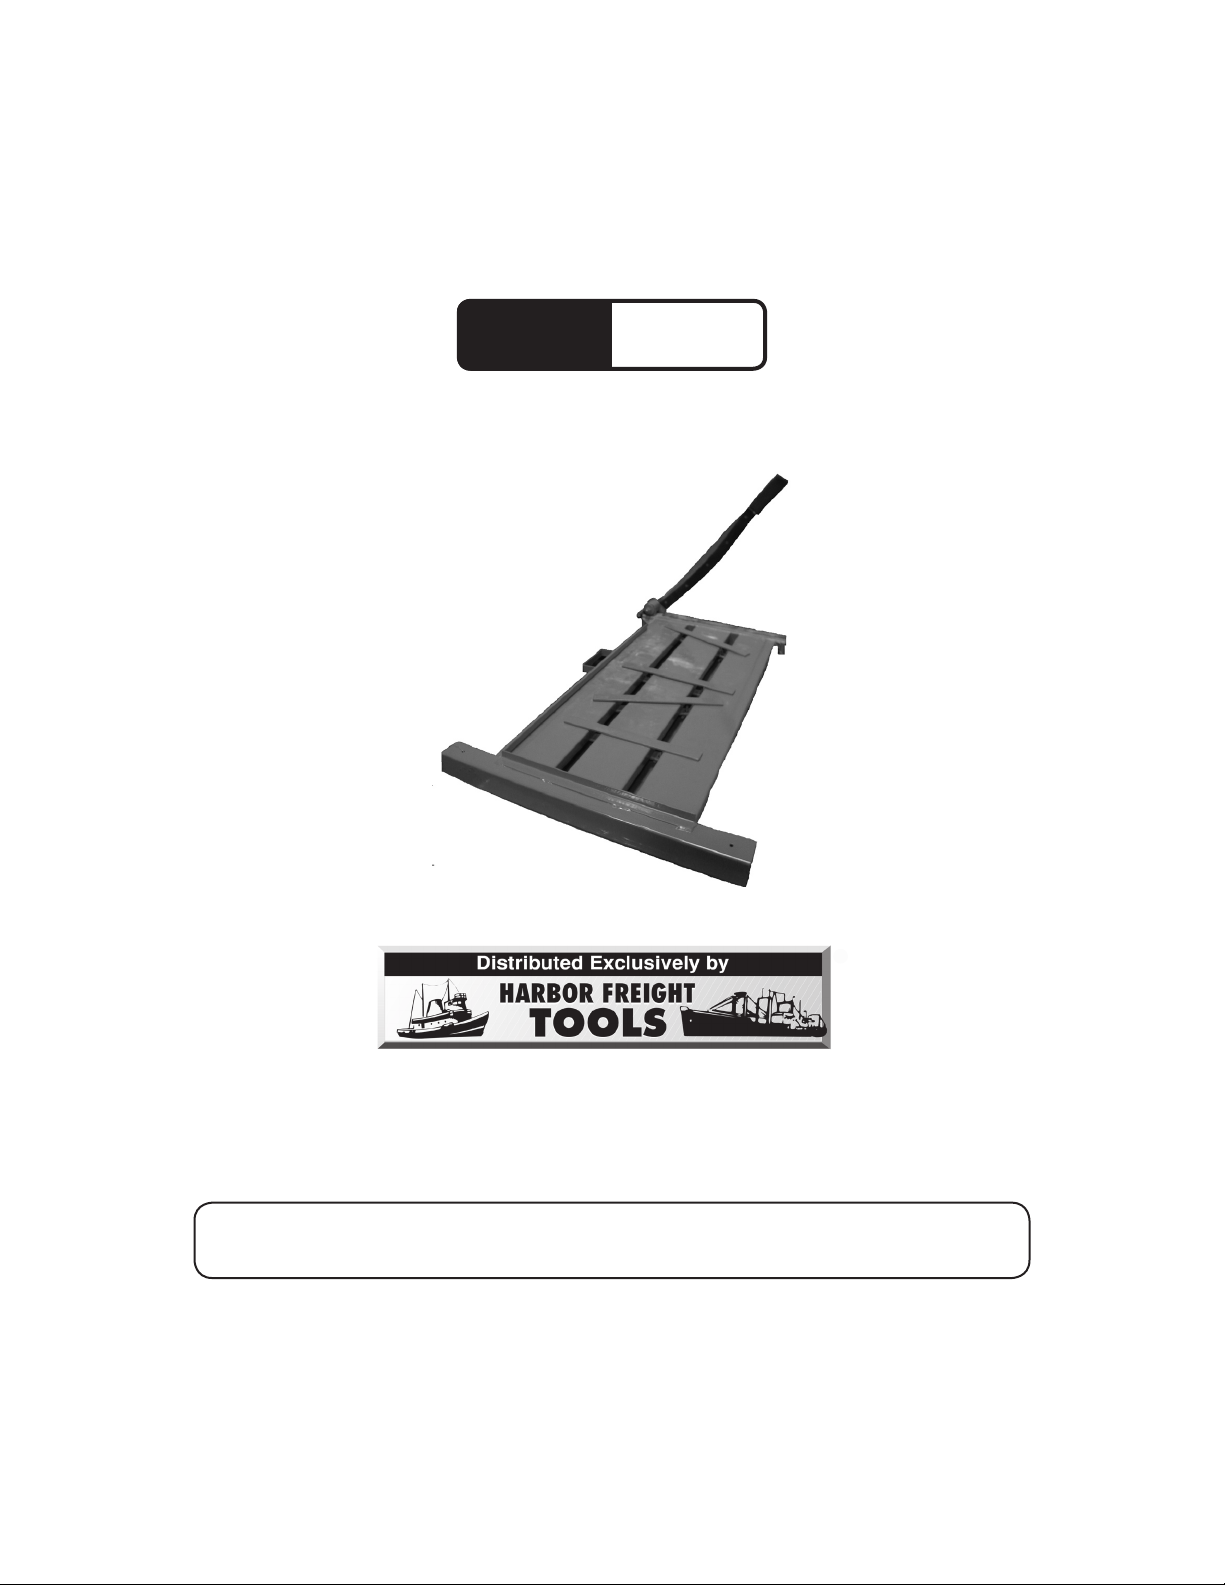
SHINGLE CUTTER
Model
96193
®
OPERATION INSTRUCTIONS
Due to continuing improvements, actual product may differ slightly from the product described herein.
3491 Mission Oaks Blvd., Camarillo, CA 93011
Visit our website at: http://www.harborfreight.com
TO PREVENT SERIOUS INJURY, READ AND UNDERSTAND
ALL WARNINGS AND INSTRUCTIONS BEFORE USE.
Copyright© 2007 by Harbor Freight Tools®. All rights reserved. No portion of this
manual or any artwork contained herein may be reproduced in any shape or form
without the express written consent of Harbor Freight Tools.
For technical questions or replacement parts, please call 1-800-444-3353.
Page 2

SPECIFICATIONS
Material Construction Formed and Stamped Steel Table & Alloy Steel Blade
Dimensions
Weight 28.0 lb.
Overall Handle: 24-9/16” L. x 37-13/16” W. x 4” H.
Table: 15-1/4” L. x 31-15/16” W. x 1” H.
Save This Manual
You will need this manual for the safety warnings and precautions, assembly, operating, inspection, maintenance and cleaning procedures, parts list and assembly diagram.
Keep your invoice with this manual. Write the invoice number on the inside of the front
cover. Write the product’s serial number in the back of the manual near the assembly diagram, or write month and year of purchase if product has no number. Keep this manual
and invoice in a safe and dry place for future reference.
GENERAL SAFETY RULES
WARNING!
1.
2.
1.
2.
READ AND UNDERSTAND ALL INSTRUCTIONS
Failure to follow all instructions listed below may result in
electric shock, fire, and/or serious injury.
SAVE THESE INSTRUCTIONS
WORK AREA
Keep your work area clean and well lit. Cluttered benches and dark areas invite
accidents.
Keep children and visitors away while operating. Distractions can cause you to
lose control. Protect others in the work area from debris such as chips and sparks.
Provide barriers or shields as needed. Keep children away from this product.
PERSONAL SAFETY
Stay alert. Watch what you are doing, and use common sense when operat-
ing the tool. Do not use while tired or under the influence of drugs, alcohol,
or medication. A moment of inattention while operating this tool may result in
serious personal injury.
Dress properly. Do not wear loose clothing or jewelry. Contain long hair.
Keep your hair, clothing, and gloves away from moving parts. Loose clothes,
jewelry, or long hair can be caught in moving parts.
For technical questions, please call 1-800-444-3353.
Page 2SKU 96193
Page 3

3.
Do not overreach. Keep proper footing and balance at all times. Proper footing
and balance enables better control of the power tool in unexpected situations.
4.
1.
2.
3.
4.
Use safety equipment. Always wear ANSI-approved eye protection and dust
mask and heavy-duty work gloves. Nonskid or steel-toe safety shoes, hard hat,
or hearing protection must be used for appropriate conditions. Always wear ANSI-
approved safety goggles and a dust mask/respirator when using or performing
maintenance on this tool.
TOOL USE AND CARE
Do not force the tool. Use the correct tool for your application. The correct
tool will do the job better and safer at the rate for which it is designed. Do not force
the tool and do not use the tool for a purpose for which it is not intended.
Store idle tools out of reach of children and other untrained persons. Tools
are dangerous in the hands of untrained users.
Maintain tools with care. Keep blade and striker plate sharp and clean.
Properly maintained tools with a sharp cutting edge are less likely to bind and are
easier to control. Do not use a damaged tool. Tag damaged tools “Do not use”
until repaired.
Check for misalignment or binding of moving parts, breakage of parts, and any
other condition that may affect the tool’s operation. If damaged, have the tool
serviced before using. Many accidents are caused by poorly maintained tools.
1.
2.
1.
2.
SERVICE
Tool service must be performed only by qualified repair personnel. Service or
maintenance performed by unqualified personnel could result in a risk of injury.
When servicing a tool, use only identical replacement parts. Follow instruc-
tions in the “Inspection, Maintenance, And Cleaning” section of this manual.
Use of unauthorized parts or failure to follow maintenance instructions may create
a risk of electric shock or injury.
SPECIFIC SAFETY RULES
Maintain labels and nameplates on the tool. These carry important information.
If unreadable or missing, contact Harbor Freight Tools for a replacement.
WARNING: Some dust created by power sanding, cutting, grinding, drilling,
and other construction activities, contains chemicals known [to the State of
California] to cause cancer, birth defects or other reproductive harm. Some
examples of these chemicals are:
Lead from lead-based paints
For technical questions, please call 1-800-444-3353.
Page 3SKU 96193
Page 4

Crystalline silica from bricks and cement or other masonry products
Arsenic and chromium from chemically treated lumber
Your risk from these exposures varies, depending on how often you do this type of
work. To reduce your exposure to these chemicals: work in a well ventilated area,
and work with approved safety equipment, such as those dust masks that are spe-
cially designed to filter out microscopic particles. (California Health & Safety Code
§ 25249.5, et seq.)
3.
4.
Never operate Universal Shingle Cutter without guard in place.
The Universal Shingle Cutter is designed to cut relatively soft roofing materials
only, such as fiberglass or asphalt-based shingles. The Universal Shingle Cut-
ter should not be used to cut hardwood, metal, slate or other roofing materials.
UNPACKING
When unpacking, check to make sure that the item is intact and undamaged. If any
parts are missing or broken, please call Harbor Freight Tools at the number shown on the
cover of this manual as soon as possible.
OPERATING INSTRUCTIONS
1.
2.
3.
Decide on the length of shingles and desired angle of cut needed for the project.
Adjust the guides on the table to reflect the angle and size of the cut. Tighten the
wing nuts on the guides (underneath the table) to secure guides in place.
Release the Safety Latch and raise the blade, aligning the shingle with the guides on
the Shingle Cutter Table. The gritty top surface of the shingle should be facing up.
Note: For best results, shingle should be warm to achieve the straightest and most even
cut. If necessary, lay shingles in the sun for a short time to warm them up.
4.
Hold shingle by pressing down in the center of the shingle with your left hand. Grip
Blade Handle in right hand and make a brisk and firm downward stroke with it. Keep
inward pressure towards the striker plate. Keep hand and fingers clear of Blade
while cutting the shingle.
Sharpening
1.
2.
The Blade of the Universal Shingle Cutter should be kept clean and sharp.
The blade can be sharpened with a file while still connected to the unit or removed
and sharpened by an angle grinder (see Removing Blade). The blade should be
sharpened at a 15 degree angle for best results.
Removing Blade:
For technical questions, please call 1-800-444-3353.
Page 4SKU 96193
Page 5

Unscrew both nuts at pivot end of Blade.
•
Slide Blade out of pivot housing to replace or sharpen.
•
INSPECTION, MAINTENANCE, AND CLEANING
1.
2.
3.
4.
BEFORE EACH USE, inspect the general condition of the tool. Check for loose
screws, misalignment or binding of moving parts, cracked or broken parts, dam-
aged electrical wiring, and any other condition that may affect its safe operation. If
abnormal noise or vibration occurs, have the problem corrected before further use.
Do not use damaged equipment.
Keep blade and and striker plate sharp and clean for better, safer performance.
If blade or striker plate become dull or coated with asphalt or granules from shingles,
clean with file and/or tar remover (not included).
Sharpen Blade when performance decreases. If shingles tear when being cut or
cut edge is ragged, blade should be sharpened.
Periodically clean and lubricate pivot joint.
PLEASE READ THE FOLLOWING CAREFULLY
THE MANUFACTURER AND/OR DISTRIBUTOR HAS PROVIDED THE PARTS LIST AND ASSEMBLY DIAGRAM IN THIS MANUAL AS A REFERENCE TOOL ONLY. NEITHER THE MANUFACTURER
OR DISTRIBUTOR MAKES ANY REPRESENTATION OR WARRANTY OF ANY KIND TO THE BUYER
THAT HE OR SHE IS QUALIFIED TO MAKE ANY REPAIRS TO THE PRODUCT, OR THAT HE OR
SHE IS QUALIFIED TO REPLACE ANY PARTS OF THE PRODUCT. IN FACT, THE MANUFACTURER
AND/OR DISTRIBUTOR EXPRESSLY STATES THAT ALL REPAIRS AND PARTS REPLACEMENTS
SHOULD BE UNDERTAKEN BY CERTIFIED AND LICENSED TECHNICIANS, AND NOT BY THE
BUYER. THE BUYER ASSUMES ALL RISK AND LIABILITY ARISING OUT OF HIS OR HER REPAIRS
TO THE ORIGINAL PRODUCT OR REPLACEMENT PARTS THERETO, OR ARISING OUT OF HIS
OR HER INSTALLATION OF REPLACEMENT PARTS THERETO.
For technical questions, please call 1-800-444-3353.
Page 5SKU 96193
Page 6

PARTS LIST
Part Part Description QTY
1 Work Table
2 Handle
3 Upper blade
4 Under blade
5 Grip
6 Upper locking bar
7 Under Locking Bar
8 Wing Nut M6
1
1
1
1
1
4
4
8
ASSEMBLY DIAGRAM
Part Part Description QTY
9 Washer 6
10 Nut
11 Washer
12 Bearing
13 Washer
14 Phillip Screw M5×15
15 Nut M5
8
2
1
2
1
9
9
Record Product’s Serial Number Here:
Note: If product has no serial number, record month and year of purchase instead.
Note: Some parts are listed and shown for illustration purposes only, and are not available
individually as replacement parts.
For technical questions, please call 1-800-444-3353.
Page 6SKU 96193
 Loading...