

Page 1
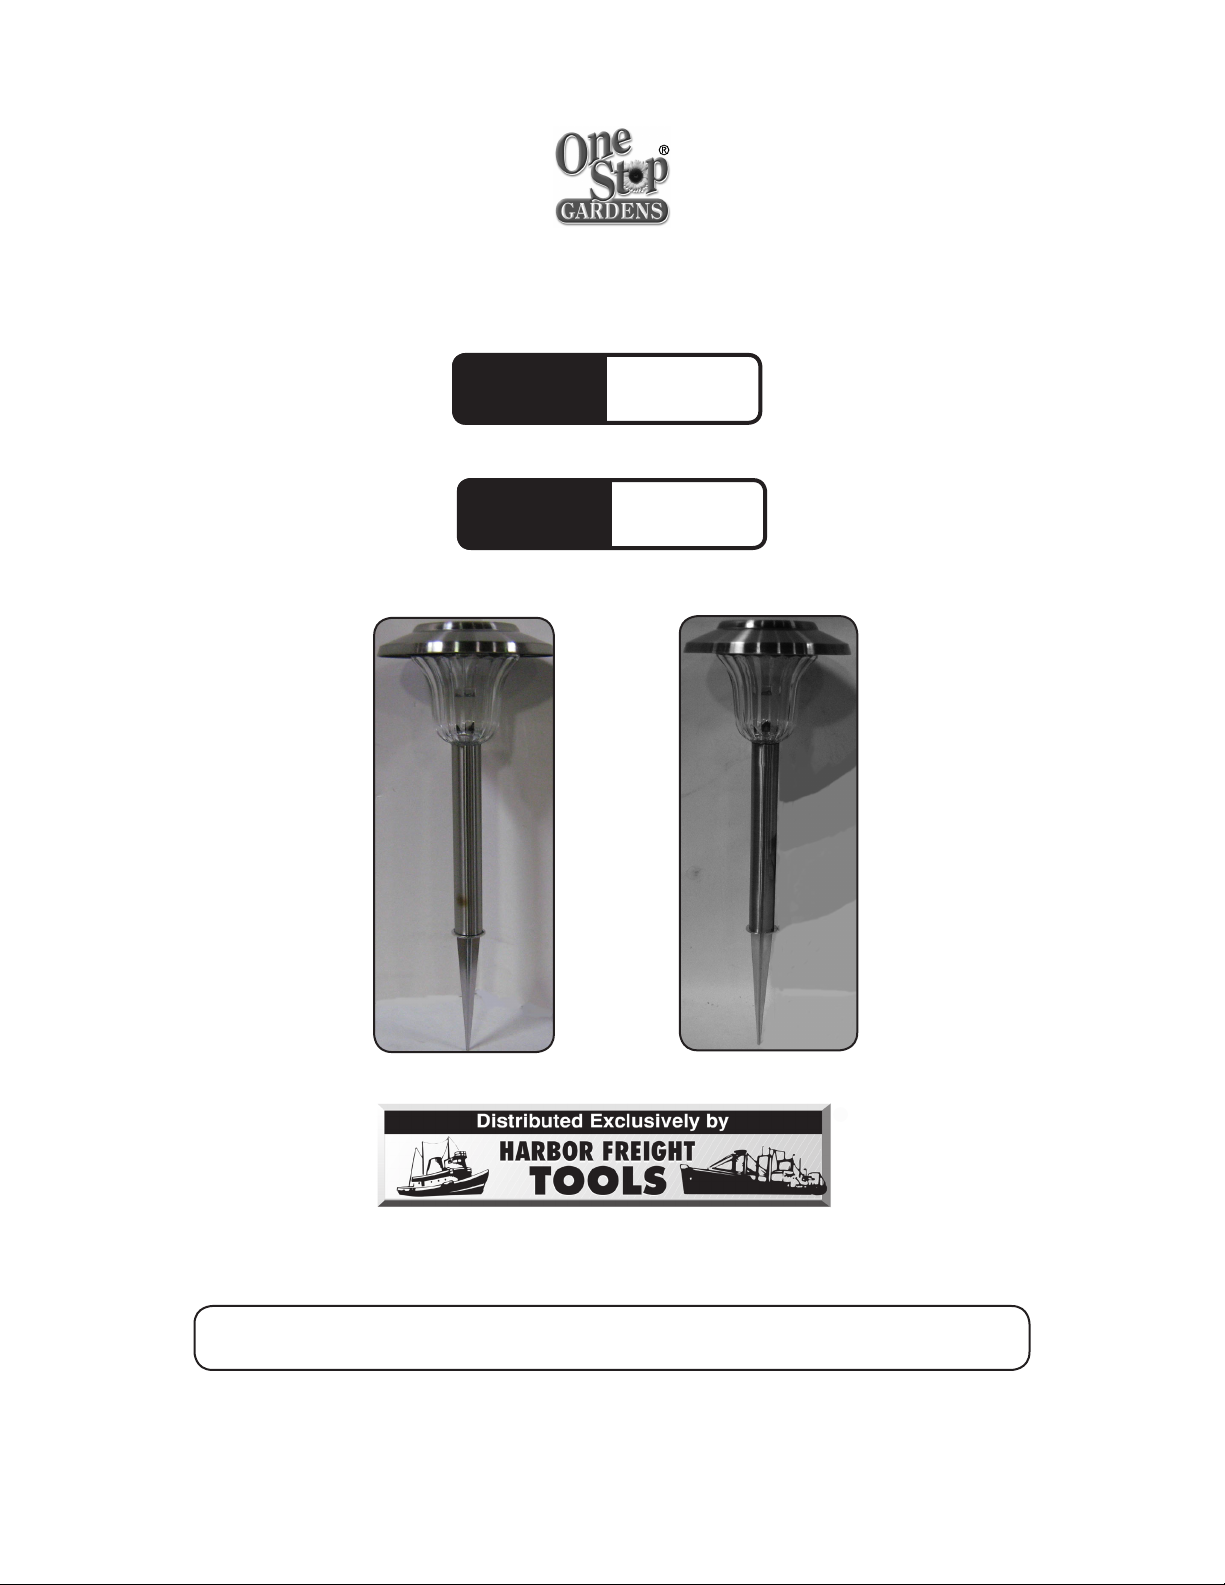
SOLAR LIGHT
Model
95682
®
Model
95681
(STAINLESS STEEL FINISH)
(COPPER FINISH)
ASSEMBLY AND OPERATION INSTRUCTIONS
Due to continuing improvements, actual product may differ slightly from the product described herein.
3491 Mission Oaks Blvd., Camarillo, CA 93011
Visit our website at: http://www.harborfreight.com
TO PREVENT SERIOUS INJURY, READ AND UNDERSTAND ALL WARNINGS
AND INSTRUCTIONS BEFORE USE.
Copyright© 2006 by Harbor Freight Tools®. All rights reserved. No portion of this
manual or any artwork contained herein may be reproduced in any shape or form
without the express written consent of Harbor Freight Tools.
For technical questions or replacement parts, please call 1-800-444-3353.
Page 2
SPECIFICATIONS
Material Stainless steel, polystyrene, LED
bulbs, glass, aluminum
Dimensions Light Fixture: 6-5/8” dia. x 6-1/8” L
Reflector: 1-1/2” dia. X 1” H
Tube: 8-1/2” L x 1-1/8” dia.
Spike: 7-3/8” L x 1-3/8” dia.
Total installed height: 13-7/8” from
ground to top of fixture
Solar Panel Dimensions
Batteries 2 Ni-Cd, “AA”, 1.2V, 600 mAh
Weight
Please note: Models 95681 and 95682 have identical
dimensions and features except for the copper finish on the
95682 model. The warnings and operating instructions listed in
this manual apply to both models.
Save This Manual
You will need this manual for the safety warnings and precautions, assembly, operating, inspection, maintenance and cleaning procedures, parts list and assembly diagram.
Keep your invoice with this manual. Keep this manual and invoice in a safe and dry place
for future reference.
3-3/8” dia.
rechargeable
1.05 Lbs.
1.
2.
3.
GENERAL SAFETY RULES
WARNING!
READ AND UNDERSTAND ALL INSTRUCTIONS
Failure to follow all instructions listed below may result in
electric shock, fire, and/or serious injury.
SAVE THESE INSTRUCTIONS
Keep your work area clean and well lit. Cluttered benches and dark areas invite
accidents.
Keep bystanders, children, and visitors away while assembling and operating
this product. Keep children out of the work area. This product is not a toy; keep
children away from this Solar Light.
Stay alert. Watch what you are doing and use common sense when assem-
bling and operating the Solar Light. A moment of inattention while operating this
product may result in serious personal injury.
For technical questions, please call 1-800-444-3353.
Page 2SKU 95681, 95682
Page 3

4.
Dress properly. Do not wear loose clothing or jewelry. Contain long hair. Do
not overreach. Keep proper footing and balance at all times.
5.
6.
7.
8.
9.
10.
Use safety equipment. Always wear eye protection. Always wear ANSI-approved
safety goggles when setting up and performing maintenance on this product.
Do not force the product. Use the correct product for your application. The
correct product will do the job better and safer at the rate for which it is designed. Do
not force the product and do not use it for a purpose for which it is not intended.
Do not use this product if the Power Switch does not turn a light on or off.
Any product that cannot be controlled with the Power Switch is dangerous and must
be replaced.
Store idle products out of reach of children and other untrained persons. This
product is dangerous in the hands of untrained users.
Use only accessories that are recommended by the manufacturer for your
model. Accessories that may be suitable for one product may become hazardous
when used on another product.
When servicing a product, use only identical replacement parts. Follow
instructions in the “Inspection, Maintenance, And Cleaning” section of this
manual. Use of unauthorized parts or failure to follow maintenance instructions
may create a risk of electric shock or injury.
11.
12.
13.
14.
15.
Maintain labels and nameplates on the product. These carry important informa-
tion. If unreadable or missing, contact Harbor Freight Tools for a replacement.
Maintain a safe working environment. Make sure there is adequate surrounding
workspace. Do not use this product in a damp or wet location.
Keep the Solar Panel free of dirt, dust and grime. Dust covering the Solar
Panel will block out sunlight causing a decrease or stoppage of efficiency in
recharging the battery.
Make sure the area where you wish to install the Solar Light is free of any
underground wires or cables.
WARNING: Ni-Cd batteries must be disposed of properly. Do not incinerate.
The battery may burst, causing personal injury and/or property damage. Contact
your local hazardous waste disposal authority for proper disposal.
For technical questions, please call 1-800-444-3353.
Page 3SKU 95681, 95682
Page 4

UNPACKING
When unpacking, make sure the item is undamaged. If any parts are missing or
broken, call Harbor Freight Tools at the number shown on the cover of this manual.
ASSEMBLY AND OPERATING INSTRUCTIONS
1.
2.
3.
4.
WARNING! Make sure the Power Switch of the product is in its “OFF” position
before making any adjustments to the product. The Power Switch is located under
the Light Head (1). Also remove all plastic films from the solar panels before use.
The light comes with four main parts. These are the Light Head (1), the Tube (2)
Glass Shade (3) and Stake (4). See Figure 1.
Stake (4)
Tube (2)
Glass Shade (3)
Light Head (1)
Figure 1
Decide where you want to place the Solar Light. Choose a location that receives
full, direct sunlight for a minimum of six hours a day. During initial charging, set the
Power Switch located under the Light Head (1) to “ON”.
The Solar Light will need to charge for at least 8-12 hours before using it for the
first time. During the day, the Solar Panel on the Light Head (1) converts sunlight
into electricity, recharging the batteries. The amount of light received depends on
placement of the Solar Light, geographic location and weather. If the weather is
cloudy and the panel did not receive a full charge, the Solar Light may not run for
the full 10 hours. It will catch up after six hours of direct sun.
5.
6.
7.
8.
To assemble the Solar Light, slide the top of the Glass Shade (3) along the grooves
under the Light Head (1) until the two pieces lock into place.
Attach the Tube (2) to the bottom of the Glass Shade (3). Then insert the top of the
Stake (4) into the bottom of the Tube (2).
Push the Stake (4) directly into the ground. Make certain that the path of the Stake
(4) is clear of any underground wires or cables.
Turn the Power Switch under the Light Head (1) to “ON.” Turn the Power Switch to
“OFF” to turn off the light and before replacing the batteries.
For technical questions, please call 1-800-444-3353.
Page 4SKU 95681, 95682
Page 5

REPLACING THE BATTERIES
1.
2.
You should replace the two rechargeable batteries every 12 months.
Turn the Power Switch to “OFF”. Slide the Light Head (1) free of the Glass Shade
(3). Lie the Light Head (1) top-down and open the two battery compartments. See
Figure 2.
3.
Remove and properly recycle the old batteries. Make certain that the new batteries
are Ni-Cd (“AA”, 1.2V, 600 mAh) rechargeable.
4.
Install the new batteries into the Battery Compartment. Make certain that the batteries are placed according to the correct polarity. See Figure 2.
Battery Compartment
Battery Cover
Figure 2
Battery Cover
Power Switch
Light Head (1)
5.
1.
2.
3.
Replace the battery covers and reassemble the Light Head and Glass Shade.
INSPECTION, MAINTENANCE AND CLEANING
Clean regularly with a damp towel. Do not use solvent for cleaning. Do not put too
much pressure on the Solar Panel or accessories while cleaning. Dry thoroughly.
WARNING! Make sure the Power Switch is in its “OFF” position before performing any inspection, maintenance, or cleaning procedures.
BEFORE EACH USE, inspect the general condition of the Solar Light. Check for
loose screws, cracked or broken parts, damaged electrical wiring, and any other
condition that may affect its safe operation. Do not use damaged equipment.
For technical questions, please call 1-800-444-3353.
Page 5SKU 95681, 95682
Page 6

PARTS LIST
Part Description Q’ty Part Description Q’ty
1 Light Head 1 3 Glass Shade 1
2 Tube 1 4 Stake 1
PARTS DIAGRAM
4
2
1
3
PLEASE READ THE FOLLOWING CAREFULLY
THE MANUFACTURER AND/OR DISTRIBUTOR HAS PROVIDED THE PARTS LIST AND ASSEMBLY DIAGRAM
IN THIS MANUAL AS A REFERENCE TOOL ONLY. NEITHER THE MANUFACTURER OR DISTRIBUTOR MAKES
ANY REPRESENTATION OR WARRANTY OF ANY KIND TO THE BUYER THAT HE OR SHE IS QUALIFIED TO
MAKE ANY REPAIRS TO THE PRODUCT, OR THAT HE OR SHE IS QUALIFIED TO REPLACE ANY PARTS OF
THE PRODUCT. IN FACT, THE MANUFACTURER AND/OR DISTRIBUTOR EXPRESSLY STATES THAT ALL
REPAIRS AND PARTS REPLACEMENTS SHOULD BE UNDERTAKEN BY CERTIFIED AND LICENSED TECHNICIANS, AND NOT BY THE BUYER. THE BUYER ASSUMES ALL RISK AND LIABILITY ARISING OUT OF HIS
OR HER REPAIRS TO THE ORIGINAL PRODUCT OR REPLACEMENT PARTS THERETO, OR ARISING OUT OF
HIS OR HER INSTALLATION OF REPLACEMENT PARTS THERETO.
For technical questions, please call 1-800-444-3353.
Page 6SKU 95681, 95682
 Loading...