

Page 1
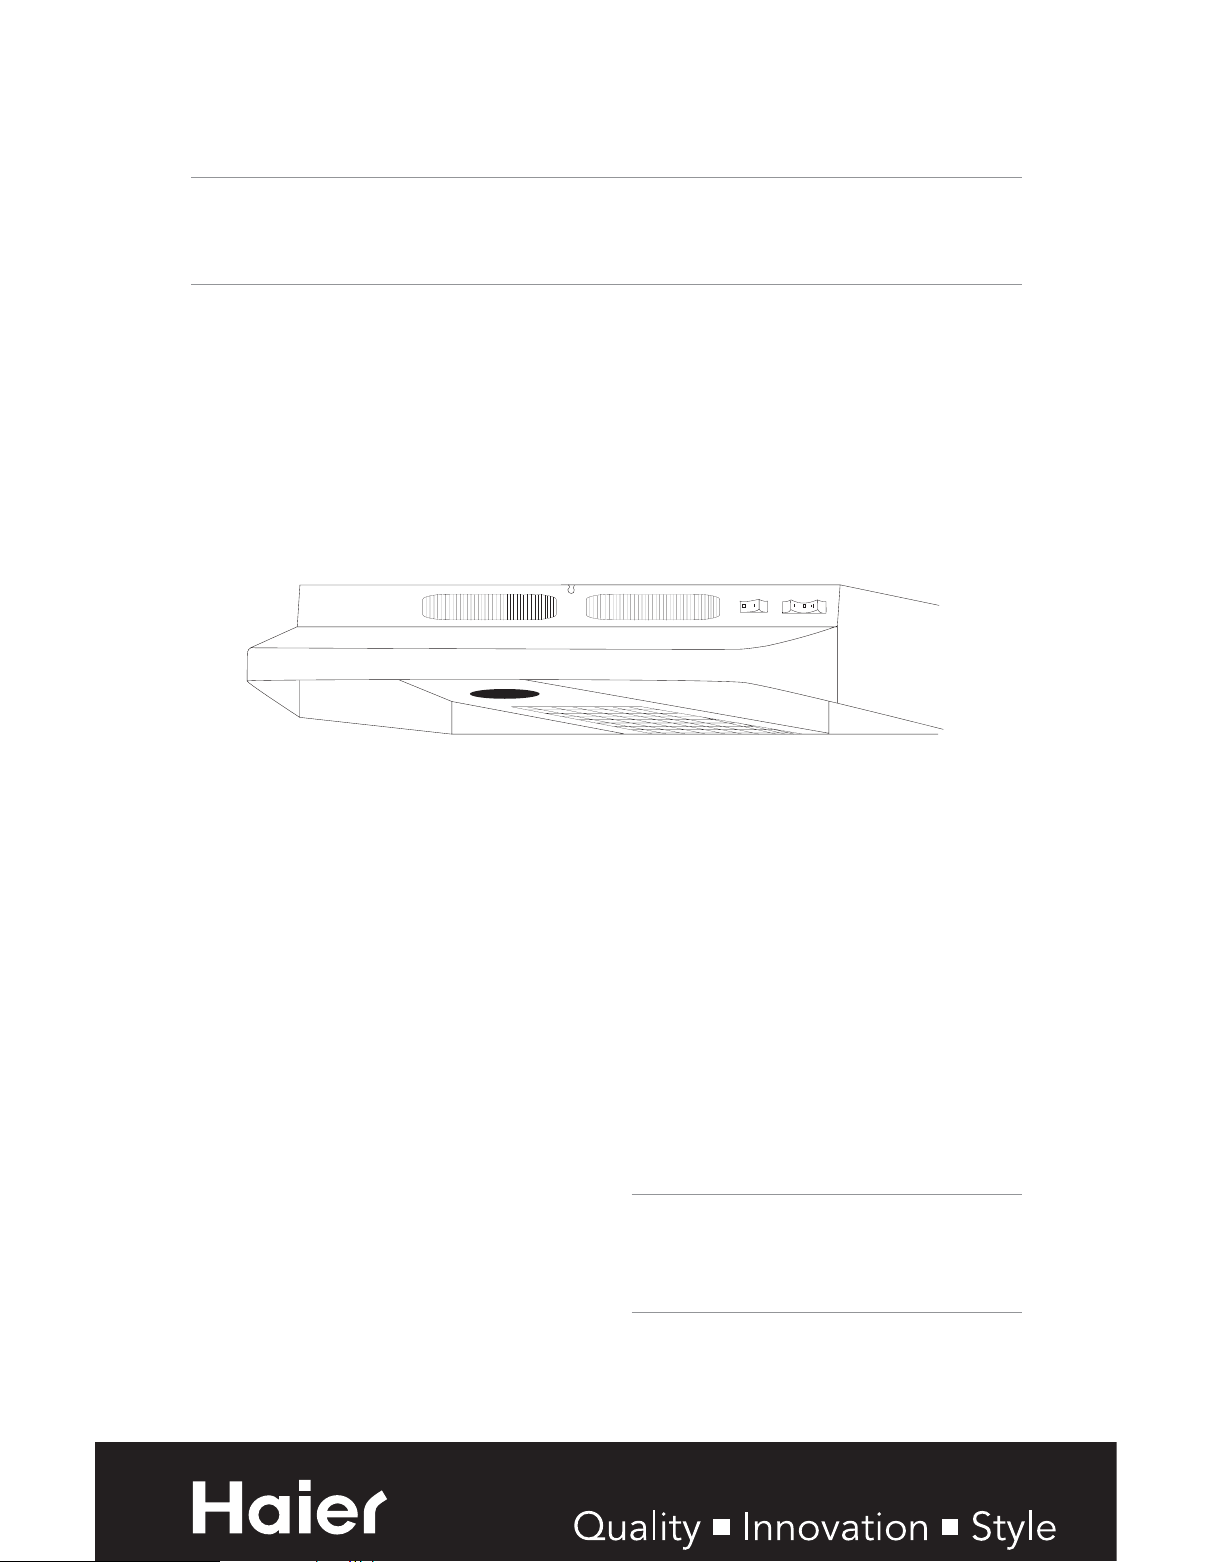
User Manual Model
HHX1030
Guide de l’Utilisateur
HHX1030
Manual del Usuario Modelo
HHX1030
Range Hood
Extractor de Aire
Hotte de Cuisiniere
Haier
Page 2

English
1
SAFETY PRECAUTIONS
Warning! – To reduce the risk of fire, electric shock, or injury to persons, always
exercise basic safety precautions, including the following:
1. Read all instructions before using the appliance.
2. Use this appliance only for its intended purpose as described in this user manual.
3. Do not use any accessories not recommended by the manufacturer.
4. This unit must be grounded.
5. Do not use this appliance for commercial uses.
6. Do not use this unit with any solid-state speed control device.
7. Installation work and electrical wiring must be done by qualified technicians in
accordance with all applicable codes and standards, including fire-rated
construction.
8. Sufficient air is needed for proper exhausting of gases of fuel burning equipment
through the flue (chimney) to prevent back drafting. Follow the heating
equipment manufacturer’s guideline and safety standards such as those published
by the National Fire Protection Association (NFPA), and the American Society for
Heating, Refrigeration and Air Conditioning Engineers (ASHRAE), and local code
authorities.
9. When replacing an existing range hood with your new Haier Range Hood, turn
OFF the electrical power to the existing unit before removal.
10. Before servicing or cleaning the unit, turn the power OFF at the service panel
and if possible, lock the service panel to prevent power from being switched on
accidentally. When the service disconnecting cannot be locked, securely fasten a
prominent warning device, such as a tag, to the service panel.
11. Do not repair, replace any part of the appliance or attempt any servicing.
Note: If for any reason this product requires service, we strongly recommend that
a certified technician perform the service.
12. When cutting or drilling into wall or ceiling, be careful not to damage existing
electrical wiring and other hidden utilities.
13. Ducted fans must always be vented to the outdoors.
To reduce the risk of range top grease fires:
1. Always turn the hood ON when cooking at high heat or when cooking flaming
foods.
2. Never leave cooking unattended at high settings. Boilovers cause smoking and
greasy spillovers that may ignite. Heat oils slowly on low or medium settings.
3. Use proper-sized pans that correspond to the size of the stove, and the amount
of food being cooked.
4. Clean ventilation fans frequently. Do not allow grease to accumulate on the fan
or the filter.
Page 3

English
2
Thank you for using our Haier product.
This easy-to-use manual will guide you
in getting the best performance from
your Haier Range Hood.
Remember to record the model and
serial number. They are on a label in the
refrigerator.
Model number
Serial number
Date of purchase
Staple your receipt to your manual.
You will need it to obtain warranty service.
To reduce the risk of personal injury in the event of a range top grease fire:
1. NEVER pick up a flaming pan, as you may be injured.
2. DO NOT use water, including wet dishcloths or towels, to put out a fire. A
violent steam explosion may result.
3. Smother flames with a close-fitting lid, metal tray, or cookie sheet. Then turn
OFF the burner. BE CAREFUL TO AVOID BURNS! If the flames are not put out
immediately, evacuate and call the fire department.
4. Use an extinguisher only if:
a) You know that you have a Class ABC extinguisher and you already know
how to use it.
b) The fire is small and contained in the area where it started.
c) The fire department is being called.
d) You can fight the fire with your back to an exit.
CAUTION!
Important – Observe all governing codes and ordinances.
1. For general ventilation use only. Do not use this appliance to exhaust
hazardous or explosive materials and vapors.
2. To reduce the risk of fire, use only metal ductwork.
3. To avoid damage to motor or other components, keep drywall spray,
construction dust, etc. off the power unit.
4. Please read specification label on product for further information and
requirements.
SAVE THESE INSTRUCTIONS for Future Use
Page 4

English
3
Accessories
Range Hood Accessories Provided:
1 Range Hood
1 Damper Flap
4 Damper Screws
4 Range Hood Screws
4 Washers
2 Wire Connectors
1 Aluminum Filter
1 Charcoal Filter
1 User Manual
Check to make sure that all parts and accessories are present and in good
condition. If you find that they are not in good condition or are missing, please
contact our customer service department for assistance. Our Toll-Free number
is 1-877-337-3639.
Table Of Contents
PAGE
Safety Precautions ............................................................................................1
Accessories ......................................................................................................3
Installation Preparation......................................................................................4
Selecting Venting Direction ................................................................................5
Cabinet Preparation for Hoods Support..............................................................6
Preparing Electrical Connections ........................................................................6
Preparing Duct Connections ..............................................................................7
Wiring Diagrams..............................................................................................8
Installing Ductwork............................................................................................8
Hood Installation ..............................................................................................9
Use and Care ................................................................................................10
Troubleshooting ..............................................................................................11
Warranty Information......................................................................................12
Page 5

English
4
Installation Preparation
To install this range hood, you will need the following tools and materials:
Note: This procedure will require 2 people for easier installation.
Tools Needed for Installation
• Drill
• 1/8” Drill bit for drilling pilot holes
• 1-1/4” Wood bit for drilling electrical wiring access hole
• Phillips head screwdriver
• Flat-head screwdriver
• Pliers
• Pencil, rule and level for marking range hood location
• Hand saw or jig saw for cutting the wall or cabinet openings
• Duct tape
• Electrical tape
• Connector Clamp
General Preparation
Caution! Please be sure to turn the electrical power switch OFF before beginning
the installation.
1. Remove the range hood from the carton.
2. Lay the range hood upside down on a table covered with either cardboard or
paper to prevent scratching the hood or table.
3. Unscrew the lamp cover with a Phillips head screwdriver.
4. Remove the lamp cover.
5. Install one 40 Watt light bulb.
6. Replace the lamp cover and the screws.
Page 6

English
5
Selecting the Venting Direction
The range hood can be used for either horizontal, vertical or ductless air discharge.
For the best performance, use the shortest possible ducting path and the least
amount of elbows when discharging horizontally or vertically.
Vertical Discharge – Vertical discharge is the most common method of hood
installation. If your kitchen has an attic space above, the ducting may be run
through the cupboard and the attic to a roof cap. Use a 7” round duct (not
included).
Another option, if your kitchen has a soffit above the cabinet, is to run the duct up
into the soffit and then discharge the air horizontally through the outside wall to a
wall cap.
Horizontal Discharge - If the range is located against an outside wall, then
horizontal discharging is ideal, provided there are no obstructions such as wall
joists or places where openings are difficult to make.
If a wall cap is used directly off the back of the hood, special care must be taken to
ensure that the damper in the damper/duct connector on the hood and the damper
in the wall cap do not interfere with each other when the range hood is operating.
This could result in either inadequate air delivery or back drafts. If this condition
exists, remove the hood damper flap. Sometimes when using a wall cap, it is easier
to duct vertically and than to use an elbow.
Ductless – In ductless installations, air is vented back into the kitchen through the
opening in the range hood grille. If you do not anticipate heavy cooking, this
method may be preferable. Ductless installation requires the use of a charcoal
filters (included) to remove odors, which should be replaced at regular intervals
depending on use. Check with your local retailer or dealer for replacements.
Note: This filter is not dishwasher safe!
Page 7

English
6
For model HHX1030 you must remove the vent cover from the slots on the front of
the range hood. Save the vent cover for possible future use.
Cabinet Preparation for Hood Support
Mount the hood so that the bottom of the hood is between 24”-30” above the
stovetop.
Warning! When cutting or drilling into wall or cabinet, be careful not to cut
existing electrical wiring.
1. If the bottom of the cabinet is recessed above the bottom of the cabinet
door, then it is necessary to install wood strips on each side of the
recessed area on the bottom of the cabinet where the range hood will
be mounted. The wood strips should line up with the 4 keyhole slots on
the top of the range hood. Fasten the wood strips with wood screws
about 3” in from each end.
Note: The thickness of the wood strips should be slightly more than the
recessed dimension. The length should be cut to size.
2. Measure and mark the electrical wiring opening in the wall or the
cabinet. If the hood is to be vented, also mark and measure the duct
opening in the wall or cabinet.
Preparation of Electrical Connections
Note: If replacing an existing hood, the electrical cable may need to be re-routed to
the desired position.
1. Determine the location of the electrical cable to connect to the range
hood.
fig. 1
Page 8

English
7
2. Remove the electrical knockout on the back or top of the range hood
and install a standard electrical cable clamp.
3. Transfer the location of the range hood electrical knockout to either the
bottom of the cabinet or the wall. Drill or cut a hole in the adjoining
surface to make room for the electrical cable clamp.
Preparation for Duct Connection
1. Remove the appropriate ducting knockout by inserting a screwdriver under one
end and prying it up. Then snip or break the attachment points.
2. Install the damper assembly to the range hood with the 2 screws supplied.
3. If discharge is vertical through a rectangular duct, remove the knockout sections
D, B and E only.
4. If the vertical discharge is through a 7” round duct, remove knockout sections
“A” and “B” and “C” only.
Note: Section “D” and “E” remain with the hood.
5. Mount the round collar (E22A -not supplied) over the opening on the hood by
using 3 shorter screws. Allow the bottom edge of the 7” duct to be inserted into
the collar.
fig. 2
fig. 3
Page 9

English
8
Wiring Diagrams
Installing Ductwork
Your new range hood will operate at the highest efficiency if the number of elbow
and the length of the duct are kept to a minimum. The back draft damper flap
attached to the damper frame assembly, which is supplied with the hood, does not
impede airflow significantly. You may leave this in place even if you install a wall
or roof cap with another back draft damper.
Page 10

English
9
Hood Installation
Note: All wiring installation must comply with local and national electrical code
regulations.
1. Lift the hood into position and guide the electrical cable through the electrical
cable clamp on the hood.
2. Insert the 4 wood screws from the bottom and securely fasten.
3. Secure the electrical cable in the cable clamp while allowing sufficient length in
the hood to connect the field wires to the hood wires.
4. Make the electrical connections using screw-on wire connectors. Attache the
black wires together and then the white wires together and then the green or
bare wire to the green grounding screw in the hood. Replace the wiring
compartment cover.
Caution! All wiring installation must comply with local and national electrical code
regulations.
5. Attach ductwork and use duct tape to seal all joints.
6. After turning all range hood switches to the OFF position, turn the power ON
and test your installation.
Page 11

English
10
Use and Care
Aluminum Filter
For highest efficiency, this filter should be removed and cleaned periodically. Soak
the filter in hot water and mild soap or detergent. Rinse thoroughly and repeat if
necessary. The aluminum filter may be cleaned in the dishwasher. Heavy grease
buildup may not be cleaned easily, thus the filter may need to be replaced.
Charcoal Filter
Inspect this filter periodically. This filter cannot be cleaned and must be replaced
when it becomes saturated. Check with your local retailer or dealer to purchase.
Light Bulb
Do not use light bulbs that are brighter than 40 watts.
Exterior Surface
Wipe the range hood exterior with a soft cloth and a mild detergent suitable for
painted surfaces. Do NOT use abrasive materials such as steel wool pads or
scouring powders.
Repair or Replacement Parts
Warning! Disconnect range hood from the electrical power supply before servicing.
All parts may be obtained from service centers authorized by Haier, or may be
ordered directly from Haier. When ordering parts, please specify the range hood
model number on the rating label, which is located on the inside of the range hood.
Page 12

English
11
Trouble Shooting
Fan does not turn on (but light turns on).
This is probably due to either a defective fan switch or a burned-out fan motor.
Both can be replaced without removing the range hood from the wall or cabinet.
Use an ohm meter to determine which component is not working. If the ohm meter
reads that the fan switch has 0 ohms of resistance, then it is the motor that needs to
be replaced. If it reads anything other than zero, then the switch must be replaced.
Fan only runs at one speed.
Please see instructions above for troubleshooting when your fan does not turn on
(but light turns on).
Fan circulates air, but does not vent outside.
If air is blowing through the front vent openings, then your range hood has been
installed for ductless operation. In order to convert the system to vent outside, a
technician must install metal ductwork from the range hood through either an
outside wall or the roof.
If air is not blowing from the front vent openings, check inside the cabinet above the
range hood. If you see a metal duct leading away from the vent hood, then you
have a system that vents to the outdoors. If you do not see a duct, your unit may be
venting through the back wall.
Light does not turn on (but fan turns on).
This could be because the bulb has burned out. Try replacing the light bulb. If the
light still does not work, either the light switch or the lamp-holder socket is defective.
Both can be replaced without removing the range hood from the wall or cabinet.
Night light does not turn on.
Please see above instructions for troubleshooting when the light that does not turn
on (but fan turns on).
Range hood does not turn on at all.
First, check for a tripped circuit breaker or a blown fuse, since the range hood is
wired directly to your household electrical system.
NOTE: All work must be performed by a qualified and licensed technician!
Page 13

English
12
This warranty covers all defects in
workmanship or materials for:
The mechanical and electrical parts (including
labor costs) contained in this Haier product, for
a period of 12 months, from the date of
purchase (for commercial or rental applications,
the warranty is 90 days).
You must keep and be able to provide your
original sales receipt as proof of the date of
purchase.
Who is covered?
The original retail purchaser of this Haier
product.
What will be done?
Haier will repair or replace, in your home, any
mechanical or electrical part, which proves
defective, in normal household use for a period
of 12 months.
How can you get service?
1. Contact your nearest Haier authorized
Service Center. For the name of the Service
Center nearest you, contact Haier at
(877) 337-3639.
2. All service must be performed by an
authorized Haier Service Center.
THIS WARRANTY COVERS UNITS WITHIN THE
CONTINENTAL UNITED STATES, CANADA AND
PUERTO RICO.
THIS WARRANTY DOES NOT COVER:
• Damages from improper installation
• Damages from shipping
• Damages from misuse, abuse, accident,
alteration, lack of proper care and
maintenance
• Damages from service by persons other than
an authorized dealer or service center
• Labor, service, transportation and shipping
charges for the removal of defective parts and
for installation of a replacement part, beyond
the initial 12-month period.
THIS LIMITED WARRANTY IS GIVEN IN LIEU OF
ALL OTHER WARRANTIES, EXPRESSED OR
IMPLIED, INCLUDING THE WARRANTIES OF
MERCHANTABILITY AND FITNESS FOR A
PARTICULAR PURPOSE.
The remedy provided in this warranty is
exclusive and is granted in lieu of all other
remedies. This warranty does not cover
incidental or consequential damages. Some
states do not allow the exclusion of incidental or
consequential damages, so this limitation may
not apply to you. Some states do not allow
limitations on how long an implied warranty
lasts, so this limitation may not apply to you.
This warranty gives you specific legal rights, and
you may also have other rights, which vary from
state to state.
Limited Warranty
Page 14

Haier America
New York, NY 10018
Printed in China
IMPORTANT
Do Not Return This Product To The Store
If you have a problem with this product, please contact the
"Haier Customer Satisfaction Center" at 1-877-337-3639.
DATED PROOF OF PURCHASE, MODEL # AND SERIAL #
REQUIRED FOR WARRANTY SERVICE
IMPORTANT
Ne pas retourner cet article au magasin
En cas de problème avec cet article, veuillez contacter le « Centre satisfaction client » de Haier
au 1-877-337-3639.
UNE PREUVE D’ACHAT DATÉE, LE NUMÉRO DU MODÈLE ET LE NUMÉRO DE SÉRIE SONT
OBLIGATOIRES POUR BÉNÉFICIER DE LA COUVERTURE OFFERTE PAR LA GARANTIE.
IMPORTANTE
No Devuelva Este Producto al Establecimiento Compra.
Si tiene problemas con este producto, por favor póngase en contacto con el "Centro
Haier de Atención al Cliente" en el 1-877-337-3639.
PARA EL SERVICIO DE GARANTÍA SE REQUIERE PRUEBA DE COMPRA, FECHADA, No. DE
MODELO Y No. DE SERIE
Made in China
HHX1030
Issued: May - 05 Part # RH-9999-01
 Loading...