

Page 1

Precision LCR Meter
LCR-8000G Series
USER MANUAL
GW INSTEK PART NO. 82CR-81010MB1
ISO-9001 CERTIFIED MANUFACTURER
Page 2

This manual contains proprietary information, which is protected by
copyright. All rights are reserved. No part of this manual may be
photocopied, reproduced or translated to another language without
prior written consent of Good Will company.
The information in this manual was correct at the time of printing.
However, Good Will continues to improve products and reserves the
right to change specification, equipment, and maintenance
procedures at any time without notice.
Good Will Instrument Co., Ltd.
No. 7-1, Jhongsing Rd., Tucheng City, Taipei County 236, Taiwan.
Page 3

TABLE OF CONTENTS
Table of Contents
SAFETY INSTRUCTION .................................................... 5
GETTING STARTED........................................................ 10
Main Features...................................... 12
Package Contents................................. 13
Measurement Type............................... 13
Model Comparison .............................. 15
Front Panel Overview........................... 16
Rear Panel Overview ............................ 19
Tilt Stand & Power Up ......................... 21
Fixture Connection............................... 24
Tutorials (Step by Step Operations) ..... 26
Measurement tip ................................. 34
BASIC MEASUREMENT .................................................. 36
Measurement Item Description ........... 37
Measurement Mode Overview.............. 47
Parameter Configuration...................... 50
Running Measurement......................... 55
PASS-FAIL MODE........................................................... 58
Single-Step Test Configuration ............. 60
Single-Step Test Run ............................ 66
Multi-Step Test Configuration .............. 70
Multi-Step Program Run ...................... 80
Multi-Step Program File Operation ...... 83
GRAPH MODE............................................................... 87
Item Selection...................................... 88
Horizontal Scale Setting ...................... 90
Vertical Scale Setting ........................... 94
3
Page 4

LCR-8000G Series User Manual
Speed / Step Setting .......................... 101
Running Graph Measurement ............ 103
REMOTE CONTROL......................................................107
Interface Configuration ...................... 108
Command Syntax ............................... 111
Command Set .................................... 112
CALIBRATION...............................................................123
FAQ..............................................................................128
APPENDIX....................................................................129
Fuse Replacement .............................. 129
|Z| Accuracy Chart.............................. 130
|Z| vs L, C Chart ................................. 131
Accuracy Definition............................ 132
Specification ...................................... 133
Fixture Specifications......................... 135
Declaration of Conformity.................. 136
INDEX..........................................................................137
4
Page 5
TABLE OF CONTENTS
SAFETY INSTRUCTION
This chapter contains important safety
instructions that you must follow when operating
or storing an LCR-8000G series LCR meter.
Following these instructions will ensure your
safety and keep the instrument in the best possible
condition.
Safety Symbols
These safety symbols may appear in this manual or on the
instrument.
Warning: Identifies conditions or practices that
WARNING
CAUTION
could result in injury or loss of life.
Caution: Identifies conditions or practices that
could result in damage to the LCR-8000G or to
other properties.
DANGER High Voltage
Attention Refer to the Manual
5
Protective Conductor Terminal
Earth (ground) Terminal
Page 6
LCR-8000G Series User Manual
Do not dispose electronic equipment as unsorted
municipal waste. Please use a separate collection
facility or contact the supplier from which this
instrument was purchased.
Safety Guidelines
General
Guideline
CAUTION
• Do not place any heavy object on the
• Avoid severe impact or rough handling that
• Do not discharge static electricity to the
• Do not block or obstruct the cooling fan vent
• Do not perform measurement at circuits directly
instrument.
leads to damaging the instrument.
instrument.
opening.
Power Supply
connected to Mains (Note below).
• Do not disassemble the instrument unless you
are qualified as service personnel.
(Measurement categories) EN 61010-1:2001 specifies the
measurement categories and their requirements as follows. the
LCR-8000G falls under category I.
• Measurement category IV is for measurement performed at the
source of low-voltage installation.
• Measurement category III is for measurement performed in the
building installation.
• Measurement category II is for measurement performed on the
circuits directly connected to the low voltage installation.
• Measurement category I is for measurements performed on
circuits not directly connected to Mains.
• AC Input voltage: 115V (+10% / -25%), AC
230V (+15% / -14%) (Selectable), 50/60Hz.
WARNING
6
• Connect the protective grounding conductor of
the AC power cord to an earth ground, to avoid
electrical shock.
Page 7

SAFETY INSTRUCTION
Fuse
WARNING
Cleaning the LCR8000G
• Fuse type: T3A/250V
• Make sure the correct type of fuse is installed
before power up.
• To ensure fire protection, replace the fuse only
with the specified type and rating.
• Disconnect the power cord before fuse
replacement.
• Make sure the cause of fuse blowout is fixed
before fuse replacement.
• Disconnect the power cord before cleaning.
• Use a soft cloth dampened in a solution of mild
detergent and water. Do not spray any liquid.
• Do not use chemicals or cleaners containing
Operation
Environment
harsh materials such as benzene, toluene,
xylene, and acetone.
• Location: Indoor, no direct sunlight, dust free,
almost non-conductive pollution (Note below)
• Relative Humidity: < 80%
• Altitude: < 2000m
• Temperature: 0°C to 40°C
7
Page 8
LCR-8000G Series User Manual
Storage
environment
(Pollution Degree) EN 61010-1:2001 specifies the pollution degrees
and their requirements as follows. The LCR-8000G falls under
degree 2.
Pollution refers to “addition of foreign matter, solid, liquid, or
gaseous (ionized gases), that may produce a reduction of dielectric
strength or surface resistivity”.
• Pollution degree 1: No pollution or only dry, non-conductive
pollution occurs. The pollution has no influence.
• Pollution degree 2: Normally only non-conductive pollution
occurs. Occasionally, however, a temporary conductivity caused
by condensation must be expected.
• Pollution degree 3: Conductive pollution occurs, or dry, non-
conductive pollution occurs which becomes conductive due to
condensation which is expected. In such conditions, equipment
is normally protected against exposure to direct sunlight,
precipitation, and full wind pressure, but neither temperature
nor humidity is controlled.
• Location: Indoor
• Relative Humidity: < 80%
Disposal
• Temperature: −40°C to 70°C
Do not dispose this instrument as unsorted
municipal waste. Please use a separate collection
facility or contact the supplier from which this
instrument was purchased. Please make sure
discarded electrical waste is properly recycled to
reduce environmental impact.
8
Page 9
SAFETY INSTRUCTION
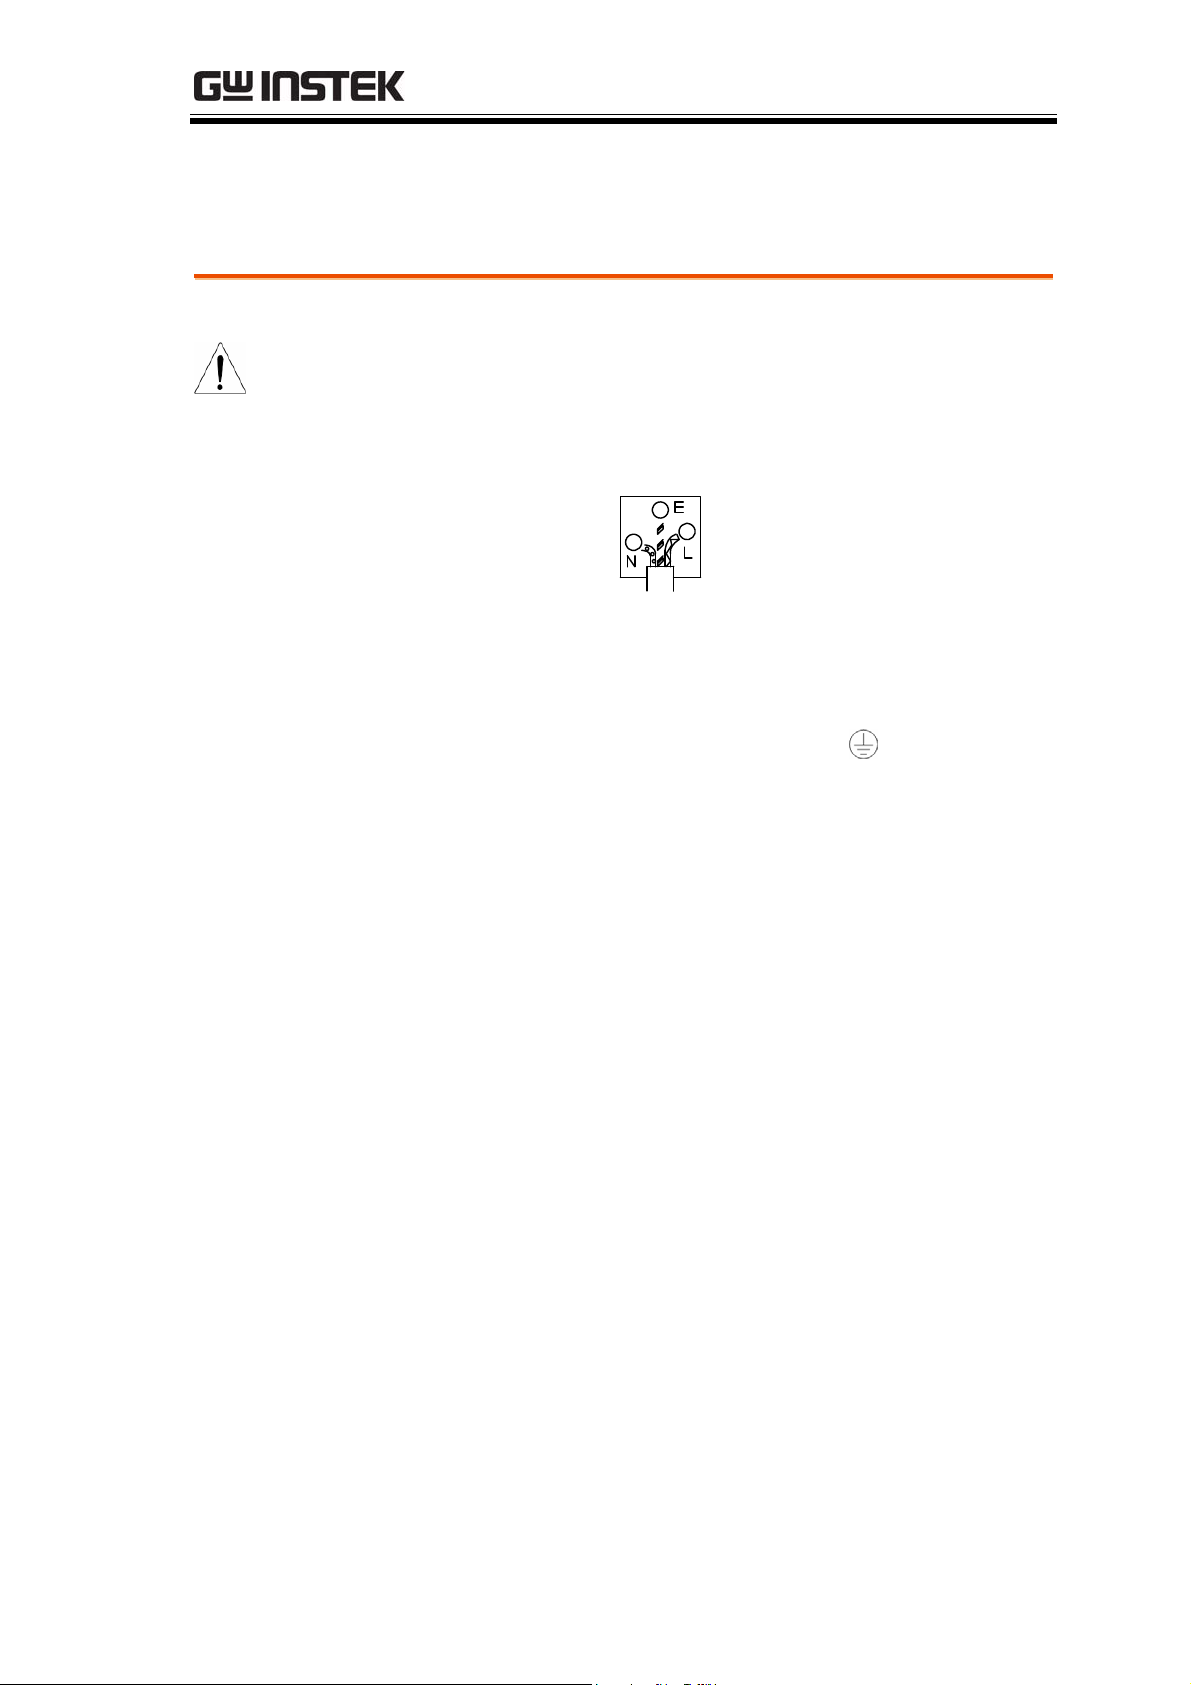
Power cord for the United Kingdom
When using an LCR-8000G series LCR meter in the United Kingdom,
make sure the power cord meets the following safety instructions.
NOTE: This lead/appliance must only be wired by competent persons
WARNING: THIS APPLIANCE MUST BE EARTHED
IMPORTANT: The wires in this lead are coloured in accordance with the
following code:
Green/ Yellow: Earth
Blue: Neutral
Brown: Live (Phase)
As the colours of the wires in main leads may not correspond with the
coloured marking identified in your plug/appliance, proceed as follows:
The wire which is coloured Green & Yellow must be connected to the Earth
terminal marked with either the letter E, the earth symbol
Green/Green & Yellow.
The wire which is coloured Blue must be connected to the terminal which is
marked with the letter N or coloured Blue or Black.
The wire which is coloured Brown must be connected to the terminal
marked with the letter L or P or coloured Brown or Red.
If in doubt, consult the instructions provided with the equipment or contact
the supplier.
This cable/appliance should be protected by a suitably rated and approved
HBC mains fuse: refer to the rating information on the equipment and/or
user instructions for details. As a guide, a cable of 0.75mm2 should be
protected by a 3A or 5A fuse. Larger conductors would normally require
13A types, depending on the connection method used.
or coloured
Any exposed wiring from a cable, plug or connection that is engaged in a
live socket is extremely hazardous. If a cable or plug is deemed hazardous,
turn off the mains power and remove the cable, any fuses and fuse
assemblies. All hazardous wiring must be immediately destroyed and
replaced in accordance to the above standard.
9
Page 10

LCR-8000G Series User Manual
GETTING STARTED
This chapter describes the LCR-8000G series in a
nutshell, including their main features, model
comparison, front / rear panel appearance, and
power up sequence. Use the Tutorial section for a
quick access to the main functionalities, step by
step.
Main Features
Package contents
Measurement
item
Model
Comparison
Panel overview Front Panel Overview .................................................... 16
Tilt stand / Power
Main Features ................................................................ 12
Package Contents .......................................................... 13
Measurement items ...................................................... 13
Measurement combination .......................................... 14
Equivalent Circuits......................................................... 14
Major Model Differences .............................................. 15
Rear Panel Overview...................................................... 19
Tilt stand......................................................................... 21
up
10
Power up......................................................................... 22
Select AC mains frequency (50/60Hz) ........................ 23
Page 11

GETTING STARTED
Fixture
connection
Tutorial Basic measurement (without Pass/Fail test)..............26
Measurement tip Measurement tip .............................................. 34
Fixture structure .............................................................24
Fixture connection..........................................................25
Pass/Fail test (Single step) ...........................................28
Pass/Fail test (Multiple step) .......................................30
Graph mode....................................................................32
11
Page 12

LCR-8000G Series User Manual
Main Features
Performance
Operation
• 20Hz ~ 10MHz wide test frequency (LCR-
8110G)
• 6 digit measurement resolution
• 10mV ~ 2V measurement drive level
(DC/20Hz~3MHz)
• 0.1% basic measurement accuracy
• Spot frequency measurement
• Multi-step measurement, maximum 64
programs with up to 30 steps each
• Actual measurement value display
• Measurement in absolute value or percentage
difference from the nominal value
• Pass/Fail test
Interface
• Precision fixture with four-wire + ground
connection
• Fixture trimming, open and closed connection
• Bar display mode for easy adjustment of
variable components
• Graph mode for visual representation of
measurement data
• Retains panel setup after power-Off
• Large LCD display, 320x240 resolution
• Intuitive user interface, comprehensive
measurement functions
• GPIB
• RS-232C
12
Page 13

GETTING STARTED
Package Contents
Ensure all the package contents are included and defect-free before
using the LCR-8000G. If any of the contents in your package are
missing or damaged, please contact your nearest GW Instek
distributor.
Standard
Accessories
Optional
Accessories
• LCR 8000G model
• Power Cord
• LCR-12 test fixture
• LCR-13 SMD/test
chip fixture
• LCR-09 SMD/test
chip fixture
• LCR-07 conventional
test leads*
• LCR-08 SMD clip
tweezers*
• LCR-06A Kelvin
leads*
• LCR User manual
• Calibration certificate
• LCR-05 Axial/Radial
component fixture*
• GRA-404 rack mount
(19” 4U)
• GTL-232 RS232C
cable, 9-pin (null
modem)
• GTC-001 Instrument
cart
*Frequency: DC~1MHz
Measurement Type
Measurement items
Primary
measurement
Secondary
measurement
Capacitance (C) Inductance (L)
Reactance (X) Susceptance (B) (=1/X)
Impedance (Z) Admittance (Y) (=1/Z)
DC Resistance (R
AC Resistance (R
Dissipation factor (D) Angle () (for Z and Y)
Conductance (G)
)
DC
) Quality factor (Q)(=1/D)
AC
13
Page 14
LCR-8000G Series User Manual
Measurement combination
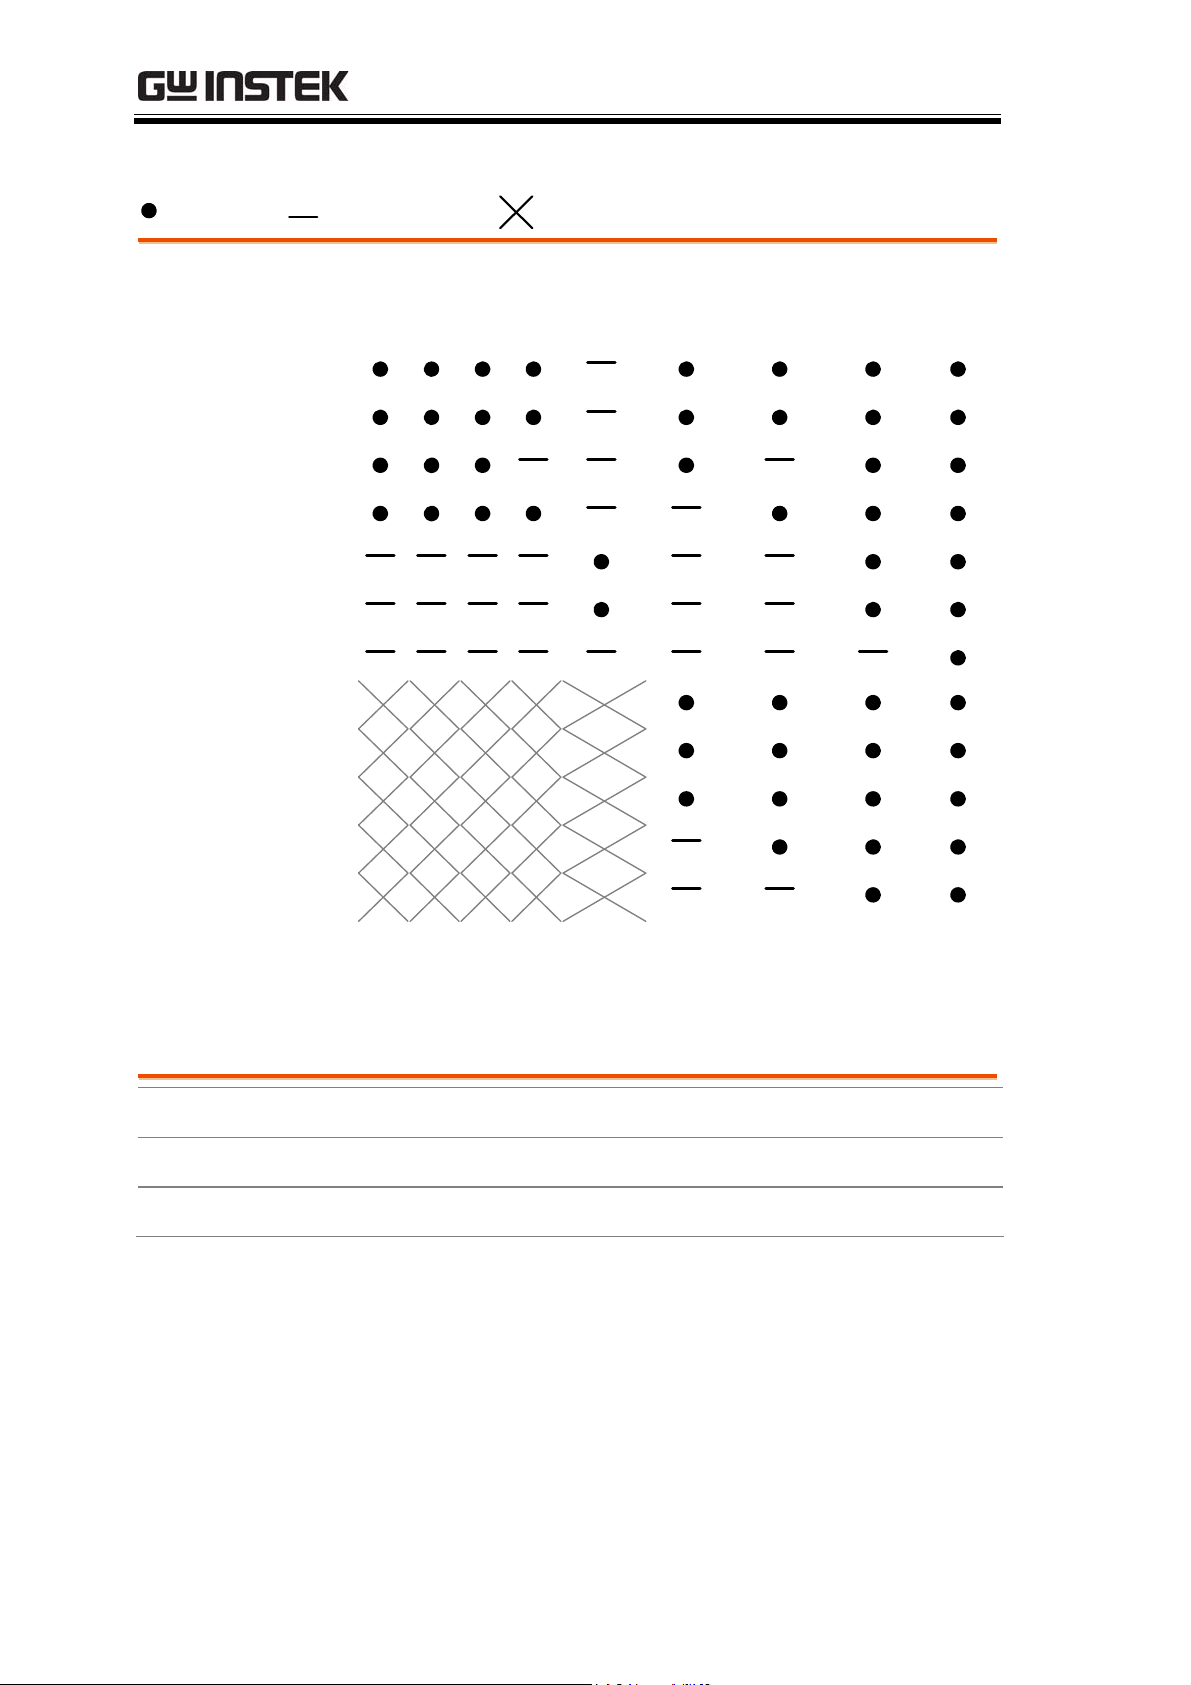
:Available, :Not available, :Combination doesn’t exist.
1st measurement 2nd measurement Circuit model Graph *Prog
Q D RAC G Angle Series Parallel
Capacitance (C)
Inductance (L)
Reactance (X)
Susceptance (B)
Impedance (Z)
Admittance (Y)
DC Resistance(RDC)
Quality factor (Q)
Dissipation factor (D)
AC Resistance (RAC)
Conductance (G)
Angle ()
*Prog: Multi-step program
Equivalent Circuits
Series or Parallel C+R C+D C+Q L+R L+Q L+D
Series X+R X+D X+Q
Parallel C+G B+G B+D B+Q B+R L+G
14
Page 15

GETTING STARTED
Model Comparison
Major Model Differences
Model
Measurement
Frequency
Drive Signal Level
AC
DC
Drive Signal Short
Circuit Current
AC
LCR-8101G LCR-8105G LCR-8110G
20Hz~1MHz 20Hz~5MHz 20Hz~10MHz
20Hz~1MHz:
0.01V~2Vrms
20Hz~1MHz:
100uA~20mA
rms
20Hz~3MHz:
0.01V~2Vrms
>3MHz~5MHz:
0.01V~1Vrms
0.01V~2V
20Hz~3MHz:
100uA~20mA
rms
>3MHz~5MHz:
100uA~10mA
rms
20Hz~3MHz:
0.01V~2Vrms
>3MHz~10MHz:
0.01V~1Vrms
20Hz~3MHz:
100uA~20mA
rms
>3MHz~10MHz:
100uA~10mA
rms
DC
Drive Signal
Accuracy (open
circuit)
AC
DC
20Hz~1MHz:
± 2% ± 5mV
100uA~20mA
20Hz~1MHz:
± 2% ± 5mV
>1MHz~5MHz:
± 5% ± 10mV
± 2% ± 5mV
20Hz~1MHz:
± 2% ± 5mV
>1MHz~10MHz:
± 5% ± 10mV
15
Page 16
LCR-8000G Series User Manual
/
Front Panel Overview
Main
Display
Function
Keys
Local
Key
Menu
Key
Single
Repetitive
Key
Menu
Local
Calibration
Key
D / Q
S
V / A
k
H
M
F
Unit
Keys
Trigger
Key
Arrow
p
Trig
n
∝
m
Keys
Code
Key
Main display
Function keys
Local key
DISCHARGE TEST DEVICE BEFORE CONNECTING
L
FORCELSENSEHSENSEHFORCE
LCR-8101G
Power
Switch
Precision LCR Meter
DC , 20 1M Hz
Current
Return
Low
Potential
320 by 240, DST LCD display.
F1
F6
Local
Assigned to the menu on the right
side of the display.
When the instrument is under
remote control mode, sets the
instrument back into local panel
Code
Clear
Enter
High
Potential
Clear
Key
Enter
Key
Numerical
Keys
Current
Out
operation. For remote control
details, see page107.
Menu key
Single/Repetitive
key
Menu
Sing/Rep
Shows the main menu on the
display.
Selects Single measurement mode
(manual triggering) or Repetitive
measurement mode (automatic
triggering). See page55 for details.
16
Page 17
GETTING STARTED
Calibration key
Unit keys
Calibration
Enters the calibration mode. See
page123 for calibration details.
Enters unit when editing values.
D/Q
Dissipation factor or Quality factor
V/A
Voltage or Ampere
H
Henry (for Inductance)
F
Farad (for Capacitance)
Ω
Ohm (for Resistance, Impedance)
S
k
Siemens (for Susceptance,
Admittance)
Kilo (10
3
)
M
Mega (10
6
)
Trigger key
Arrow keys
Code key
p
µ
Trig
Code
–12
Pico (10
)
n
Micro (10
–6
)
m
Nano (10
Milli (10
–3
-9
)
)
Manually triggers measurement.
Available only in Single
measurement mode (page55).
Selects menu items or parameters.
The Up/Down and Left/Right keys
are used in pairs.
Enters system codes for changing
drive Voltage/Current display
(page57) or frequency adjustment
resolution (page52).
Clear key
Clear
Clears all previous entries when
editing values.
17
Page 18
LCR-8000G Series User Manual
L
L
H
H
Enter key
Enter
Numerical keys
Measurement
terminals
Accepts measurement fixture. For connection
details, see page24.
LFORCE
LSENSE
HSENSE
HFORCE
Confirms the entered value or
selection.
Enters numeric values.
Current return
Low potential
High potential
Current output
Power switch
FORCE
SENSE
Turns On
power. For power up sequence, see
SENSE
or Off the main
FORCE
page22.
18
Page 19
GETTING STARTED
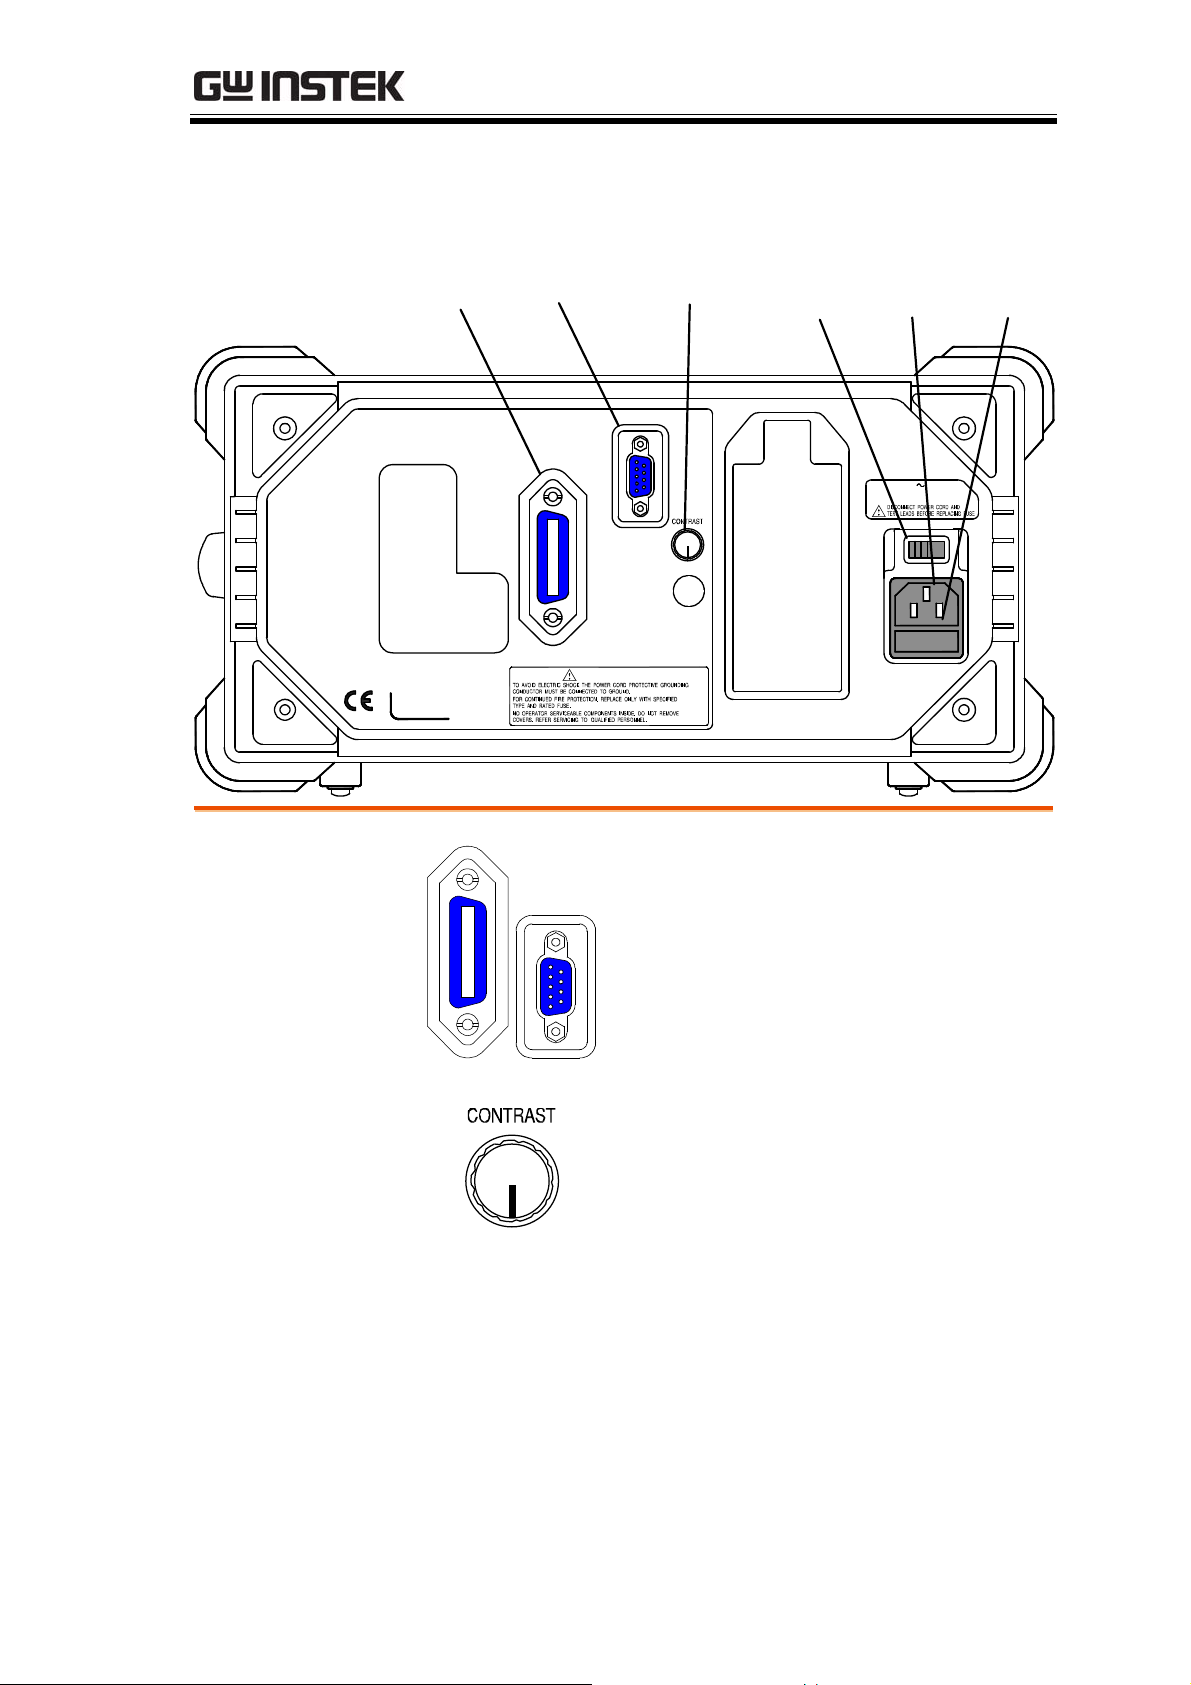
Rear Panel Overview
GPIB
Port
SER.NO. LABEL
RS-232C
Port
GPIB
WARNING
Display
Contrast
Knob
RS232
Voltage
Selector
Fuse
Holder
AC 115 / 230V 50 / 60Hz
FUSE 250V T 3A
115V
Mains
Socket
GPIB port /
RS-232C port
Display contrast
knob
GPIB
Accepts remote control cables.
RS232
GPIB: 24-pin female
RS-232C: DB-9 pin male
See page107 for remote control
details.
Sets the display contrast level. See
page22 for details.
19
Page 20
LCR-8000G Series User Manual
Voltage selector /
Fuse holder /
Mains socket
115V
The voltage selector sets the AC
mains voltage:
AC 115V (+10% / -25%), AC 230V
(+15% / -14%) (Selectable),
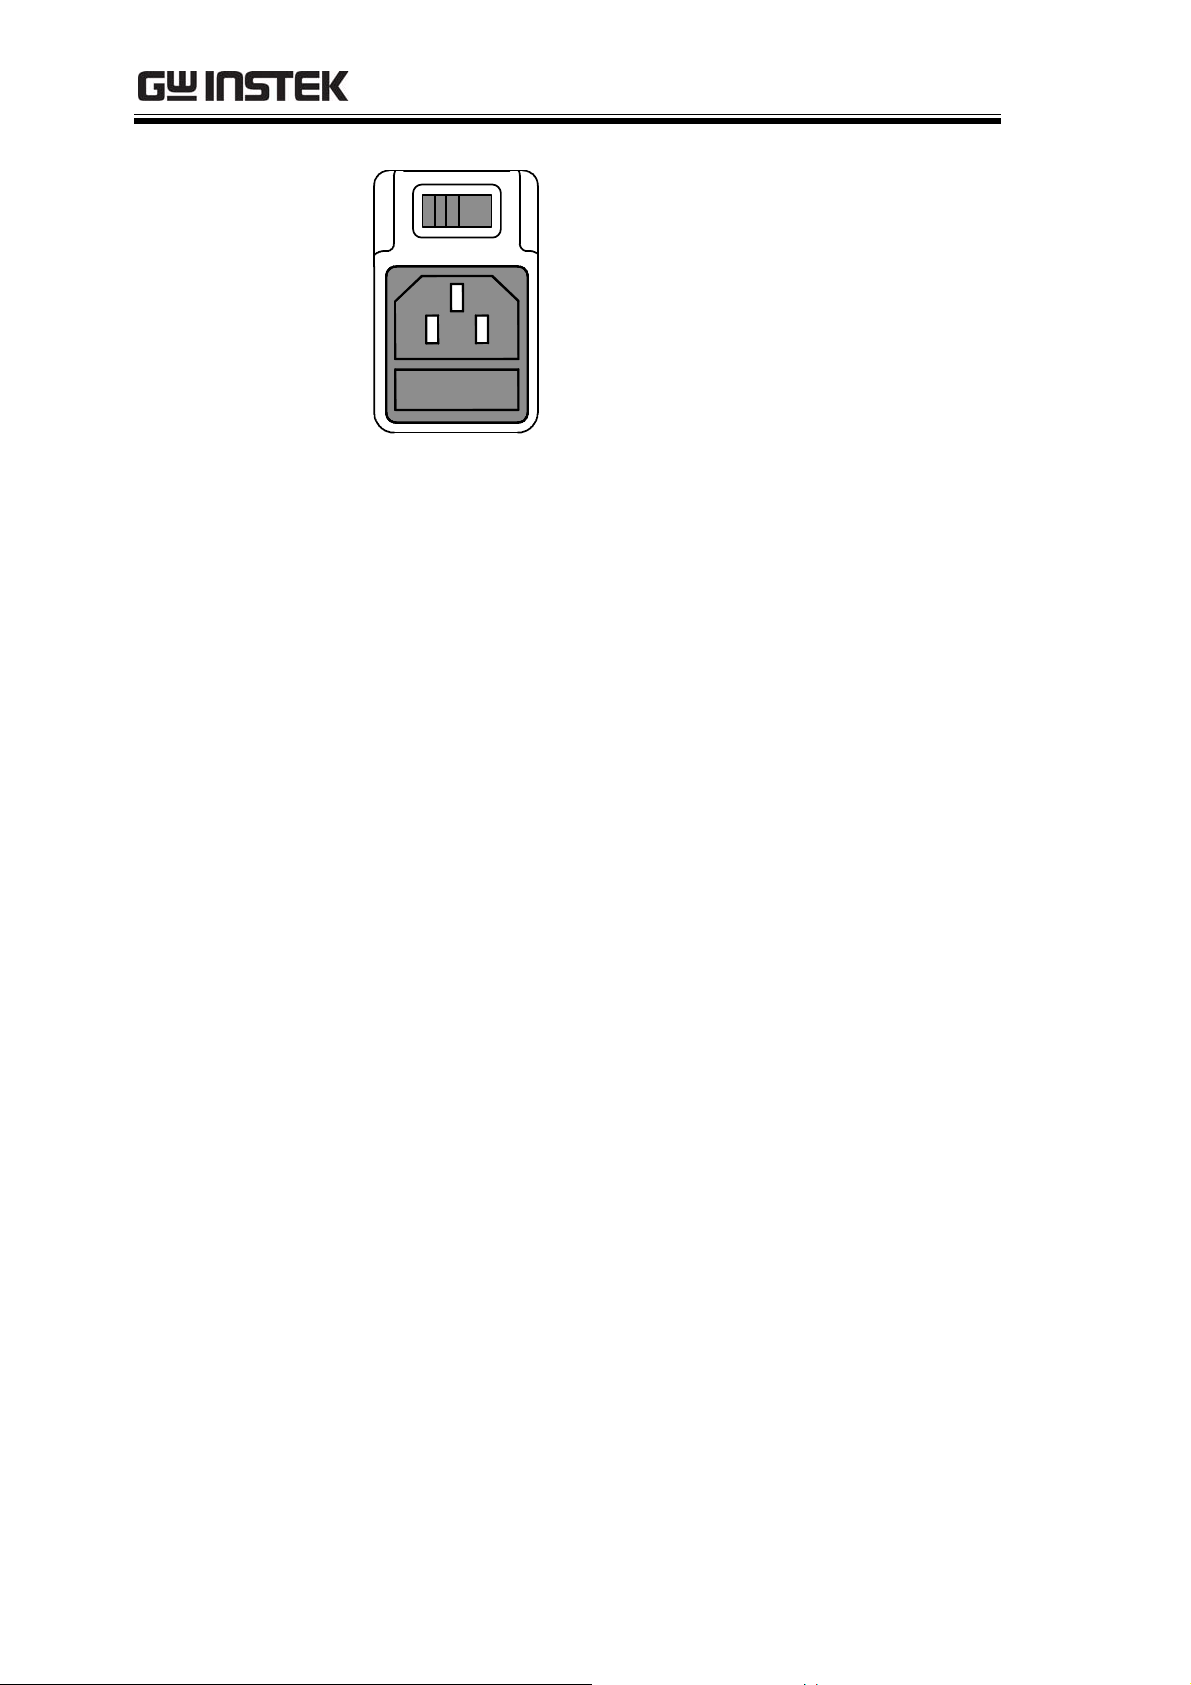
50/60Hz.
The fuse holder contains the main
fuse, T3A/250V. For fuse
replacement details, see page129.
The mains socket accepts power
cable. See page22 for power-up
details.
20
Page 21
GETTING STARTED
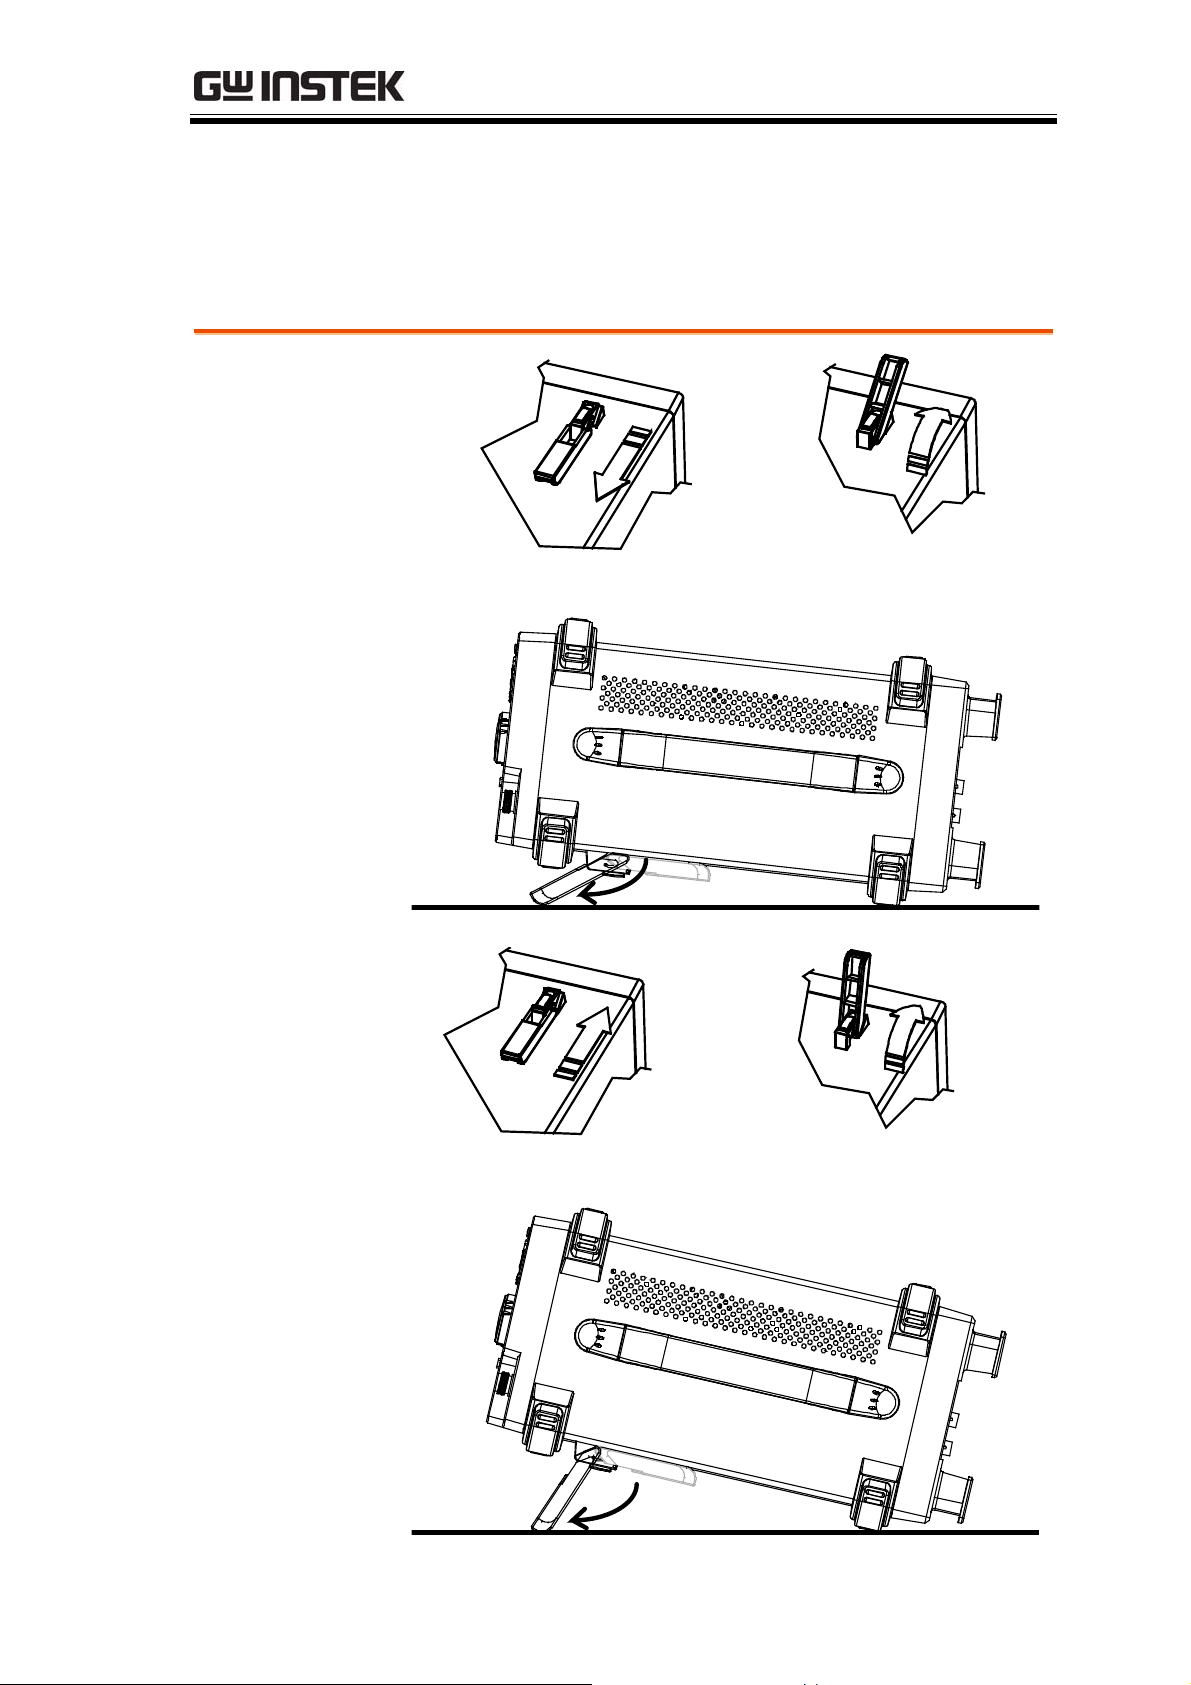
Tilt Stand & Power Up
Tilt stand
Low angle
High angle
21
Page 22
Power up
LCR-8000G Series User Manual
Panel operation
1. Set the rear panel
Voltage selector to the
correct position
according to the AC
mains voltage.
2. Connect the power
cord to the socket.
3. Turn On the power
switch. The display
becomes active in 2~3
seconds.
230V
R
C
L
n
o
i
s
i
c
0
e
r
2
,
P
C
D
115V
230V
115V
r
e
t
e
M
z
H
M
1
4. Use the contrast knob on the rear panel to
adjust the LCD display brightness.
Counterclockwise:
Dark
Clockwise:
Light
22
Page 23
GETTING STARTED
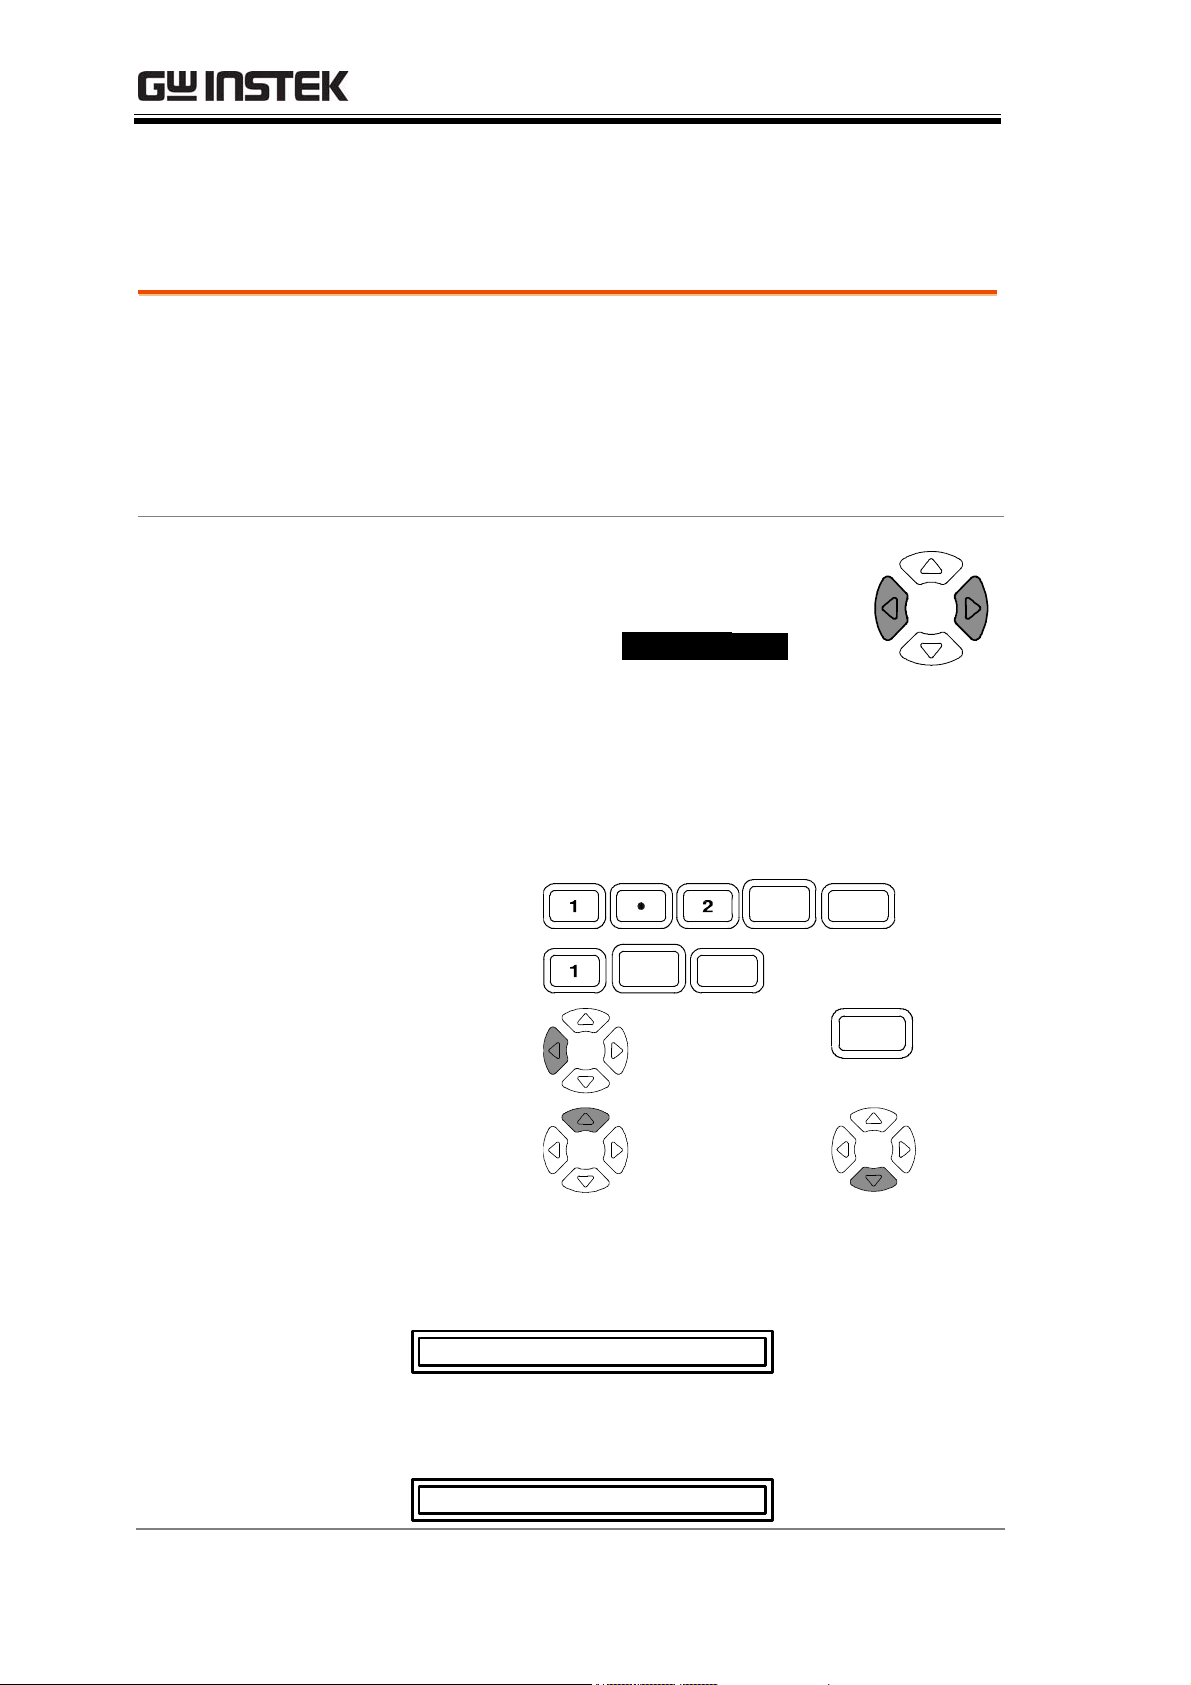
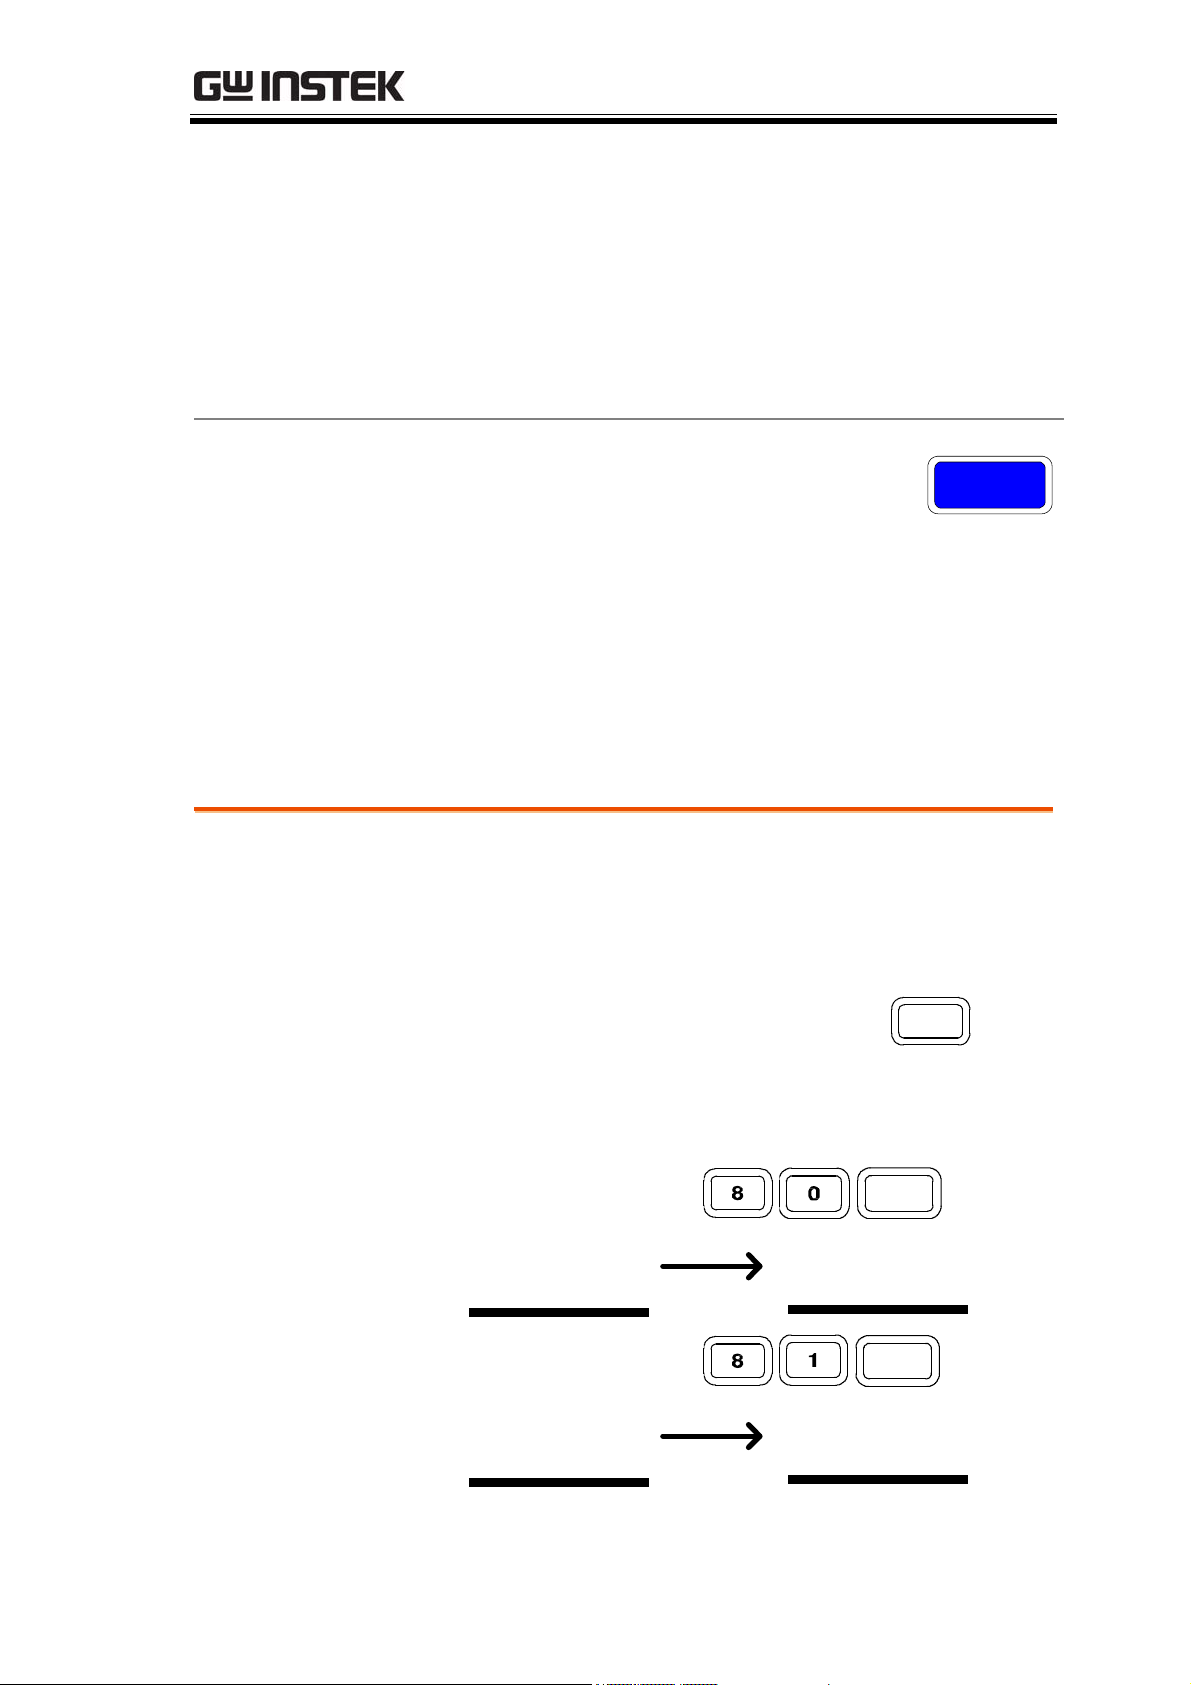
Select AC mains frequency (50/60Hz)
Background
Although the LCR-8000G works under both 50 and
60Hz power frequencies, we recommend selecting
the frequency that matches the local setting to get
the best measurement precision, especially at
lower frequencies (< 100Hz).
Panel operation
1. Press the Menu key, then F5
(System). The system menu appears.
Precision LCR Meter LCR-8101
Software version 2.03 Oct 25 2008
Frequency
RS-232
Graph mode
GPIB
1MHz
Menu
F5
Line frequency
Beep
GPIB address
Average : 10
2. Press the Up/Down key and move
:
50Hz
::OFF
5
the cursor to Line frequency.
:Line frequency 50Hz
3. If necessary, press the Left/Right
key to select the frequency, from 50
to 60Hz or from 60Hz to 50Hz.
:Line frequency 60Hz
23
Page 24
LCR-8000G Series User Manual
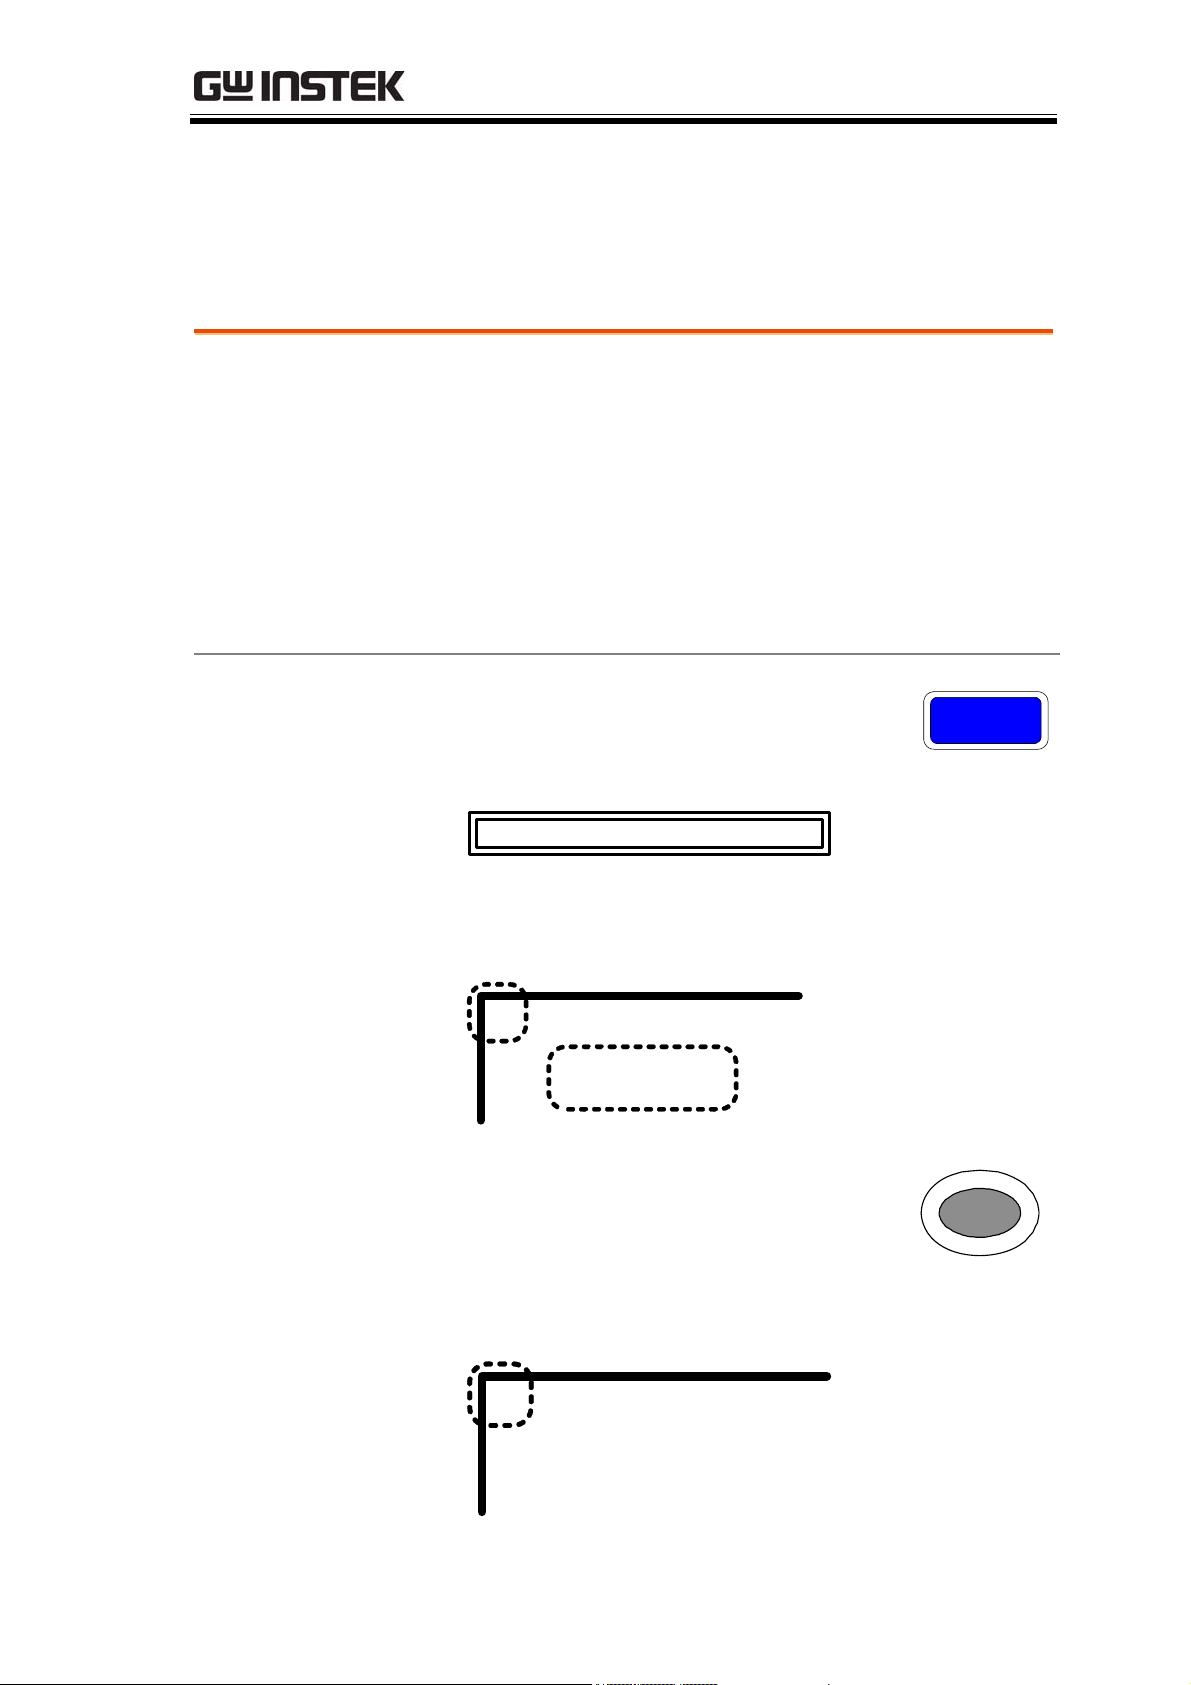
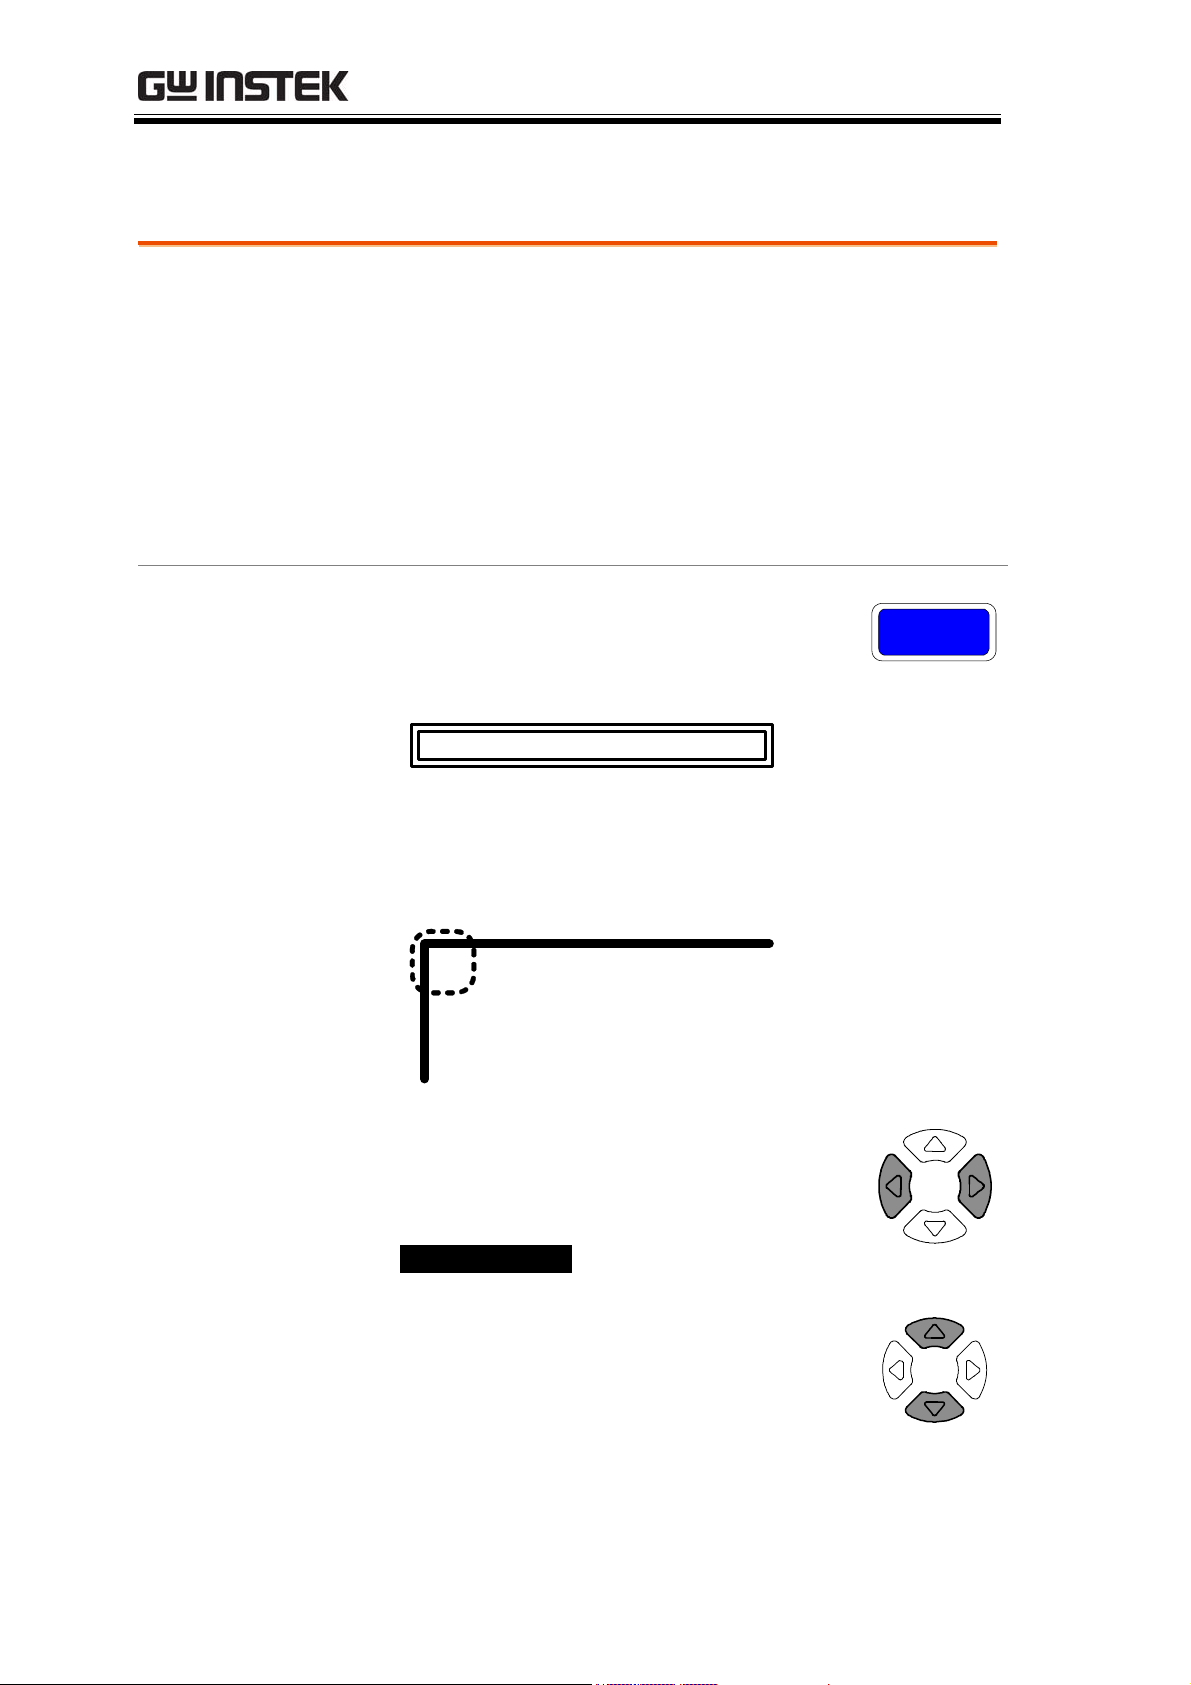
Fixture Connection
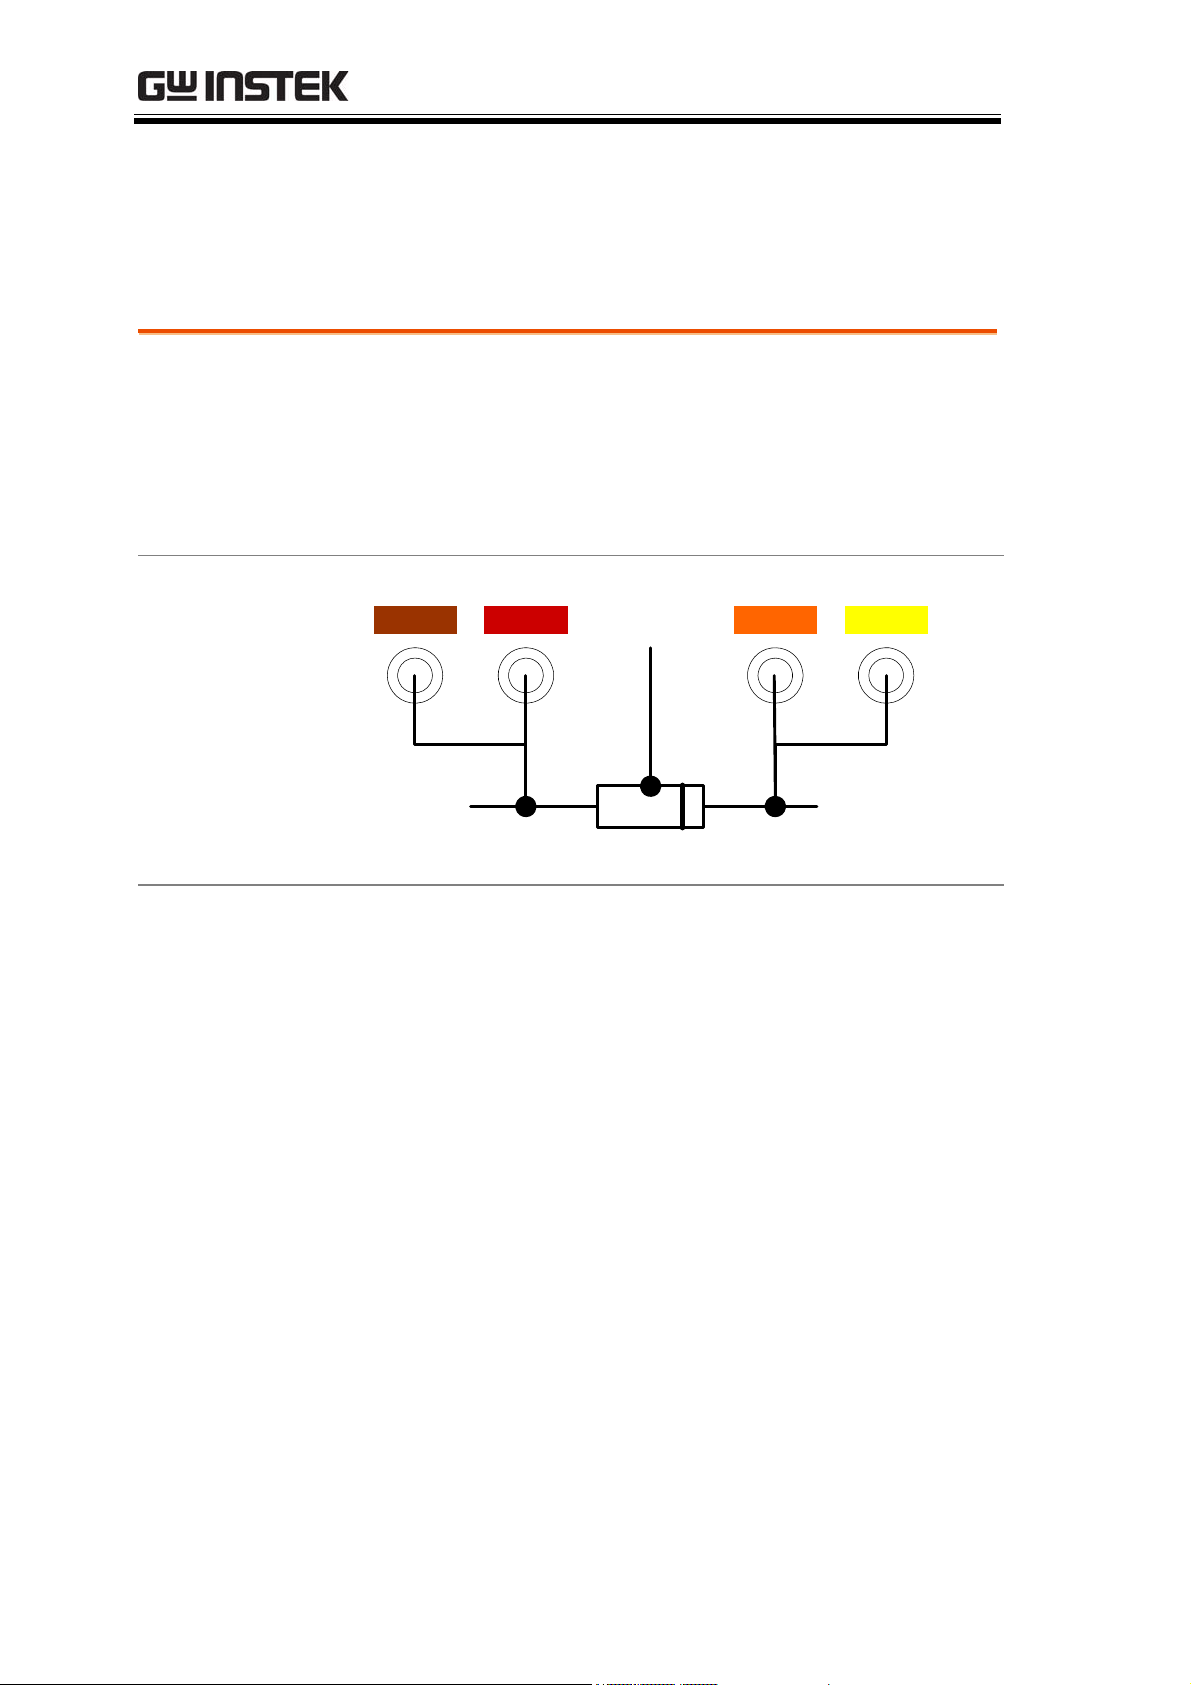
Fixture structure
Background
Diagram
Description HFORCE
The standard fixture is a four-wire type with a
common terminal for screen connection. The outer
terminals (Hforce and Lforce) provide the current
and the inner terminals (Hsense and Lsense)
measures the potential.
LFORCE LSENSE HSENSE HFORCE
Carries the signal current source.
Connected to the + side of the device
GND
(Optional)
+–
under test.
HSENSE
LSENSE
LFORCE
GND
Together with Lsense, monitors the
Potential. Connected to the + side of
the device under test.
Together with Hsense, monitors the
Potential. Connected to the – side of
the device under test.
Accepts the signal current return.
Connected to the – side of the device
under test.
If the test component has a large
metal area NOT connected to either
of the terminals, connect the GND
clip to minimize noise level.
24
Page 25
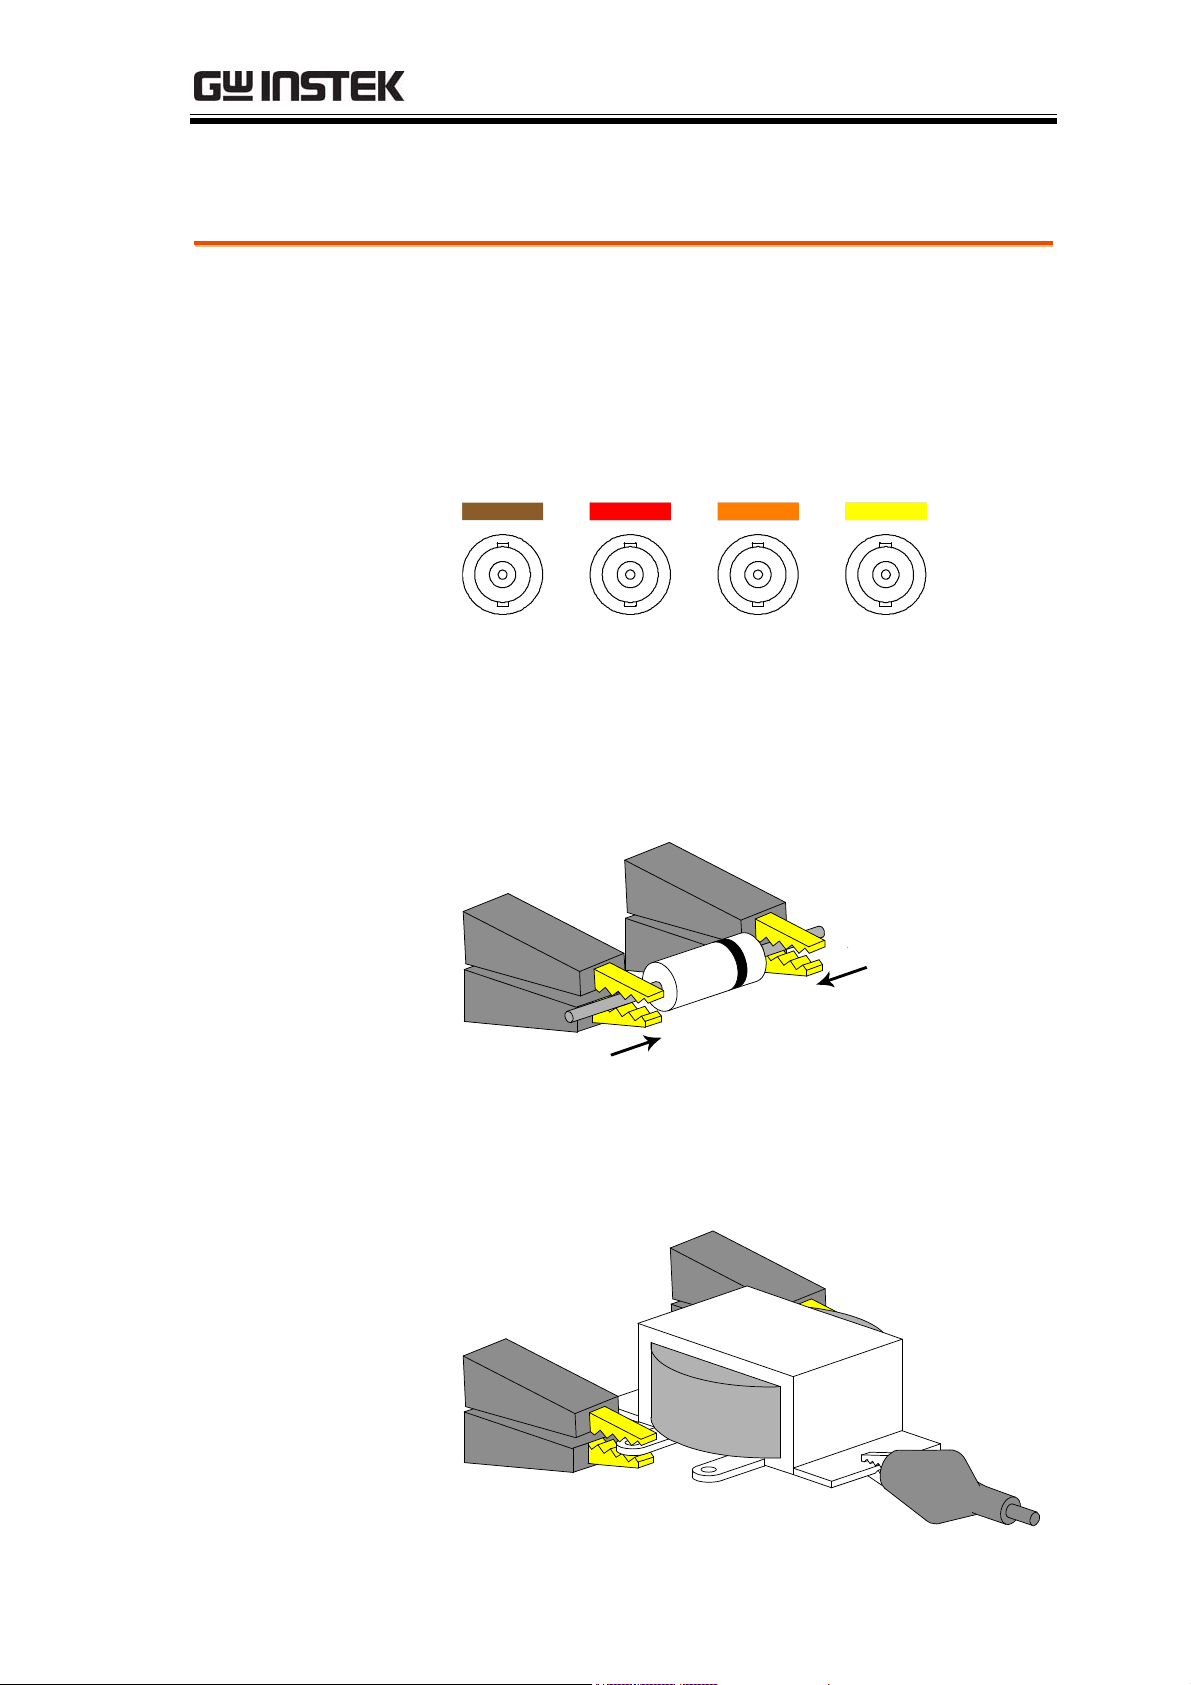
GETTING STARTED
L
L
Fixture connection
Panel operation
1. Discharge the test component before
connecting the fixture set.
2. Connect each fixture terminal to the front panel
BNC connector with matching color.
FORCE
SENSE
H
SENSE
H
FORCE
3. Connect the fixture to the test component. If the
component has polarity, connect the H side to
the positive lead and the L side to the negative
lead. Make sure the distance between the lead
base and fixture clip is short enough.
H side
L side
4. If the test component has an outer case
unconnected to either of the leads, connect the
ground terminal for noise level reduction.
25
Page 26

LCR-8000G Series User Manual
Tutorials (Step by Step Operations)
Basic measurement (without Pass/Fail test)
Step Description Details
1. Connect fixture
2. Enter menu
3. Hide scale
4. Select measurement item
5. Select series/
parallel circuit
6. Set
measurement
frequency
7. Set
measurement
Voltage
Connect the fixture to the DUT. Page24
Press the Menu key, followed by F1 (AC
measurement) or F2 (Rdc).
Press F4 (Show/Hide Scale) to hide the
scale (or show the circuit diagram)
Press F1 (First) and F2 (Second)
repeatedly to select the measurement
item.
If available, press F3 (Series/Parallel) to
select the equivalent circuit model.
Press the Left/Right arrow key and move
the cursor to the Frequency. Use the
numerical and unit keys to set the level.
Press the Left/Right arrow key and move
the cursor to the Voltage. Use the
numerical and unit keys to set the level.
Page47
Page49
Page50
Page50
Page52
Page54
8a. Select Single
measurement
8b. Select
Repetitive
measurement
26
Press the Sing/Rep key to select Single
(manual trigger) measurement. To trigger
measurement, press the Trig key.
Press the Sing/Rep key to select
Repetitive (automatic trigger)
measurement. Press the Left/Right arrow
key and move the cursor to Speed. Press
the Up/Down key to select the speed.
Page55
Page56
Page 27

GETTING STARTED
Optional settings
To hide the drive Voltage/Current, press
the Code key, type 80, then press Enter.
Set the Range (internal setting) to Auto,
use the Left/Right key to move the cursor
and Up/Down key to change the setting.
Page57
Page51
27
Page 28

LCR-8000G Series User Manual
Pass/Fail test (Single step)
Step Description Details
1. Connect fixture
2. Set buzzer
sound
3. Set Average
4. Enter menu
5. Show scale
Connect the fixture to the DUT. Page24
Press the Menu key, then F5 (System).
Page61
Press the Up/Down arrow key to move
the cursor to Beep, then use the
Left/Right key to select setting (Off
recommended).
Press the Menu key, then F5 (System).
Page62
Press the Up/Down arrow key to move
the cursor to Average, then use the
numerical keys to enter an average
number (1-256). Press enter to confirm the
number.
Press the Menu key, followed by F1 (AC
Page47
measurement) or F2 (Rdc).
Press F4 (Show/Hide Scale) to show the
Page 49
6. Select measurement item
7. Select series/
parallel circuit
8. Set
measurement
frequency
9. Set
measurement
Voltage
10a. Select Single
measurement
scale (or hide the circuit diagram)
Press F1 (First) and F2 (Second)
repeatedly to select the measurement
item.
If available, press F3 (Series/Parallel) to
select the equivalent circuit model.
Press the Left/Right arrow key and move
the cursor to the Frequency. Use the
numerical and unit keys to set the level.
Press the Left/Right arrow key and move
the cursor to the Voltage. Use the
numerical and unit keys to set the level.
Press the Sing/Rep key to select Single
(manual trigger) measurement. To trigger
measurement, press the Trig key.
Page50
Page50
Page52
Page54
Page55
28
Page 29

GETTING STARTED
10b. Select
Repetitive
measurement
11a. Select
Absolute
measurement
11b. Select
Percentage
measurement
Press the Sing/Rep key to select
Repetitive (automatic trigger)
measurement. Press the Left/Right arrow
key and move the cursor to Speed. Press
the Up/Down key to select the speed.
Press F5 (Abs/%/∆) to select Abs. Press
the Left/Right key to move the cursor to
Lo (Low limit). Use the numerical and
unit keys to set the Low limit. Repeat this
for Hi (Hi limit) as well.
Press F5 (Abs/%/∆) to select %. Press the
Left/Right key to move the cursor to the
Nominal value. Use the numerical and
unit keys to set the numerical level. Then
move the cursor to Lo (Low limit) and set
the percentage. Repeat this for Hi (Hi
Page56
Page66
Page67
11c. Select Delta
measurement
Optional settings
limit) as well. To save the latest
measurement result as Nominal, press F6
(Save Nom).
Press F5 (Abs/%/∆) to select ∆. Press the
Left/Right key to move the cursor to the
Nominal value. Use the numerical and
unit keys to set the numerical level. Then
move the cursor to Lo (Low limit) and set
the Lo value difference. Repeat this for Hi
(Hi limit) as well. To save the latest
measurement result as Nominal, press F6
(Save Nom).
To hide the drive Voltage/Current, press
the Code key, type 80, then press Enter.
Set the Range (internal setting) to Auto,
use the Left/Right key to move the cursor
Page68
Page57
Page51
and Up/Down key to change the setting.
29
Page 30

LCR-8000G Series User Manual
Pass/Fail test (Multiple step)
Step Description Details
1. Connect fixture
2. Set buzzer
sound
3. Set Average
4. Enter multiple
step mode
5. Select
measurement
item
Connect the fixture to the DUT. Page24
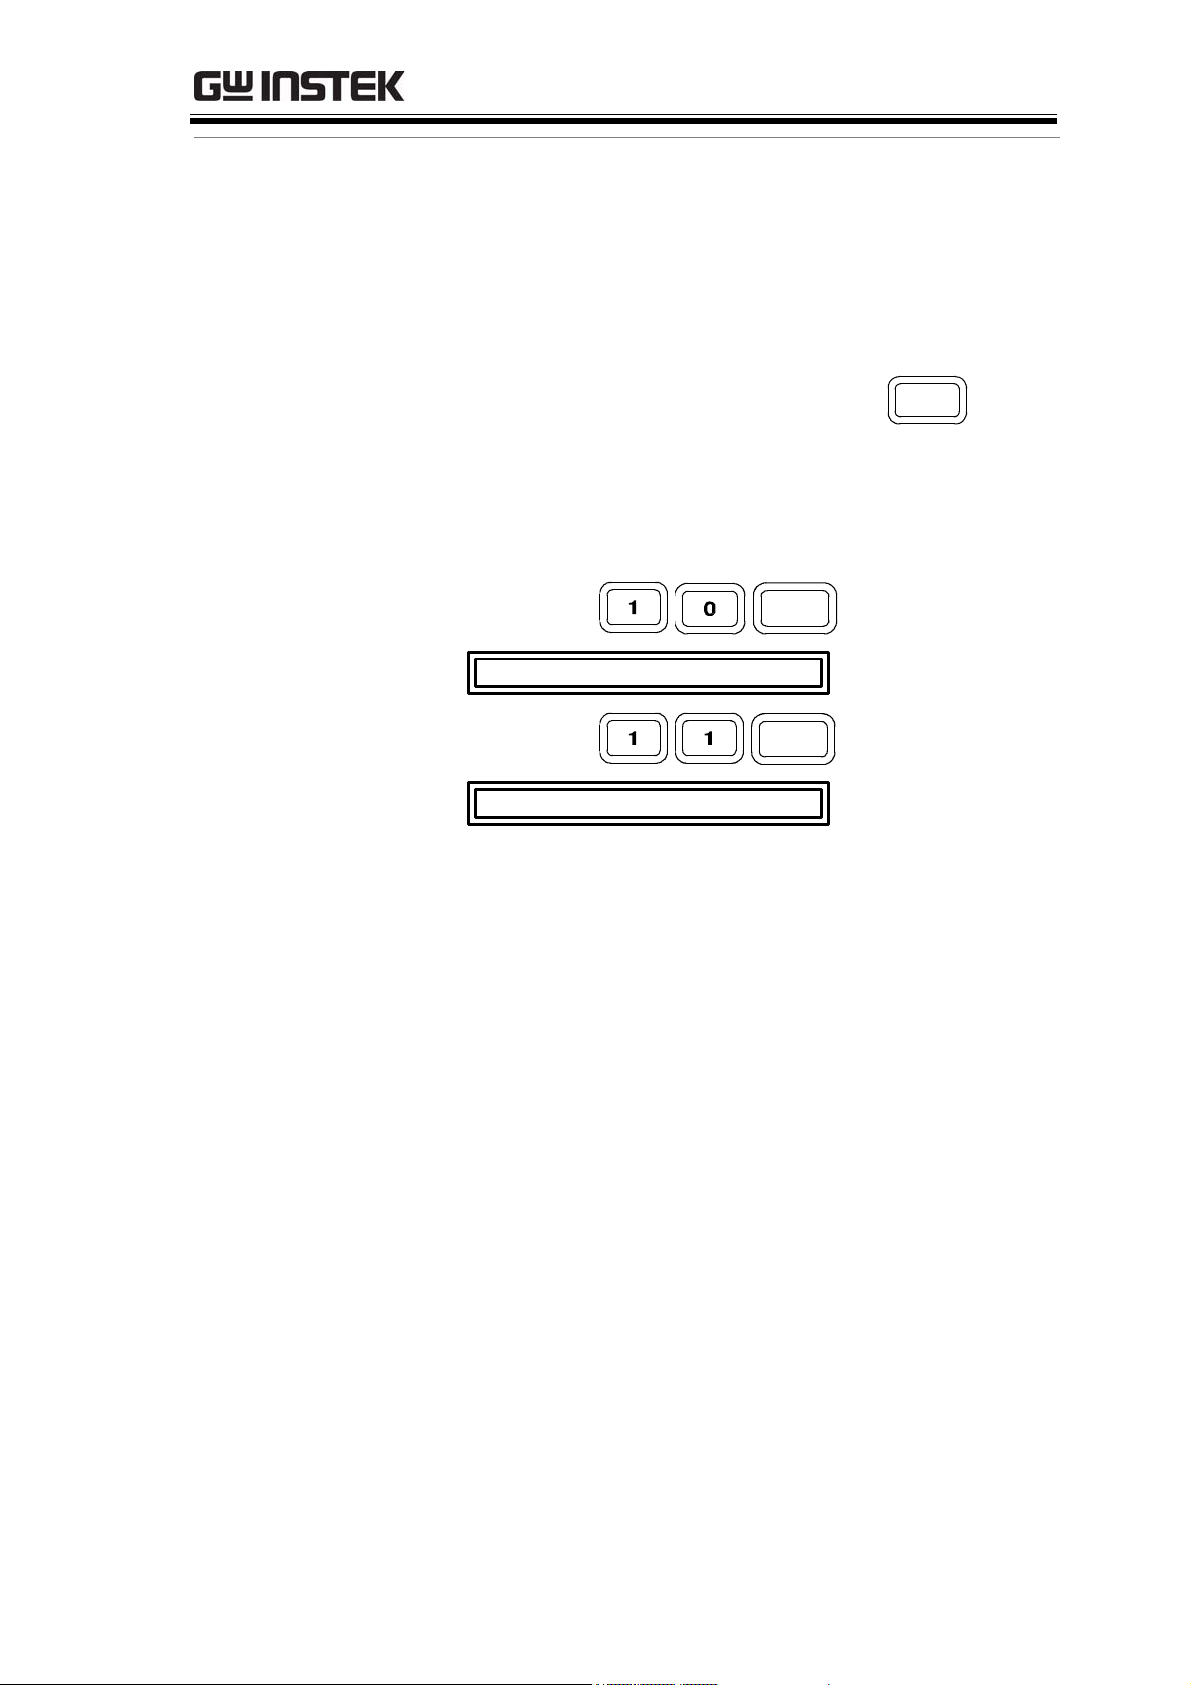
Press the Menu key, then F5 (System).
Page72
Press the Up/Down arrow key to move
the cursor to Beep, then use the
Left/Right key to select setting (Off
recommended).
Press the Menu key, then F5 (System).
Page73
Press the Up/Down arrow key to move
the cursor to Average, then use the
numerical keys to enter an average
number (1-256). Press enter to confirm the
number.
Press the Menu key, then F3 (Multi step). Page74
Press the arrow keys to move the cursor
Page76
to Step 01 Func. Press F1 (Prog)
repeatedly to select the item.
6a. Set
parameters
6b. Add steps
6c. Copy to the
next step
6d. Delete step
7. Save program
Press the arrow keys to move the cursor
to the parameters below. Use the
numerical and unit keys for editing values
or F1 (Prog) for selecting options.
Move the cursor to the first empty step
and press F1 (Prog).
Press F2 (Copy). The selected step
contents are copied and inserted to the
next step.
Press F3 (Delete). The selected step is
deleted.
Press F4 (Save). The edited program is
saved.
Page76
Page76
Page79
Page79
Page83
30
Page 31

GETTING STARTED
8. Enter Run
menu
9. Set Single or
Repetitive
10. Start running
File operation:
new program
Press F6 (Run). The Run menu opens. Page80
Press the Sing/Rep key to select Single
Page80
(manual trigger) or Repetitive (auto
trigger).
If the test has not started yet, press F1
Page80
(Start) or Trig key. Press F6 (Set) to go
back to the setup menu.
Press F5 (File), then F4 (New). Press the
Page74
Left/Right keys to move the cursor and
press the Down key to select character. To
confirm the file name, press the Enter key.
A new file appears.
To delete a character, press the Up key.
To quit, press the Clear key.
File operation:
load
File operation:
delete
File operation:
save as
Press F5 (File), then F1 (Load). Use the
arrow keys to select the program and
press F1 (Load).
Press F5 (File), then F2 (Delete). Use the
arrow keys to select the program and
press F5 (Del).
Press F5 (File), then F3 (Save as). Press the
Left/Right keys to move the cursor and
press the Down key to select character. To
confirm the file name, press the Enter key.
A new file appears.
To delete a character, press the Up key.
To quit, press the Clear key.
Page85
Page86
Page83
31
Page 32

LCR-8000G Series User Manual
Graph mode
Step Description Details
1. Connect fixture
2. Enter graph
mode
3. Select item
4a. Set horizontal
scale (frequency)
4b. Set horizontal
scale (voltage)
Connect the fixture to the DUT. Page24
Press the Menu key, then F4 (Graph). Page88
Press F5 repeatedly to select the graph
Page89
item.
Press the Up/Down key to move the
Page92
cursor to Sweep. Press the Left/Right key
to select Frequency. Then move the cursor
to Start Frequency, set the value using the
numerical and unit keys. Repeat this for
Stop Frequency and Level (drive
Voltage).
Press the Up/Down key to move the
Page90
cursor to Sweep. Press the Left/Right key
to select Voltage. Then move the cursor to
5. Select speed
6. Select step size
7. Select linear or
log scale
8a. Set vertical
scale (Absolute +
Auto fit)
Start Voltage, set the value using the
numerical and unit keys. Repeat this for
Stop Voltage and Freq (frequency).
Press the Up/Down key to move the
cursor to Speed. Press the Left/Right key
to select the measurement speed.
Press the Up/Down key to move the
cursor to Step size. Press the Left/Right
key to select the data step (all or
sampled).
Press F1 (Lin/Log) to select linear or
logarithmic horizontal scale.
Press F2 (Abs/%) to select Abs, then press
F3 (Manual/Auto fit) to select Auto fit.
the LCR-8000G automatically configures
Page101
Page102
Page91
Page98
the vertical scale.
32
Page 33

GETTING STARTED
8b. Set vertical
scale (Absolute +
Manual fit)
8c. Set vertical
scale (Percentage
+ Auto fit)
8d. Set vertical
scale (Percentage
+ Manual fit)
Press F2 (Abs/%) to select Abs, then press
F3 (Manual/Auto fit) to select Manual fit.
Move the cursor to Hi, set the Hi value.
Repeat this for Lo as well. The minimum
and maximum vertical range is manually
configured.
Press F2 (Abs/%) to select %, then press
F3 (Manual/Auto fit) to select Auto fit.
Move the cursor to Nominal and set the
nominal value. The LCR-8000G
automatically configures the vertical
range around the nominal value.
Press F2 (Abs/%) to select %, then press
F3 (Manual/Auto fit) to select Auto fit.
Move the cursor to Hi, set the Hi
percentage. Repeat this for Lo and
Page94
Page99
Page96
9. Plot graph
10. Fit graph into
display
11. Move marker
12. Return to
previous menu
Nominal. The minimum and maximum
vertical range is manually configured.
Press F4 (Start). The graph is drawn on
the display. To abort, press F6 (Abort).
When plotting is finished, press F1
(Function), then F2 (Fit). The vertical scale
is automatically adjusted to include all
the plotted line. Press F1 (View) to go
back.
Press the Left/Right keys to move the
marker on the graph. To move the marker
to the peak, press F1 (Function) and F3
(Peak). To move to the dip, press F4 (Dip).
Press F1 (View) to go back.
Press F6 (Return) or press the Menu key
to go back to the previous or the other
Page103
Page105
Page106
Page106
menu.
33
Page 34

LCR-8000G Series User Manual
Measurement tip
Hi/Low
impedance
Metal component
case connection
If the measured impedance is greater than 1kΩ,
the standard four-terminal connection is not
necessary. Run S/C trim to remove the effect of
series lead impedance.
If the measured impedance is lower than 1kΩ,
four-terminal connection can reduce the effect of
contact resistance at the test component.
A large area of metal can add noise to the
measurement. Here is how to minimize the effect.
If the metal is connected to one of the terminals,
this should be connected to the Hforce (Yellow)
terminal side.
If the metal is NOT connected to either of the
terminals, connect the GND clip.
Small-sized
capacitor
Small-sized
inductor
When measuring small, SMD-size capacitors, run
O/C trim at the measurement frequency (Spot
trimming) to eliminate the residual capacitance.
Make sure the measurement lead positions are
fixed during trimming.
When measuring small, SMD-size inductors, run
S/C trim at the measurement frequency (Spot
trimming). The LCR-8000G measures the
difference between the inductance of S/C
trimming and the inductance of test component.
Four-terminal fixture set is recommended and
make sure the measurement leads are fixed during
trimming.
34
Page 35

GETTING STARTED
Wire capacitance
Wire inductance
Frequency factor
in inductor
measurement
When measuring the wire capacitance, the fixture
clips that are marked with H
(High Sense)
should always be connected to the
(High Force)/HS
F
point that is influenced the most by noise.
The wire inductance should be subtracted from
the measurement result.
• 5cm, 1mm diameter wire has 50nH inductance
• 5cm, 2mm diameter wire has 40nH inductance
When an inductor is measured at a frequency
much lower than that for which it is designed (for
example, an HF choke tested at AF), the inductor
tends to behave as an inductive resistor. In these
circumstances, measurement accuracy is widened
by (1 + 1/Q) where Q is the quality factor.
Air-cored coils
Iron-cored and
ferrite inductor
Air-cored coils can pick up noise very easily,
therefore they should be kept well clear of any test
equipment that may contain power transformers
or display scan circuitry. Also, keep the coils away
from metal objects which may modify inductor
characteristics.
The effective value of iron-cored and ferrite
inductors can vary widely with the magnetization
and test signal level. Measure them at the AC level
and frequency in use. When core materials are
damaged by excessive magnetization (for
example: tape heads and microphone
transformers), check that the test signal is
acceptable before connection.
35
Page 36

LCR-8000G Series User Manual
BASIC MEASUREMENT
Basic measurement measures DUT in numerical
style. Advanced measurements are available in
Pass/Fail test mode (page58), where measurement
results are compared with user-defined limits, and
in Graph mode (page87), where measurement
data is displayed in graphical representation.
Measurement
item
Measurement combination .......................................... 37
Series/Parallel circuit models....................................... 38
Measurement
overview
Measurement
configuration
Resistance (R) and Conductance (G = 1/R) ............... 40
Capacitance (C).............................................................. 41
Inductance (L)................................................................ 42
Reactance (X) and Susceptance (B = 1/X).................. 43
Impedance (Z) and Admittance (Y = 1/Z).................. 44
Quality factor (Q) and Dissipation factor (D) ............ 45
Angle (θ) ........................................................... 46
Enter measurement mode............................................ 47
Display overview ............................................................ 48
Show circuit model or scale (pass/fail)............ 49
Select measurement item ............................................. 50
Set measurement range to Auto .................................. 51
Set measurement frequency ......................................... 52
Set measurement voltage ................................. 54
Run measurement
36
Select Single measurement .......................................... 55
Select Repetitive measurement.................................... 56
Hide drive Voltage/Current............................... 57
Page 37
BASIC MEASUREMENT
Measurement Item Description
In general, two items, primary and secondary, are combined in a
single measurement. The following table shows the available
combinations. Overview of each measurement item is listed from
the next page.
Measurement combination
:Available, :Not available, :Combination doesn’t exist.
1st measurement 2nd measurement Circuit model Graph *Prog
Q D RAC G Angle Series Parallel
Capacitance (C)
Inductance (L)
Reactance (X)
Susceptance (B)
Impedance (Z)
Admittance (Y)
DC Resistance(RDC)
Quality factor (Q)
Dissipation factor (D)
AC Resistance (RAC)
Conductance (G)
Angle ()
*Prog: Multi-step program
• The graph measurement is described in the Graph Mode chapter,
page87.
• The multi-step program mode is described in the Pass/Fail test
chapter, page70.
37
Page 38
LCR-8000G Series User Manual
(
)
Series/Parallel circuit models
Background
Capacitance (C) Series diagram
Series formula
For measuring AC Resistance, Capacitance,
Reactance, Inductance, and Susceptance, series and
parallel equivalent circuit models are available.
Select the model according to the component
value.
Parallel diagram
Parallel formula
2
1 DCC
+=
PS
D=dissipation factor
C
P
D=dissipation factor
C
S
=
()
1 D
+
2
When to use Series (C
Small capacitance:
Reactance (X
) < 1kΩ
C
1
Note:
X
=
C
2
Inductance (L) Series diagram
π
fC
S)
When to use Parallel (C
Large capacitance:
Reactance (X
Note:
Parallel diagram
X
=
C
) > 1kΩ
C
1
fC
π
2
P)
38
Page 39

BASIC MEASUREMENT
π
=
π
(
)
Series formula
L
L
=
S
P
⎛
⎜
1
+
⎜
⎝
Q=quality factor
When to use Series (L
Small capacitance:
Reactance (X
Note:
Resistance Series diagram
Q
L
⎞
1
⎟
2
⎟
⎠
) < 1kΩ
L
fLX
2
S)
Parallel formula
Q=quality factor
When to use Parallel (L
Large capacitance:
Reactance (X
Note:
Parallel diagram
⎛
⎜
1
LL
+=
SP
⎜
⎝
2=
L
⎞
1
⎟
2
⎟
Q
⎠
) > 1kΩ
L
fLX
P)
Series formula
R
P
R
=
S
()
1 Q
+
Q=quality factor
When to use Series (R
Small resistance: < 1kΩ
2
S)
Parallel formula
Q=quality factor
When to use Parallel (RP)
Large resistance: > 1kΩ
2
1 QRR
+=
SP
39
Page 40

LCR-8000G Series User Manual
G
I
C
R
V
(
Resistance (R) and Conductance (G = 1/R)
Background
Resistance Conductance
Type
Display Range
Measurement
combination
Resistance measures how difficult it is for the
electricity to flow between two terminals.
Conductance is the reciprocal of Resistance and
measures how easily the electricity flows.
• Series Resistance R
• Parallel Resistance R
• DC Resistance R
0.01mΩ ~ 1GΩ 0.001ns ~ 1ks
• C
• L
+ RS
S
+ RS
S
• L
• B
P
P
S
dc
+ RP
+ RP
• Parallel Conductance
(= 1/RP)
G
P
P
Note: Conductance is
available only for
parallel circuit models.
• C
• L
+ GP
P
+ GP
P
• B
+ GP
P
Formula
• X
+ RS
S
• C
+ RP
P
V
R
S
Z
=
P
=
S
• R
1
S
dc
I
1
jXZ
−===
G
j
+=−=
ϖ
ZLjZ
SS
ϖ
ϖ
()
22
XRZ
+=
Y
=
S
RX
+
22
XR
P
=
P
()
θ
cosZR
GB
()
+
+=
θ
cosYG
jBY
−===
PP
j
YCjY
+=−=
PP
22
BG
22
BGY
)
L
ϖ
40
Page 41

BASIC MEASUREMENT
C
ϖ
+
=
Capacitance (C)
Background
Display Range
Type
Combination
Formula
Capacitance measures the amount of electronic
charge stored between two terminals.
0.001pF ~ 1F
• Series Capacitance C
• C
• C
• C
+ Q
S
+ D
S
+ RS
S
j
RZ
S
−=
ϖ
1
Q
=
ϖ
RC
SS
• Parallel Capacitance C
S
• C
• C
• C
• C
P
+ Q
P
+ D
P
+ RP
P
+ GP
P
ϖ
=
CjGY
D
RCQ
PP
=
G
ϖ
C
P
P
P
ϖ
=
RCD
SS
41
Page 42

Inductance (L)
ϖ
ϖ
LCR-8000G Series User Manual
Background
Display Range
Type
Measurement
combination
Formula
Inductance measures the amount of magnetic flux
generated in certain electrical current.
0.1nH ~ 100kH
• Series Inductance L
• L
+ Q
S
• L
+ D
S
• L
+ RS
S
LjRZ
ϖ
+=
L
S
R
S
R
,
=
D
ϖ
Q
S
=
• Parallel Inductance L
S
• L
• L
• L
• L
+ Q
P
+ D
P
+ RP
P
+ GP
P
j
−=
GY
L
P
S
S
Q
=
ϖ
R
L
L
ϖ
P
,
P
=
GLD
PP
P
42
Page 43

BASIC MEASUREMENT
B
(
X
Reactance (X) and Susceptance (B = 1/X)
Background
Type
Display Range
Measurement
combination
Reactance measures the imaginary part of
Impedance (Z) caused by capacitors or inductors.
Susceptance is the reciprocal of Reactance and
measures the imaginary part of Admittance (Y),
which is also the reciprocal of Impedance.
Series Reactance (X
Note: Reactance is
available only in series
circuit model.
0.01mΩ ~ 1GΩ 0.001ns ~ 1ks
• X
+ Q
S
• X
+ D
S
• X
+ RS
S
)
S
Parallel Susceptance (B
Note: Susceptance is
available only in parallel
circuit model.
• B
• B
• B
+ Q
P
+ D
P
+ RP
P
)
P
Formula
1
X ==
S
Z
=
P
=
S
• B
+ GP
P
1
Z
+=
B ==
22
)
XRZ
Y
=
S
sin
Y
GB
()
+
θ
sin
RX
+
22
XR
P
P
()
θ
sinZX
()
+=
θ
=
sinYB
θ
22
BG
22
BGY
43
Page 44

LCR-8000G Series User Manual
I
C
Z
E
+
=
(
Impedance (Z) and Admittance (Y = 1/Z)
Background
Type
Display Range
Formula
Impedance measures the total amount of
opposition between two terminals in an AC circuit.
Admittance is the reciprocal of Impedance and
measures how easily the electricity flows in an AC
circuit.
Impedance (Z) Admittance (Y)
0.01mΩ ~ 1GΩ 0.001ns ~ 1ks
E
Z
1
==
Y
I
1
==
Y
S
+=
P
jXRZ
j
ϖ
RLjR
−=+=
ϖ
ϖ
jBGY
j
ϖ
L
GCjG
−=+=
S
=
Z
P
=
S
=
S
()
22
XRZ
+=
Y
=
S
GB
()
+
RX
+
22
XR
P
=
P
=
P
()
θ
cosZR
θ
sinZX
+=
θ
cosYG
θ
sinYB
22
BG
22
)
BGY
44
Page 45

BASIC MEASUREMENT
ϖ
Quality factor (Q) and Dissipation factor (D)
Background
Type
Display Range
Formula
Both Quality factor and its reciprocal, Dissipation
factor, are used for measuring the rate of energy
dissipation relative to the measurement frequency.
• Low energy dissipation: high Q, low D
• High energy dissipation: low Q, high D
Quality factor (Q) Dissipation factor (D)
0.01 ~ 9999.9 0.00001 ~ 1000
ϖ
G
C
ϖ
P
R
P
L
S
ϖ
==
S
GL
ϖ
==
RC
SS
PP
Q
ϖ
R
L
L
S
==
P
ϖ
==
P
ϖ
1
RCR
SSS
RC
PP
D
=
1
()
90tan
−
θ
1
=
°
D
1
()
90tan
θ
°
=−=
Q
45
Page 46

Angle (θ)
C
+
=
LCR-8000G Series User Manual
Background
Type
Display Range
Formula
The Angle (θ) measures the phase on which
Impedance (Z), Admittance (Y), Quality factor (Q),
and Dissipation factor (D) are measured.
Angle (θ)
–180° ~ +180°
Q
S
+=
P
jXRZ
j
ϖ
RLjR
−=+=
ϖ
ϖ
1
=
()
90tan
=
S
cosZR
−
θ
θ
1
=
°
D
D
=
P
jBGY
j
ϖ
L
1
GCjG
−=+=
()
90tan
θ
°
=−=
Q
θ
cosYG
=
S
sinZX
θ
θ
=
P
sinYB
46
Page 47

BASIC MEASUREMENT
Measurement Mode Overview
Enter measurement mode
Type AC
DC
Panel operation
1. Press the Menu key. The main menu
C, L, X, B, Z, Y, Q, D, R, G, θ
Rdc
appears.
MAIN MENU
AC MEAS
Rdc MEAS
MULTI STEP
GRAPH
SYSTEM
Menu
F1
F2
F3
F4
F5
AC measurement
2. For Rdc measurement, press F2
(Rdc Meas).
For any other measurement, press
F1 (AC Meas). The measurement
mode display appears.
DC measurement (Rdc)
F2
F1
47
Page 48

LCR-8000G Series User Manual
Display overview
Normal mode
Absolute mode (Pass/Fail test)
Percentage mode (Pass/Fail test)
48
Page 49
BASIC MEASUREMENT
Delta mode (Pass/Fail test)
For Pass/Fail test details, see page58.
Show circuit model or scale (pass/fail)
Background
The center of the display can be filled with the
diagram of equivalent circuit model, or the
measurement scale with Pass/Fail test result. This
selects not only the diagram/scale but also
whether running the Pass/Fail test or just
measuring the value.
Panel operation
Press F4 (Show/Hide scale) to view
the circuit model or scale.
Normal
Pass/Fail test
Pass/Fail test
For Pass/Fail test details, see page58.
49
Page 50
LCR-8000G Series User Manual
Parameter Configuration
Select measurement item
*This is not necessary for Rdc measurement.
Measurement
combination
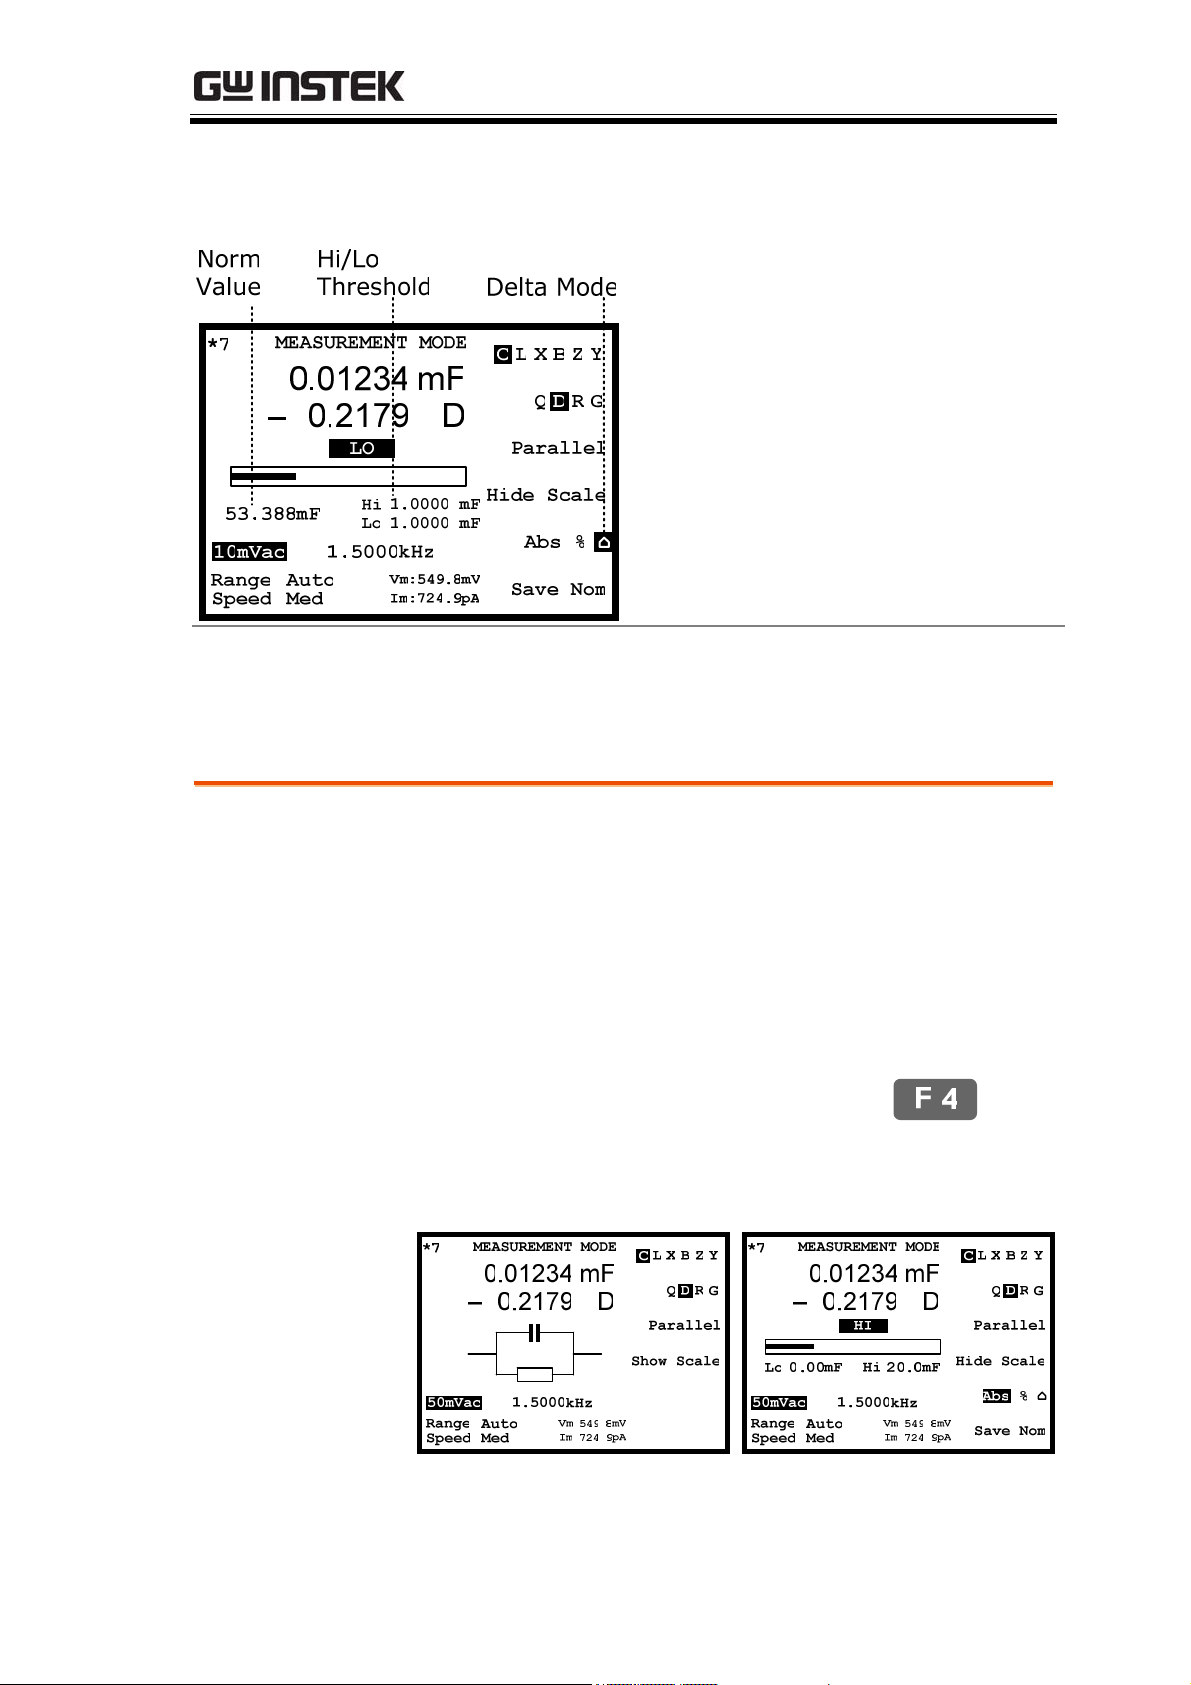
Capacitance (C)
Parallel C-Q, C-D, C-R, C-G
Inductance (L) Series L-Q, L-D, L-R
Parallel L-Q, L-D, L-R, L-G
Reactance (X) Series X-Q, X-D, X-R
Susceptance (B)
Impedance (Z) Z-Angle
Admittance (Y)
Panel operation
The following list shows the available combination
of the first and second measurement items.
Series C-Q, C-D, C-R
Parallel B-Q, B-D, B-R, B-G
Y-Angle
To select the first measurement
item, press F1 repeatedly.
C LXBZY
F1
To select the second measurement
Series
50
item, press F2 repeatedly.
Q DRG
To select the circuit model, series or
parallel, press F3 repeatedly.
Parallel
F2
F3
Page 51
BASIC MEASUREMENT
Set measurement range to Auto
Background
The measurement range is an internal parameter
defining the search range for each measurement
item. Make sure the Auto setting is always
selected, to obtain the best measurement accuracy.
The active range appears at the top left corner of
the display.
*7
MEASUREMENT MODE
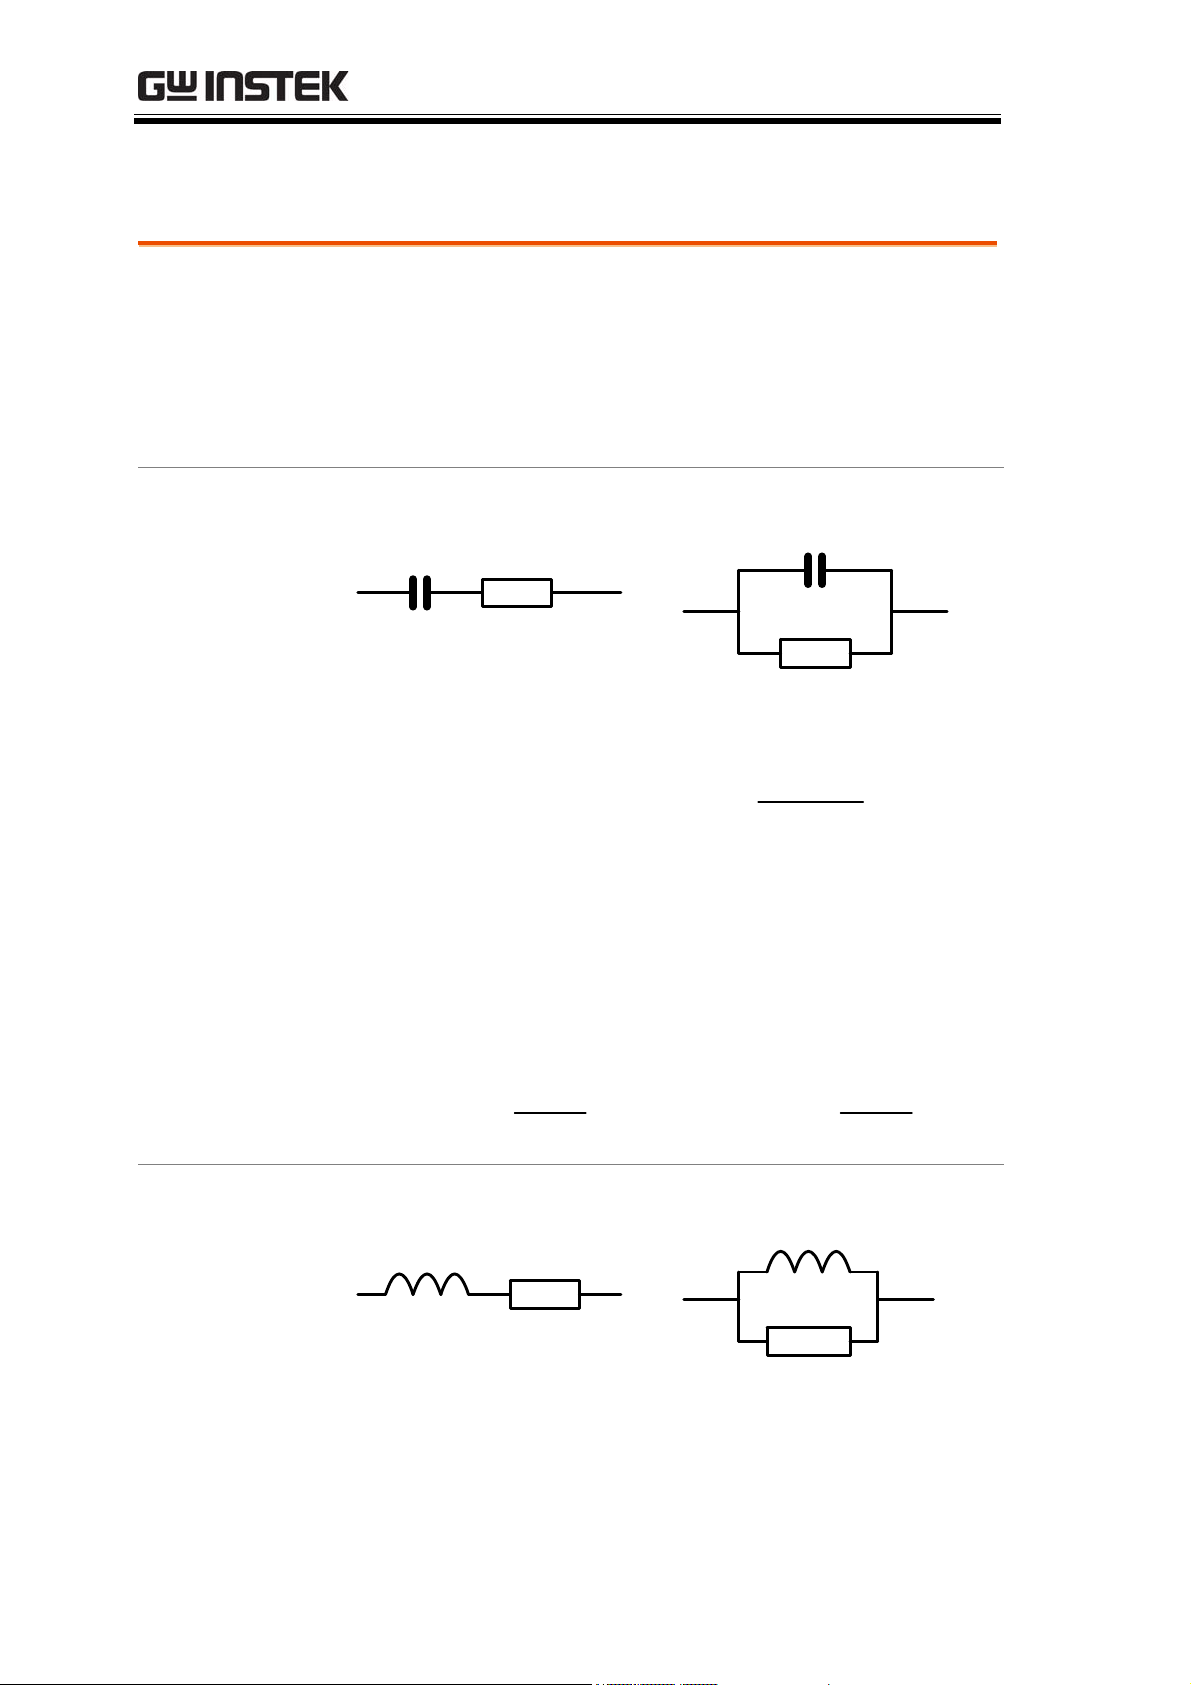
0.01234
–
Panel operation
1. Press the Left/Right key
repeatedly to move the cursor to
Range position.
Range Auto
Speed Slow
0.2179
nS
D
2. If the range is NOT set to Auto,
press the Up/Down key
repeatedly to set it back to Auto.
Range 5
Speed Slow
Range Auto
Speed Slow
51
Page 52
LCR-8000G Series User Manual
Set measurement frequency
*This setting does not apply to Rdc measurement.
Background
The measurement frequency, together with the
measurement voltage, defines the electrical
condition of each measurement item. Make sure
the appropriate frequency is selected, according to
the component characteristics.
Panel operation
1. Press the Left/Right key repeatedly
to move the cursor to Frequency.
2.00 195.00 kHzVac
Range
2. Enter the frequency using the numerical keys.
20Hz ~ 1MHz (LCR-8101G)
20Hz ~5MHz (LCR-8105G)
20Hz ~10MHz (LCR-8110G)
1.2kHz
k
Enter
1MHz
Backspace
M
Enter
All clear
Increase
Decrease
When the entered value does not fit in the
range, the LCR-8000G automatically selects the
nearest value.
Nearest Available
When the wrong unit (such as Ω) is entered,
the value is cancelled.
Unit Mismatched
Clear
52
Page 53
BASIC MEASUREMENT
Select frequency
step resolution
For frequency increase/decrease using Up/Down
keys, fine and coarse step settings are available.
Fine 1st digit: 1, 2, 3, 4, 5, 6...
Coarse 2
1. Press the Code key.
2. Enter the system code using the numerical
nd
digit: 10, 12, 15, 20, 25, 30, 40, 50, 60, 80
keys, then press the Enter key. A confirmation
message appears on the display.
Fine: 10
Enter
Coarse: 11
Freq fine steps
Enter
Code
Freq coarse steps
53
Page 54
LCR-8000G Series User Manual
Set measurement voltage
Background
The measurement voltage, together with the
measurement frequency, defines the electrical
condition of each measurement item. Make sure
the appropriate voltage is selected, according to
the component characteristics.
Voltage setting
1. Press the Left/Right key repeatedly
to move the cursor to Voltage.
195.002.00 Vac kHz
Range
2. Enter the voltage using the numerical keys.
DCV:10mV ~ 2V
AC, 20Hz~≤ 3MHz: 0.01V~2Vrms
AC, >3MHz~10MHz: 0.01V~1Vrms
100mV
m
V/A
Enter
1V
Backspace
V/A
All clear
Increase
Decrease
When the entered value does not fit in the
range, the LCR-8000G automatically selects the
nearest value.
Nearest Available
When the wrong unit (such as Ω) is entered,
the value is cancelled.
Unit Mismatched
Enter
Clear
54
Page 55
BASIC MEASUREMENT
Running Measurement
Select Single measurement
Background
Panel operation
The data capture can be manually controlled
(Single) or automatically updated (Repetitive).
In single measurement, the measurement is
activated by pressing the Trigger key.
In repetitive measurement, the measurement is
automatically done and the display is updated
according to the speed (timing) setting.
1. Press the Sing/Rep key repeatedly
until the “Single Shot Mode”
message appears on the display.
Single Shot Mode
2. The measurement update indicator (*) does not
appears at the top left corner of the display.
Sing/Rep
7
3. To capture measurement data, press
the Trigger key. The measurement
update indicator (*) blinks and the
measurement result is updated on
the display.
*7
MEASUREMENT MODE
MEASUREMENT MODE
0.01234
–
0.2179
nS
D
nS
D
Trig
55
Page 56
LCR-8000G Series User Manual
Select Repetitive measurement
Background
Panel operation
The data capture can be manually controlled
(Single) or automatically updated (Repetitive).
In single measurement, the measurement is
activated by pressing the Trigger key.
In repetitive measurement, the measurement is
automatically done and the display is updated
according to the speed (timing) setting.
1. Press the Sing/Rep key repeatedly
until the “Repetitive Mode” message
appears on the display.
Repetitive Mode
2. The measurement update indicator (*) keeps
blinking and the measurement result is updated
Sing/Rep
on the display.
*7
MEASUREMENT MODE
0.01234
–
3. Press the Left/Right key repeatedly
to move the cursor to measurement
speed.
Speed Slow
4. Press the Up/Down key repeatedly
to select the time per update.
0.2179
nS
D
56
Page 57
BASIC MEASUREMENT
DC
Slow
Med
Fast
Max
Beep setting
If the beep setting (page61) is active and
900ms
120ms
60ms 650ms
30ms 600ms
AC≤
100Hz
1.3s 600ms 600ms 620ms
1.2s 470ms 450ms 470ms
the display is in Pass/Fail test mode, it
might sound continuously depending
on the measurement result. If this
happens, press the Sing/Rep key and
set the mode to Single. Then turn Off
the buzzer.
AC≤
2kHz
AC>
2kHz
AC≥
1MHz
180ms 150ms 150ms
120ms 75ms 120ms
Sing/Rep
Hide drive Voltage/Current
Background
Panel operation
Hide drive V/I: 80
Show drive V/I: 81
The drive voltage and current shows
the actual voltage/current level
applied to the device under test.
1. Press the Code key.
2. Enter the system code using the numerical
keys, then press the Enter key.
Enter
Vm:549.8mV
Im:724.9pA
Enter
Vm:549.8mV
Im:724.9pA
Code
Vm:549.8mV
Im:724.9pA
57
Page 58

LCR-8000G Series User Manual
PASS-FAIL MODE
In the Pass/Fail test mode, measurement results are
compared with user-defined limits and the results
are displayed. Two types of tests are available: Single
and Multi-Step. The Single test shares the same
interface with the basic measurement, and tracks one
item. The Multi-Step test runs a program comprised
of multiple measurement items with different
parameters.
Single-step
configuration
Single-step run
Multi-step
configuration
Overview......................................................................... 60
Configure beep setting.................................................. 61
Configure the Average................................................... 62
Select test item and scale (Pass/Fail test).................. 63
Set parameters ................................................. 64
Run in Absolute mode .................................................. 66
Run in Percentage mode............................................... 67
Run in Delta mode ........................................................ 68
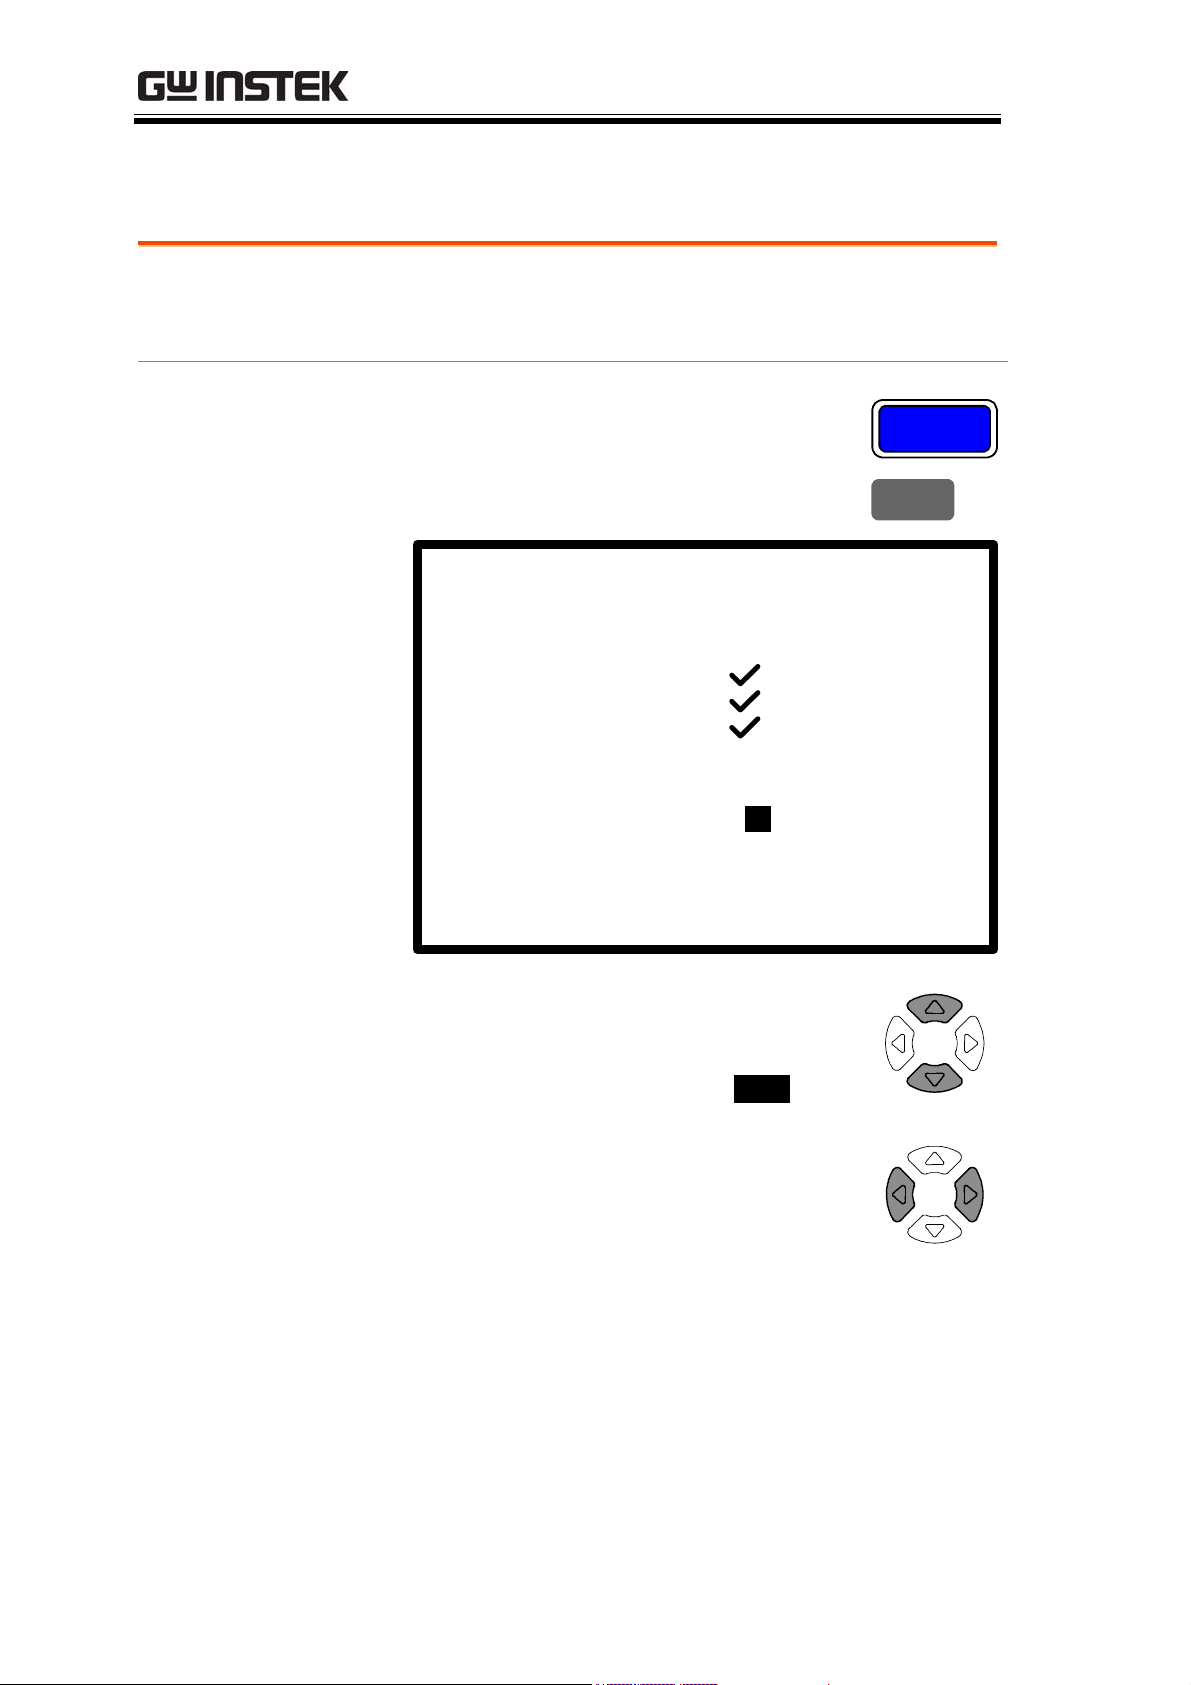
Use display value as nominal ........................... 69
Overview......................................................................... 70
Configure beep setting.................................................. 72
Configure the Average................................................... 73
Enter multi-step mode .................................................. 74
Create new program...................................................... 74
Edit program step.......................................................... 76
Copy (duplicate) program step .................................... 79
Delete program step......................................... 79
58
Page 59

PASS-FAIL MODE
Multi-step run Run program...................................................... 80
Multi-step file
operation
Save program..................................................... 83
Recall (load) existing program ........................... 85
Delete existing program ..................................... 86
59
Page 60

LCR-8000G Series User Manual
Single-Step Test Configuration
Overview
Background / test
type
Pass/Fail test checks whether the measurement
result sits between the Hi(high) and Lo(low) limit.
Three methods are available: absolute limit,
percentage and delta limit.
Absolute
limit
Percentage
limit
The Hi and Lo limit are defined by
absolute values.
The Hi and Lo limit are defined by the
distance (percentage) from the
Nominal value.
Nominal
– ##%
Nominal
Nominal
+ ##%
Pass
Delta limit
The Hi and Lo limit are defined by the
difference from the nominal value.
Test item
S
C
Series capacitance
P
C
Parallel
X
B
capacitance
L
L
R
60
S
Series inductance
P
Parallel inductance
S
Series resistance
Z
Y
RDC
Reactance
Susceptance
Impedance
Admittance
DC Resistance
Page 61

PASS-FAIL MODE
RP
Parallel resistance
For detailed description of each item, see page37.
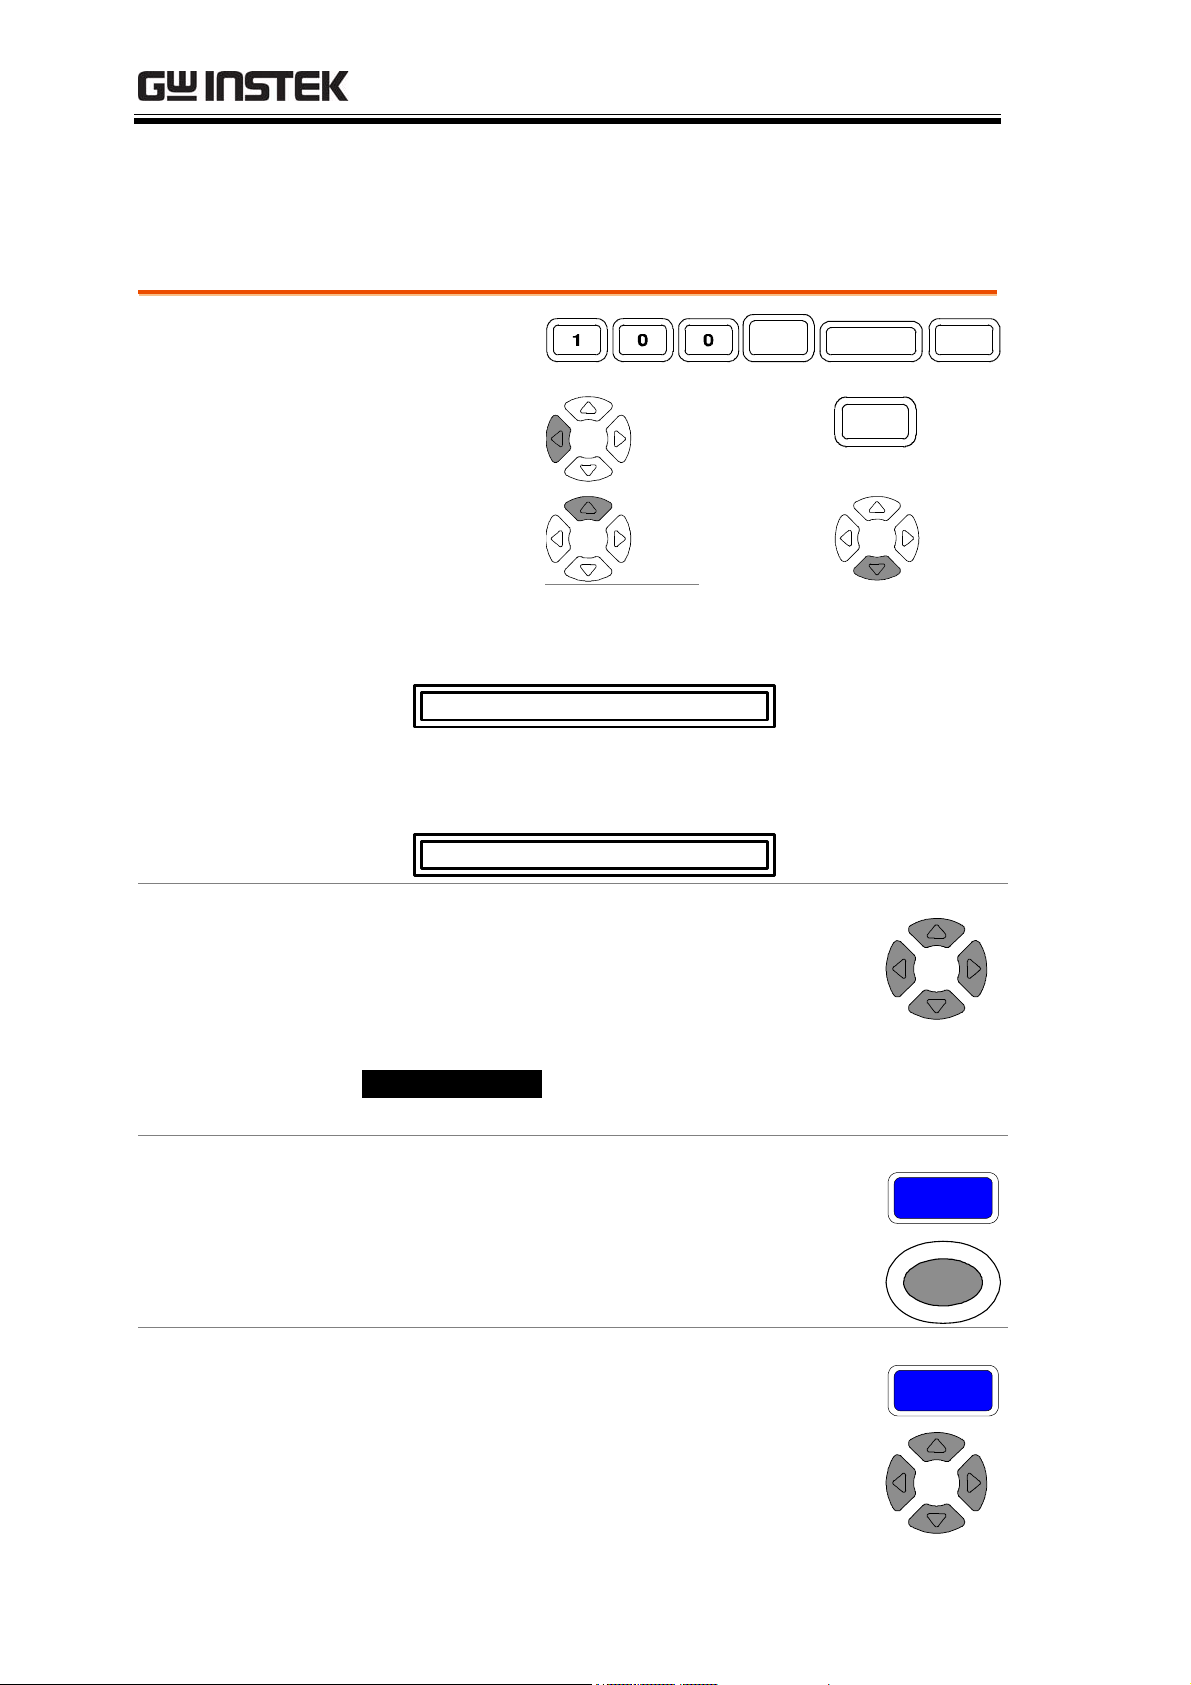
Configure beep setting
Background
Panel operation
The beep sounds when the pass/fail test result
matches the setting: failed or passed.
1. Press the Menu key, then F5
(System). The system configuration
appears.
Precision LCR Meter LCR-8101
Software version 2.03 Oct 25 2008
Angle
Menu
F5
Frequency
RS-232
Graph mode
GPIB
Line frequency
Beep
GPIB address
Average : 10
2. Press the Up/Down key and move
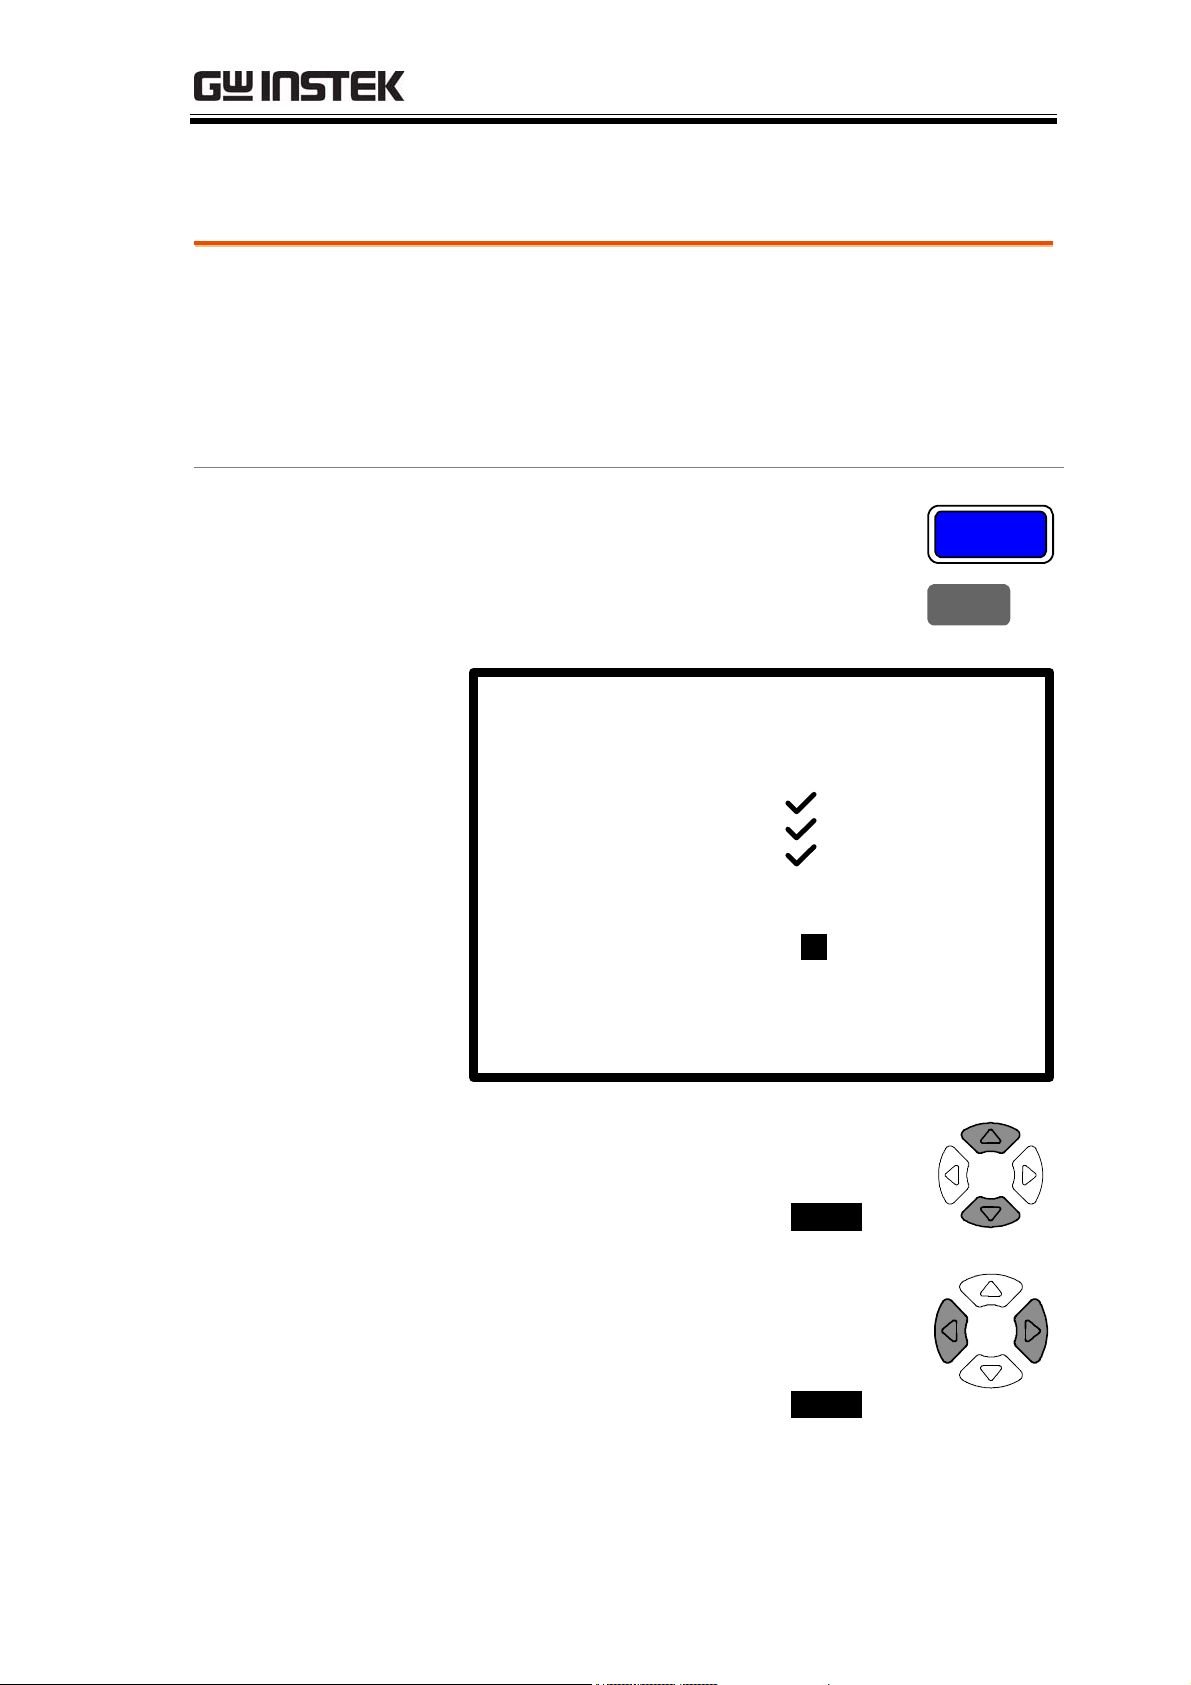
1MHz
:
50Hz
::OFF
5
the cursor to Beep.
Beep : OFF
3. Press the Left/Right key to select the
beep setting, Off, Pass, or Fail.
Off
Pass
Fail
Beep is turned Off
Beeps when the test result is pass
Beeps when the test result is fail
61
Page 62

LCR-8000G Series User Manual
Beep in repetitive
mode
If the repetitive measurement is On, the beep
might sound continuously. If this becomes a
problem, either use the Single mode (press
Sing/Rep key) or turn Off the beep.
Configure the Average
Background
Panel operation
The Average function sets the number of samples
used, which are then averaged as the final output.
The number of samples varies from 1 to 256.
1. Press the Menu key, then F5
(System). The system configuration
appears.
Menu
F5
2. Press the Up/Down key and move
Precision LCR Meter LCR-8101
Software version 2.03 Oct 25 2008
Frequency
RS-232
Graph mode
GPIB
Line frequency
Beep
GPIB address
Average : 10
the cursor to Average.
Average : 10
1MHz
:
50Hz
::OFF
5
3. Use the number pad to select
numerical keys to enter the number
of samples to be averaged. A
maximum of 256 samples can be
selected for averaging.
62
Page 63

PASS-FAIL MODE
Select test item and scale (Pass/Fail test)
Test item
Circuit model
Scale
Normal Pass/Fail test
To select the first measurement item,
press F1 repeatedly.
C LXBZY
To select the second measurement item,
press F2 repeatedly.
Q DRG
To select the circuit model, series or
parallel, press F3 repeatedly.
Press F4 (Show/Hide scale) to select
scale (Pass/Fail test).
F1
F2
F3
F4
Normal mode
For Normal (basic) mode details, see page36.
63
Page 64
LCR-8000G Series User Manual
Set parameters
For more detailed descriptions, see Basic measurement, page47.
How to edit Example
100mV
Backspace
All clear
Increase
Decrease
When the entered value does not fit in the
range, the nearest available value is selected.
Nearest Available
When the wrong unit (such as Ω) is entered,
the value is cancelled.
Unit Mismatched
m
V/A
Clear
Enter
Measurement
range (to Auto)
Single mode
Repetitive mode
Press the Left/Right key repeatedly to
move the cursor to Range position, and
use the Up/Down key to select Auto (if
necessary).
Range Auto
Speed Slow
Press the Sing/Rep key repeatedly to
select Single (manual trigger). To trigger
measurement, press the Trigger key.
Press the Sing/Rep key repeatedly to
select Rep (automatic trigger). Press the
Left/Right key repeatedly to move the
cursor to Speed, and use the Up/Down
Sing/Rep
Trig
Sing/Rep
key to select the update rate.
64
Page 65

PASS-FAIL MODE
Frequency (except
Rdc)
Frequency step
resolution
Voltage
Press the Left/Right key repeatedly to
move the cursor to Frequency, and use
the numerical and unit keys to enter the
value.
2.00 195.00 kHzVac
For frequency increase/decrease using Up/Down
keys, fine and coarse step settings are available.
Press the Code key and enter 10 (Fine)
or 11 (Coarse).
Code
Press the Left/Right key repeatedly to
move the cursor to Voltage, and use the
numerical and unit keys to enter the
value.
195.002.00 Vac kHz
65
Page 66
LCR-8000G Series User Manual
Single-Step Test Run
Run in Absolute mode
1. Press F5 to select Absolute
measurement.
2. Use the Left/Right key to move the
cursor to Hi/Lo value for editing.
HiLo 20.0mF0.00mF
3. Use the numerical keys
and unit keys to enter the
value. The editing value
appears at the bottom left
corner of the display.
Example
1.2m
F5
Range
Speed Med
Lo Lim: 1.5_
m
Auto
Ω
Enter
Backspace
All clear
Increase
Decrease
Hi and Lo values are automatically swapped if
necessary
4. The display updates the Hi/Lo result
Hi and Lo Swapped
immediately. The result is pass if the bar stays
in the central area. The buzzer sounds
accordingly.
66
Clear
Page 67
PASS-FAIL MODE
Result > Hi
Result < Lo
Lo < Result < Hi
(Pass)
Run in Percentage mode
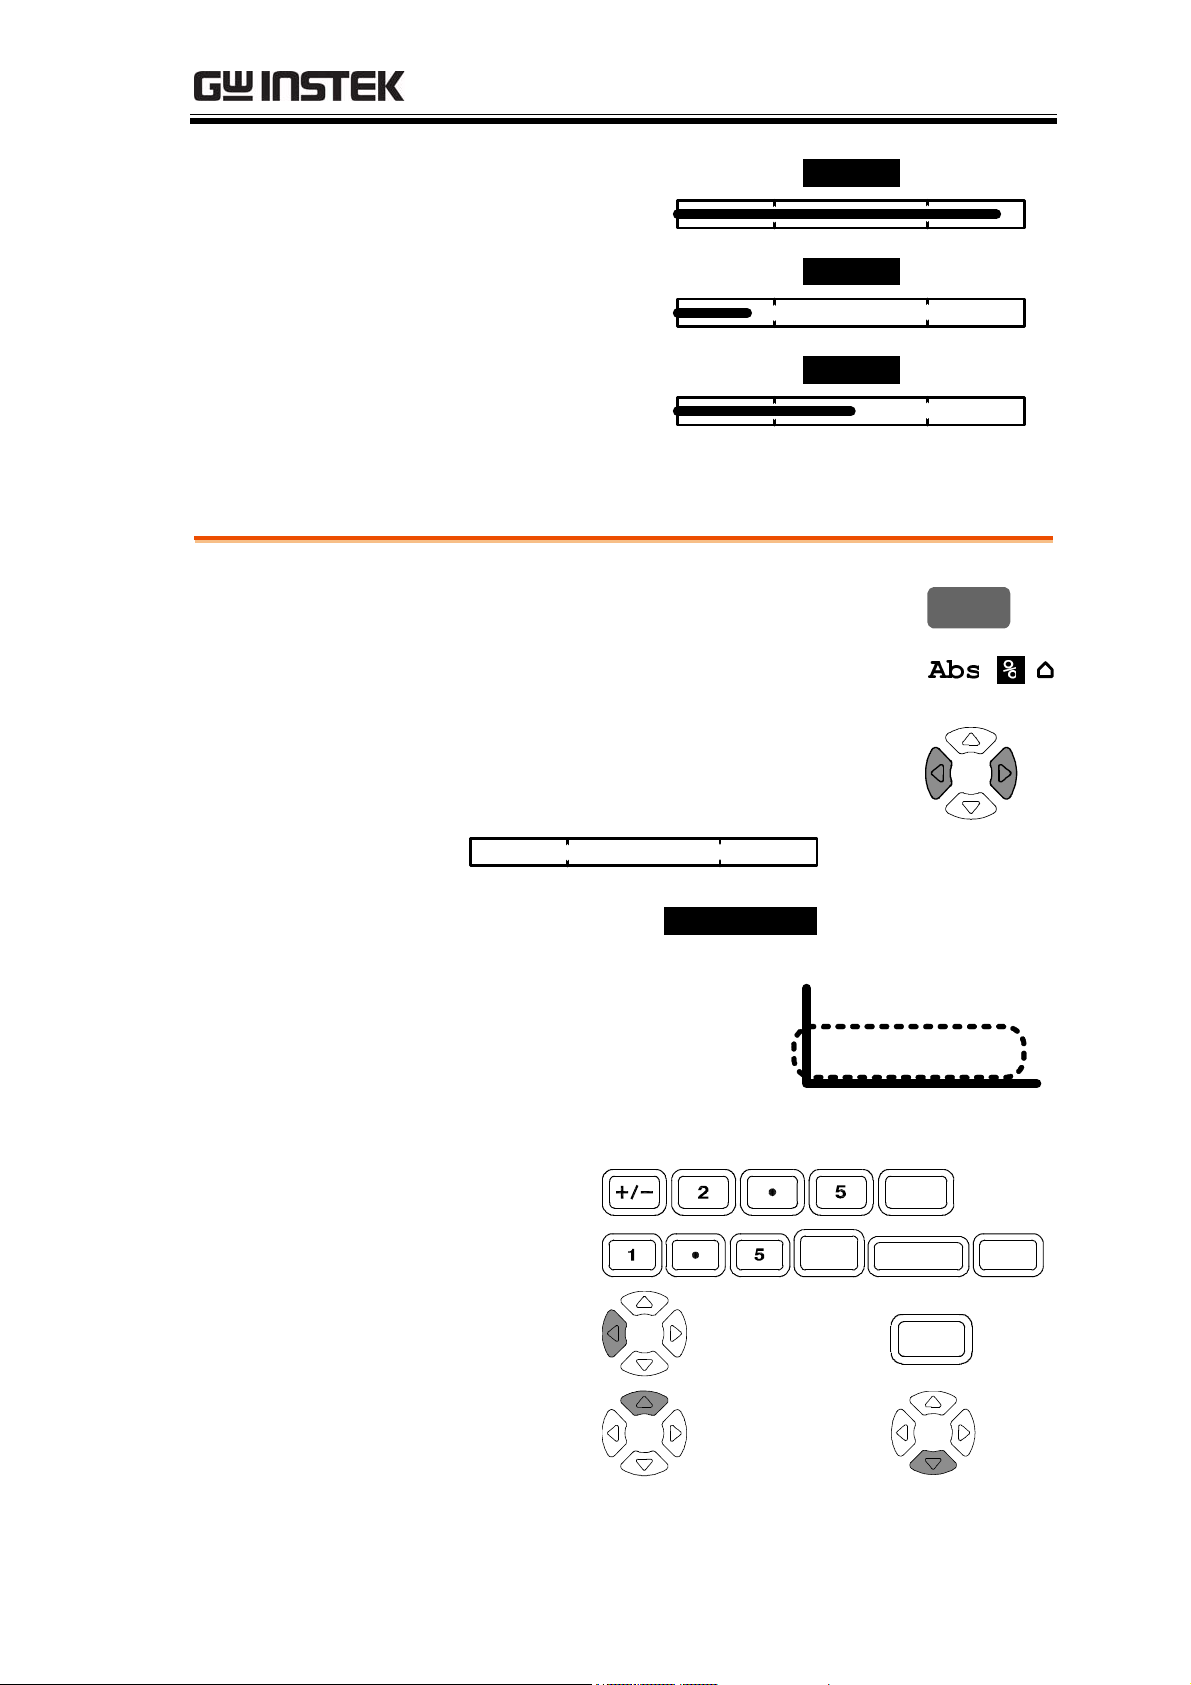
1. Press F5 to select Percentage
measurement.
2. Use the Left/Right key to move the
HI
LO
PASS
F5
cursor to Hi/Lo value for editing.
+1.00%
100.00mD
3. Use the numerical keys
Hi
Lo
–1.00%
and unit keys to enter the
value. The editing value
appears at the bottom left
corner of the display.
–2.50%
1.5kH
Backspace
All clear
Range
Speed Med
Lo Lim: 1.5_
Auto
Enter
k
H
Clear
Enter
Increase
Decrease
67
Page 68
LCR-8000G Series User Manual
Hi and Lo values are automatically swapped if
necessary
4. The display updates the Hi/Lo result
Hi and Lo Swapped
immediately. The result is pass if the bar stays
in the central area. The buzzer sounds
accordingly.
Result > Hi
Result < Lo
Lo < Result < Hi
(Pass)
HI
LO
PASS
Run in Delta mode
1. Press F5 to select Delta
measurement.
2. Use the Left/Right key to move the
cursor to Hi/Lo value for editing.
3. Use the numerical keys
and unit keys to enter the
value. The editing value
appears at the bottom left
F5
Range
Speed Med
Lo Lim: 1.5_
Auto
corner of the display.
1.5mF
68
m
F
Enter
Page 69
PASS-FAIL MODE
Backspace
All clear
Hi and Lo values are automatically swapped if
necessary
4. The display updates the Hi/Lo result
Hi and Lo Swapped
immediately. The result is pass if the bar stays
in the central area. The buzzer sounds
accordingly.
Result > Hi
Result < Lo
Clear
HI
LO
Lo < Result < Hi
(Pass)
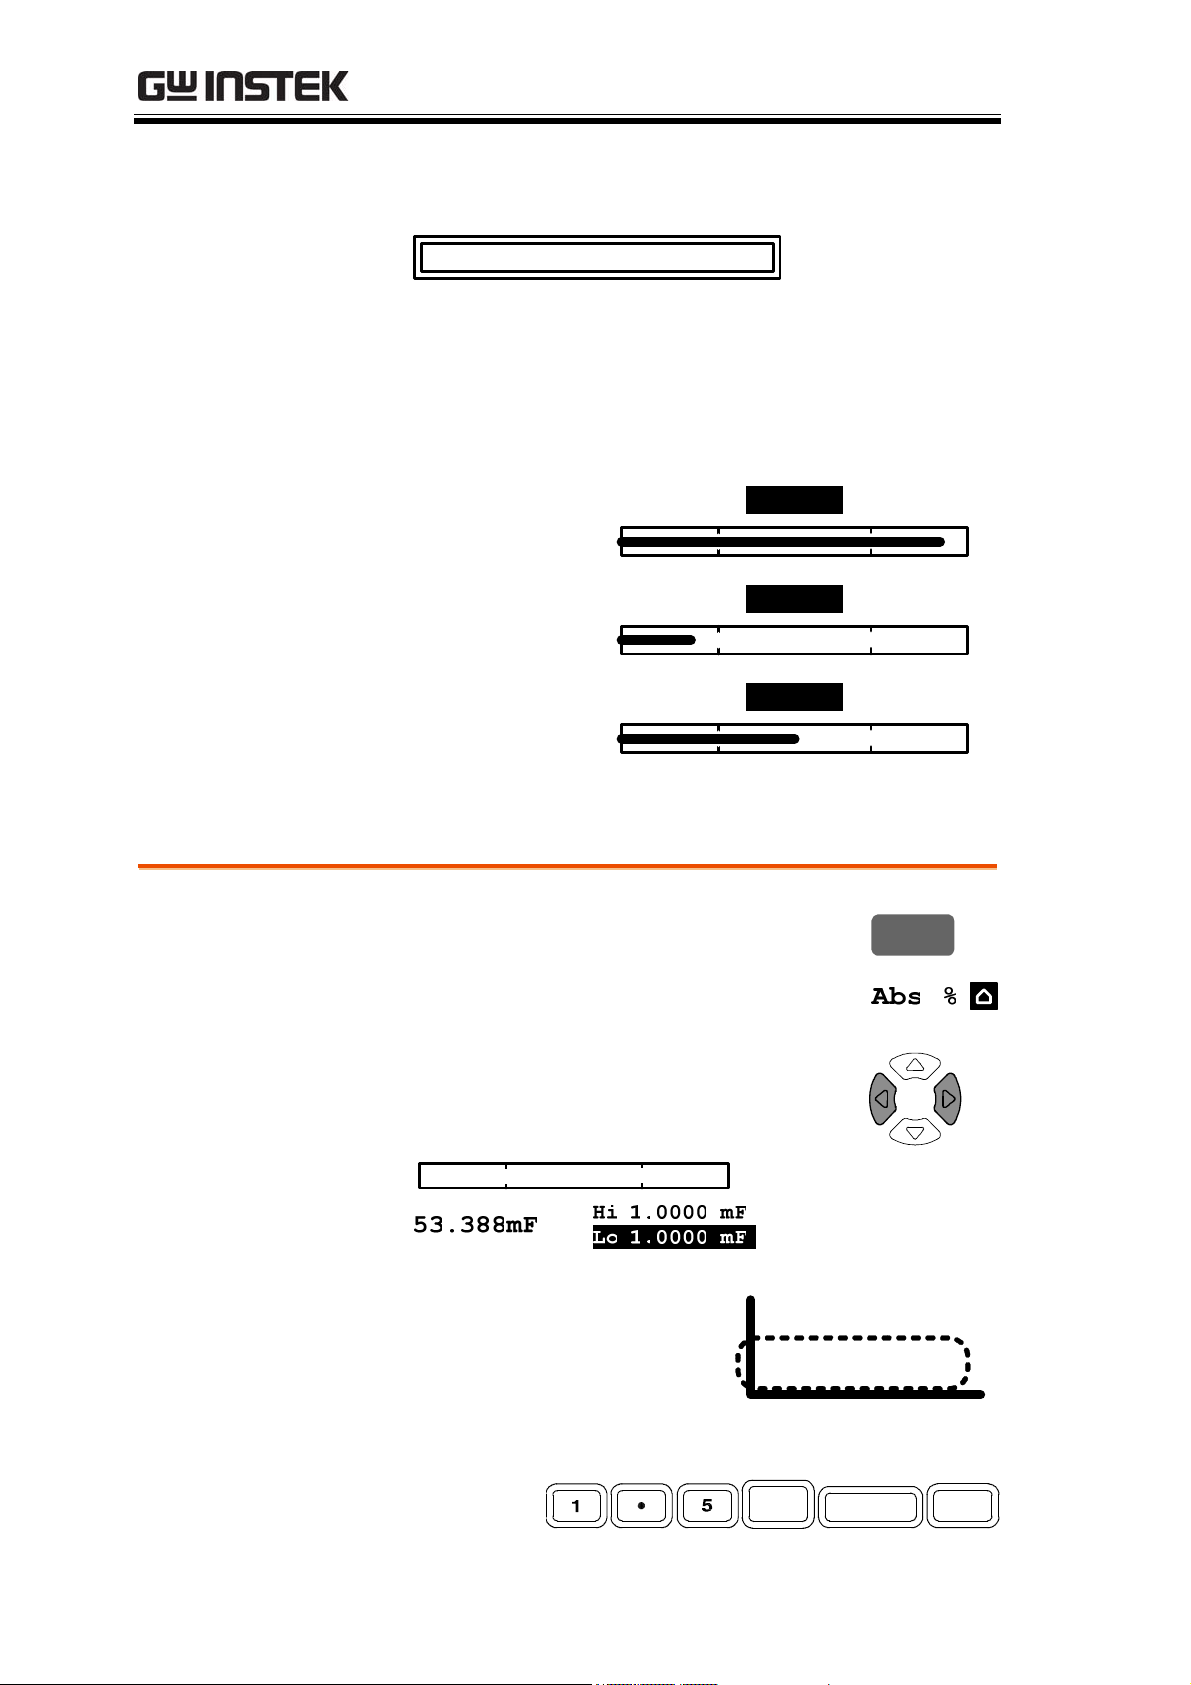
Use display value as nominal
Panel operation
(For Percentage and Delta only) The
displayed value can be used as the
nominal value. Press F6 (Save Nom) to
copy the display value to the nominal
value.
1.2345
0.2179
–
LO
mF
D
PASS
1.2345
0.2179
–
PASS
F6
mF
D
+1.00%
100.00mF
Hi
Lo
–1.00%
1.2345mF
Hi
Lo
+1.00%
–1.00%
69
Page 70
LCR-8000G Series User Manual
Multi-Step Test Configuration
Overview
Background
The multi-step function can configure and run
multiple measurement steps. Maximum 64
programs, 30 steps each, can be programmed and
stored in the instrument.
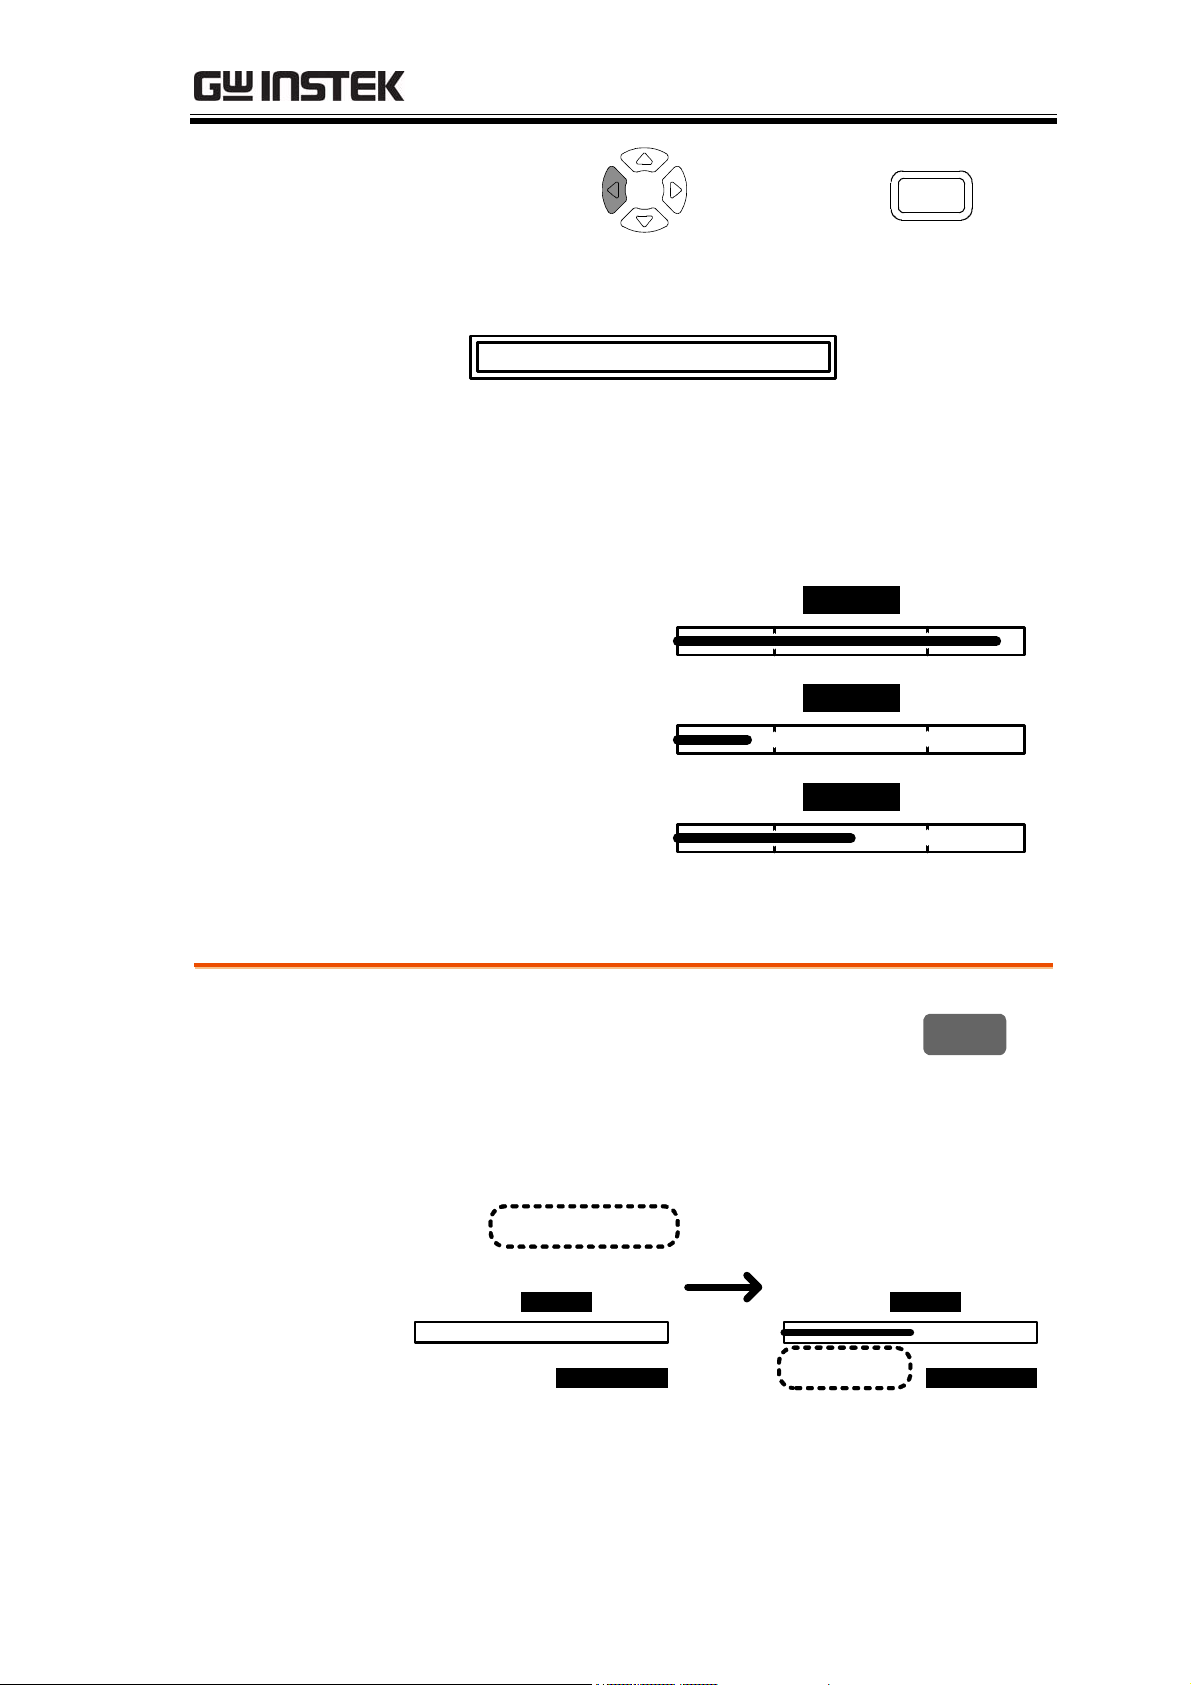
Limit type
Only the absolute limit
testing is available. For
percentage limit test, use
the single mode (page60).
Test item
CS
Series capacitance
P
C
Parallel
capacitance
L
L
R
S
Series inductance
P
Parallel inductance
S
Series resistance
B
Susceptance
G
Conductance
Z
Impedance
Y
Admittance
RDC
DC Resistance
R
X
P
Parallel resistance
Reactance
For detailed description of each item, see page37.
Angle
70
Page 71

PASS-FAIL MODE
Parameters No. of step
No. of program
Drive Voltage
(1mV step)
Frequency
Bias
Speed
Hi / Lo Limit
Delay
Single trigger
Automatic
trigger
Maximum 30 for each program
Maximum 64
10mV ~ 2V (DC or AC≤3 MHz)
10mV ~ 1V (AC>3 MHz)
20Hz ~ 1MHz (LCR-8101G)
20Hz ~ 5MHz (LCR-8105G)
20Hz ~ 10MHz (LCR-8110G)
Reserved item: internal use only
Max, Fast, Med, Slow
Follows the measurement range
0 ~ 9999ms, 1ms step
Program runs when the Trigger
key or F1 (Start) is pressed.
Program runs when the LCR8000G detects the DUT.
71
Page 72
LCR-8000G Series User Manual
Configure beep setting
Background
The beep sounds when the pass/fail test result
matches the setting: failed or passed.
Panel operation
1. Press the Menu key, then F5
(System). The system configuration
appears.
Precision LCR Meter LCR-8101
Software version 2.03 Oct 25 2008
Frequency
RS-232
Graph mode
GPIB
Line frequency
Beep
GPIB address
Average : 10
1MHz
:
50Hz
::OFF
5
Menu
F5
2. Press the Up/Down key and move
the cursor to Beep.
Beep : OFF
3. Press the Left/Right key to select the
beep setting, Off, Pass, or Fail.
Off
Pass
Fail
72
Beep is turned Off
Beeps when the test result is pass
Beeps when the test result is fail
Page 73
PASS-FAIL MODE
Configure the Average
Background
The Average function sets the number of samples
used, which are then averaged as the final output.
The number of samples varies from 1 to 256.
Panel operation
1. Press the Menu key, then F5
(System). The system configuration
appears.
Precision LCR Meter LCR-8101
Software version 2.03 Oct 25 2008
Frequency
RS-232
Graph mode
GPIB
Line frequency
Beep
GPIB address
Average : 10
1MHz
:
50Hz
::OFF
5
Menu
F5
2. Press the Up/Down key and move
the cursor to Average.
Average : 10
3. Use the numerical keys to enter the
number of samples to be averaged.
A maximum of 256 samples can be
selected for averaging.
73
Page 74

LCR-8000G Series User Manual
Enter multi-step mode
Panel operation
Press the Menu key, then F3 (Multi
Step). The multi-step mode menu
appears. The last recalled program
appears on the display.
Menu
F3
Create new program
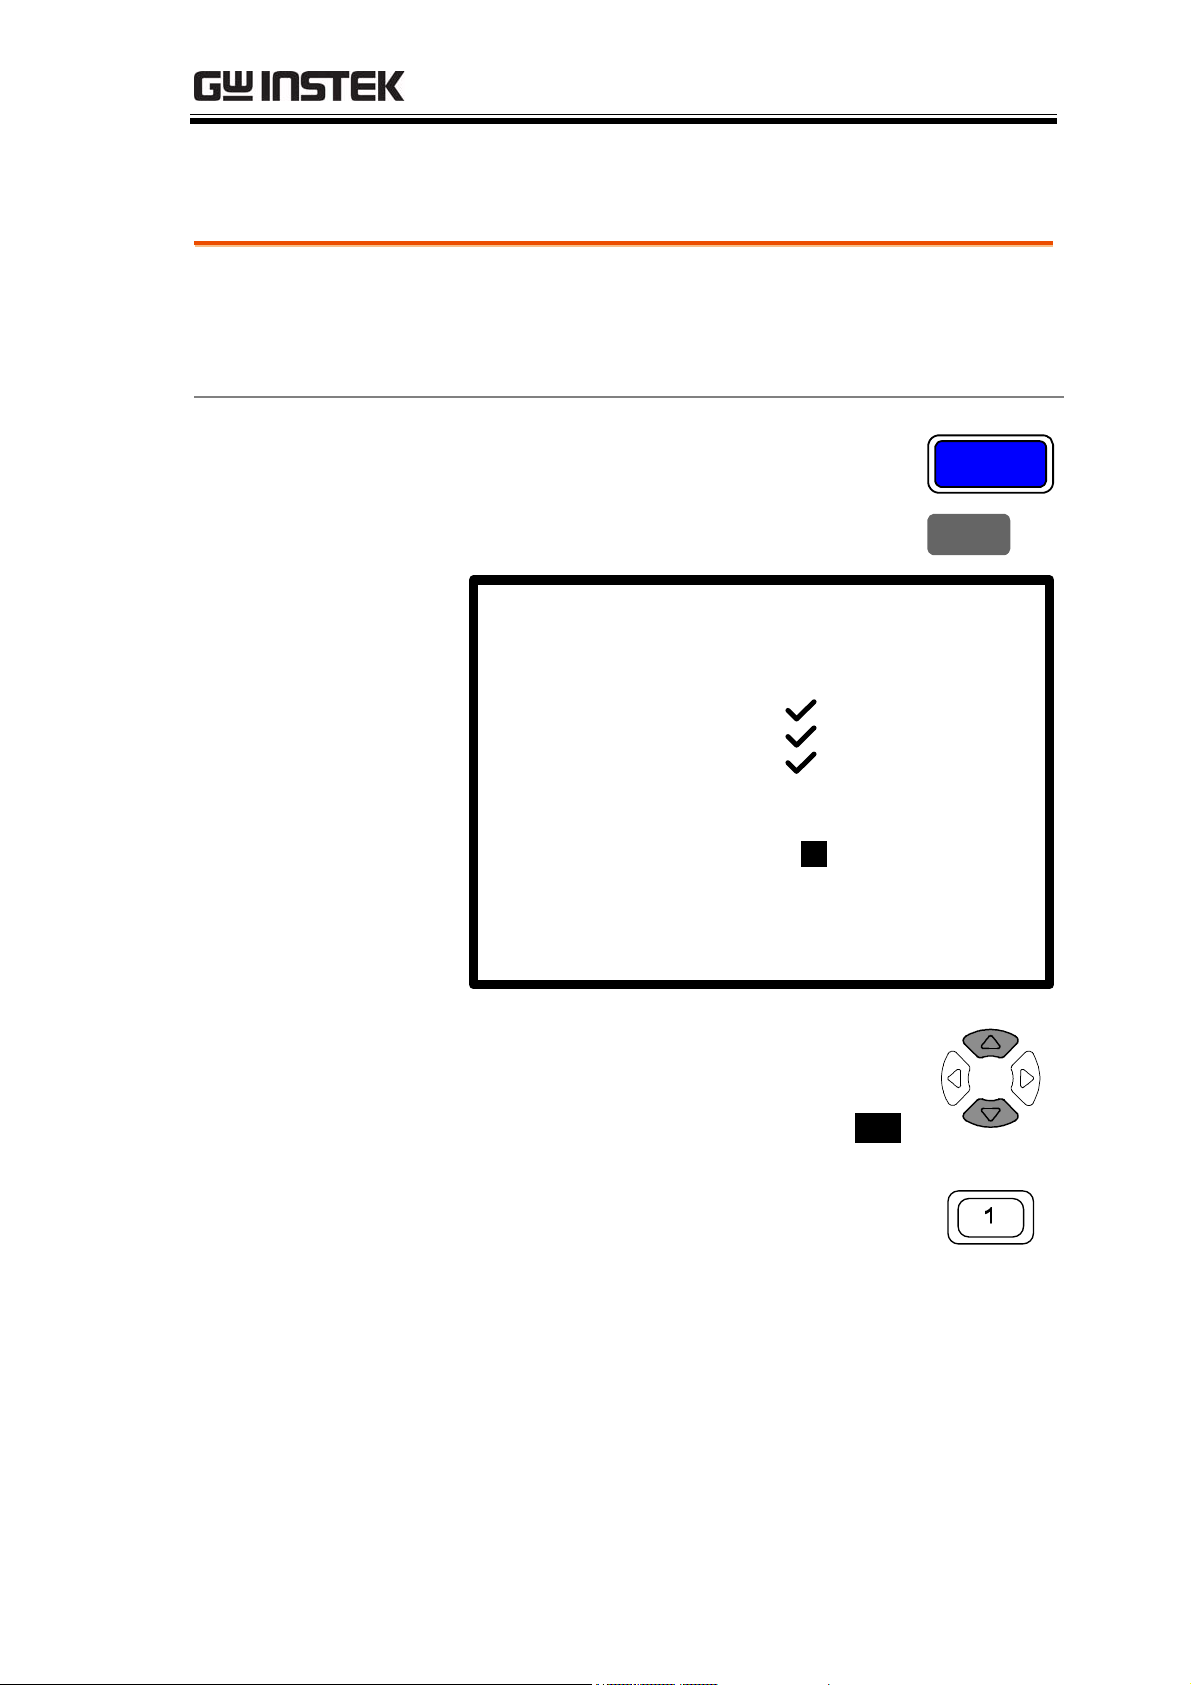
Panel operation
1. In the multi-step mode, press F5
(File), then F4 (New). The new
program name dialogue opens.
F5
F4
74
Page 75

PASS-FAIL MODE
2. Enter the new program name using the arrow
keys.
Move cursor
(Left/Right keys)
JKLMNOPQRS
Enter the letter
program name: N_
(Down key)
Delete one letter
program name: _
(Up key)
3. Press the Enter key to confirm the
file name. To quit the new program
mode, press the Clear key.
4. A blank program with the entered name
Enter
Clear
appears.
5. Press F1 (Prog). Step 01 becomes
active and changes to Ls
measurement mode. For further
editing details, see the next page.
F1
Step
Func
01
OFF
Step
Func
01
Ls
75
Page 76

LCR-8000G Series User Manual
Edit program step
How to edit
parameter
• For selecting parameters, press F1
(Prog) repeatedly.
• For entering values, use the numerical and unit
keys.
Example:
0.5kHz
k
Backspace
All clear
Increase
Decrease
How to move
cursor
To move the cursor to the editing point,
use the arrow keys: up, down, left, and
right.
F1
Enter
Clear
Panel operation
1. Create new
step
2. Select item
(function)
Note: The cursor cannot move into
blank columns or steps.
To create a new step in a program,
press F1 (Prog) at Func column “OFF”.
F1
The step becomes active and the
function changes to Ls. Up to 30 steps
are available in a program.
Step
Func
01
OFF
Move the cursor to Func column, press
Step
Func
01
Ls
F1
F1 (Prog) repeatedly. The measurement
item (function) changes in the following
order.
Ls Lp Q Cs Cp D Z Rs Rp
X G B Y Rdc Ls
76
Page 77

PASS-FAIL MODE
Set frequency
Move the cursor to Freq column.
Enter the frequency using the
numerical keys and unit keys.
Range
20Hz ~ 1MHz/5MHz/10MHz
5 digit resolution
Example:
0.5kHz (500Hz)
Set voltage
Move the cursor to Volt column.
Enter the voltage using the
numerical keys and unit keys.
Range
(1mV step)
10mV ~ 2V (DC or AC≤3 MHz)
10mV ~ 1V (AC>3 MHz)
Example:
100mV
Func
Freq
Volt
k
Enter
Ls
500.00
2.00 V
Freq
Volt
Bias
m
500.00
2.00 V
V/A
Enter
Select data
capture rate
Move the cursor to Spd column.
Select the capture rate by
pressing F1 (Prog) repeatedly.
DC
Slow
Med
Fast
Max
900ms 1.3s 600ms 600ms 620ms
120ms 1.2s 470ms 450ms 470ms
60ms 650ms 180ms 150ms 150ms
30ms 600ms 120ms 75ms 120ms
AC≤
100Hz
AC≤
2kHz
Bias
Spd
Hi
F1
AC>
2kHz
MAX
1.0000H
AC≥
1MHz
77
Page 78

LCR-8000G Series User Manual
Set Hi limit
Move the cursor to Hi column.
Enter the Hi limit using the
numerical keys and unit keys.
Range
follows the specification for each
measurement item
Example: 1.5kH
(for Ls)
Set Lo limit
Move the cursor to Lo column.
Enter the Lo limit using the
numerical keys and unit keys.
Range
follows the specification for each
measurement item
Example: 1.0kH
(for Ls)
Spd
Hi
Lo
k
Spd
Hi
Lo
k
MAX
1.0000H
0.0000H
H
1.0000H
0.0000H
H
Enter
MAX
Enter
Set trigger delay
Move the cursor to Dly (Delay)
column. Enter the amount of
trigger delay time using the
numerical keys and unit keys.
Range
0 (no delay) ~ 1000ms
Example: 10ms
Hi
Lo
Dly
m
1.0000H
0.0000H
10 ms
78
Page 79

PASS-FAIL MODE
Copy (duplicate) program step
Background
Panel operation
Copying the step inserts a new, identical step next
to the current step (= the step where the cursor
resides).
Press F2 (Copy). A new step with
identical contents appears on the right
F2
side.
Before (step 3 empty)
After (step 2 copied to 3)
Delete program step
Background
Panel operation
Deleting the step deleted the currently selected
step (= where the cursor resides). The other step
numbers are decreased by 1 (shifted to the left in
the table).
Press F3 (Delete). The current step is
deleted, and the whole table shifts to
the left.
Before (step 2 deleted)
F3
After (step 3 becomes 2)
79
Page 80
LCR-8000G Series User Manual
Multi-Step Program Run
Run program
Panel operation
1. When editing is completed, press F6
(Run) to run the multi-step program.
The display changes to program
running mode.
MULTI STEP MODE
PROGRAM: Demo
2. Press the Sing/Rep key to select
Single (manual trigger) or Repetitive
F6
Run–
Start
SET
Sing/Rep
F1
F6
(automatic trigger).
Manual
Manual trigger
trigger
Starts running the program
when the Trigger key or F1
(Start) is pressed.
Auto
Auto trigger
trigger
Starts running the program when the
LCR-8000G detects the DUT is
connected to the fixture (scans the
fixture continuously). Manual
triggering is also available.
80
Trig
F1
Page 81
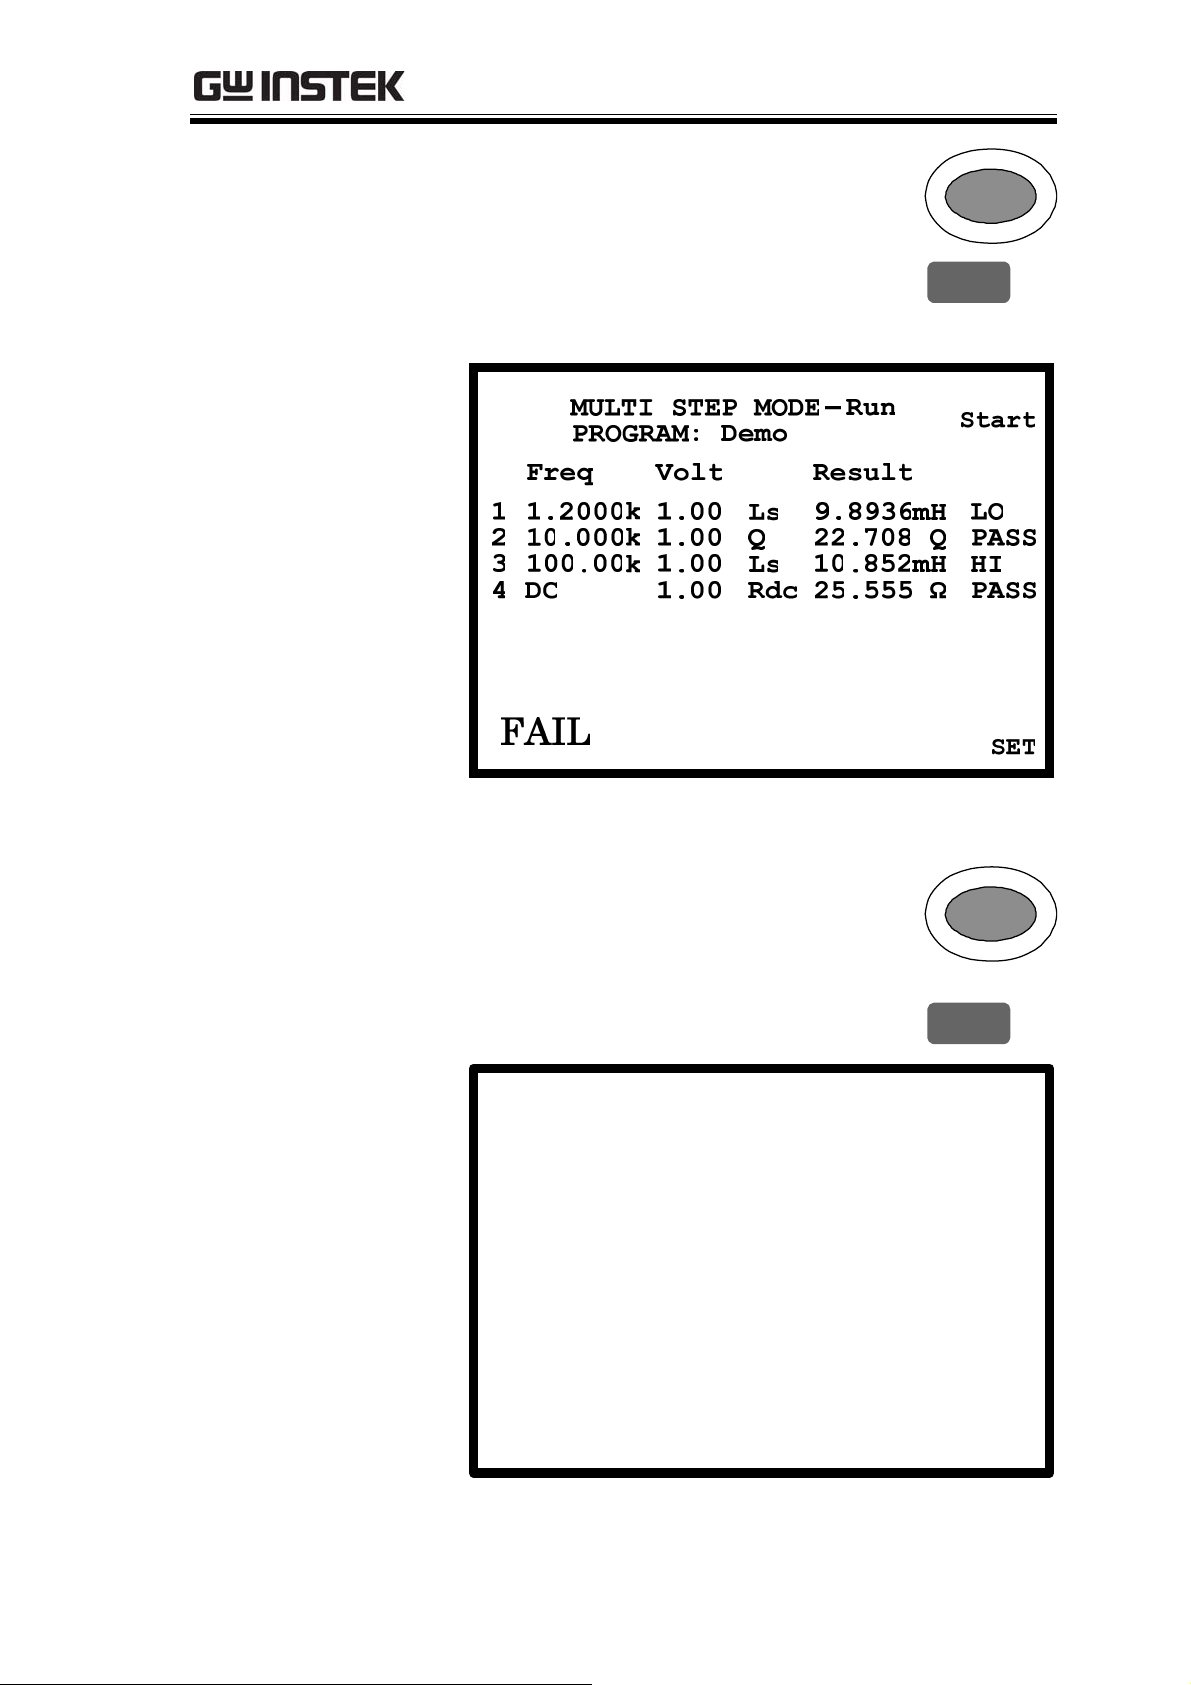
PASS-FAIL MODE
3. In Manual (single) mode press F1
(Start) or the Trigger key to
manually start the program. The test
results show up according to the
program contents.
Trig
F1
Manual (single) Mode
4. In Auto trigger mode, it will
autoscan continuously and will not
start until a DUT has been detected.
To manually trigger the program,
press F1 (Start) or the Trigger key.
MULTI STEP MODE
PROGRAM: Demo
Freq
1.2000k
1
10.000k
2
100.00k
3
DC
4
Volt
1.00
1.00
1.00
1.00
Ls
Q
Ls
Rdc
Run–
Result
9.8936mH
22.708 Q
10.852mH
25.555 ?
Trig
F1
Start
LO
PASS
HI
PASS
FAIL
Auto scanning...
SET
Auto trigger (repetitive) mode
81
Page 82
LCR-8000G Series User Manual
The rightmost row shows the result for each
step.
Failed: below the Lo limit
Failed: above the Hi limit
Passed
The left bottom corner shows the result for the
whole program.
PASS
FAIL
5. To return to the program setting
menu, press F6 (Set).
All steps passed
One or more steps failed
F6
82
Page 83
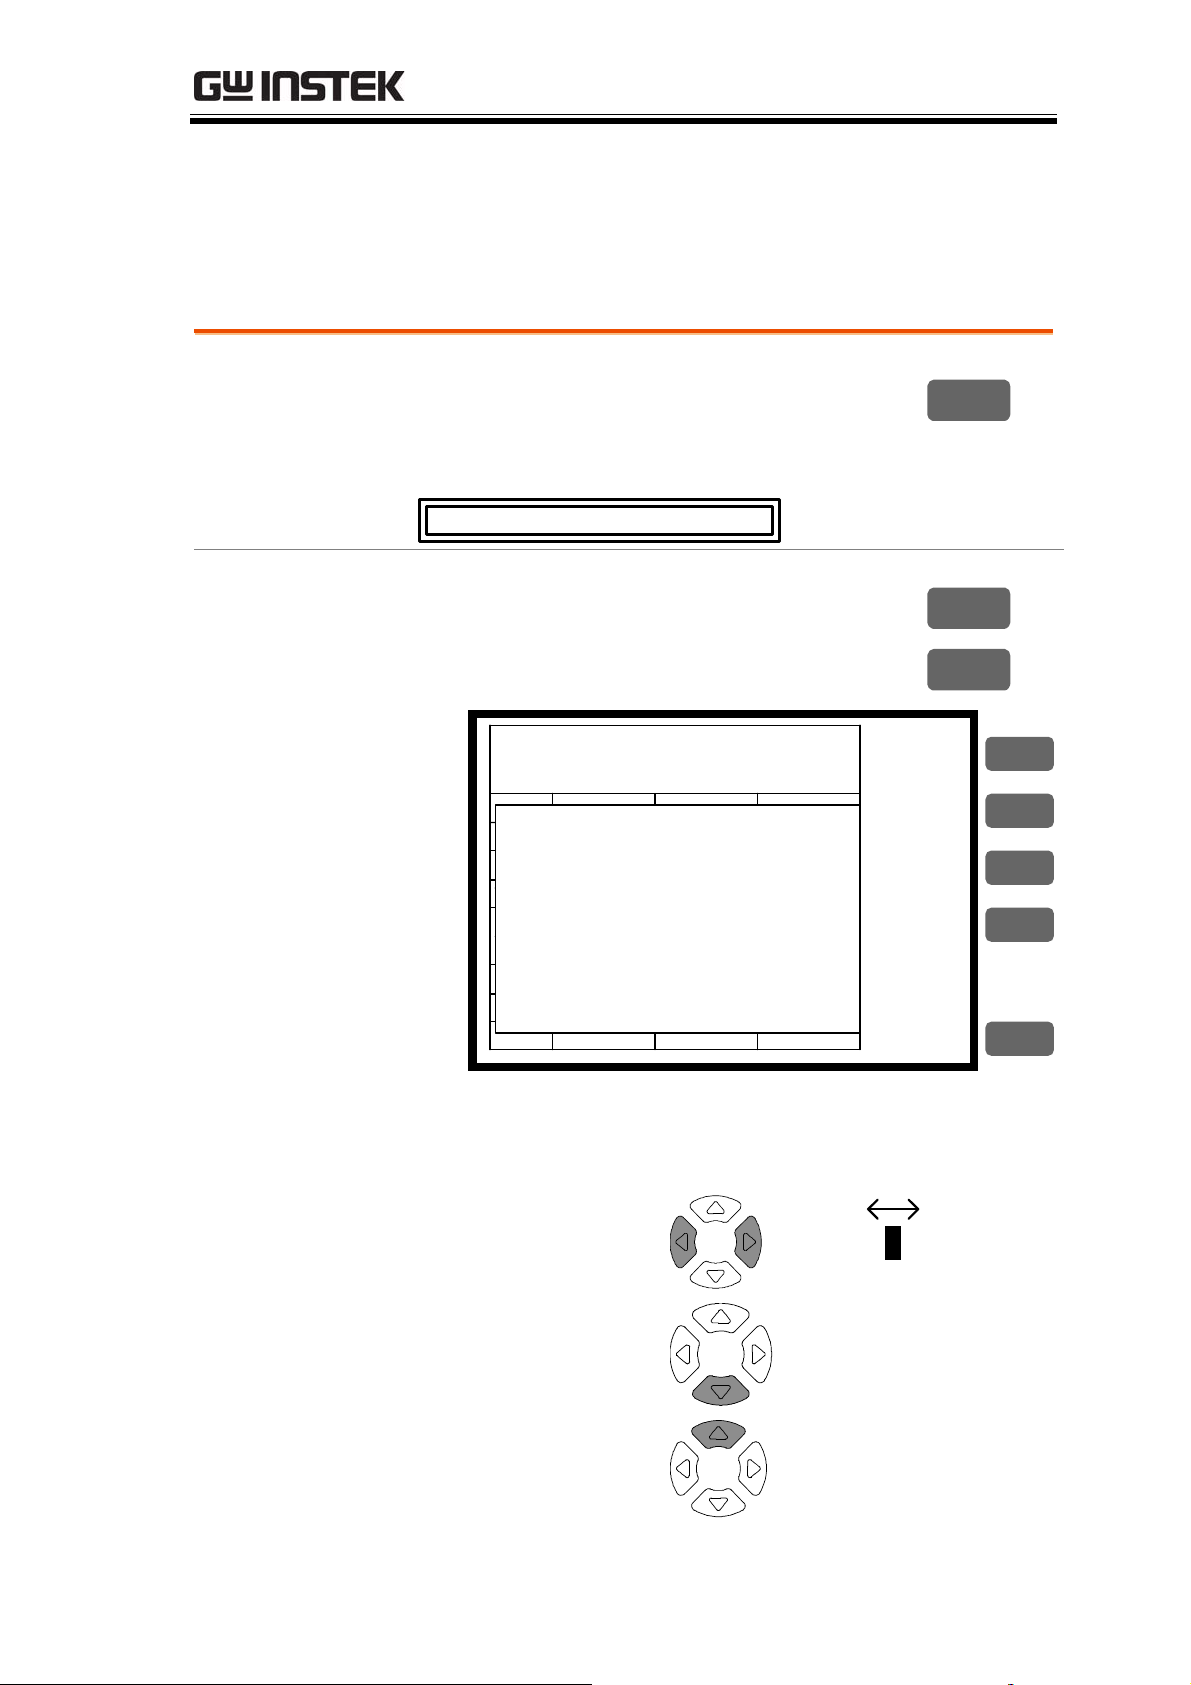
PASS-FAIL MODE
Multi-Step Program File Operation
Save program
Save (overwrite)
Press F4 (Save) to save the program
being edited. A confirmation message
appears on the display.
Program saved
Save as (new
program)
1. Press F5 (File), then F3 (Save As).
The new program name dialogue
appears.
MULTI STEP MODE
PROGRAM: NONAME
Step
Save program as: New_
Func
Freq
0123456789-_
Volt
ABCDEFGHIJKLMNOPQRSTUVWXYZ
Bias
abcdefghijklmnopqrstuvwxyz
Spd
Hi
Edit by ↑↓←→ key
Lo
Enter- Confirm, Clear- Quit
Dly
01 02 03
B Rdc OFF
1.0000k
10mV
MAX FAST
1.0000 S
500.00mS
9999 ms 0 mS
Set–
1.00 V
0.0000Ω
0.0000Ω
F4
F5
F3
LOAD
DELETE
Save as
New
QUIT
F1
F2
F3
F4
F6
2. Enter the new program name using the arrow
keys.
Move cursor
(Left/Right keys)
JKLMNOPQRS
Enter the letter
program name: N_
(Down key)
Delete one letter
program name: _
(Up key)
83
Page 84

LCR-8000G Series User Manual
3. Press the Enter key to confirm the
file name. To quit the Save as mode,
press the Clear key.
4. The display goes back to the previous mode,
with the program changed to the new name.
Enter
Clear
84
Page 85
PASS-FAIL MODE
Recall (load) existing program
Panel operation
1. Press F5 (File). The file menu
appears.
2. Press F1 (Load). The existing
programs appear, listed in
alphabetical order.
F5
F1
3. Use the arrow key to move the
cursor to the program to be recalled
(loaded).
4. Press F1 (Load) to recall the selected
program on the display.
5. To cancel loading and go back to the
previous menu, press F6 (Quit).
F1
F6
85
Page 86
LCR-8000G Series User Manual
Delete existing program
Recall program
1. Press F5 (File), then F2 (Delete). The
existing programs appear, listed in
alphabetical order.
2. Use the arrow key to move the
cursor to the program to be deleted.
F5
3. Press F5 (Del). The buzzer beeps and
a warning sign appear. Press the
Enter key (confirm) or the Clear key
(cancel).
Enter-Yes Clear-Quit
Note: the currently active program cannot be
DELETE FILE
Delete New ?
deleted. An error message appears.
program being used!
4. To go back to the previous menu
without deleting any program, press
F5
Enter
Clear
F6
F6 (Quit).
86
Page 87

GRAPH MODE
GRAPH MODE
The graph function shows the component
characteristics in visual manner. Voltage and
Frequency sweep are selectable for the horizontal
scale. When the graph gets out of the vertical
range, the LCR-8000G can automatically adjust
the scale. Marker operation is available for
detailed observation.
Item selection Enter graph mode ............................................. 88
Select measurement item ................................. 89
Horizontal scale
setting
Vertical scale
setting
Speed/Step
Setting
Running Graph
Measurement
Set horizontal axis (Voltage) ............................ 90
Set horizontal axis (Frequency) ........................92
Set vertical axis (Manual + Absolute)...............94
Set vertical axis (Manual + Percentage) ........... 96
Set vertical axis (Auto + Absolute) ................... 98
Set vertical axis (Auto + Percentage)................ 99
Select measurement speed (capture timing) . 101
Select step size ............................................... 101
Run measurement........................................... 103
Adjust vertical scale........................................ 105
Observe Graph Data ....................................... 106
87
Page 88
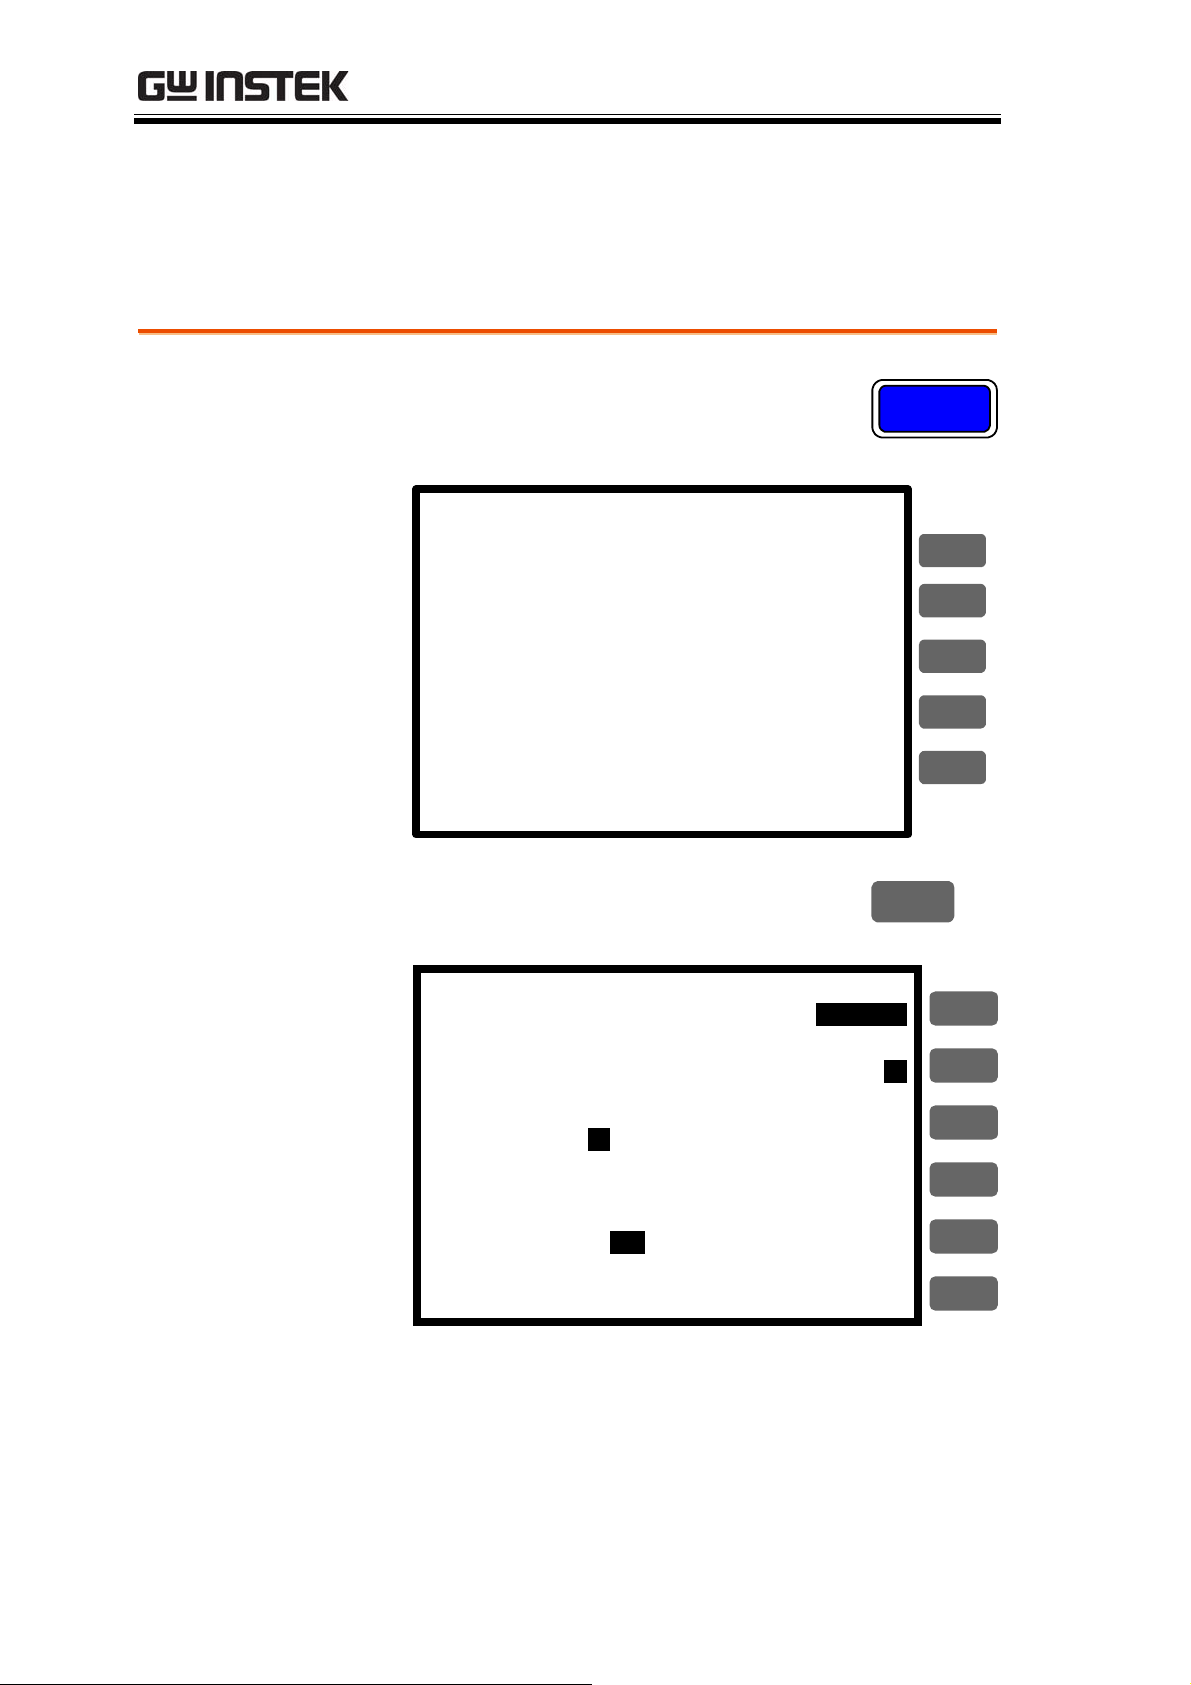
LCR-8000G Series User Manual
Item Selection
Enter graph mode
Panel operation
1. Press the Menu key. The main menu
appears.
2. Press F4 (Graph). The Graph mode
MAIN MENU
display appears.
AC MEAS
Rdc MEAS
MULTI STEP
GRAPH
SYSTEM
Menu
F4
F1
F2
F3
F4
F5
GRAPH MODE - Set
Sweep
Start
Stop
Freq
Speed
Step Size:
Cs Hi
Cs Lo
Nominal:
:
Drive level
:
50mV
:
1.00 V
:
10.000kHz
:
Fast
10.500%
:
-99.500%
:
100.00mF
Log(V)Lin(V)
Abs
1
234
CsLs Lp Q Cp D Z θ RsRpXGBY
Manual Fit
Start
View
F1
F2
%
F3
F4
F5
F6
88
Page 89
GRAPH MODE
Select measurement item
Range Ls
Lp
Q
Cs
Cp
D
Z
Panel operation
For detailed description of each item, see page37.
Press F5 repeatedly to select the graph
Series inductance
Parallel inductance
Quality factor
Series capacitance
Parallel capacitance
Dissipation factor
Impedance
measurement item.
θ
Rs
Rp
X
G
B
Y
Angle
Series resistance
Parallel resistance
Reactance
Conductance
Susceptance
Admittance
F5
89
Page 90

LCR-8000G Series User Manual
Horizontal Scale Setting
Set horizontal axis (Voltage)
Background
The X (horizontal) axis is selectable from Voltage
and Frequency sweep.
• When Voltage sweep is selected: measurement
Frequency is fixed
• When Frequency sweep is selected:
measurement Voltage is fixed
Select Drive level
(Voltage)
1. Press the Up/Down key and move
the cursor to Sweep.
Sweep: Frequency
2. If necessary, press the Left/Right
key to change the sweep setting to
Voltage (Drive Level).
Frequency Drive Level
Set start Voltage
3. Press the Up/Down key and move
the cursor to Start.
Start:: 50mV
Use the numerical keys to enter the
starting Voltage.
Range
10mV ~ 2V (AC≤3 MHz)
10mV ~ 1V (AC>3 MHz) *1mV step
100mV
1V
V/A
Backspace
If a wrong unit is entered, the value is cancelled.
m
Enter
All clear
V/A
Clear
Enter
90
Page 91

GRAPH MODE
Unit Mismatched
If a value outside of the range is entered, the
closest available value is automatically selected.
Nearest Available
If the entered start Voltage level is higher than
the stop Voltage, the two values are swapped.
Set stop Voltage
4. Repeat the above step for the stop Voltage.
Hi and Lo Swapped
Stop:1.00 V
Range
10mV ~ 2V (AC≤3 MHz)
10mV ~ 1V (AC>3 MHz) *1mV step
(Stop Voltage must be higher than the Start
Voltage)
Set measurement
Frequency
5. Use the Up/Down key to move the
cursor to Frequency setting (Freq).
Freq : 10.000kHz
Use the numerical keys to enter the
measurement frequency.
Range
20Hz ~ 1MHz/5MHz/10MHz
50Hz
1MHz
M
Backspace
Select Lin/Log
scale
6. Press F1 to select the horizontal
scale, Linear or Logarithmic.
Enter
Enter
All clear
Clear
F1
Log(V)Lin(V)
91
Page 92

LCR-8000G Series User Manual
Set horizontal axis (Frequency)
Background
The X (horizontal) axis is selectable from Voltage
and Frequency sweep.
• When Voltage sweep is selected: measurement
Frequency is fixed
• When Frequency sweep is selected:
measurement Voltage is fixed
Select Frequency
1. Press the Up/Down key and move
the cursor to Sweep.
Sweep: Drive Level
2. If necessary, press the Left/Right
key to change the sweep setting to
Frequency.
Drive Level Frequency
Set start
Frequency
3. Press the Up/Down key and move
the cursor to Start.
Start:: 20.000Hz
Use the numerical keys to enter the
starting Frequency.
Range
20Hz ~ 1MHz/5MHz/10MHz
(stop Frequency must be higher than the start
Frequency)
50Hz
Enter
1.2kHz
Backspace
If a wrong unit is entered, the value is cancelled.
k
All clear
Enter
Clear
92
Page 93

GRAPH MODE
Unit Mismatched
If a value outside of the range is entered, the
closest available value is automatically selected.
Nearest Available
If the entered start Frequency is higher than the
stop Frequency, the two values are swapped.
Set stop
4. Repeat the above step for the stop Frequency.
Hi and Lo Swapped
Frequency
Range
20Hz ~ 1MHz/5MHz/10MHz
(stop Frequency must be higher than the start
Frequency)
Set measurement
Voltage
5. Use the Up/Down key to move the
cursor to Voltage setting (Level).
Level: 1.00 V
Use the numerical keys to enter the
measurement Voltage.
Range
10mV ~ 2V (AC≤3 MHz)
10mV ~ 1V (AC>3 MHz)
100mV
1V
V/A
Backspace
Select Lin/Log
scale
6. Press F1 to select the horizontal
scale, Linear or Logarithmic.
m
Enter
All clear
V/A
Clear
F1
Enter
Log(Hz)Lin(Hz)
93
Page 94

LCR-8000G Series User Manual
Vertical Scale Setting
Set vertical axis (Manual + Absolute)
Background
Panel operation
The Y (vertical) axis configuration is available for:
• Manual or Automatic fit: Selects whether the
vertical range is manually set or automatically
adjusted as the graph is plotted.
• Absolute or Percentage: Selects how the vertical
range is defined, as absolute values (minimum
and maximum) or percentage of the nominal
(center) value.
1. Press F2 to select Abs.
Abs %
2. Press F3 to select Manual Fit.
Manual Fit
F2
F3
3. The maximum (Hi) and minimum (Lo) level of
the vertical axis appears.
Set Hi level
Step Size:
Cs Hi
Cs Lo::
5.8240mF
3.5626mF
4. Press the Up/Down key to move the
2341
cursor to Hi level.
Cs Hi: 5.8240mF
Range
5. Use the numerical keys to enter the Hi level.
According to each measurement item
(see page37).
1.2m
m
Ω
Enter
94
Page 95

GRAPH MODE
1.5kH
Backspace
If a wrong unit is entered, the value is cancelled.
Unit Mismatched
If a value outside of the range is entered, the
closest available value is automatically selected.
Nearest Available
If the entered Lo level is higher than the Hi
level, the two values are swapped.
Hi and Lo Swapped
k
All clear
H
Clear
Enter
Set Lo level
6. Press the Up/Down key to move the
cursor to Lo level and repeat the
same step.
Cs Lo: 3.5626mF
95
Page 96
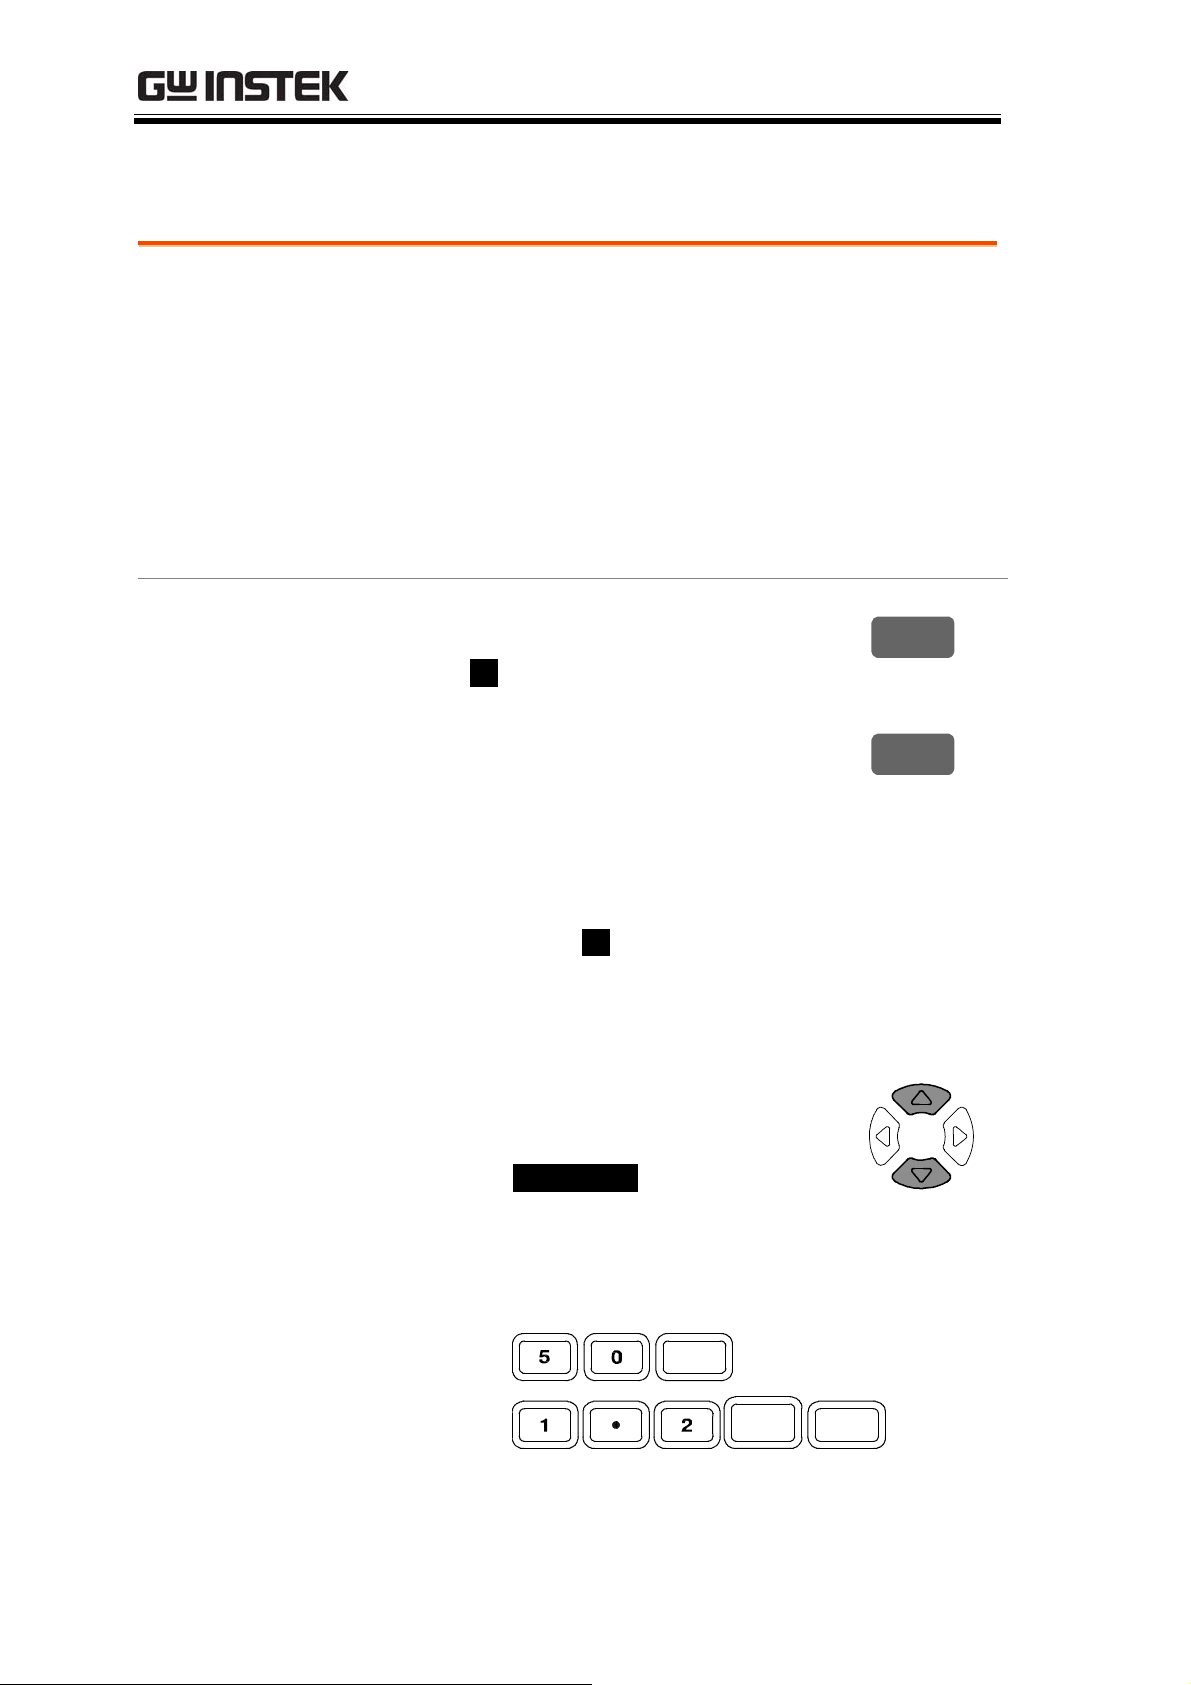
LCR-8000G Series User Manual
Set vertical axis (Manual + Percentage)
Background
Panel operation
The Y (vertical) axis configuration is available for:
• Manual or Automatic fit: Selects whether the
vertical range is manually set or automatically
adjusted as the graph is plotted.
• Absolute or Percentage: Selects how the vertical
range is defined, as absolute values (minimum
and maximum) or percentage of the nominal
(center) value.
1. Press F2 to select % (Percentage).
Abs %
2. Press F3 to select Manual Fit.
Manual Fit
F2
F3
3. The Hi percentage, Lo percentage, and the
nominal value of the vertical axis appear.
Set Hi level
Step Size:
Cs Hi
Cs Lo
Nominal:
:
10.500%
:
-19.500%
100.00mF
4. Press the Up/Down key to move the
2481
cursor to Hi percentage.
Cs Hi: 10.500%
Range
5. Use the numerical keys to enter the percentage.
–1.0x10
50%
12
(Tera) ~ 1.0x10¹² (Tera) %
Enter
1200%
k
Enter
96
Page 97
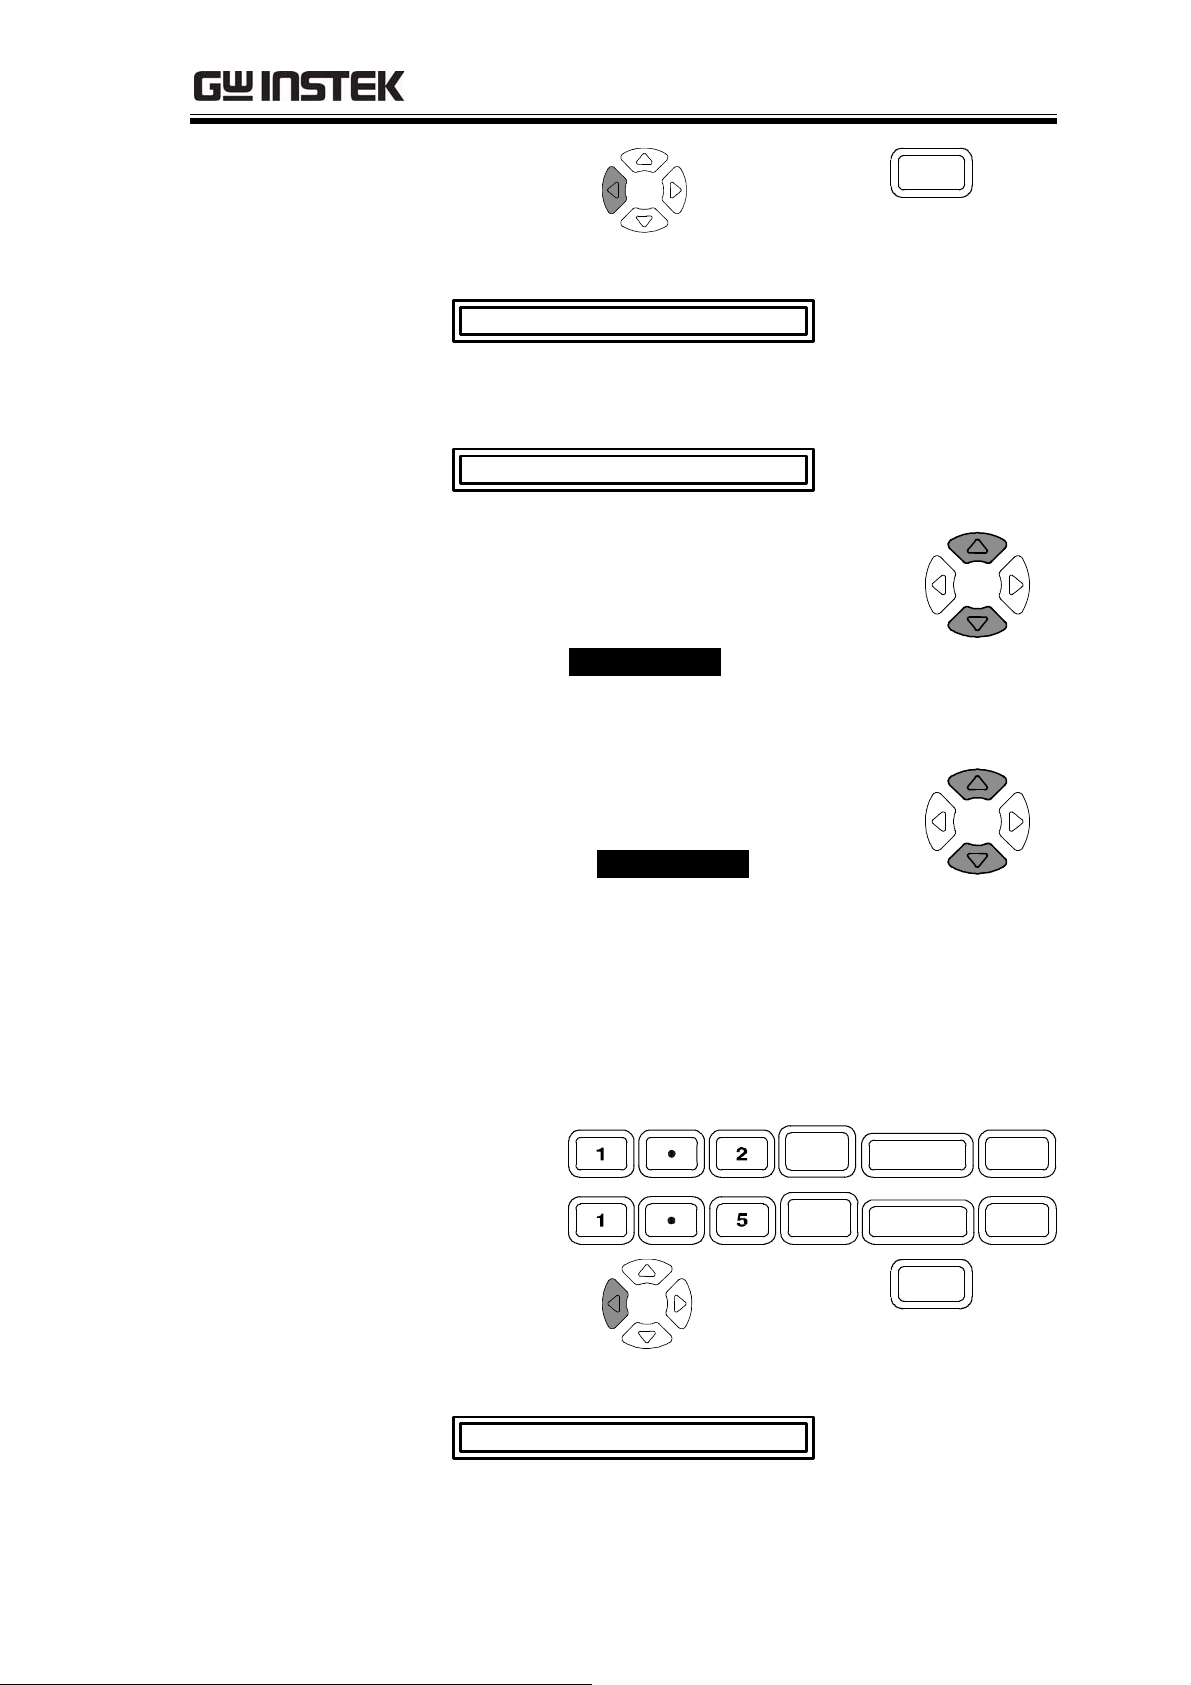
GRAPH MODE
Backspace
If a wrong unit is entered, the value is cancelled.
Unit Mismatched
If the entered Hi level is lower than the Lo level,
the two values are swapped.
Set Lo level
6. Press the Up/Down key to move the
Hi and Lo Swapped
cursor to Lo percentage and repeat
the same step.
Cs Lo: -19.500%
Range
–1.0x10
12
(Tera) ~ 1.0x10¹² (Tera) %
All clear
Clear
Set Nominal
7. Press the Up/Down key to move the
cursor to Nominal.
Nominal:1.0000mF
8. Use the numerical keys to enter the nominal
value on which the Hi and Lo percentages are
based.
Range
According to each measurement item
(see page37).
1.2m
1.5kH
Backspace
m
k
All clear
Ω
H
Clear
Enter
Enter
If a wrong unit is entered, the value is cancelled.
Unit Mismatched
97
Page 98
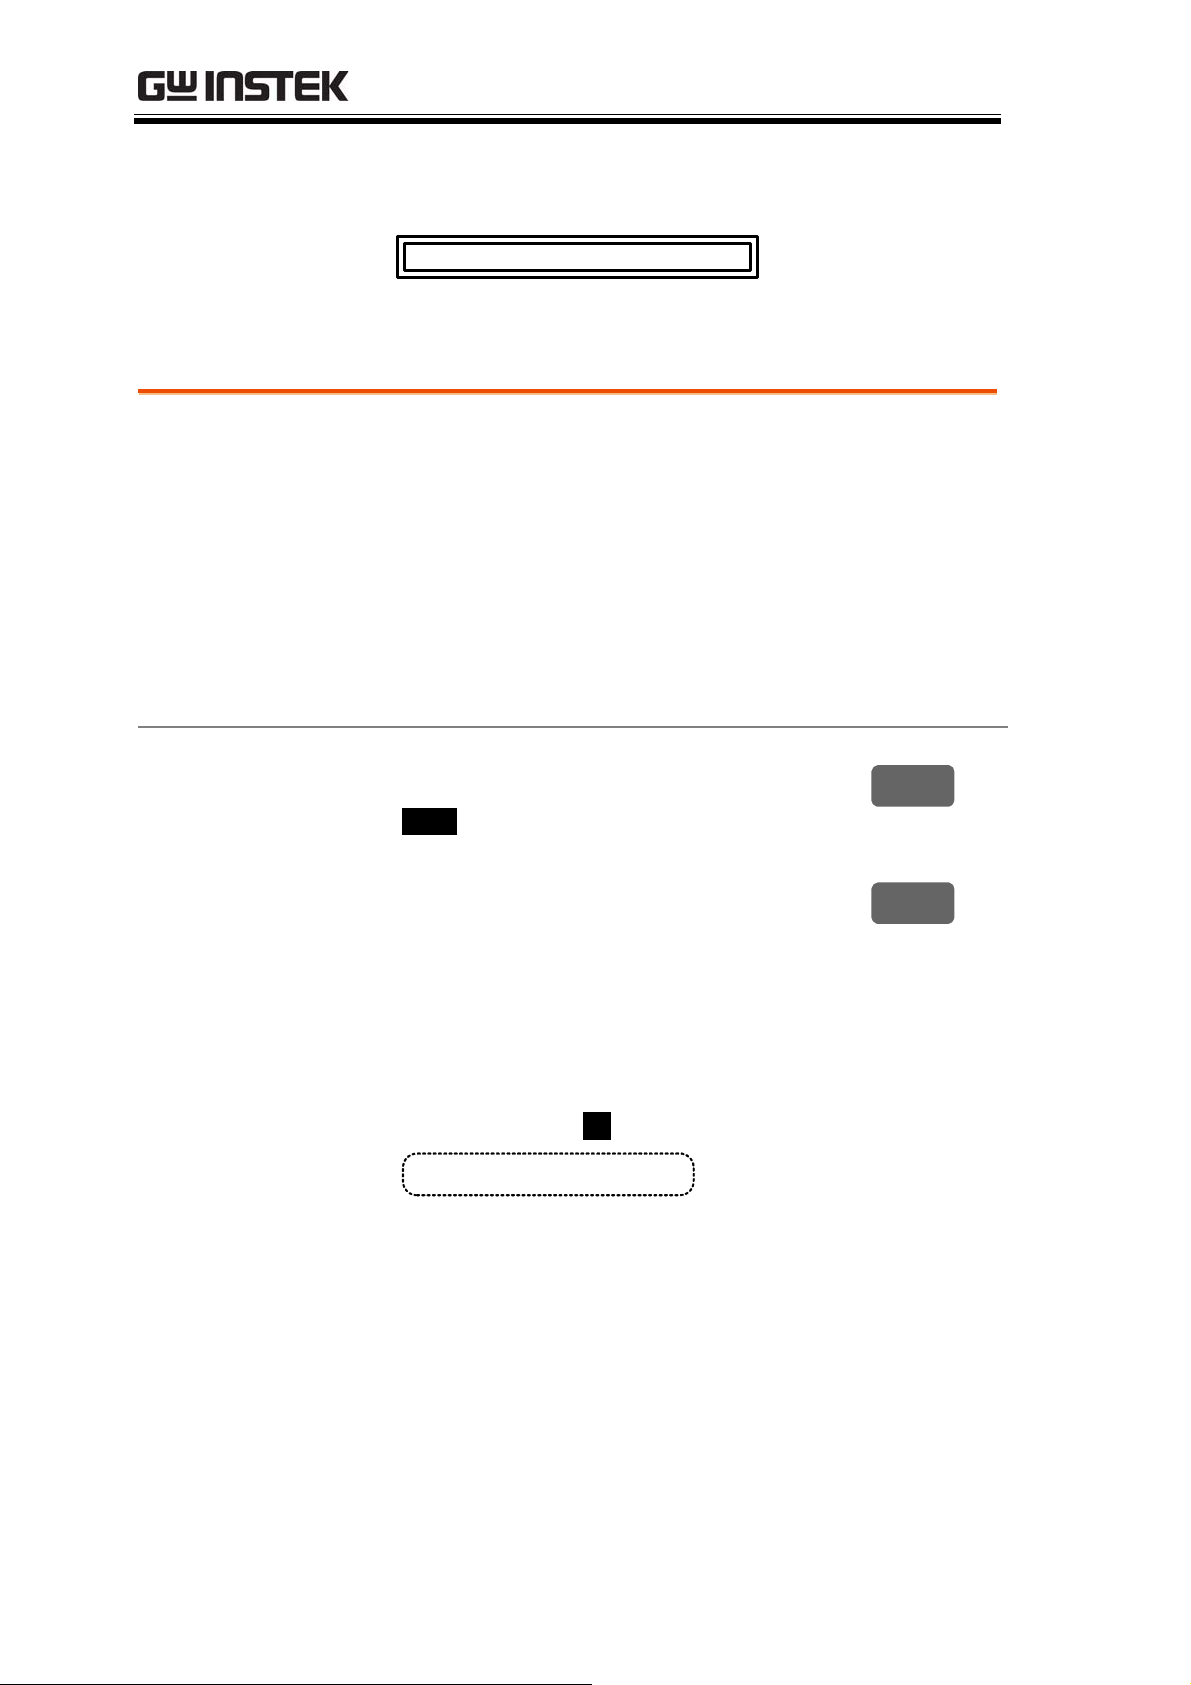
LCR-8000G Series User Manual
If a value outside of the range is entered, the
closest available value is automatically selected.
Nearest Available
Set vertical axis (Auto + Absolute)
Background
The Y (vertical) axis configuration is available for:
• Manual or Automatic fit: Selects whether the
vertical range is manually set or automatically
adjusted as the graph is plotted.
• Absolute or Percentage: Selects how the vertical
range is defined, as absolute values (minimum
and maximum) or percentage of the nominal
(center) value.
Panel operation
1. Press F2 to select Abs (Absolute).
Abs %
2. Press F3 to select Auto Fit.
Auto Fit
F2
F3
3. Nothing new appears on the display: the LCR8000G automatically configures the vertical
scale according to the measured data.
Step Size: 2 4 81
98
Page 99
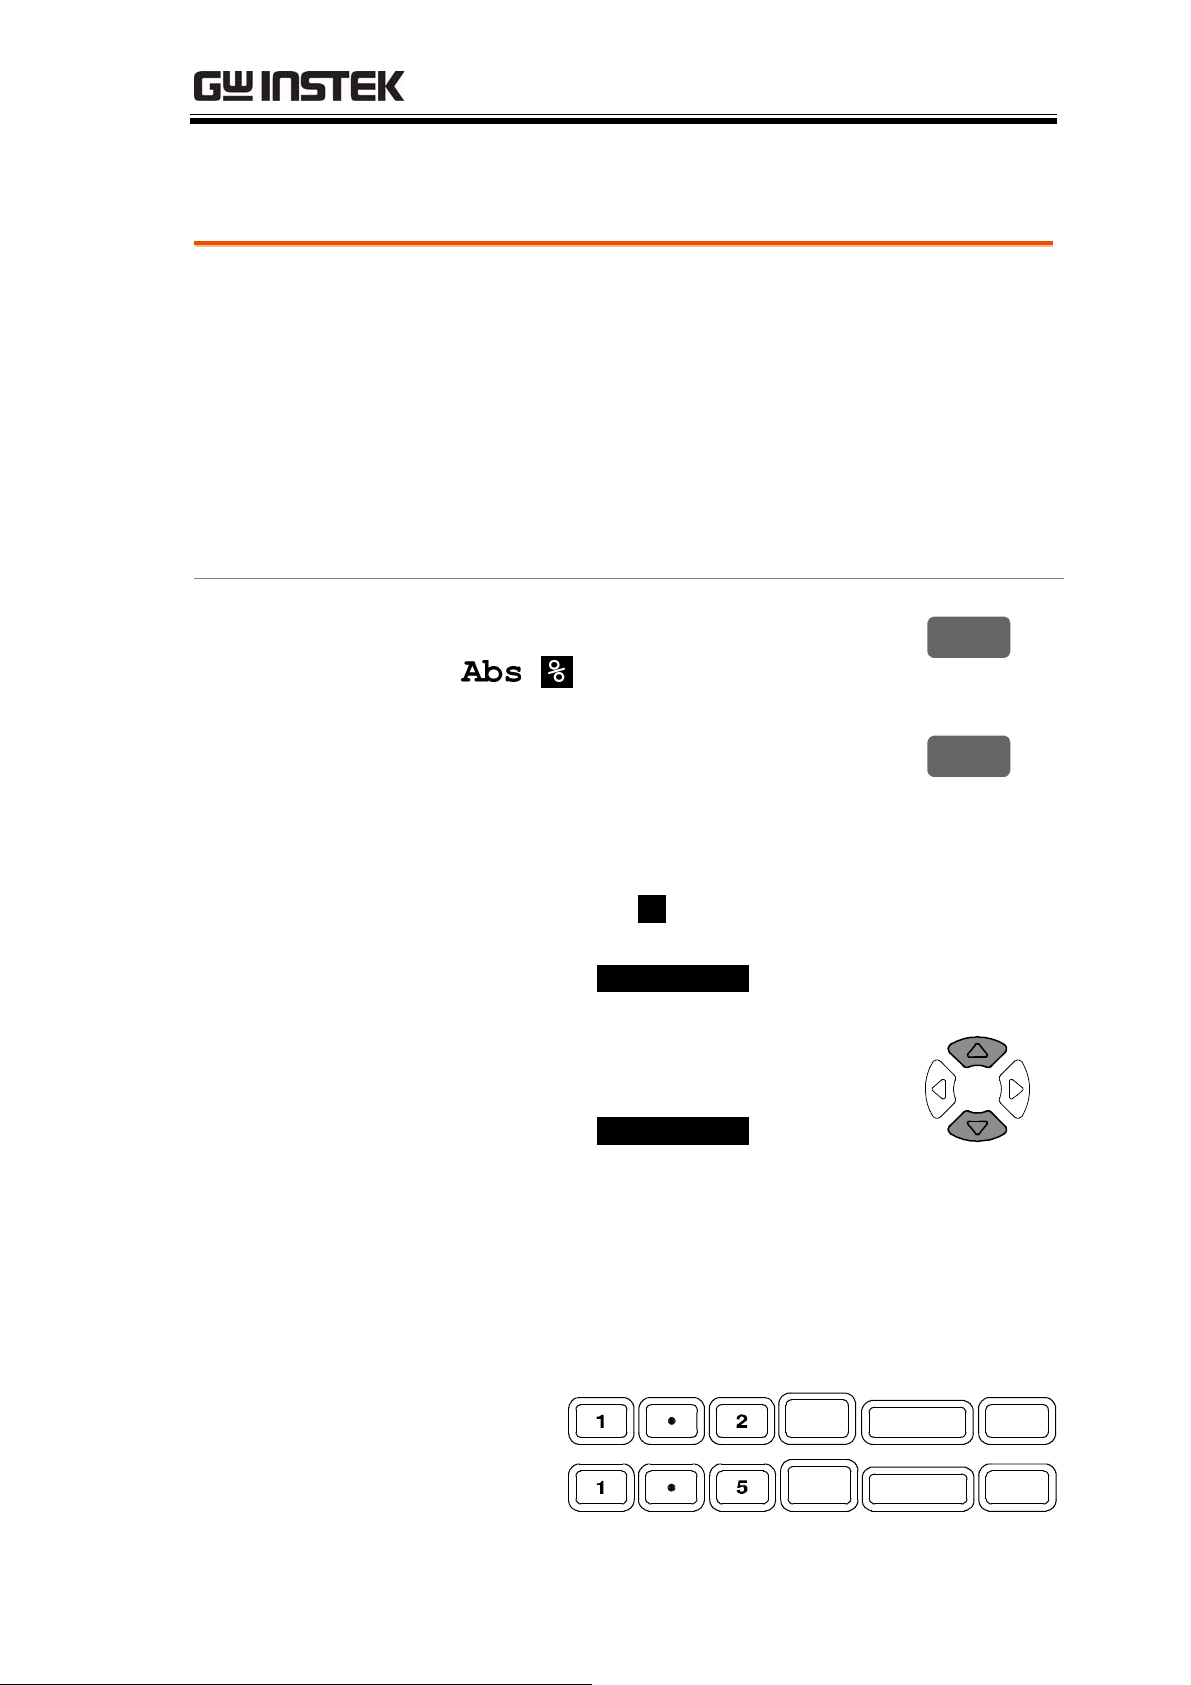
GRAPH MODE
Set vertical axis (Auto + Percentage)
Background
Panel operation
The Y (vertical) axis configuration is available for:
• Manual or Automatic fit: Selects whether the
vertical range is manually set or automatically
adjusted as the graph is plotted.
• Absolute or Percentage: Selects how the vertical
range is defined, as absolute values (minimum
and maximum) or percentage of the nominal
(center) value.
1. Press F2 to select % (Percentage).
F2
2. Press F3 to select Auto Fit.
Auto Fit
F3
3. The nominal value appears on the display.
Step Size: 2 4 81
Set Nominal level
Nominal:
4. Press the Up/Down key to move the
1.0000mF
cursor to Nominal.
Nominal:1.0000mF
5. Use the numerical keys to enter the nominal
value on which the Hi and Lo percentages are
based.
Range
According to each measurement item
(see page37).
1.2m
m
Ω
Enter
1.5kH
k
H
Enter
99
Page 100
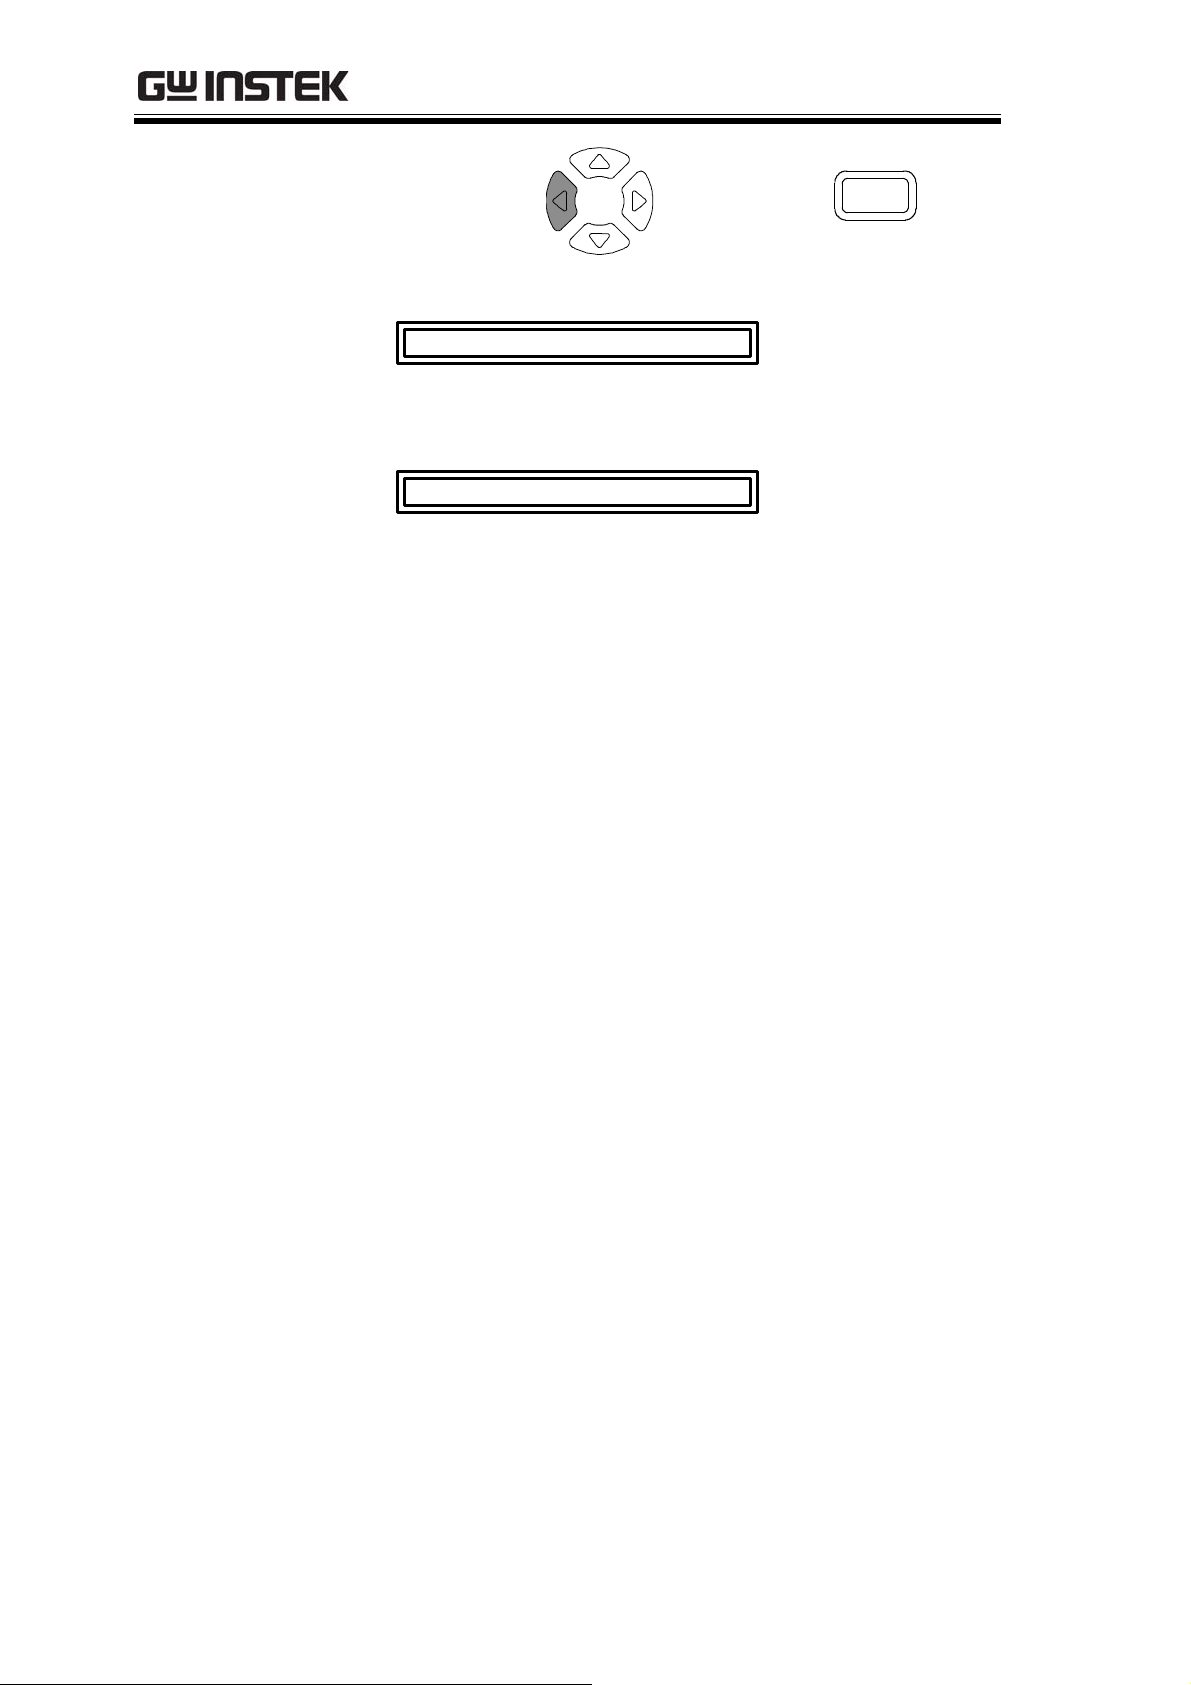
LCR-8000G Series User Manual
Backspace
If a wrong unit is entered, the value is cancelled.
Unit Mismatched
If a value outside of the range is entered, the
closest available value is automatically selected.
Nearest Available
6. The LCR-8000G automatically configures the
percentage (below and above the nominal level)
of the vertical scale.
All clear
Clear
100
 Loading...