

GREAT PLANES Extra-300 50 EP Assembly Manual
Wing Span:57in/1148mm; Prop:14*7 or 15*7
Wing area:45.3sq.dm; Radio:4channels 4sevors;
Length:57in/1148mm; Flying Weight:2080-2100g;
CAUTION : this plane is not a toy and should be kept away
children under 16 years of age! Before use , please carefully read
this manual.
First-time builders should seek advice from people having building experience in order to
assemble the model correctly and to produce its Performance to full extent.
Assemble this kit only in places out of children’s reach!
Take enough safety precautions prior to operating this model.
You are responsible for this model’s assembly and safe operation!
Always keep this instruction manual ready at hand for quick reference, even after completing
the assembly.
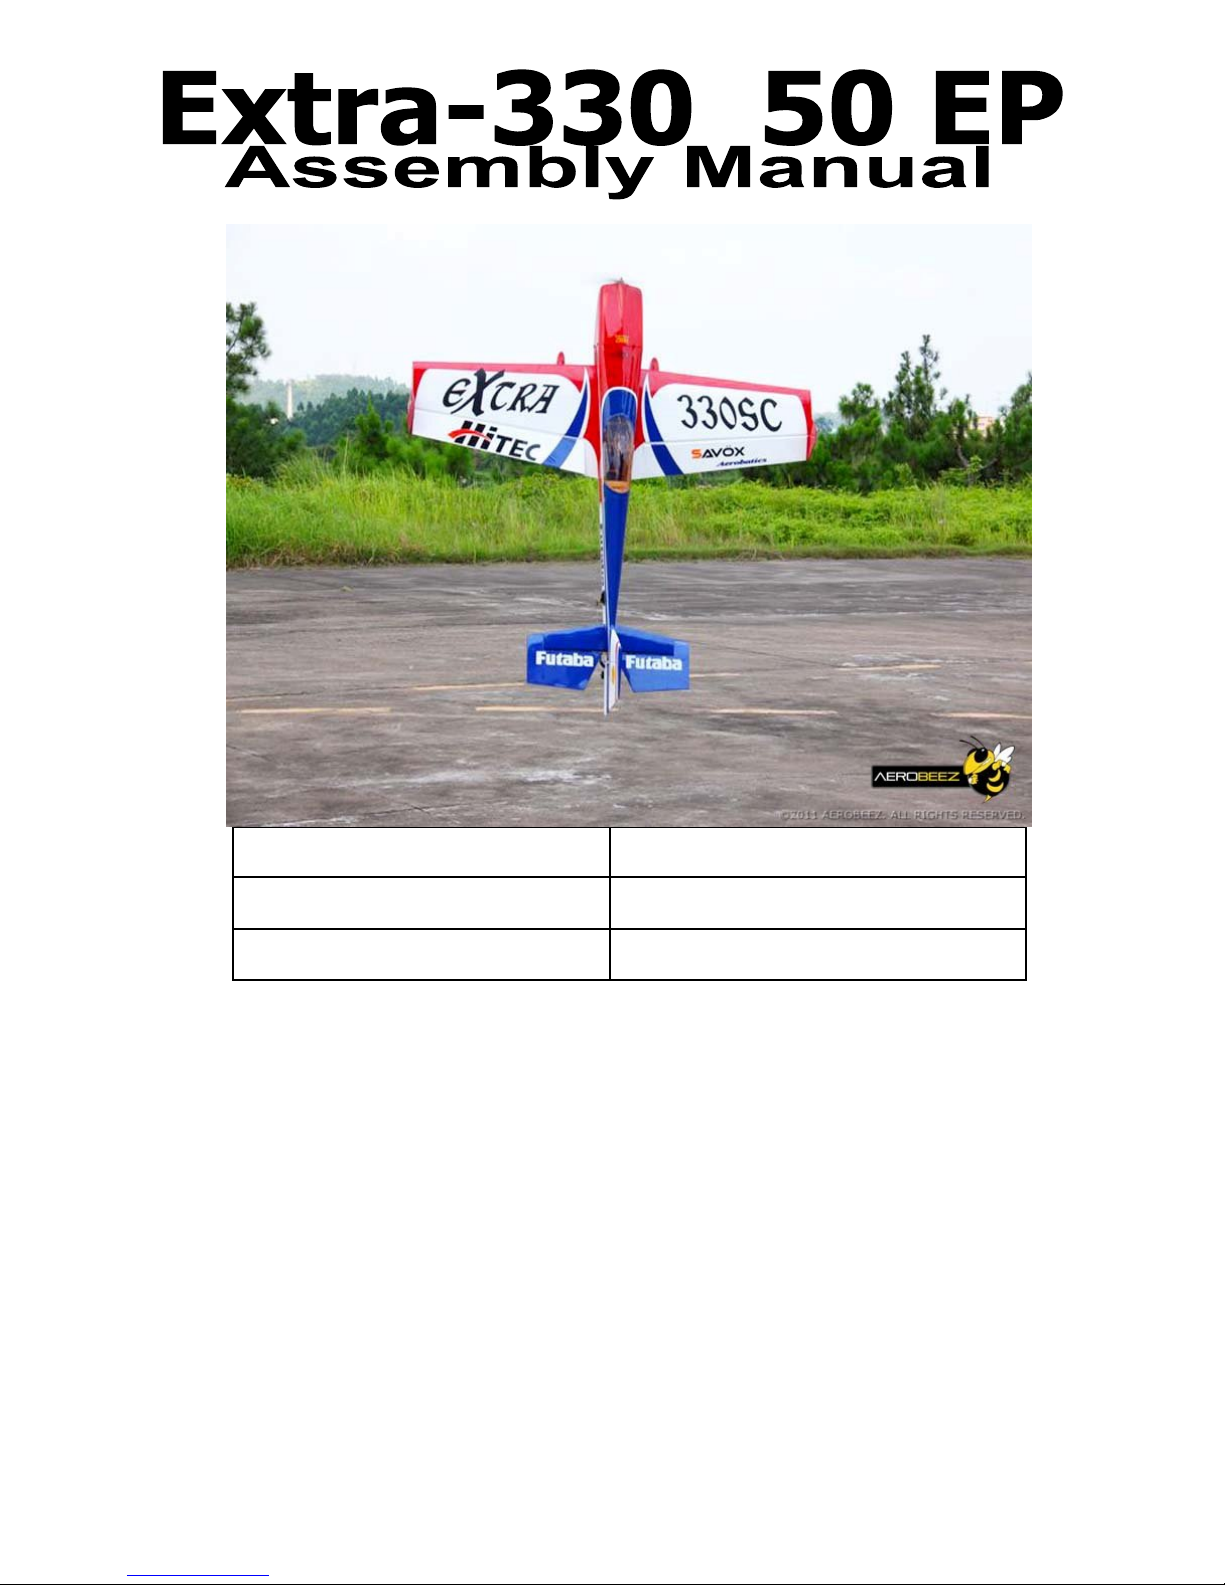
Install the wheels onto the axles and secure with the wheel collars, as shown.
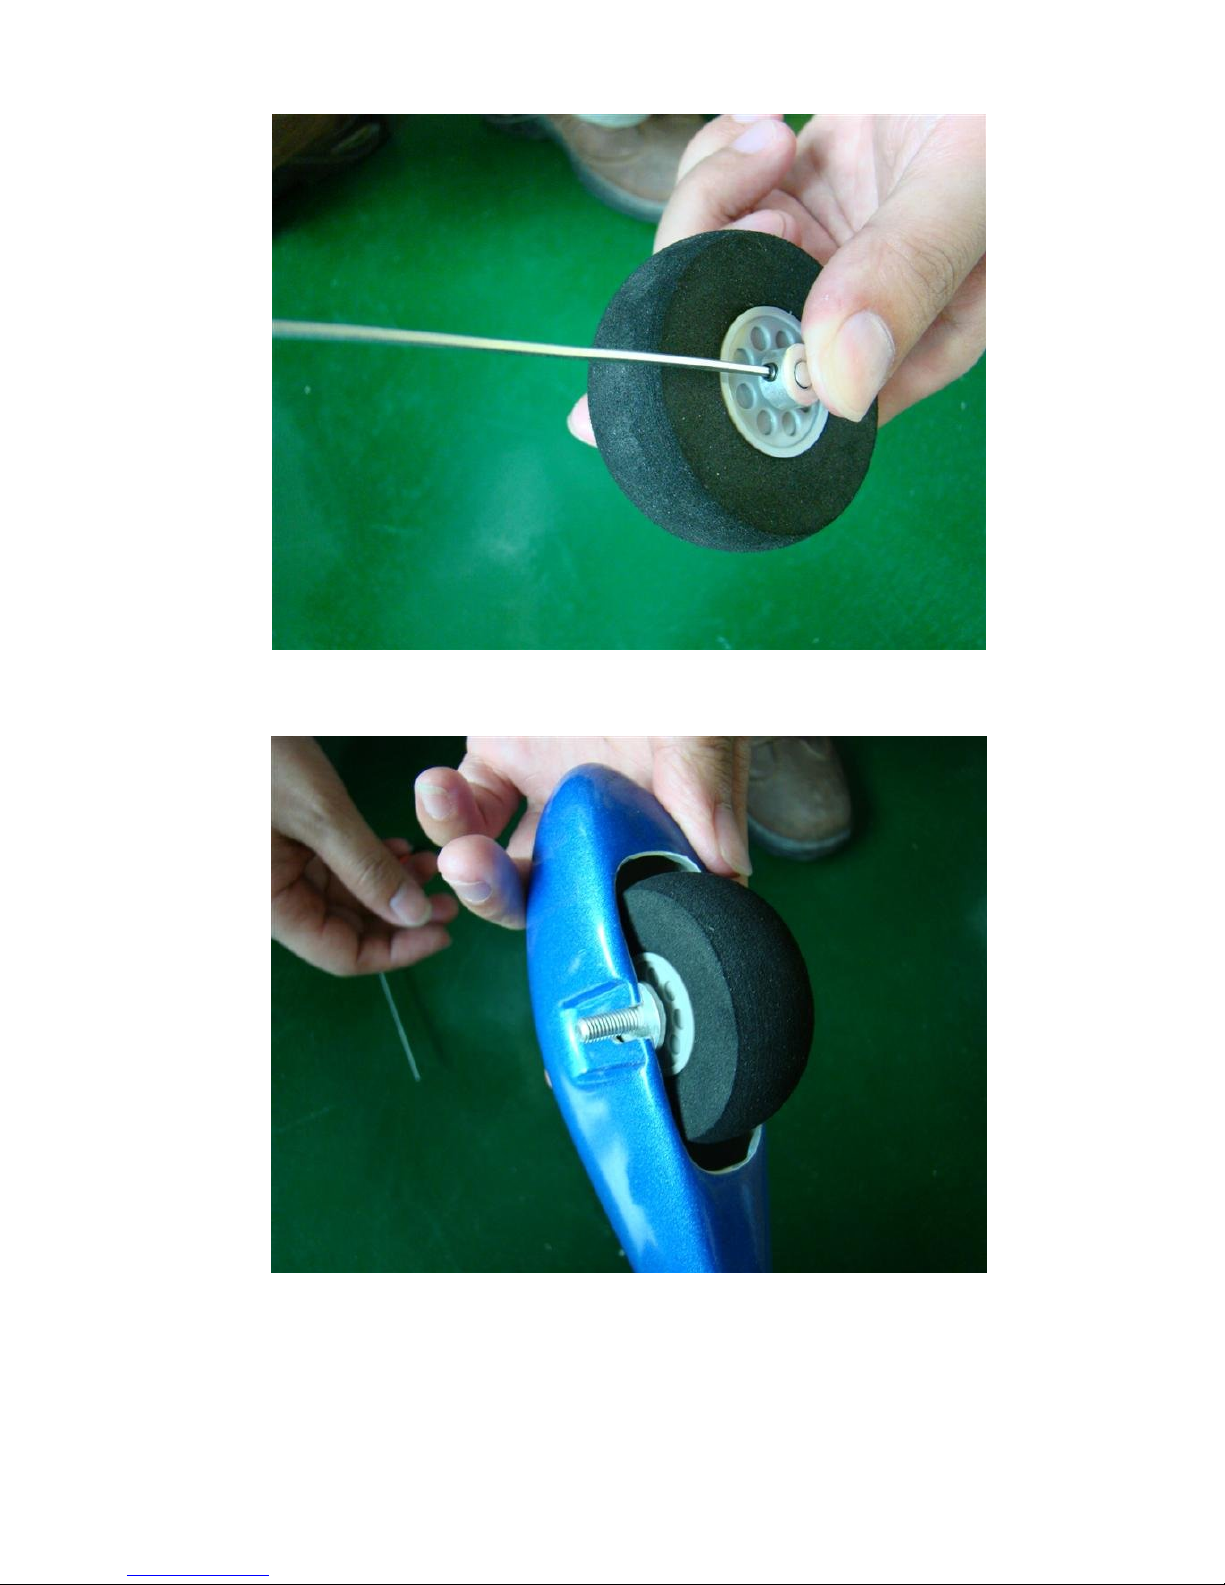
Slide one wheel/axle assembly into a wheel pant, and install the wheel assembly on the landing gear leg.
Tighten the locknut as shown to secure the assembly onto the gear leg. Repeat for other side.
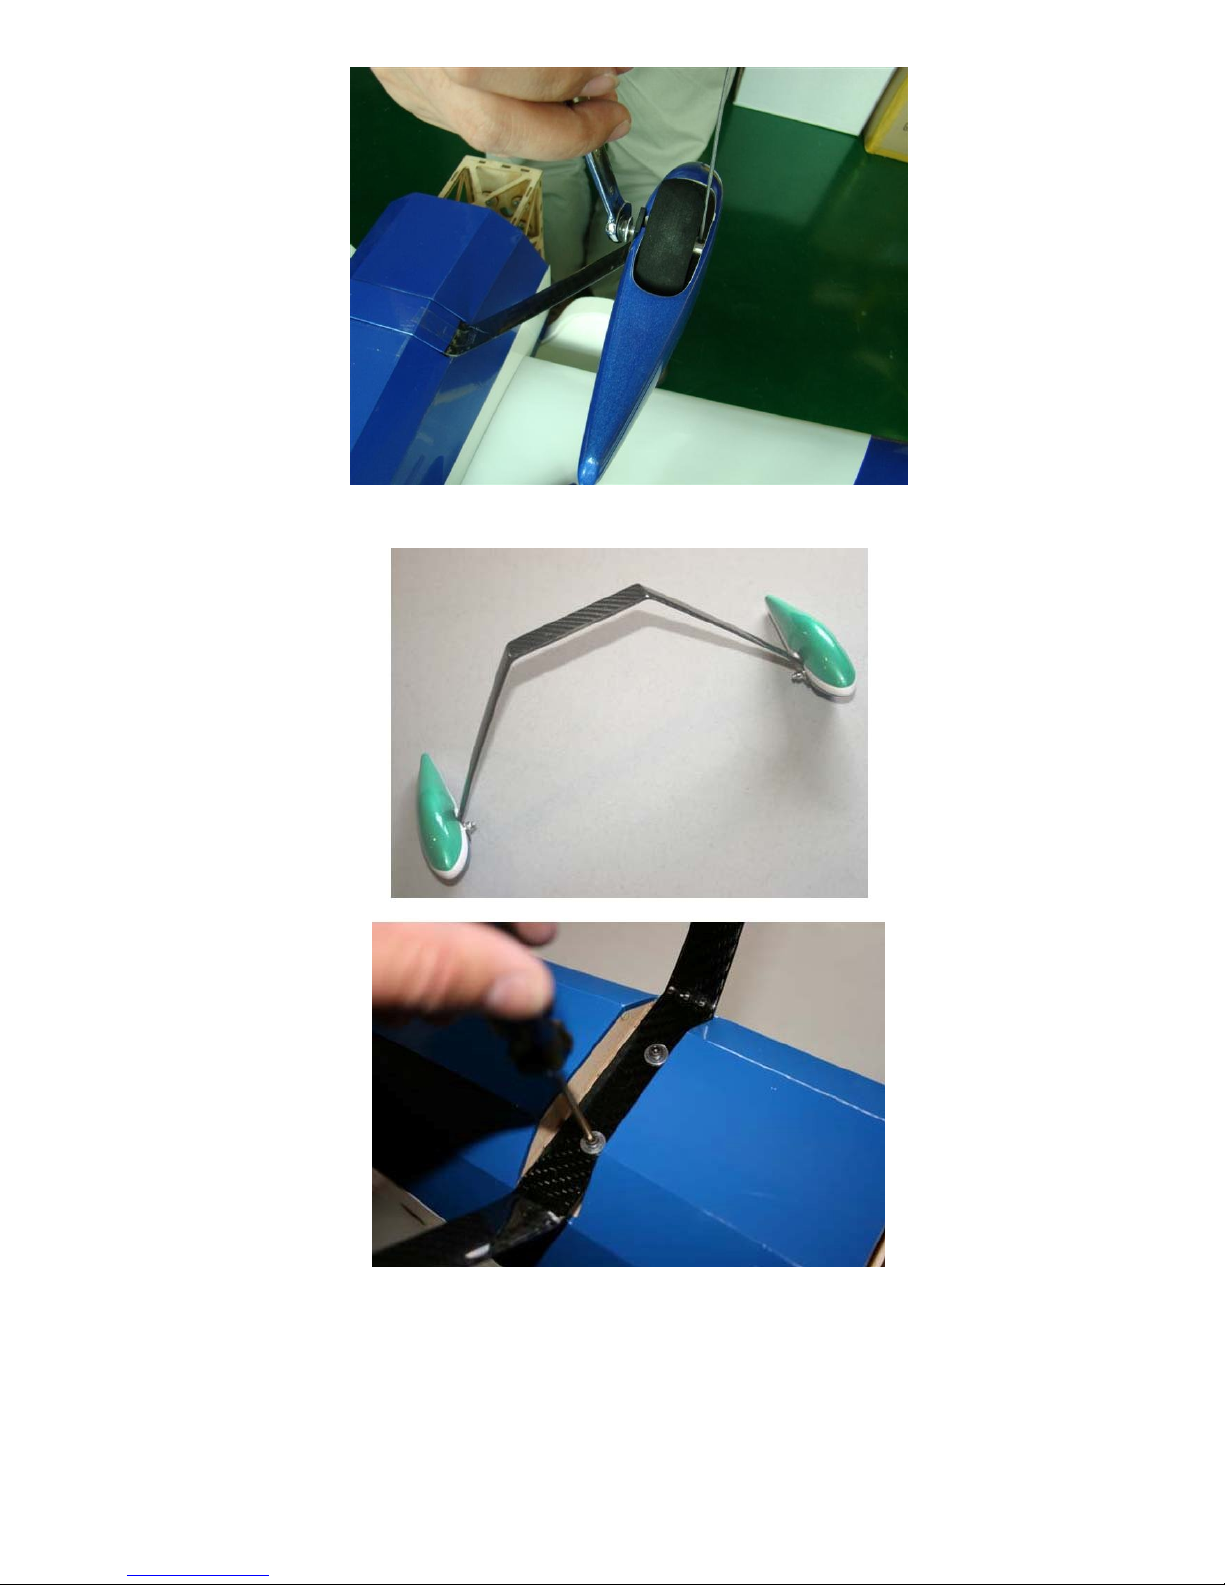
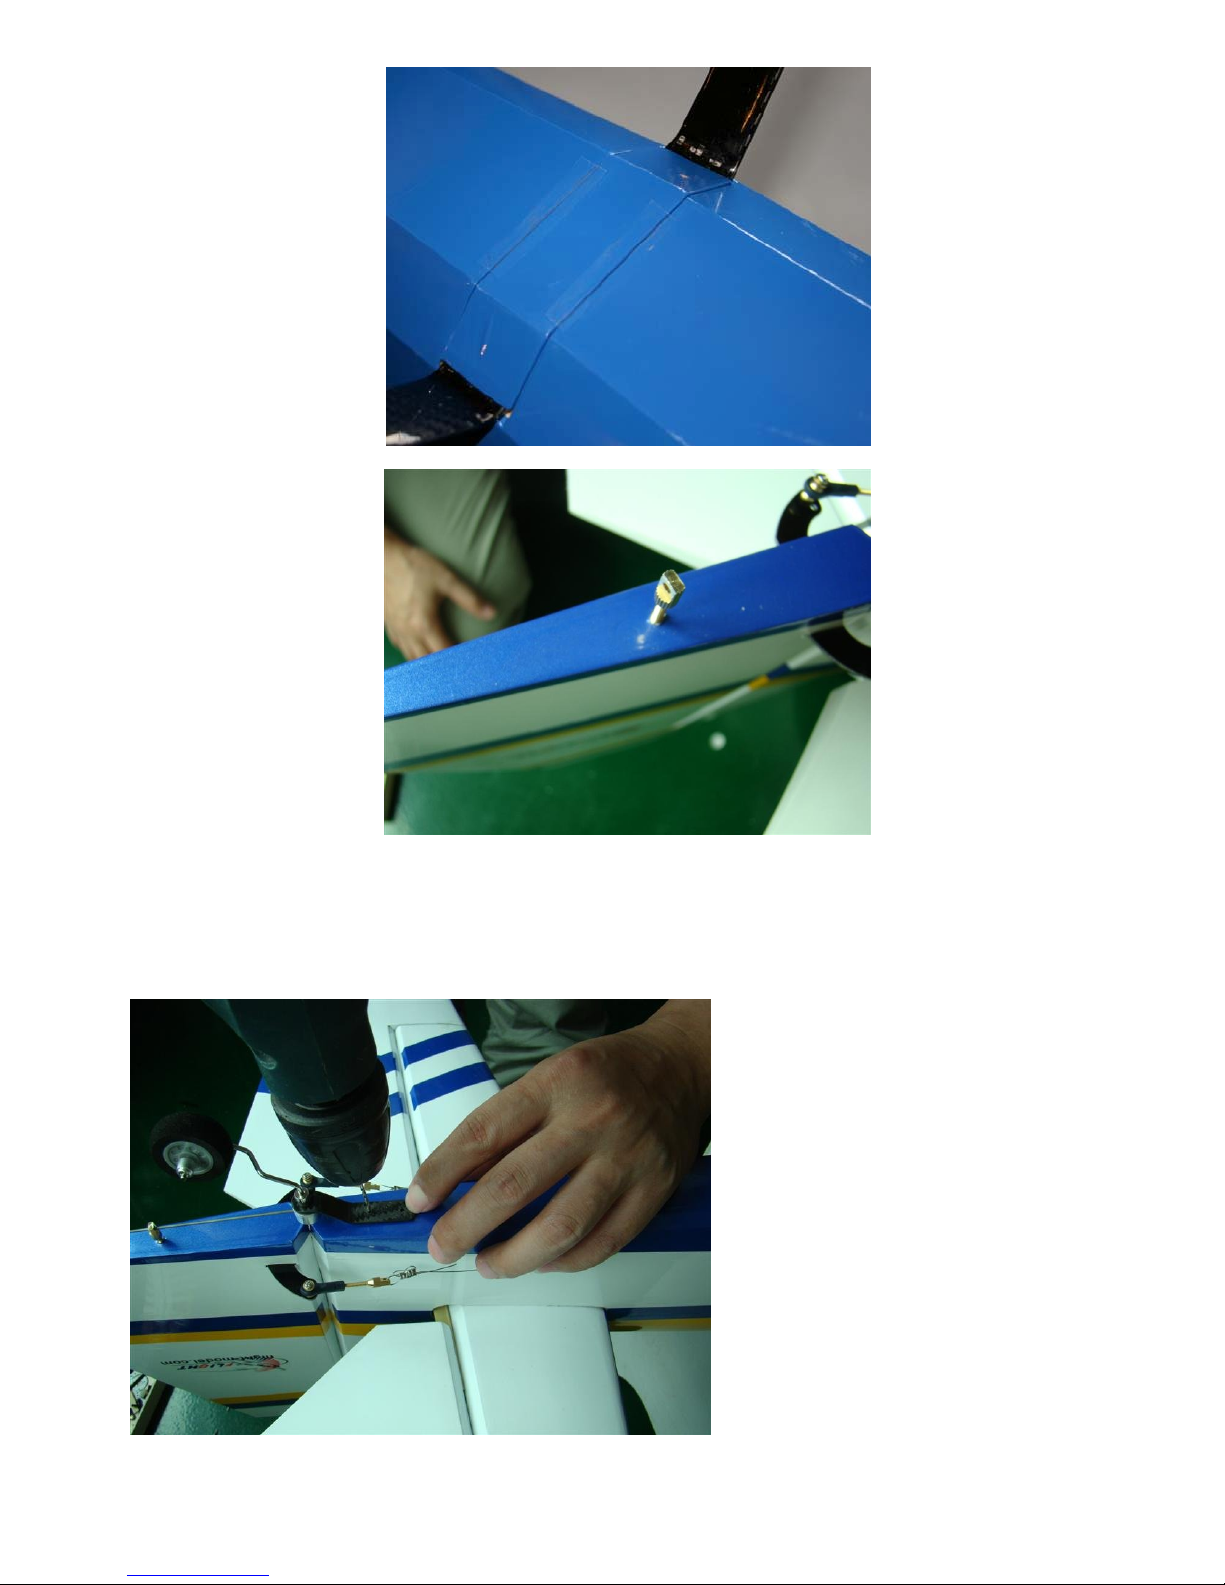
Attach the gear to the fuselage with short 3mm screws, use loctite. Install gear cover plate as shown. We have used clear
tape in this photo, but thick CA or epoxy glue works well.
Measure back 2.25” from the hinge line on the bottom of the rudder. This is where we will install the
tiller guide for the tailwheel. Make a hole in this location (using a 1/16” drill bit or the end of one of
the wire pushrods in your kit) and glue the tailwheel tiller guide as shown with medium or thick CA.
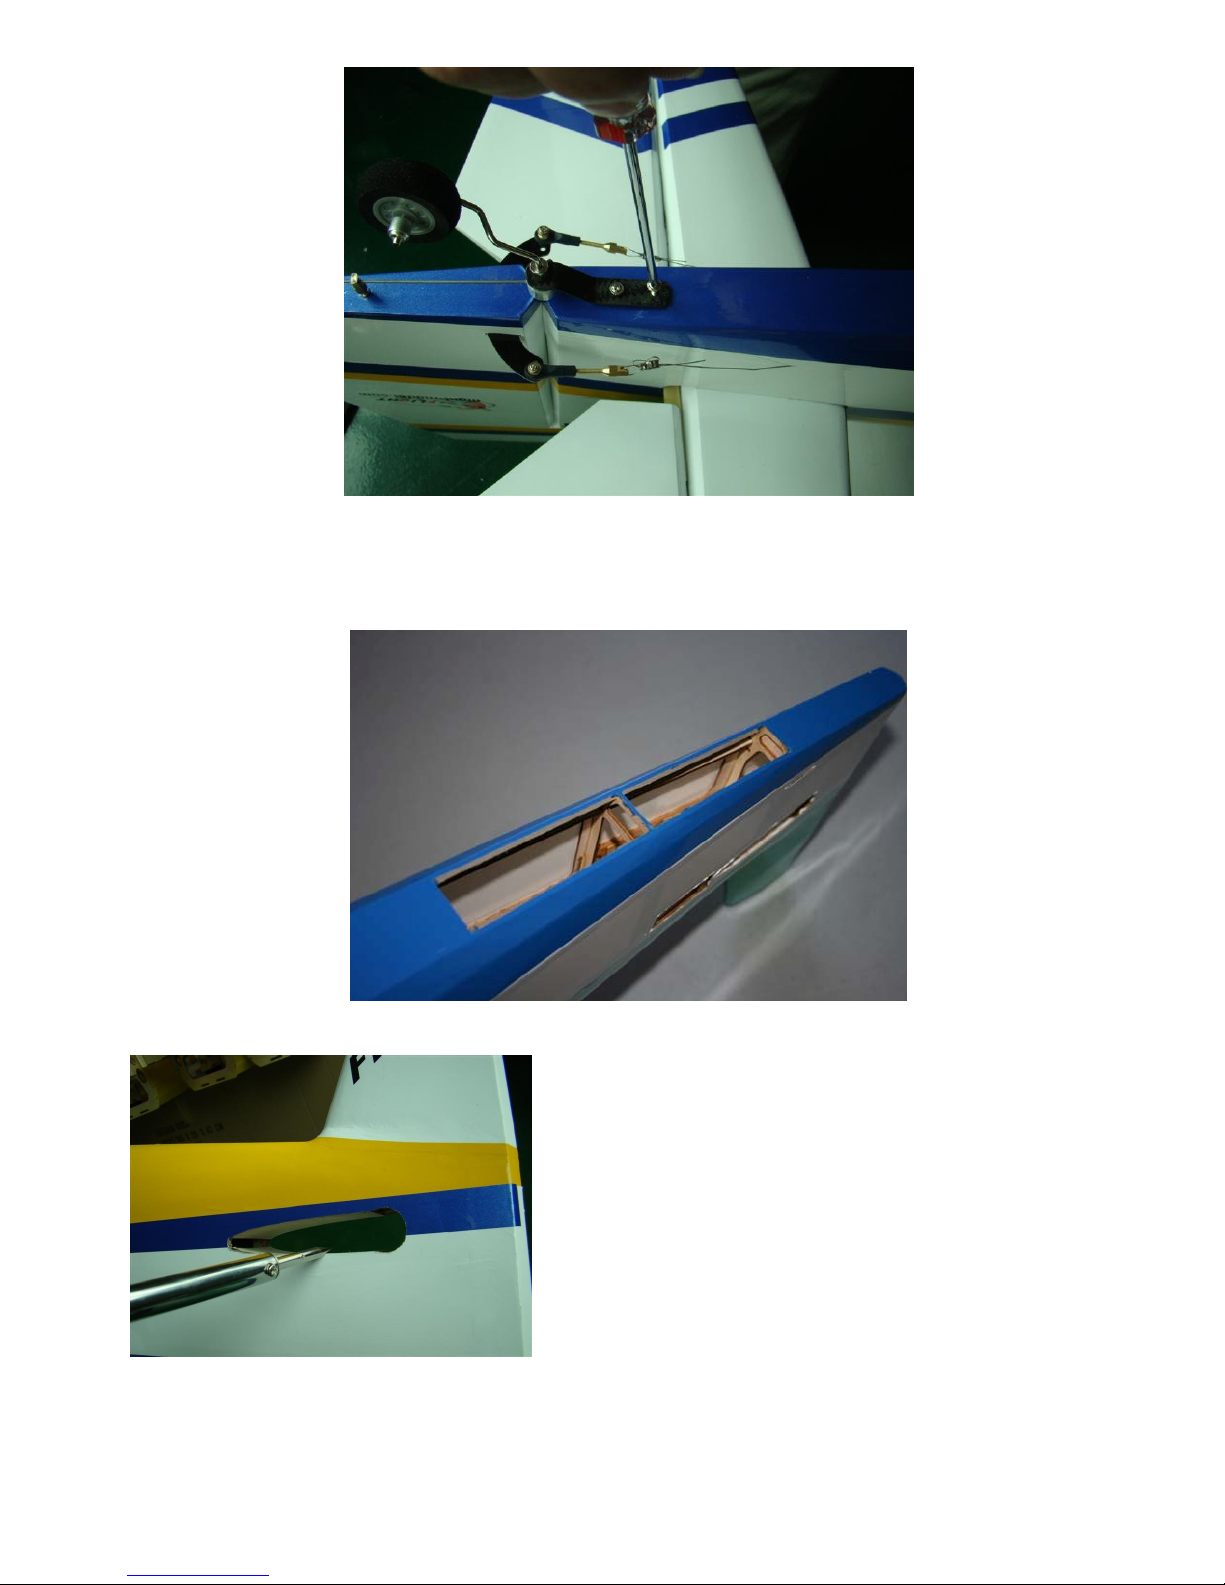
Install tail wheel as shown. Use two wood screws to secure bracket to fuselage. Remove the set
screws in the tailwheel assembly, apply loctite and re-tighten.
Remove a square or two of covering on the bottom of the fuselage behind the wing as shown, for
cooling.
Remove covering as shown from horizontal stabilizer opening and rudder pull-pull wire slot.
Remove covering from the elevator servo opening on the left side of the fuselage as shown.
 Loading...