

Page 1
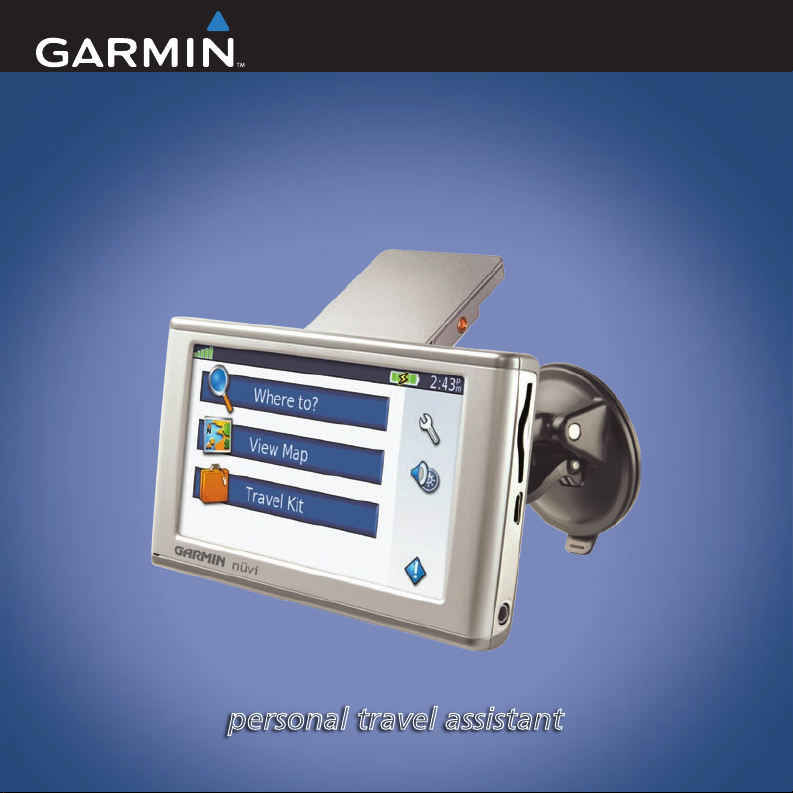
nüvi
Quick Reference Guide
®
600/650
personal travel assistant
Page 2

WARNING: See the Important Safety and Product Information guide in the product box
for product warnings and other important information.
Check your state and local trafc laws before mounting. Currently, state laws in California
and Minnesota prohibit drivers from using suction mounts on their windshields while
operating motor vehicles. Other Garmin dashboard or friction mounting options should be
used. See the Important Safety and Product Information guide for more details.
Mounting Your nüvi
1. Plug the vehicle power cable into the power connector on
the back of the cradle.
2. Clean and dry your windshield and the suction cup with a
lint-free cloth. Place the suction cup on the windshield.
3. Flip the lever back, toward the windshield.
4. Flip up the GPS antenna. Fit the bottom of your nüvi into the
cradle.
5. Tilt the nüvi back until it snaps into place.
6. Plug the other end of the vehicle power cable into a power
outlet in your vehicle. Your unit should turn on automatically
if it is plugged in and your vehicle is running.
Ways to Charge Your nüvi
Connect the vehicle power cable, place the nüvi in the
•
cradle, and start your vehicle.
Connect the USB cable to the nüvi and your computer.
•
Connect the AC adapter (optional accessory) to the nüvi and a wall outlet.
•
2
suction cup
mount
cradle
➊
➋
Windshield
➌
➎
➍
Page 3

WARNING
: This product contains a lithium-ion battery. See the Important Safety and
Product Information guide in the product box for important battery safety information.
Turning On the nüvi
Menu Page
Press and hold the Power button on the
top of the unit to turn it on. Follow the on-
screen instructions to set up your nüvi; you
only have to do this once. To turn your nüvi
A
B
off, press and hold the Power button.
C
Acquiring Satellites
Before the nüvi can nd your current
location and navigate a route, you must do
the following:
1. Go outdoors to an open area, away from
tall buildings and trees.
2. Flip up the GPS antenna on the back of
the nüvi.
3. Turn on the nüvi.
Acquiring satellite signals can take a few
minutes. The bars indicate satellite
strength. When at least one bar is green, the
nüvi has acquired satellites.
A
B
C
D
E
F
D
E
F
Touch to nd a destination.
Touch to view the map.
Touch to open the Travel Kit.
Touch to adjust the nüvi’s settings.
Touch to adjust the volume and screen
brightness, and lock the screen.
Touch to view trafc information when
connected to an optional GTM FM
TMC Trafc Receiver.
3
Page 4

Finding Points of Interest
1. Touch Where to > Food, Lodging.
2. Select a category and a sub-category.
3. Select a destination, and touch Go.
Enter letters contained in the name to
narrow the search. Touch Where to > Food,
Lodging > Spell Name.
To search for a location in a different area
touch Where to > Near.
Finding an Address
1. Touch Where to > Address.
2. Select a country and state/province, if
necessary.
3. Touch Spell City. Enter the city/postal
code, and touch Done. Select the city/
postal code in the list.
4. Enter the number of the address, and
touch Done.
5. Enter the street name, and touch Done.
Select the correct street in the list.
6. Touch the address, and touch Go.
Taking a Detour
If a road on your route is closed, you can
take a detour. With a route active, touch
> Detour.
The nüvi attempts to get you back on your
original route, as soon as possible. If the
route you are currently taking is the only
reasonable option, the nüvi might not
calculate a detour.
Stopping the Route
With a route active, touch > Stop.
Adding a Stop
You can add one stop (via point) to your route.
The nüvi gives you directions to the stop and
then to your nal destination.
1. With a route active, touch on the
Map page.
2. Touch Where to, and then search for the
extra stop.
3. Touch Go, and select an option.
NOTE: Not all map data provides postal
code searching.
4
Page 5

Viewing the Main Pages
Touch View Map to open the Map page. The vehicle icon shows your current
location. Touch to save your current location. Touch the map and drag to view different
parts of the map. Touch any object on the map; an arrow appears pointing at the object.
After you touch Go, the Map page opens. Your route is marked with a magenta line. As you
travel, your nüvi guides you to your destination with voice prompts, arrows on the map, and
directions at the top of the Map page. A checkered ag marks your destination. If you depart
from the original route, your nüvi recalculates the route and provides new directions.
Touch the text bar to open the Turn List.
Touch to zoom out.
Touch to zoom in.
Touch to return
to the Menu page.
Touch Arrival or
Speed to open the Trip
Information.
Touch to open
the media player.
Touch Turn In to view
the Next Turn.
Map Page while Navigating a Route
Turn List Next TurnTrip Information
5
Page 6

Loading Files on Your nüvi
Connect the mini-USB connector on the
USB cable to the mini-USB connector on
the side of the nüvi. Connect the larger end
of the cable to an available USB port on
your computer.
Your nüvi’s internal memory and SD card
appear as removable drives in My Computer
on Windows® computers, and as mounted
volumes on Mac® computers. Copy and
paste les from your computer into the nüvi
drives/volumes. When you are nished
transferring les, click the Eject icon
in your system tray on Windows computers,
or drag the volume icon to the Trash on
Mac computers. Unplug your nüvi.
Listening to MP3 Files
Load MP3 les to the internal memory or
SD card. From the Menu page, touch Travel
Kit > MP3 Player > Browse. Select a
category. To play the entire category, touch
Play All. To play one song, touch the title.
Listening to Your Playlists
Using your computer and an audio program,
create a playlist of MP3 les. Save the
playlist as an M3U le (with the MP3 le
names only, no paths). Transfer the playlist
and the MP3 les to the nüvi or SD drive.
On the nüvi, touch Travel Kit > MP3
Player > Browse > Import Playlist.
Media Player Buttons
NOTE: The nüvi plays MP3 les; it
does NOT support M4A/M4P les.
Touch to adjust the volume. Tap
to go to the beginning of the song/chapter;
touch and hold to skip back. Tap to
skip to the end of the song/chapter; touch
and hold to skip ahead. Touch to pause
the song/book. Touch to repeat, and
to shufe the MP3s.
6
Page 7

Listening to Audible Books
Purchase books from Audible.com. Load
MP3 les to the internal memory or SD
card. From the Menu page, touch Travel Kit
> Audible Book Player > Browse. Select a
category and a book.
Using Bookmarks
To create a bookmark, touch >
Bookmark. To view your bookmarks,
touch and then touch a bookmark.
Touch Play to listen to the book from the
bookmark.
Locking Your nüvi
1. Touch > System.
2. Touch the button next to Garmin Lock.
3. Enter a 4-digit PIN.
4. Drive to a security location (such as your
home or ofce), and touch Set.
Each time you turn on the nüvi, enter the
PIN or drive to the security location.
NOTE: If you forget your PIN and
your security location, you must send
your nüvi to Garmin to get it unlocked.
You must also send a valid product
registration or proof of purchase.
7
Resetting the nüvi
If the nüvi screen stops functioning, turn the
nüvi off and on again. If this does not help,
do the following:
1. Disconnect the nüvi from external power.
2. Flip up the GPS antenna.
3. Press the Reset button.
4. Connect the nüvi to a power source. The
nüvi should automatically turn back on
and operate normally.
Page 8

nüvi Tips and Shortcuts
To quickly return to the Menu page,
•
touch and hold Back.
Touch and to see more
•
choices. Touch and hold to scroll faster.
On the Map, touch to open the media
•
player. Touch Source to switch between
the MP3 and audible book player.
To adjust the nüvi’s settings, touch .
•
To extend the battery life, close the GPS
•
More Information
You can download the latest version of the
owner’s manual from
www.garmin.com/products/nuvi600, or
www.garmin.com/products/nuvi650; click
Manuals, and then select Download.
For information about accessories, go to
http://shop.garmin.com or contact your
Garmin dealer.
antenna when you are not navigating.
To adjust the volume or the screen
•
brightness, quickly tap the Power button.
To lock the screen, touch > Lock.
•
To learn more about the Travel Kit, touch
•
Travel Kit > Help.
Go to http://my.garmin.com to access the
•
latest services for your Garmin products.
Garmin® and nüvi® are trademarks of Garmin Ltd. or its subsidiaries, registered in the USA and other countries. Personal Travel
Assistant™ is a trademark of Garmin Ltd. or its subsidiaries. These trademarks may not be used without the express permission
of Garmin. Windows® is a registered trademark of Microsoft Corporation in the United States and/or other countries. Mac® is a
registered trademark of Apple Computer, Inc.
© Copyright 2007 Garmin Ltd. or its subsidiaries
March 2007 190-00809-01 Rev. C Printed in Taiwan
 Loading...