

GoPro ROCKY POINT User Manual

USER MANUAL
ROCKY POINT

2 3
/ Join the GoPro Movement
twitter.com/GoPro
facebook.com/GoPro
youtube.com/GoPro
instagram.com/GoPro
To downl oad this user manual in a d ifferent language, visit gopro.com/support.
Pour télécharge r ce manuel d e l’utilisateu r dans une a utre langue, rendez-vous
sur gopro.com/support.
Wenn Sie dies es Benut zerhandbuc h in einer anderen Sprache h erunter laden
möchten, b esuchen Sie gopro.com/support.
Per scari care questo manuale utente in un’altra lingu a, visita gopro.com/support.
Para desc argar este manu al de usuario en ot ro idioma, visite gopro.com/support.
Para baixa r este manual do usuário em outro idioma, acesse gopro.com/support.
このユーザーマニュアルの他言語版をダウンロードするには、
gopro.com/supportにアク セ スしてくだ さ い 。
若 要 下 載其 他 語 言 版本 的使 用 說 明書,請 前 往: gopro.com/support。
如需下载本用户手册的其他语言版本,请访问gopro.com/support。
Чтобы заг рузит ь это руководс тво поль зователя на д ругом яз ыке, посе тите
страницу gopro.com/support.

4 5
The Basics
6
Getting Started
7
Capturing Video and Time Lapse Photos
16
Accessing Camera Settings
20
Camera Icons
26
Camera Modes and Settings
28
Video Mode
30
Photo Mode
44
Multi-Shot Mode
47
Setup Mode
55
Protune™
66
Transferring Files to a Computer
70
Playing Back Video and Photos
72
Important Messages
74
The Frames
77
Using the Mounts
79
Battery
89
Troubleshooting
94
Customer Support
98
Regulatory Information
98
/ Table of Contents / Table of Contents

6 7
/ The Basics
1. Camera Status Screen
2. Shutter/Select Button [ ]
3. Microphone
4. Camera Status Light (red) /
Wireless Status Light (blue)
5. Micro USB Port
6. microSD Card Slot
7. Camera Status/Wireless
Button
/ Getting Started
CHARGING THE BATTERY
The integrated batter y comes par tially charged. No damage occurs to
the camera or battery if used before being fully charged.
To Charge the Battery:
1. Open the side door. 2. Charge the battery using the
included USB cable.
6
7
For #3, show
dots like in first
drawing, but in
square pattern
(3 across,
3 down)
Note: The ba ttery cann ot be removed fro m the camera.

8 9
/ Getting Started
The camera status lights (red) turn on during charging and turn
off when charging is complete. When charging the camera with a
computer, be sure that the computer is connected to a power source.
If the camera status lights do not turn on to indicate charging, use a
different USB port.
NOTICE: Using a wall charger other than a GoPro Wall Charger can
damage the battery. Only use USB charging adapters marked 5V 1A.
If you do not know the voltage and amperage of your charger, use the
included USB cable to charge the camera from your computer.
For more battery information, see Battery (page 89).
WARNING: Use caution when using your GoPro as part of your
active lifest yle. Always be aware of your surroundings to avoid
injury to yourself and others. Abide by all local laws when using
your GoP ro and related mounts and acces sories, including all
privacy laws, which may restrict recording in certain areas.
/ Getting Started

10 11
/ Getting Started
INSERTING + REMOVING MEMORY CARDS
Use brand name memory cards (sold separately) that meet these
requirements:
• microSD, microSDHC, or
microSDXC
• Class 10 or UHS-1 rating
• Capacity up to 64GB
For a list of the recommended
microSD cards, visit
gopro.com/support.
/ Getting Started
NOTICE: Use care when handling memory cards. Avoid liquids, dust,
and debris. As a precaution, power off the camera before inserting or
removing the card. Check manufacturer guidelines regarding use in
acceptable temperature ranges.
CAMERA SOFTWARE UPDATES
To get the latest features and best performance from your
HERO4 Session camera, make sure you are using the most current
camera soware. You can update your camera soware with the
GoPro App, GoPro Studio, or at gopro.com/getstarted.

12 13
/ Getting Started
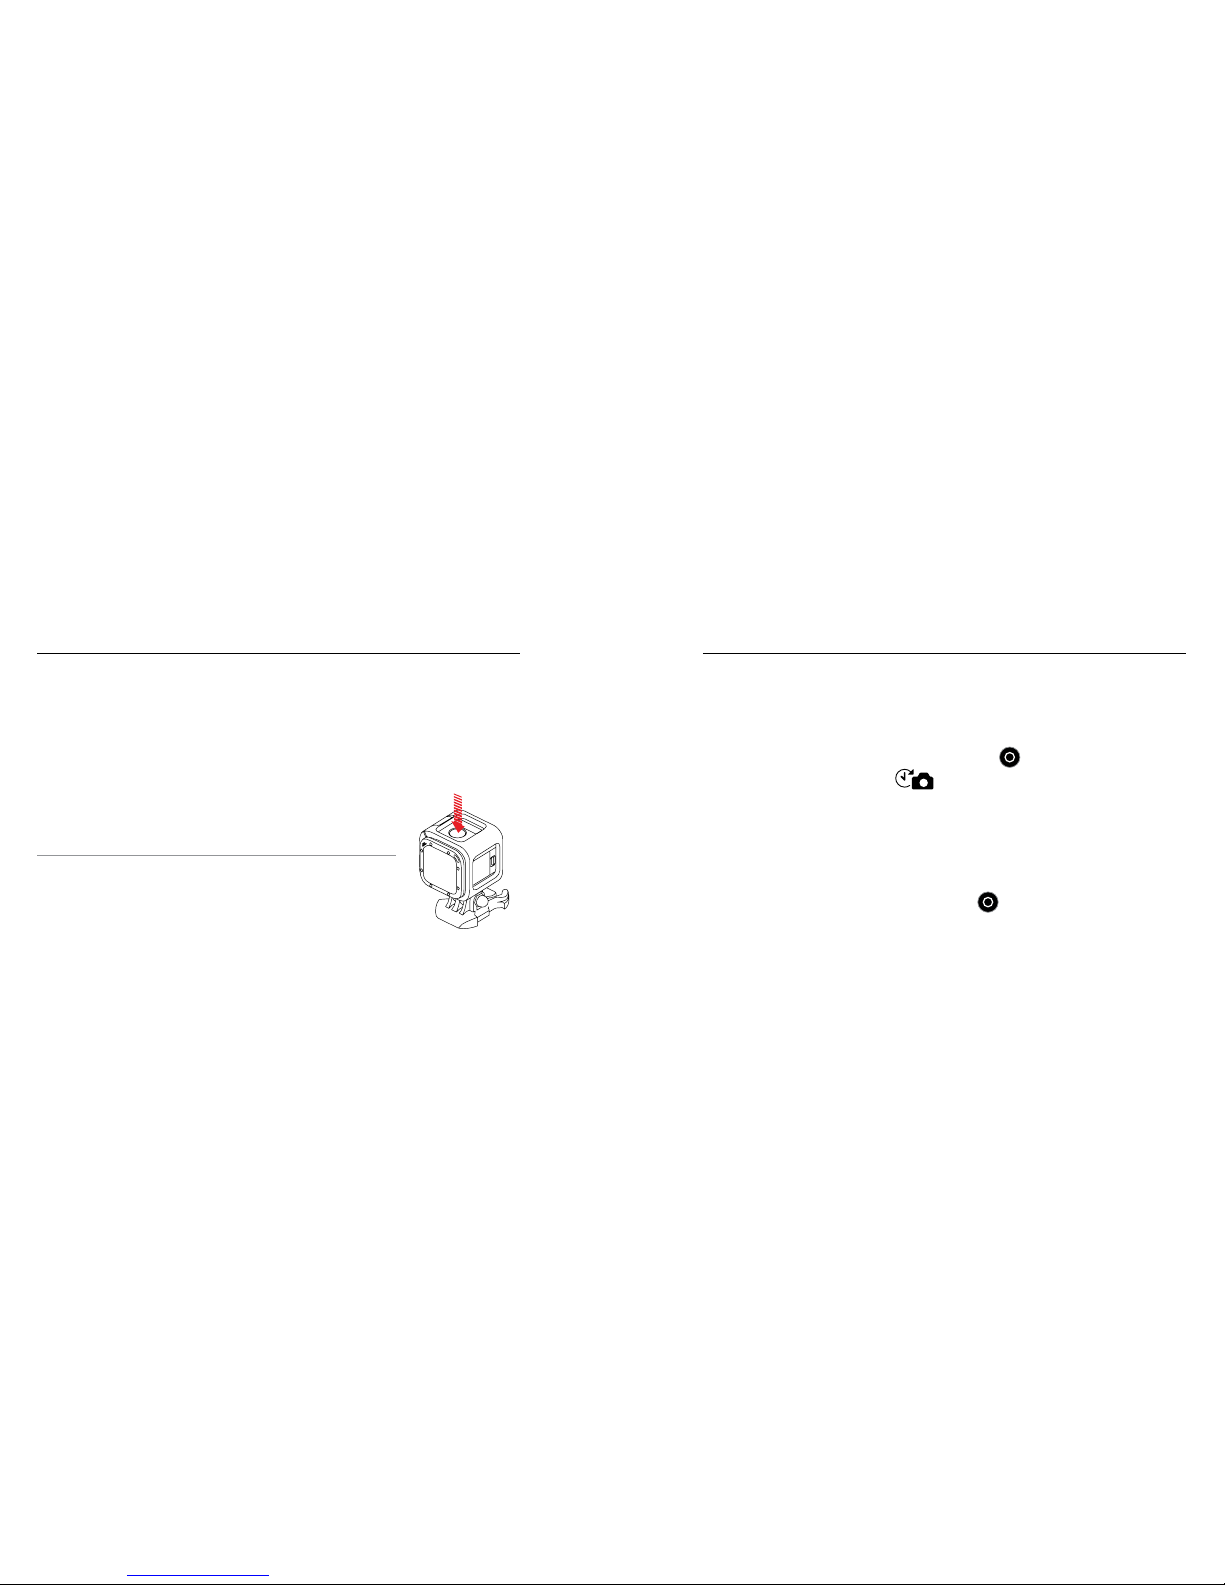
POWERING ON + OFF
HERO4 Session automatically powers on when
you short press the Shutter/Select button [
] to
begin capturing video or Time Lapse photos. When
you press the Shutter/Select button [
] again to
stop recording, the camera automatically powers
off to conserve battery power.
PRO TIP: When carrying your camera in a bag or pocket, place the
camera upside down in a frame with the Shutter/Select button [
]
covered to prevent the camera from accidentally powering on.
/ Getting Started
DISPLAYING THE CAMER A STATUS
Shor t press the Camera Status/Wireless button. The status screen
cycles through the information below, then automatically turns off.
1. Capture Mode/Soware Version
2. Available Memory/
Capture Mode Settings
3. Wireless (when on)
4. Battery Status
5. Wireless Connection
Confirmation
6. Current Wireless Option
7. Additional Wireless Options
Add “7” here

14 15
/ Getting Started
GEAR CHECK
Follow these guidelines to get the best performance from your
camera:
☑ The camera is waterproof to 30’ (10m)—no housing needed.
Ensure that the side door is closed before using the camera in or
around water, dirt, or sand.
☑ Before opening the side door, be sure the camera is free of water
or debris.
☑ If sand or debris hardens around the side door, soak the camera
in warm tap water for 15 minutes and then rinse thoroughly to
remove the debris before opening the door.
☑ For best audio performance, shake the camera to remove water
and debris from the microphone holes. (Blowing on the mic holes
does not remove water and debris.)
☑ Aer every use in salt water, rinse the camera with fresh water,
and dry with a so cloth.
☑ If the camera lens becomes foggy, let it sit until it dries.
PRO TIP: During water activities, tether your camera for added
security and use a Floaty to keep your camera afloat (sold separately).
For more information, visit gopro.com.
/ Getting Started

16 17
When your camera is not connected to the remote (sold separately)
or the GoPro App, two capture modes are available: Video and Time
Lapse. To access more modes or change camera settings, see
Accessing Camera Settings (page 20).
CAPTURING VIDEO
The default video resolution is 1080p48 SuperView.
To Start Recording Video:
Shor t press the Shutter/Select button [
]. Your camera
automatically powers on, emits three beeps, and begins recording
video. The camera status lights blink while the camera is recording.
/ Capturing Video and Time Lapse Photos / Capturing Video and Time Lapse Photos
If the memor y card is full or the battery is out of power, your camera
automatically stops recording and saves the video before powering
off.
To Stop Recording:
Shor t press the Shutter/Select button [
]. The camera
automatically stops recording (indicated by one beep), saves the file
(three beeps), and then powers off (seven beeps).
18 19
/ Capturing Video and Time Lapse Photos
Show rear 3/4 view with arrow pointing
to Wireless button (back bottom of
camera), not Shutter button
/ Capturing Video and Time Lapse Photos
HILIGHT TAGGING
You can mark specific moments in your video as they happen with
HiLight Tags. HiLight Tags make it easy to find the best moments to
share.
Note: HiLigh t Tags are vis ible during p layback on th e GoPro App or in GoPr o Studio.
To Add HiLight Tags During Recording:
Shor t press the Camera Status/Wireless button.
PRO TIP: You can also add HiLight Tags during
recording with the GoPro App or the Smart Remote.
CAPTURING TIME LAPSE PHOTOS
The default inter val for Time Lapse photos is 0.5 second.
To Start Capturing Time Lapse Photos:
Press and hold the Shutter/Select button [
] for two seconds until
the Time Lapse photo icon [
] appears on the camera status
screen. Your camera automatically powers on, emits two beeps, and
begins capturing Time Lapse photos. The camera status lights blink
while the camera is capturing photos.
To Stop Recording:
Shor t press the Shutter/Select button [
]. The camera
automatically stops recording (indicated by one beep), saves the file
(three beeps), and then powers off (seven beeps).

20 21
To access more modes or adjust camera settings, connect your
camera to the remote (sold separately) or the GoPro App. All modes
and settings that you select are saved aer you disconnect the
camera. However, only Video and Time Lapse modes can be accessed
when the camera is not connected to the remote or the app.
Note: HERO4 Ses sion is compati ble with the Smar t Remote and the W i-Fi Remote.
CONNECTING TO THE GOPRO APP
The GoPro App lets you adjust modes and camera settings remotely
using a smartphone or tablet. Features include full camera control,
live preview, playback and sharing of content, and camera soware
updates.
/ Accessing Camera Settings / Accessing Camera Settings
You can also use the GoPro App to see what your camera sees when
you mount HERO4 Session in hard-to-reach places. To learn more
about the app, see gopro.com/getstarted.
To Connect to the GoPro App:
1. Download the GoPro App to your smartphone/tablet from the
Apple
©
App Store, Google Play, or Windows© Phone marketplace.
2. Open the app.
3. Tap Connect Your Camera.
4. Follow the app’s on-screen instructions to connect your camera.
The default password for your camera is goprohero.

22 23
PAIRING WITH THE REMOTE
The Smart Remote lets you change capture modes and settings,
power your GoPro on/off, start/stop recording, and add HiLight Tags.
To Pair with the Remote:
1. On HERO4 Session, short press the Camera Status/Wireless
button repeatedly to cycle to Rem Ctrl, then short press the
Shutter/Select button [
] to select it. The camera automatically
begins pairing.
2. Put the remote into pairing mode. For more information, see the
user manual for your remote at gopro.com/getstarted.
/ Accessing Camera Settings
CONNECTING AFTER PAIRING
Aer connecting your camera to the GoPro App or the remote for the
first time, you can connect in the future through the wireless menu.
To Connect Your Camera aer Pairing:
1. Short press the Camera Status/Wireless button to open the
wireless menu.
2. If needed, short press the Camera Status/Wireless button again
to display the setting that you want (GoPro App or Rem Ctrl), and
then short press the Shutter/Select button [
] to select it.
The wireless status lights blink when wireless is on and the camera
is not recording.
Note: If you r smartphon e/tablet has Blu etooth© LE, the wirel ess options a re combined as R C/App.
/ Accessing Camera Settings

24 25
TURNING WIRELESS ON/OFF
Aer you connect HERO4 Session to the GoPro App for the first time
or pair it with the remote, you can connect your camera in the future
using the Camera Status/Wireless button.
To Turn Wireless On:
1. Short press the Camera Status/Wireless button to open the
wireless menu.
2. If needed, short press the Camera Status/Wireless button again
to display the setting that you want (GoPro App or Rem Ctrl), and
then short press the Shutter/Select button [
] to select it.
/ Accessing Camera Settings
The wireless status lights blink when wireless is on and the camera
is not recording.
Note: If you r smartphon e/tablet has Blu etooth LE, the wire less options a re combined a s RC/App.
To Turn Wireless Off:
1. Short press the Camera Status/Wireless button to open the
wireless menu.
2. Short press the Camera Status/Wireless button repeatedly to
cycle to Turn WiFi Off, and then short press the Shutter/Select
button [
] to select it.
/ Accessing Camera Settings
26 27
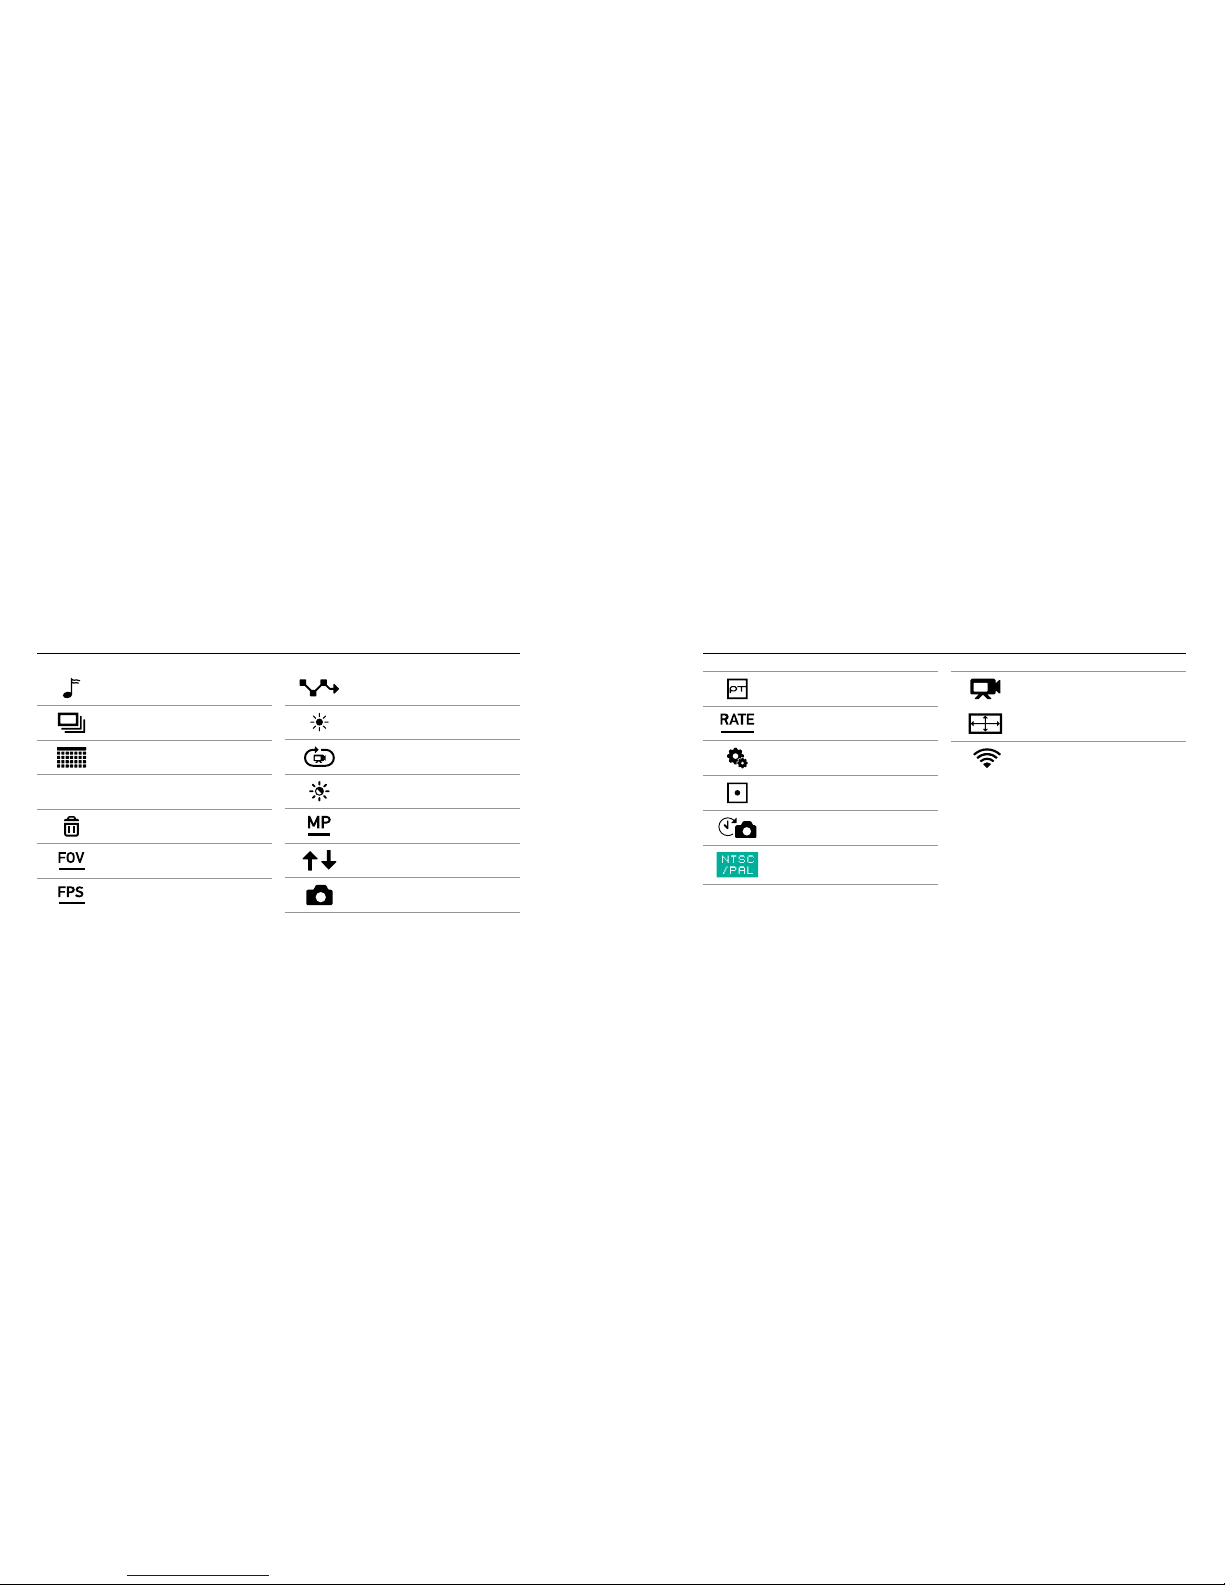
/ Camera Icons
Beeps
Burst Photos
Date/Time
ICON
Default Mode
Delete
Field of View
Frames Per Second
Interval
LEDs
Looping Video
Low Light
Megapixels
Orientation
Photo Mode
/ Camera Icons
Protune™
Rate
Setup Mode
Spot Meter
Time Lapse
Video Format
Video Mode
Video Resolution
Wireless

28 29
/ Camera Modes and Settings
Camera
Default
Add Interval icon as first
setting for Video
Add Protune icon
at the end of the
Video settings
group
/ Camera Modes and Settings
Camera
Default
Settings: 3rd icon on top should
be DFLT. For first icon on bottom,
use the one on p. 27. Last icon on
bottom should be RESET CAM.
 Loading...