

Page 1

May 31, 2017
1
GV-WiFi Adaptor V2
GV-WiFi Adaptor V2 is designed to connect the GV-IP devices to the wireless network. This
product supports 2.4 GHz and 5 GHz wireless connection. GV-WiFi Adaptor V2 is a plugand-play device; you don’t need to install any driver for the device to work.
Compatible GV-IP Devices
GV-WiFi Adaptor V2 is compatible with any of the following hardware and firmware.
GV-BX2700 Series / 4700 Series / 5700 Series (firmware V1.06 and later)
GV-FER5700 (firmware V1.06 and later)
GV-VS2400 / 2420 (firmware V1.03 and later)
GV-VS2800 / 2820
PN400 (firmware V1.01 and later)
Packing List
1. GV-WiFi Adaptor V2
2. Installation Guide
3. Mini USB to Standard USB Converter (For use with H.265 Box IP Cameras only)
Page 2
May 31, 2017
2
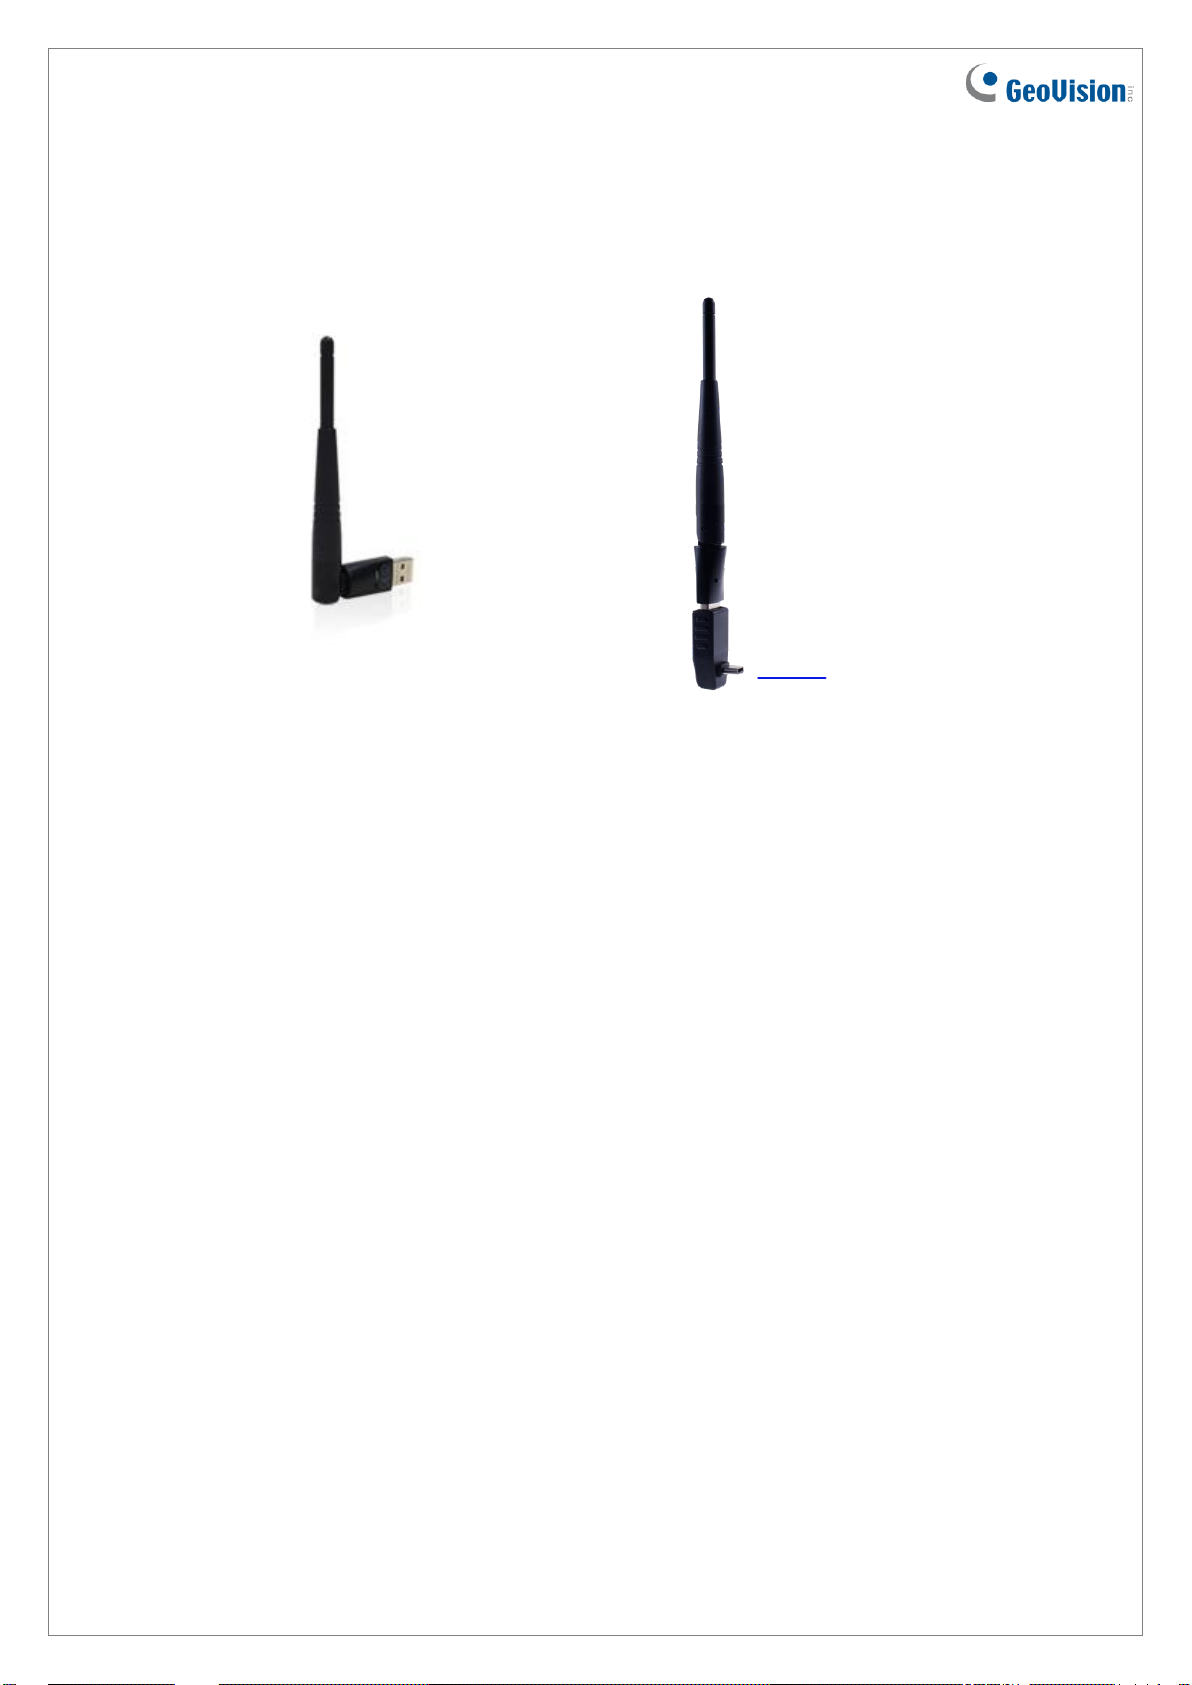
Overview
GV-Wifi Adaptor V2
GV-Box Camera WiFi Adaptor Set
Mini USB
converter
Manual Connection to Wireless Network
GV-WiFi Adaptor V2 is a plug-and-play device, which means you don’t need to install any
driver for the device to work. To manually connect GV-IP devices to wireless network, follow
the steps below.
1. Connect GV-WiFi Adaptor V2 to the GV-IP device.
2. Set up WLAN Configuration on the GV-IP device.
A. Start the Internet Explorer browser, and enter the IP address or the domain name of
the GV-IP device to access its Web interface.
Page 3

May 31, 2017
3
B. From the left menu, select Network, select Wireless and select Client Mode. This
page appears.
C. Select the network type Ad Hoc or Infrastructure. The default network type is
Infrastructure.
Infrastructure: Via the Access Point to connect to the Internet. This mode
further gives wireless access to the Internet or data sharing under a previously
wired environment.
Ad-Hoc: A Peer-to-Peer mode. This mode connects to other computer with the
WLAN card, and does not need the Access Point to connect to each other.
D. Enter the Network name (SSID) of the wireless LAN group or Access Point you are
going to connect to. If you can’t specify the network name, click Access Point
Survey to detect all the available Access Points (Infrastructure mode) and wireless
stations (AD-Hoc mode) within the range of your WLAN card.
a. Click Access Point Survey. This window appears.
Page 4

May 31, 2017
4
b. Click Select to select the router with which you want to associate.
E. Select the network authentication and data encryption in the Authentication Type
drop-down list. Your encryption settings must match those used by the Access
Points or wireless stations with which you want to associate.
Disabled: No authentication is needed within the wireless network.
WEP (Wired Equivalent Privacy): A type of data encryption. Type up to four
WEP Keys in HEX or ASCII format. Note that if you use HEX format, only digits
0-9 and letters A-F, a-f are valid.
WPAPSK-TKIP and WPA2PSK-TKIP: Type WPA-PSK (Pre-Shared Key) for
data encryption.
WPAPSK-AES and WPA2PSK-AES: Type WPA-PSK (Pre-Shared Key) for
data encryption.
F. Click Apply.
3. Enable Wireless mode on the GV-IP device.
A. Select Network from the left menu, and select LAN. This page appears.
B. Select Wireless.
Page 5

May 31, 2017
5
4. Select Static IP address or Dynamic IP address for LAN configuration. The default
setting is Static IP address.
Static IP address: Assign a static IP or fixed IP to the GV-IP device.
Dynamic IP address: The network environment has a DHCP server that
automatically assigns a dynamic IP address to the GV-IP device. This option
should only be enabled if you know which IP address the GV-IP device will get
from the DHCP server, or you have obtained a domain name from the DDNS
service provider.
For users who select Static IP address:
A. Enter the GV-IP device’s TCP/IP and DNS parameters in the Configure
connection parameters section.
B. Click Apply. The configuration is complete.
For users who select Dynamic IP address:
A. Select Dynamic IP address, and click Apply.
B. Click Test DHCP to verify the setting. A window similar as the following example
appears.
Page 6

May 31, 2017
6
Note: If you select Dynamic IP Address, the IP address of the GV-IP device assigned
by DHCP Server may change.
1. To detect the IP address, you can use the GV-IP Device Utility on Software CD of
the GV-IP device.
2. It is recommended to use DDNS service that redirects the ever-changing IP address
to a domain name. You can find the DDNS settings in the Advanced TCP/IP option
from the left menu, and instructions in the user’s manual.
Specifications
Network Standard
2.4 GHz: IEEE 802.11b, 802.11g, 802.11n
5 GHz: IEEE 802.11ac (Draft), 802.11a, 802.11n
Chipset
RTL8811AU
Host Interface
USB 2.0 Backward Compatible
(Standard-A Type connector)
Operating Frequency
2.4000 - 2.4835 GHz (subject to local regulations)
5.150 - 5.825 GHz (subject to local regulations)
Dimensions (L x W x H)
15 x 15 x 155 (mm) / 0.59 x 0.59 x 6.10 (in)
Weight
0.01 kg (0.02 lb)
 Loading...