

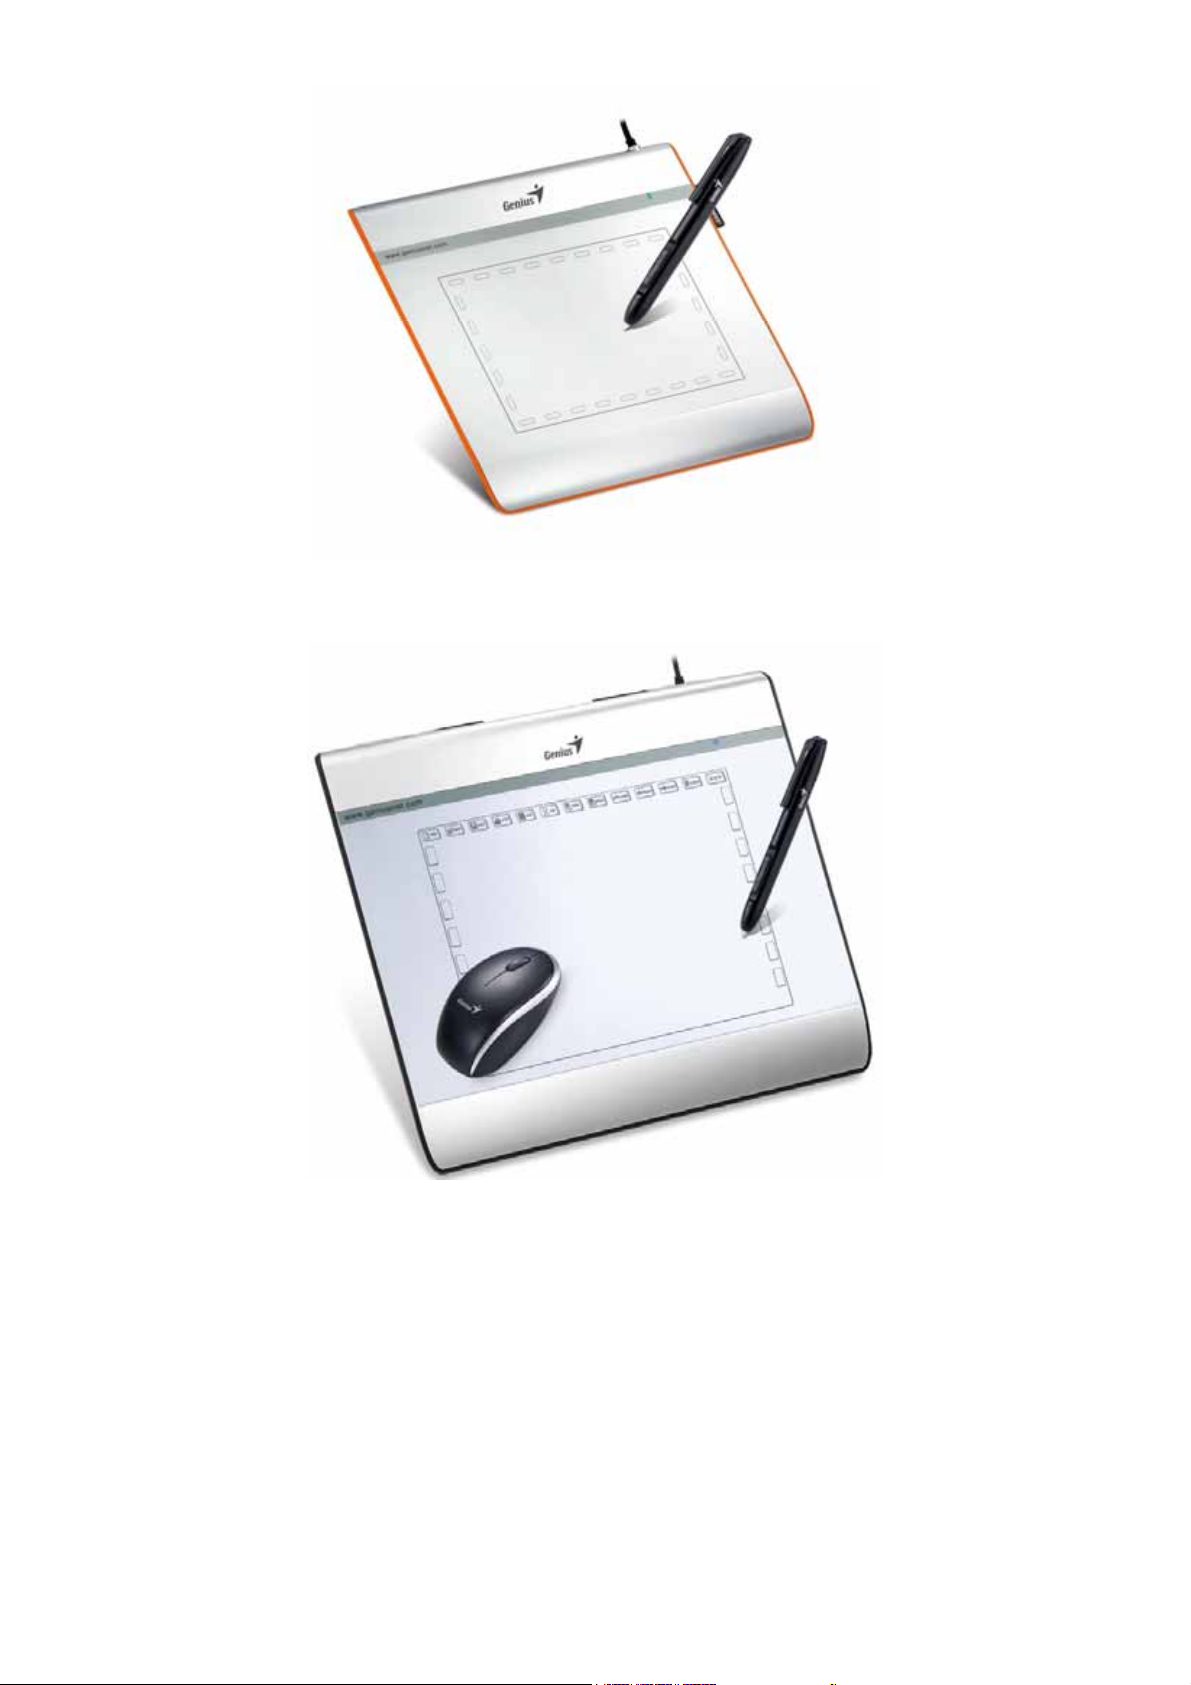
EasyPen i405X
MousePen i608X
User Manual
For Windows 7/Vista/XP

ENGLISH
*The driver may already be updated to a newer version before/after packaging. If your
installation screen does not match the contents of this manual, you may need to download
the driver, just refer to your software screen after installation.
* To ensure your tablet operates with maximum and smooth performance, plug the USB
connector to your PC/Notebook USB port instead of a USB Hub or other exterior USB port
device.
I. General Information
1.
Overview
Welcome to the world of tablet and digital pen! You are able to discover how easy to control your
personal computer by using a wireless digital pen to instead of a mouse.
The function of the digital pen is able to draw a line very thin, thick, light or dark (called pressure
sensitivity). You also can write, sign, annotate documents, and draw, sketch or paint as easily as
you would on normal paper and simulate the functions like a pencil, marker, brush, or watercolor
pen by using commercial software packages such as Adobe® PhotoShop™, Corel® Painter™ and
Paint Shop™. If MSN Messenger 8.5 or newer is installed, you can create and send digital
handwritings and hand drawn pictures, making communication much more fun and entertaining.
Note: If you cannot enable the handwriting mode in MSN Messenger, download the relevant
handwriting component from Microsoft's website.
2.
Pen Tablet Functions
After installing the device driver, your pen tablet features has the following functions:
1. Direct pointing – You can move the cursor to any location on the screen by hovering the digital
pen tip over the tablet’s surface.
2. Three-button mouse commands - Your pen tablet provides all the functions of a three- button
mouse by using its pen tip and two buttons.
3. Pen scrolling – You can scroll documents and Web pages by pressing the middle button of the
digital pen over the tablet’s working area.
4. Pressure sensitivity – This feature allows you to emulate various brushes and pencils and you
can press down on the pen tip harder, lighter, stronger or thicker, and you will get different types
of pencil lines.
3.
System Requirements
• Windows 7/Vista/XP
• USB Port
• DVD-ROM Drive
4.
Driver Installation
1
ENGLISH
For Microsoft Windows 7, Vista, and XP:
1. Insert the CD into the CD-ROM drive, and wait for the main installation screen to appear.
2. The main installation screen should appear automatically, or you can manually start the
installation by opening 【 My Computer 】 ► 【 CD/DVD Rom 】 ► then click on the
【Setup】program.
When installing the driver, follow the installation instructions on screen and press the “Enter” key.
After the installation has been completed, reboot the computer.
5.
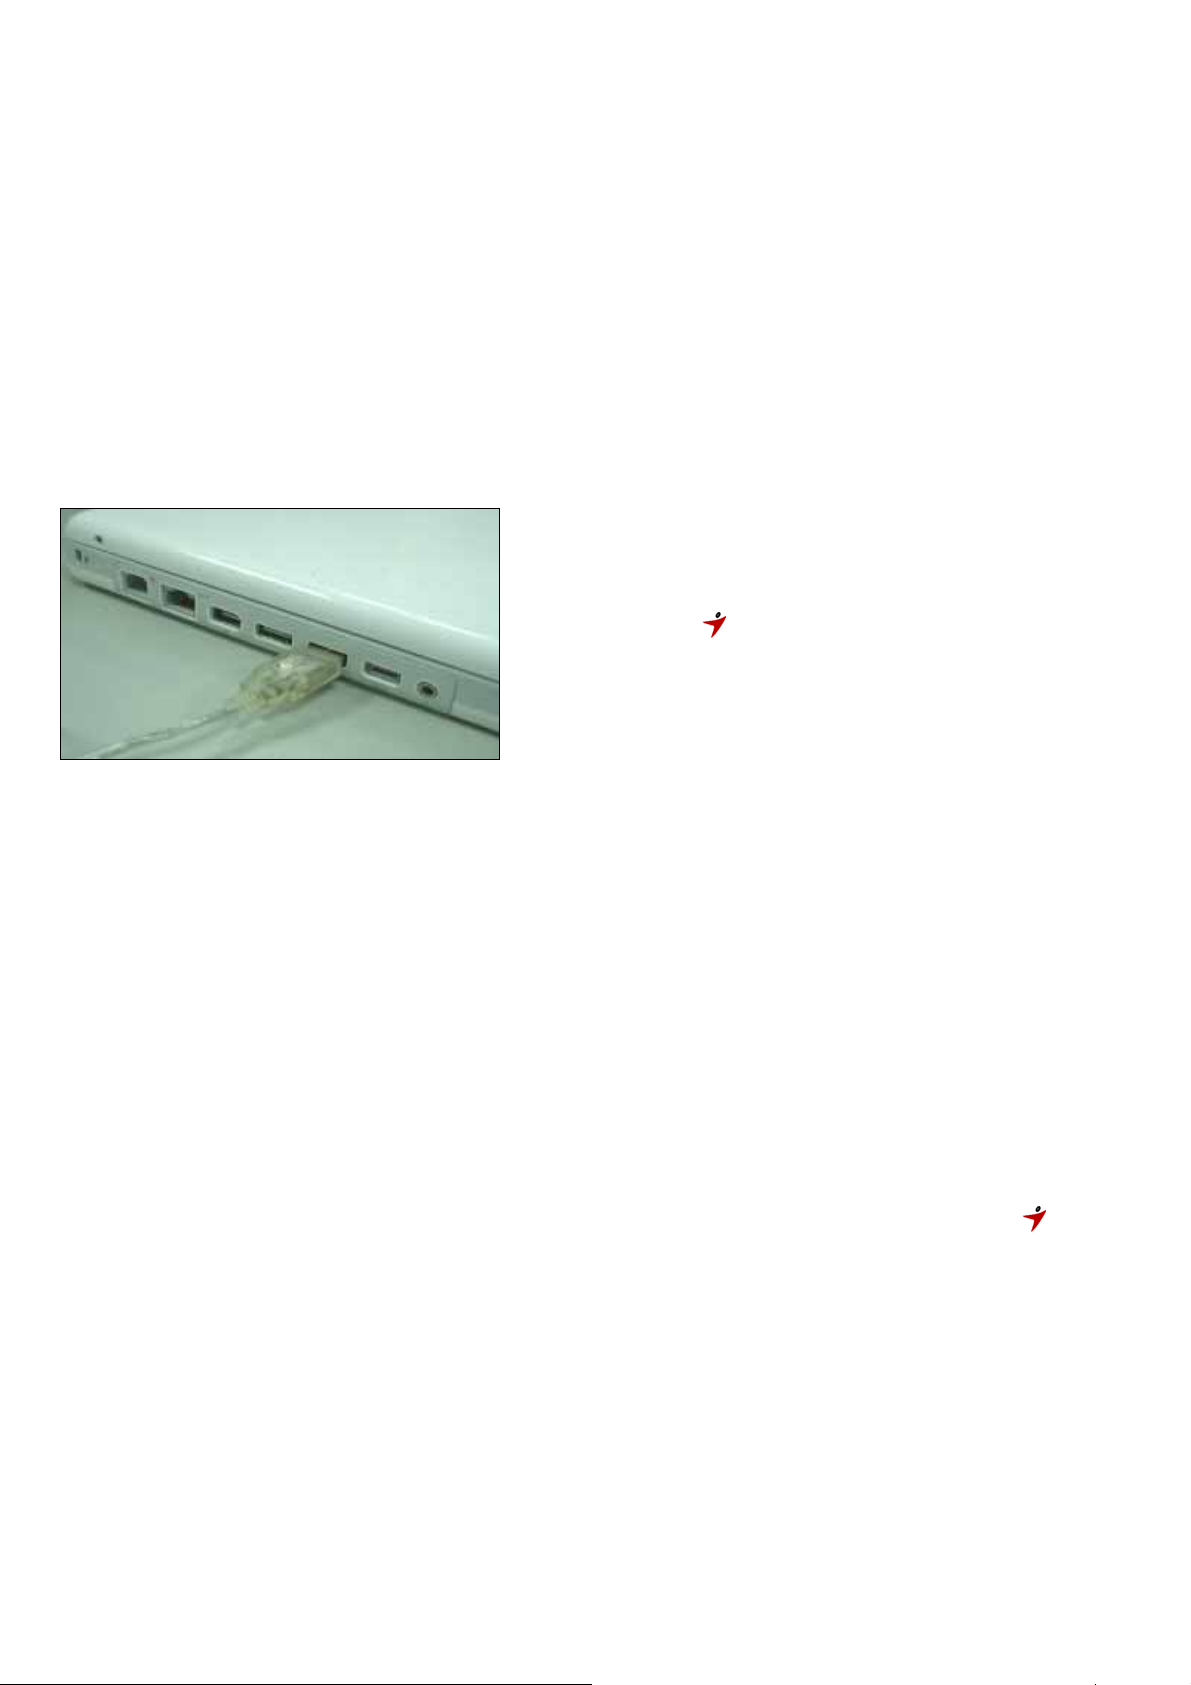
Hardware Installation
Connect the tablet to the USB interface of the PC after
the driver installation is finished and you have restarted
Windows:
After you connect a pen tablet into the PC, you will see a
small tablet icon (
normally at the lower right corner of the screen.
★ Install the driver first before you plug the tablet
into your PC.
6.
Verifying Hardware and Driver Functions
Follow these steps to verify the tablet is installed properly:
1. After you reboot your computer, move the cordless pen to make sure the cursor shown on
the screen is moving.
2. The LED indicator shown on the tablet indicates the function (mode). You may edit and
setup according to your design needs.
) appear in the system tray, which is
Note: After the tablet’s device driver has been properly installed, a small tablet icon ( ) will
appear in the system tray, which is normally at the lower right corner of the screen.
7. Usage Tips
7.1 Double tapping
When you double tap the digital pen (equivalent to a double click with a mouse), try to keep the
pen tip away from the tablet’s surface, or at least try to lift the pen tip as fast as possible before
the second tap.
2
7.2 Storing the digital pen
To store the pen, make sure the pen tip does not touch anything, and especially do not let the
pen stand in a cup or penholder with the tip down. Place the pen in a penholder, or turn the pen
tip pointing upward or horizontally with the pen tip free of any pressure by other objects.
7.3 Scrolling function of digital pen
The digital pen has the same function as a normal mouse when scrolling pages. Press the first
button of the digital pen (same function as the mouse middle button) over the tablet’s working
area.
7.4 Using a pen without a mouse
You may install the digital pen, digital mouse, and a regular mouse in your computer at the
same time and you can also remove them to a different computer as well. However, only one
device is able to work at a time.
ENGLISH
Do not use more than two devices at the same time in case the screen cursor is jittering or
not moving.
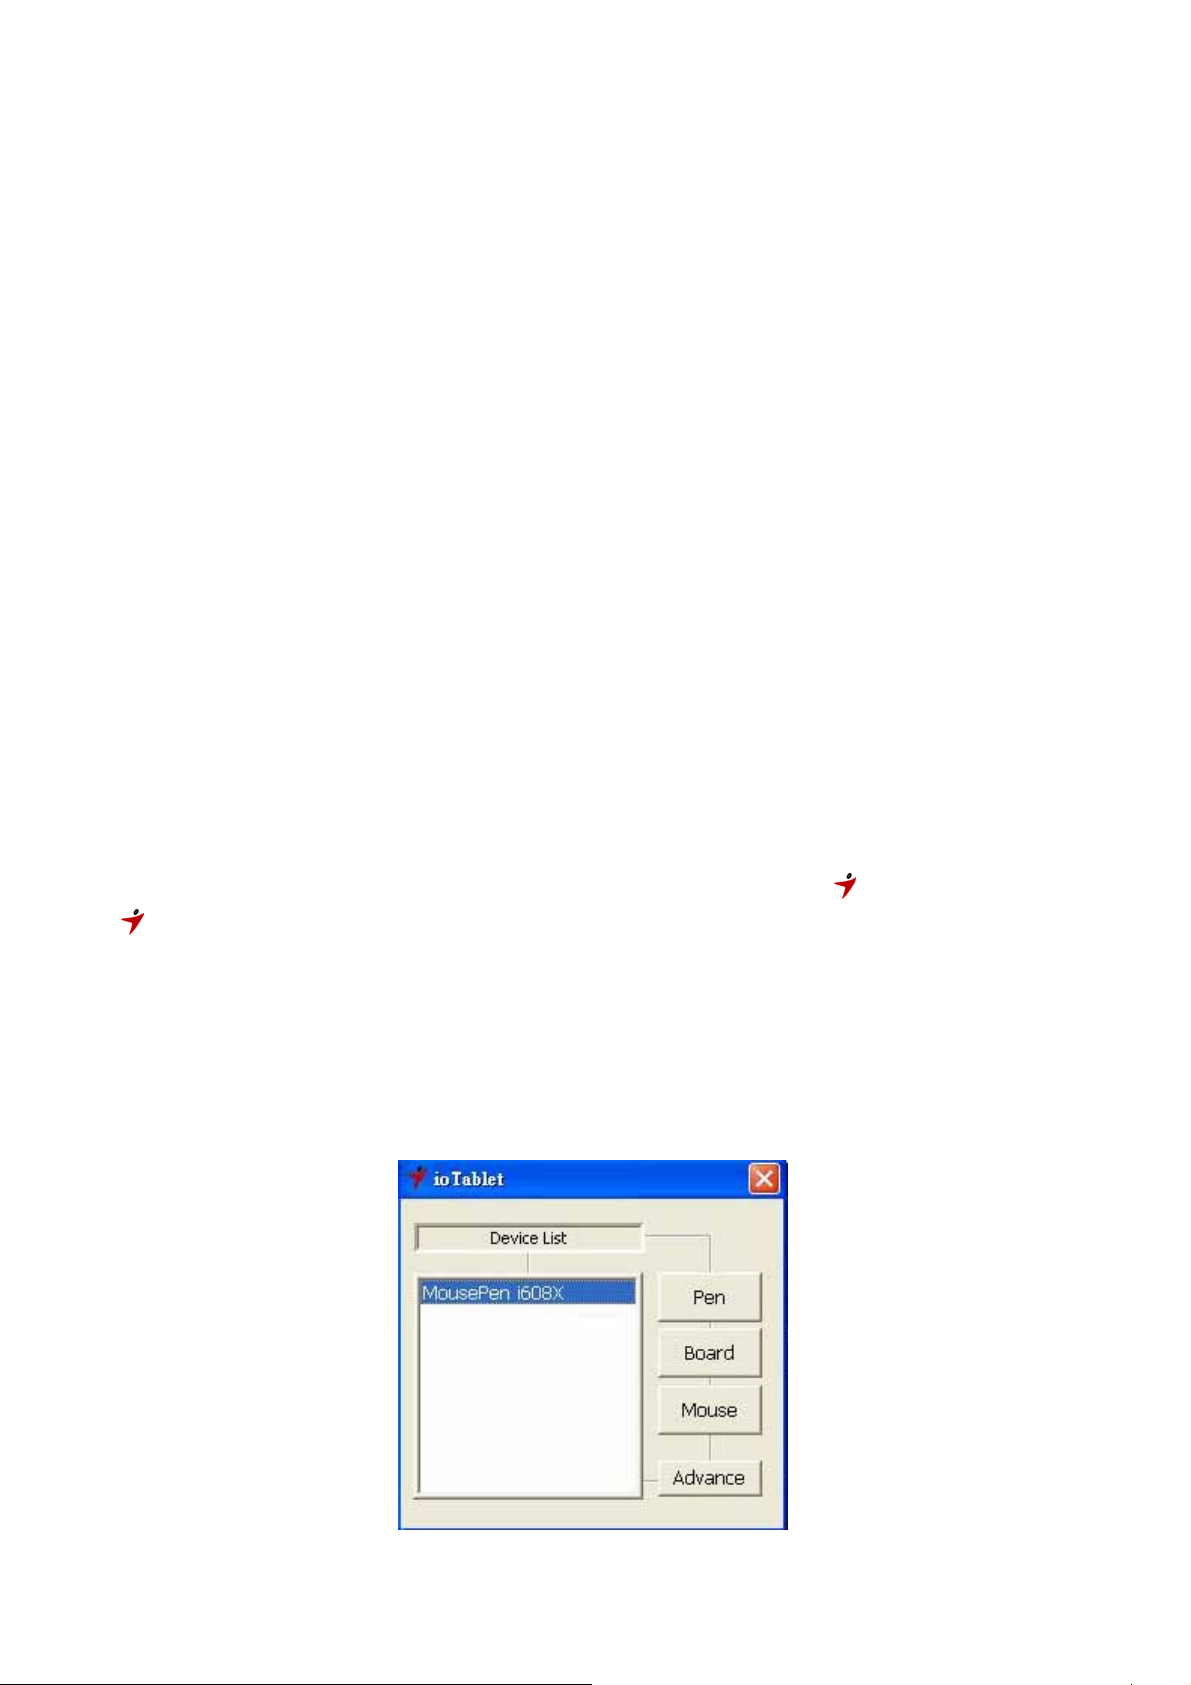
II. Pen tablet configuration
You may configure the pen tablet by modifying the functions of the pen tip and the two barrel buttons.
Tap [Start] > [All programs] > [io Tablet], and double-tap the [io Tablet ] icon, or tap on the tablet
icon ( ) in the system tray, usually located at the lower right corner of the screen. You may also
adjust the pressure sensitivity of the pen by determining the scope of the tablet’s working area, or
(re-) program the hot-cells of your pen tablet by modifying device driver.
1. The Info Tab: The Info tab displays the devices you can choose to operate your tablet, including
the pen, the tablet itself and any interface language.
● After the tablet driver is installed in Windows, the Tablet PC function setting will support
pressure in MS Journal, OneNote (2003 - 007), etc.
3
 Loading...