

GE Stainless Steel Tall Tub With Front Controls, GDT650SMJES, gdt650ucb Owner's Manual

GEAppliances.ca
Safety Instructions
Operating Instructions
Control Panel and Settings. . . . . . 4-6
Using the Dishwasher . . . . . . . . . . 7-8
Loading the
Dishwasher Racks . . . . . . . . . . . . . . . 9
Care Instructions
Care and Cleaning . . . . . . . . . . . 10-11
Troubleshooting Tips
Consumer Support
Warranty . . . . . . . . . . . . . . . . . . . . . . . 14
Consumer Support
. . . . . . . . . 2-3
. . . 12–13
. .
. . . . . . . . . . . . 15
Owner’s Manual
Stainless Steel
Tall Tub With Front
Controls
Write the model and serial
numbers here:
Model # ___________________
Serial # ____________________
You can find them on a label on the
tub wall just inside the door.
Dishwashers
29-5903-1 03/ 4 MC
1
IMPORTANT SAFETY INFORMATION.
READ ALL INSTRUCTIONS BEFORE USING —
SAVE THESE INSTRUCTIONS
WARNING!
For your safety, the information in this manual must be followed to minimize the risk of fire,
explosion, electric shock, and to prevent property damage, personal injury, or death.
WARNING!
Under certain conditions, hydrogen gas may be produced in a water heater that has not been used
for two or more weeks. HYDROGEN GAS IS EXPLOSIVE.
If the hot water has not been used for two or more weeks, prevent the possibility of damage or
injury by turning on all hot water faucets and allow them to run for several minutes. Do this before
using any electrical appliance connected to the hot water system. This simple procedure will allow
any built-up hydrogen gas to escape. Since the gas is flammable, do not smoke, use an open flame,
or use the appliance during this process.
WATER HEATER SAFETY
PROPER INSTALLATION AND MAINTENANCE
This dishwasher must be properly installed and located in accordance with the Installation
Instructions before it is used. If you did not receive an Installation Instructions sheet with
your dishwasher, you can receive one by visiting our website at
nConnect the dishwasher/appliance to a grounded
metal, permanent wiring system; or run an
equipment-grounding conductor with the circuit
conductors and connect to the equipmentgrounding terminal or lead of the appliance.
nImproper connection of the equipment-grounding
conductor can result in a risk of electric shock.
Check with a qualified electrician or service
representative if you are in doubt whether the
appliance is properly grounded.
nDispose of discarded appliances and shipping or
packing material properly.
nDo not attempt to repair or replace any part
of your dishwasher unless it is specifically
recommended in this manual. All other servicing
should be referred to a qualified technician.
nTo minimize the possibility of electric shock,
disconnect this appliance from the power supply
before attempting any maintenance.
NOTE: Turning the dishwasher off does not
disconnect the appliance from the power supply.
We recommend having a qualified technician
service your appliance.
GEAppliances.ca
.
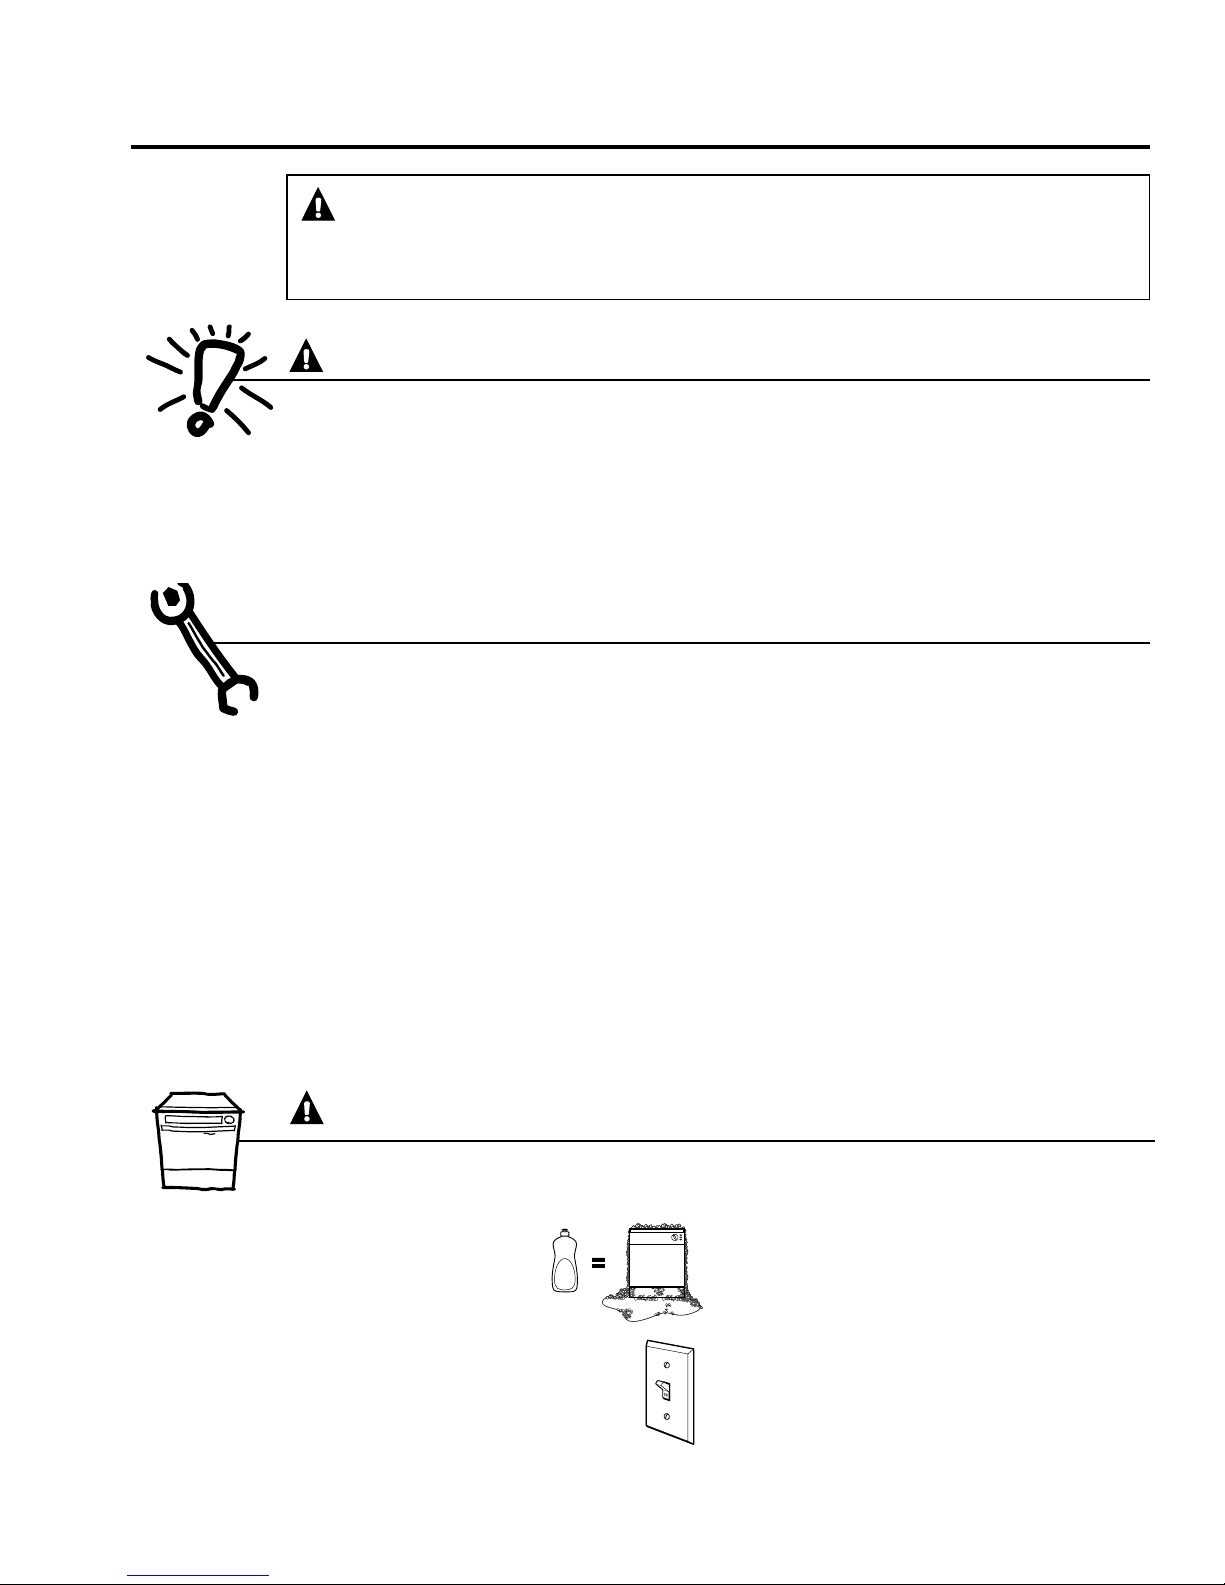
CAUTION:
n Contents washed in Anti-bacterial mode, if
available, may be hot to the touch. Use care
before handling.
n Using a detergent that is
not specifically designed
for dishwashers will cause
the dishwasher to fill with
suds.
n If your dishwasher is connected to a
wall switch, ensure that the switch is
on prior to use.
n On dishwashers with electronic
controls, if you choose to turn the wall
switch off between wash cycles, allow
5–10 seconds after turning the switch on
2
before touching ON/OFF to allow the control to
reboot.
To prevent minor injury or property damage
n Non-Dishware Items: Do not wash items such
as electronic air cleaner filters, furnace filters
and paint brushes in your dishwasher. Damage
to dishwasher and discoloration or staining of
dishwasher may result.
n Close supervision is necessary if this appliance
is used by or near children.
nLoad light, plastic items so they will not become
dislodged and drop to the bottom
of the dishwasher—they might come into
contact with the heating element and be
damaged.
IMPORTANT SAFETY INFORMATION.
READ ALL INSTRUCTIONS BEFORE USING —
SAVE THESE INSTRUCTIONS
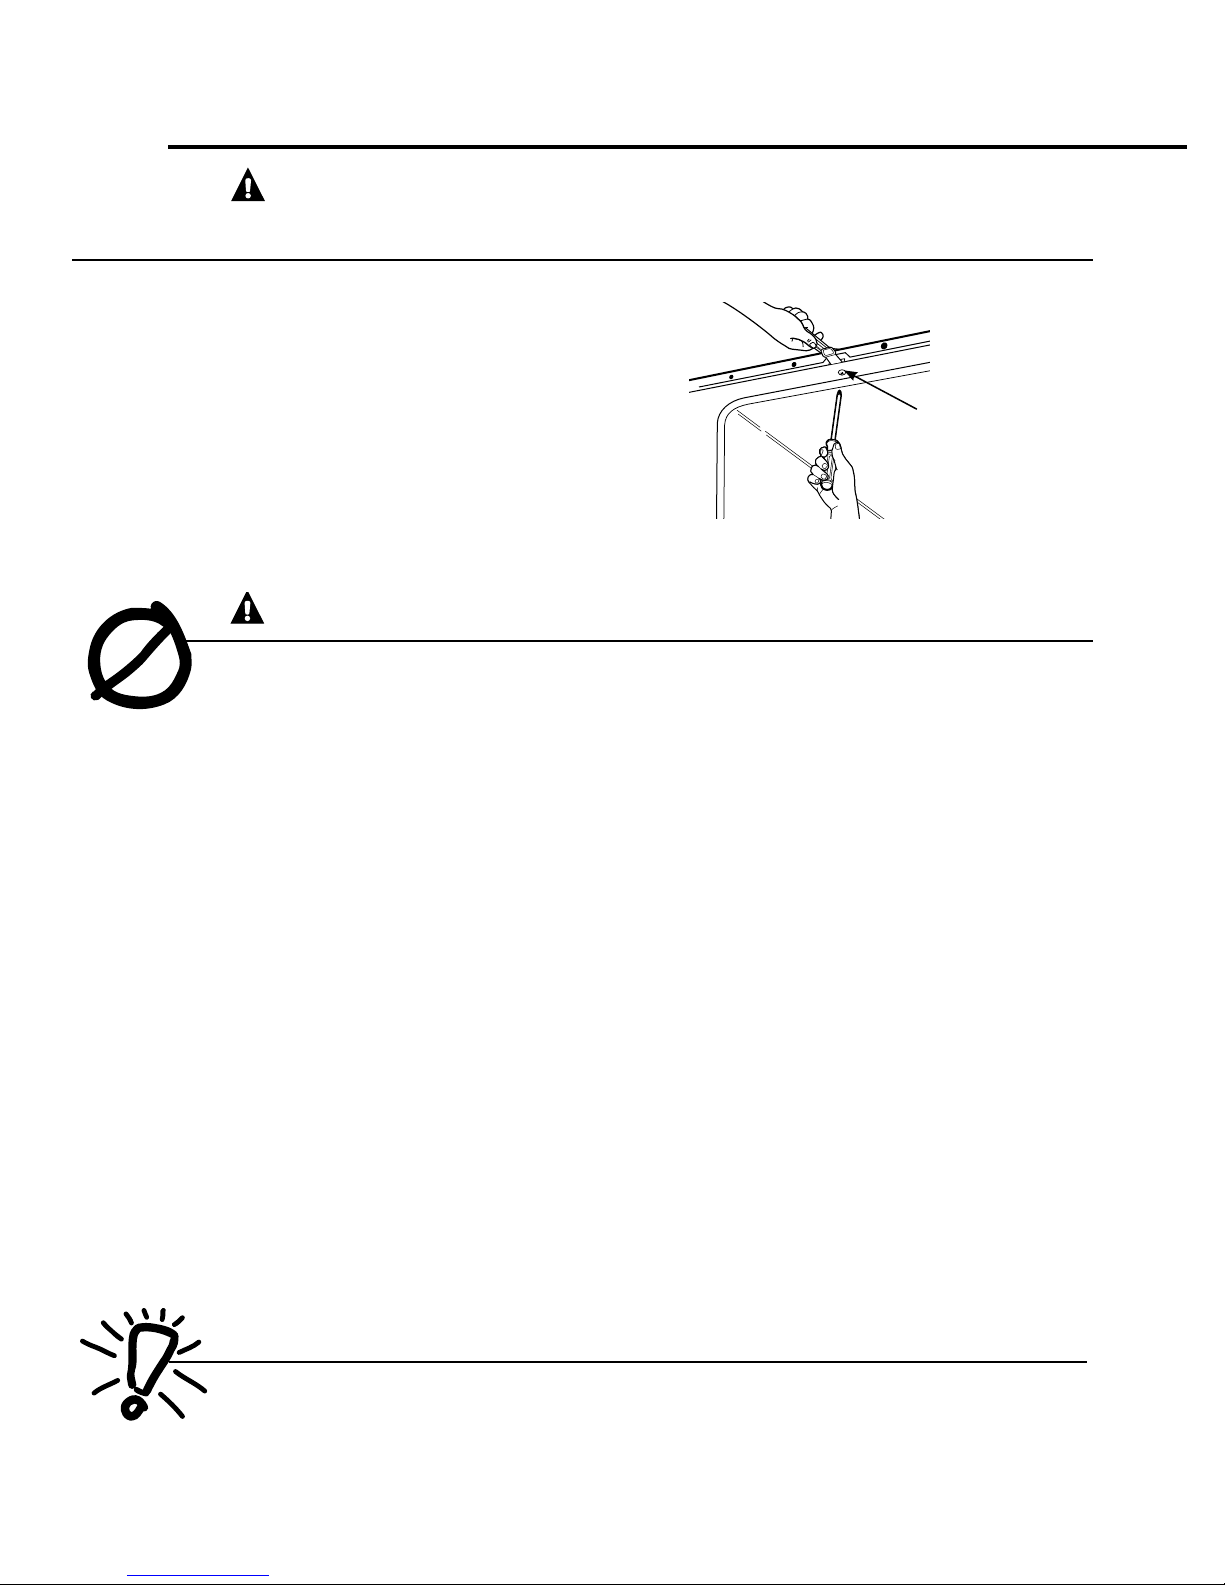
WARNING! RISK OF CHILD ENTRAPMENT
PROPER DISPOSAL OF THE DISHWASHER
Junked or abandoned dishwashers are
dangerous… even if they will sit for “just a
few days.” If you are getting rid of your old
dishwasher, please follow the instructions
below to help prevent accidents.
Before You Throw Away Your Old
Dishwasher:
n Take off the door of the washing compartment
or remove the door latch keeper (as shown).
WARNING!
n Use this appliance only for its intended purpose
as described in this Owner’s Manual.
n Use only powder, tabs, liquid detergents or rinse
agents recommended for use in a dishwasher and
keep them out of the reach of children.
n Locate sharp items so that they are not likely
to damage the door seal.
n Load sharp knives with the handles up to reduce
the risk of cut-type injuries.
n Do not wash plastic items unless marked
“Dishwasher Safe” or the equivalent. For plastic
items not so marked, check the manufacturer’s
recommendations.
n Do not touch the heating element during or
immediately after use.
When using your dishwasher, follow basic precautions,
including the following:
Hold nut at top of dishwasher
while removing screw
Door latch
keeper
n Do not operate your dishwasher unless all
enclosure panels are properly in place.
n Do not tamper with controls.
n Do not abuse, sit on or stand on the door or dish
rack of the dishwasher.
n Do not allow children to play around dishwasher
when opening or closing door due to the possibility
of small fingers being pinched in door.
n Do not discard a dishwasher without first removing
the door of the washing compartment or the door
latch.
n Do not store or use combustible materials,
gasoline or other flammable vapors and liquids in
the vicinity of this or any other appliance.
n Do not allow children to play with, on or inside this
appliance or any discarded appliance.
READ AND FOLLOW THIS SAFETY INFORMATION CAREFULLY.
SAVE THESE INSTRUCTIONS
3
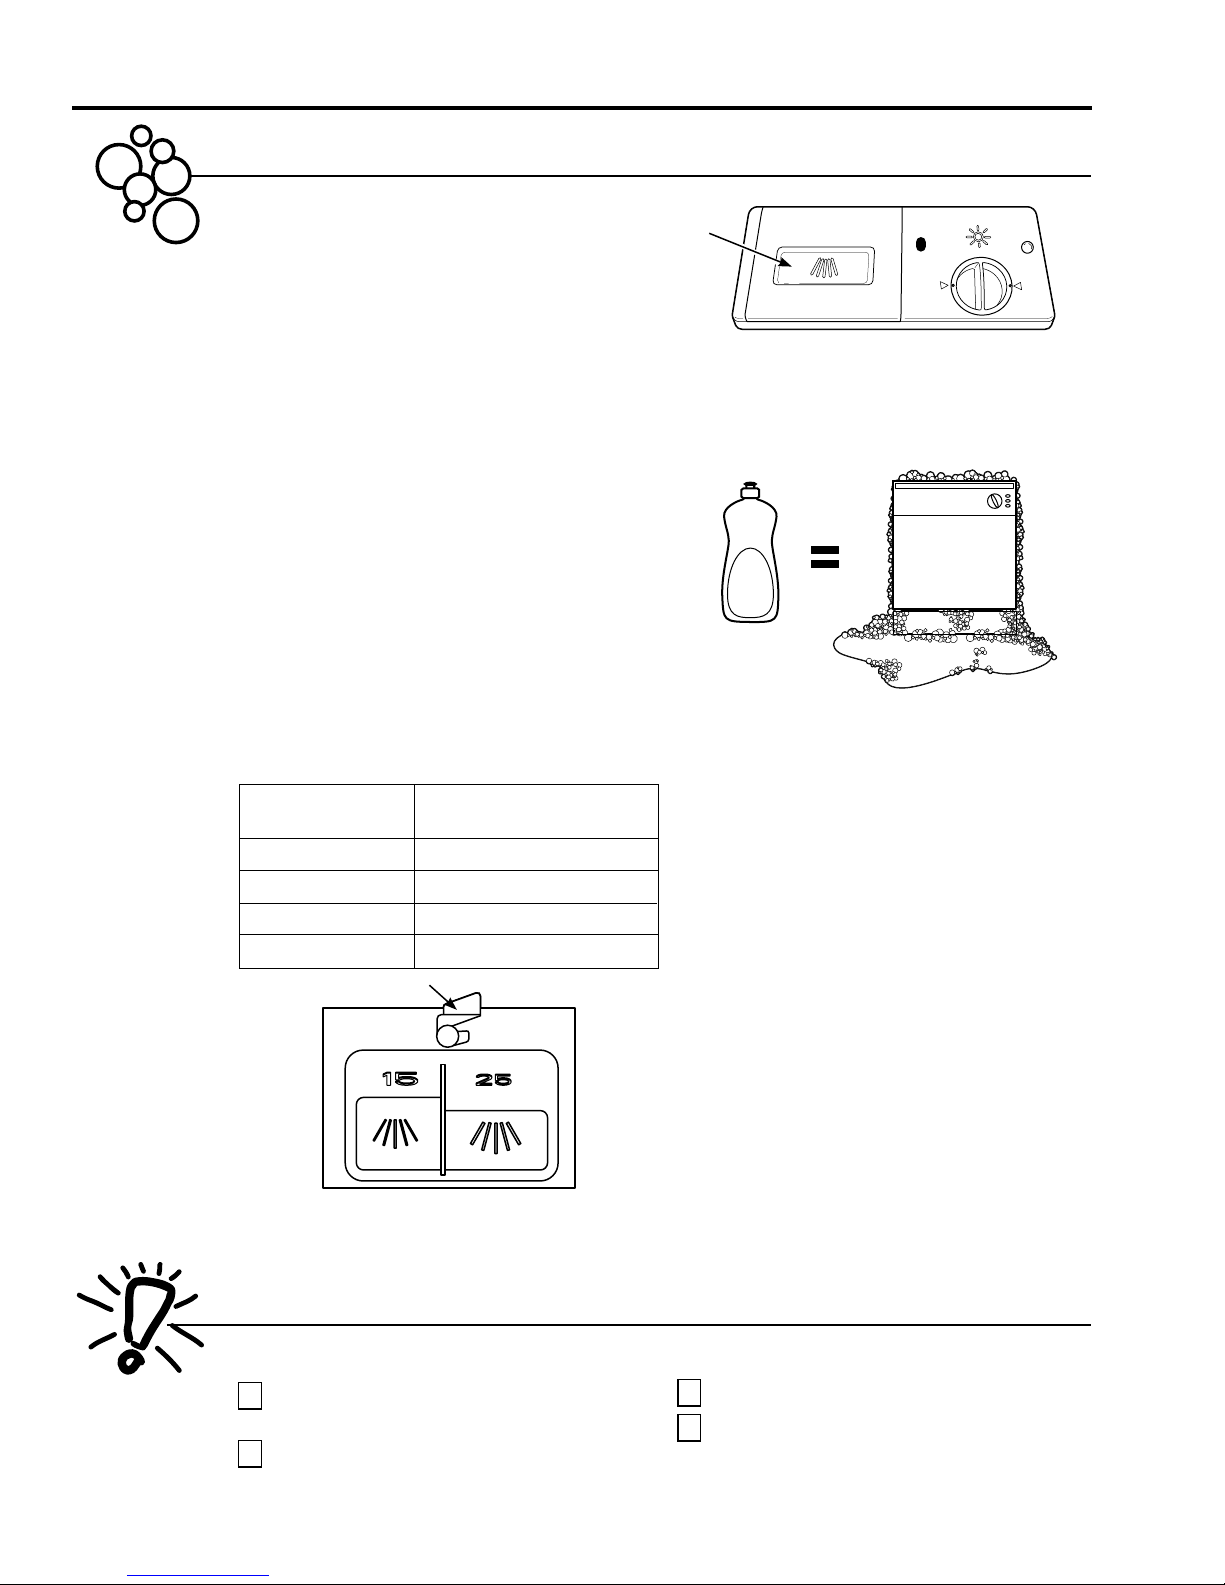
The control panel (appearance, cycles and options may vary)ÿÿ
Note : you can find your dishwasher model number on Carton box label, rating plate and product registration card.
1423 5
6
4
GDF610, GDF620 Control settings.
3
GD 630 Control settings.
F
6
2
5
4
4
3
6
GDF640 Control settings.
2
5

The control panel (appearance, cycles and options may vary)ÿÿ
Control Settings
Power
1
Press the POWER button to turn on the unit to be operated. The LED will be displayed when the dishwasher is on.
Programs
2
When the dishwasher is turned on, you can press the PROGRAMS button to select the wash cycle. A light on the display
will indicate which cycle has been selected.
NOTE : The following information about cycle duration and water consumption are approximate. Results will vary
based on various factors, including but not limited to incoming water temperature and pressure as well as soil level.
Cycle
Heavy Wash
For pots, pans, casseroles
and dinnerware with
dried-on or baked-on soils.
Normal Wash
For regularly soiled dishes
and silverware.
Auto Wash
A fast wash for lightly
soiled dishes and
silverware.
Light Wash
For lightly soiled loads
Energy Saver
For lightly soiled and
pre-rinsed dishes and
silverware.
Rinse Only
For rinsing dishes that
will be washed later.
To Select Cycle
Select HEAVY WASH and
desired OPTIONS.
HI-TEMP WASH will
automatically be provided.
Select NORMAL WASH and
desired OPTIONS.
Select AUTO WASH
and desired OPTIONS.
Select Light Wash and
desired OPTIONS.
Select Energy Saver and
desired OPTIONS.
Select RINSE ONLY.
DO NOT USE detergent.
Soil Level
Heavy and
Medium
Light
Heavy
Medium
Light
Heavy
Medium and
Light
Water
(approx.)
gal.
8.0
liters
30.4
3.5
gal.
13.3
liters
gal.
6.9
liters
26.1
gal.
4.65
liters
17.6
gal.
3.5
liters
13.3
gal.
6.9
liters
26.1
gal.
3.5
liters
13.3
gal.
3.5
liters
13.3
gal.
5.8
liters
21.8
2.4
gal.
9.0
liters
Time*
(mins)
135
130
120
135
135
120
135
130
105
17
Washes/
Rinses
3 washes
4 rinses
1 wash
2 rinses
3 washes
3 rinses
2 wash
2 rinses
1 wash
2 rinses
3 washes
3 rinses
1 washes
2 rinses
1 washes
2 rinses
3 washes
2 rinses
2 rinses
5

Options
3
When the wash cycle has been selected, you can choose the option by pressing the “Options”
button.
There are three options for “Light” cycle.
There are four options for “Normal” cycle", “Auto” cycle", and “Heavy” cycle.
1
Press the OPTIONS button, “Heated Dry” will be selected;
2
Press the OPTIONS button twice, the “Heated Dry” and “Sanitize” options will be selected;
3
Press the OPTIONS button three times, the “Heated Dry” and “Hi Temp” options will be selected.
4
Press the OPTIONS
There is one option for the other wash cycles. When you press the OPTIONS button, the “Heated
Dry” option will be selected.
About the options:
SANITIZE When “Sanitize” option is selected, the temperature of the water will reach 70°C (158°F)
HI TEMP When the “Hi Temp” option is selected, the temperature of the water will be maintained
HEATED DRY When the “Heated Dry” option is selected, the heater will work during the dry process.
STEAM PREWASH
max.
Note : it is possible that the 70°C (158°F) max may not be reached if the temperature of
the incoming hot water does not meet the suggested temperatures.
at 60°C (140°F) max.
button four times, the “Steam prewash ” option will be selected.
For use with heavily soiled items, this STEAM option adds 30 minutes
to the cycle time.
The option is available with cycle.
"Heavy" " NORMAL" " AUTO"
GEAppliances.ca
Note :
Models GDF610,GDF620 do not have the option "STEAM PREWASH".
Delay
4
This option allows you to delay the start of a wash cycle for up to 24 or 2/4/8 hours. When the dishwasher
is on, press the DELAY button to choose the number of hours you want to delay the start of the wash cycle.
The hours will show in the display window (if equipped) or the corresponding LED will light up.
Start / Cancel
5
When the program and options have been selected, make sure the door is closed press the START/
CANCEL button. To stop or reset the wash cycle, press the START/CANCEL button, the dishwasher will
stop washing.
Note: Once the Start button is pressed and the door is closed, the dishwasher will start operating
within a few seconds.
Child Lock
6
Press the PROGRAMS and DELAY or buttons for 3 seconds the LOCK light will display on the LCD.
No buttons can be operated when the dishwasher controls are locked.
To cancel the “Child Lock” option, press the PROGRAMS and DELAY
LOCK light will no longer be shown on the LCD and the dishwasher controls will be unlocked.
OPTIONS
or buttons for 3 seconds, the
OPTIONS
Note : For model GDF610,GDF620 : press and buttons; for model GDF630,GDF64; ;;;;;0
press the button.
s
OPTIONS
6
PROGRAMS
DELAY
;
s
Using the dishwasher.
Check the Water Temperature
The entering water should be at least 49°C (120°F)
and not more than 65°F (150°F) for effective
cleaning and to prevent dish damage. Check
the water temperature with a candy or meat
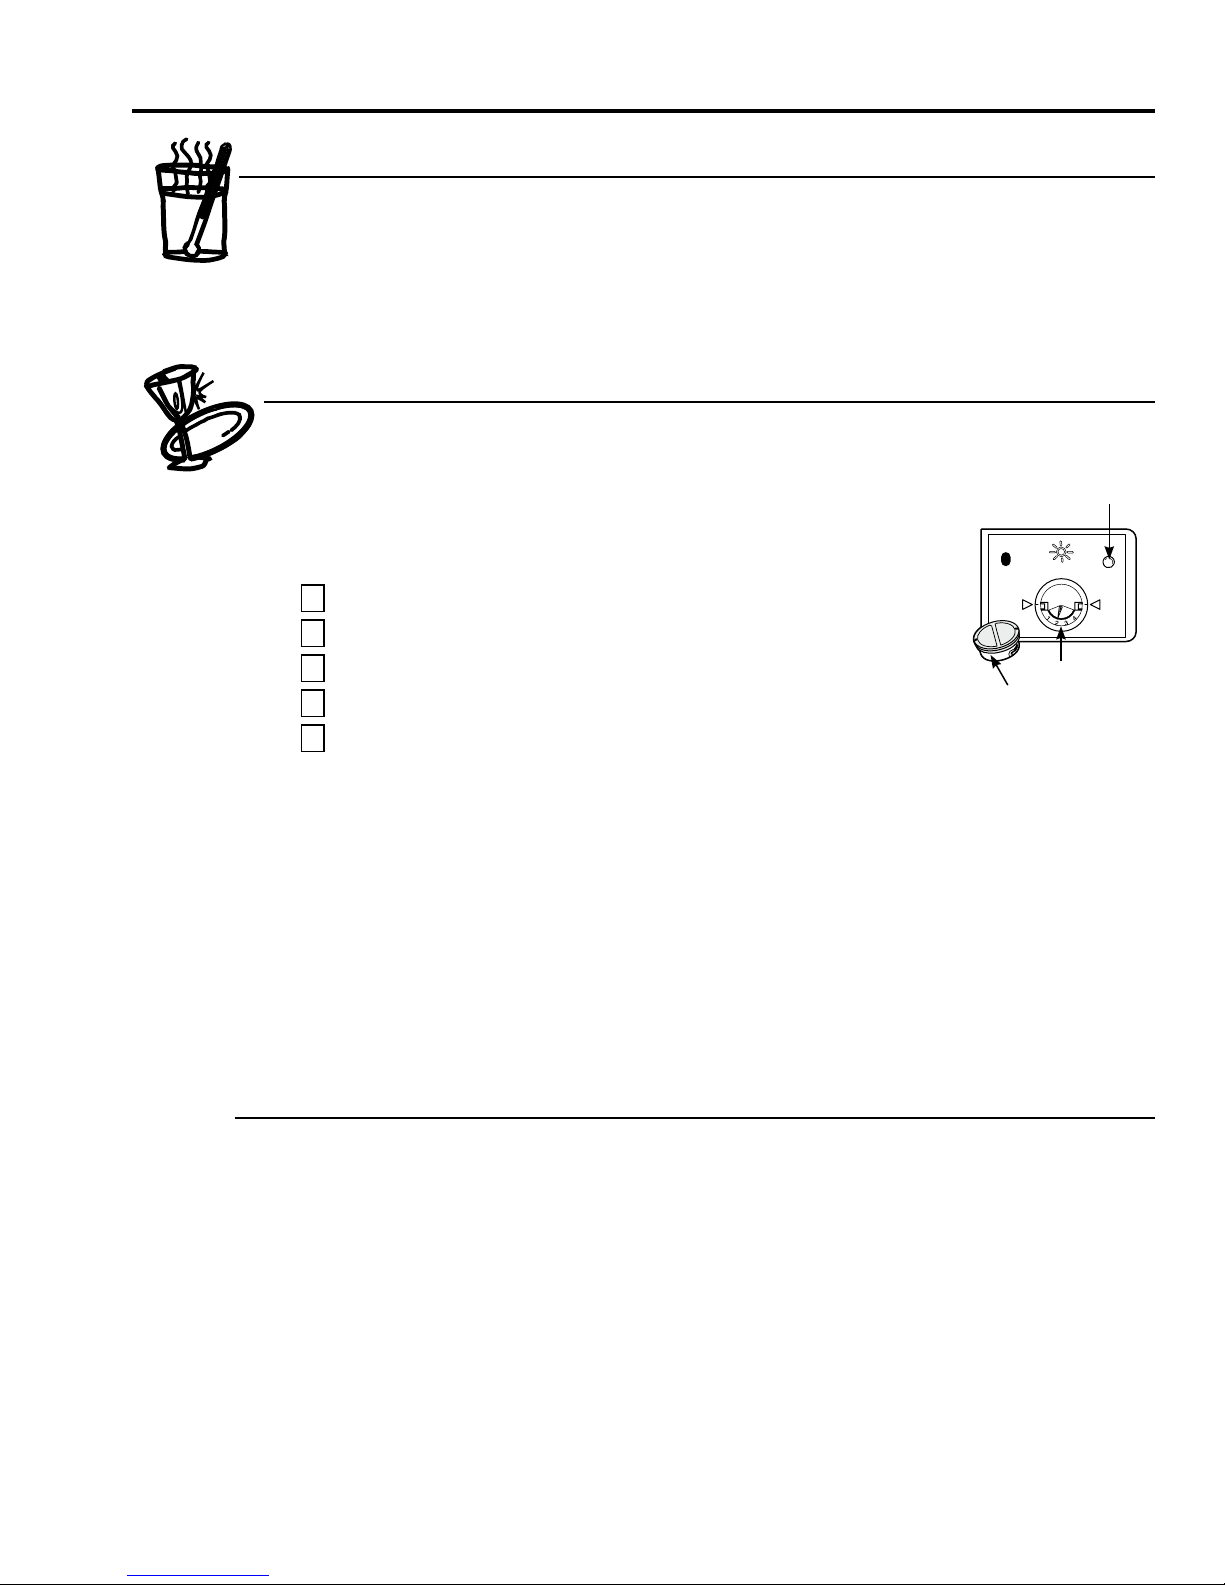
Use Rinse Agent
Rinse agent removes spots and prevents new film buildup on your dishes, glasses,
flatware, cookware and plastic.
Filling the Dispenser
The rinse agent dispenser holds approximately 100 ml of rinse agent.
Under normal conditions,
Try to keep it full, but do not overfill.
Make sure the dishwasher door is fully open.
1
Turn the dispenser cap to the left and lift it out.
2
Add rinse agent until the indicator window looks full.
3
Clean up any spilled rinse agent with a damp cloth.
4
thermometer. Turn on the hot water faucet nearest
the dishwasher, place the thermometer in a glass
and let the water run continuously into the glass
until the temperature stops rising.
this will last approximately one month.
n
i
M
Adjustable setting
Dispenser cap
Indicator
M
a
x
Replace the dispenser cap.
5
Rinse Aid Setting
The amount of rinse agent released into the final wash can be adjusted.
The factory setting is at the midpoint. If there are rings of calcium
(hard water) spots on dishes, try a higher setting. If you observe foam
in the final rinse, try a lower setting.
To adjust the setting
Remove the dispenser cap; then turn the adjuster counterclockwise
to increase the amount of rinse agent or clockwise to reduce the amount
of rinse agent dispensed.
Dish Preparation Prior to Loading
n
n
Scrape off hard soils, bones, toothpicks, skins and
seeds.
n
Remove large quantities of any remaining food.
Remove leafy vegetables, meat, trimmings and
excessive amounts of grease or oil.
n
Remove acidic food soils that can discolor stainless
steel.
7
GEAppliances.ca
Proper Use of Detergent
Use only detergent specifically made for use
in dishwashers.
Keep your detergent fresh and dry. Don’t put
detergent into the dispenser until you’re ready to
wash dishes.
The amount of detergent to use depends on
whether your water is hard or soft. With hard
water, you need extra detergent. With soft water,
you need less detergent.
Protect your dishes and dishwasher by
contacting your water department and asking
how hard your water is. Twelve or more grains
is extremely hard water. A water softener is
recommended. Without it, lime can build up in
the water valve, which could stick while open
and cause flooding. Too much detergent with
soft water can cause a permanent cloudiness
of glassware, called etching.
Use the information in the table below as a
guideline to determine the amount of automatic
dishwasher detergent to place in the dispenser.
When using automatic dishwasher detergent
tablets, simply place one tablet in the dispenser
and close the cover.
Number
of Grains
Less than 4
4 to 8
8 to 12
Greater than 12
Button
Detergent Cups to Fill
15 cup
25 cup
15 and 25 cups
15, 25 cups and the open cup
Open
cup
For heavily-soiled loads, use the HEAVY wash cycle
and add a little extra detergent.
DO NOT USE HAND DISH DETERGENT
NOTE: Using a detergent that is not specifically
designed for dishwashers will cause the dishwasher
to fill with suds. During operation, these suds will spill
out of the dishwasher vents, covering the kitchen
floor and making the floor wet.
Because so many detergent containers look alike,
store the dishwasher detergent in a separate space
from all other cleaners. Show anyone who may use
the dishwasher the correct detergent and where it
is stored.
While there will be no lasting damage to the
dishwasher, your dishes will not get clean using a
dishwashing detergent that is not formulated to
work with dishwashers.
To open the wash cover, press the button and the
cover will flip back.
Forgot to Add a Dish?
A forgotten dish can be added any time before
the main wash.
Open the door slightly to disengage
1
the latch and stop the cycle.
2
Do not open the door until the water spray
action stops. Steam may rise out of the
8
dishwasher.
3
Add forgotten dishes.
4
Close the door and push it in to relatch.
Loading the dishwasher racks.
For best dishwashing results, follow these loading guidelines. Features and appearance of racks and silverware
baskets may vary from your model.
Upper Rack
The upper rack is designed to hold more delicateand lighter dishware such as glasses, coffee and tea cup and
saucers, as well as plates, small bowls and shallow pans(as long as they are not too dirty).
Position the dishes and cookware so that they do not get moved by the spray of water
Upper Rack 8 place settings
Upper Rack 10 place settings Upper Rack 12 place settings Upper Rack 14 place settings
Lower Rack
We recommend that you place large items which aremost difficult to clean into the lower rack: pots, pans, lids,
serving dishes and bowls, as shown in the figure to the right.
It is preferable to place serving dishes and lids on the side of the racks in order to avoid blocking the rotation of the
top spray arm.
Pots, serving bowls, etc, must always be placed top down.
Deep pots should be slanted to allow water to flow out.
Bottom Rack 8 place settings
Silverware Basket
Silverware should be placed in the silverware basket with handles at the bottom: If the rack has side baskets,
the spoon should be loaded individually into the appropriate slots, Especially long utensils should be placed
in the horizontal position at the front of the upper rack.
1. S
mall f
orks
S
poons
2
.
3. .Knives
4. Small forks
5. Large spoons
6. Large forks
Bottom Rack 10 place settings Bottom Rack 12 place settings Bottom Rack 14 place settings
WARNING!
Do not let any item extend through bottom.
9

Caring for the dishwasher.
GEAppliances.ca
To clean the control panel, use a lightly dampened cloth, then dry thoroughly. To clean the exterior, use a good
appliance polish wax. Never use sharp objects, scouring pads or harsh cleaners on any part of the dishwasher.
Cleaning the Exterior
Cleaning the Door Panel
Before cleaning the front panel, make
sure you know what type of panel you
have. Refer to the last two letters of your
model number. You can locate your model
number on the left-hand tub wall just
inside the door. If your model number ends
with BB or WW, then you have a Painted
Door panel. If your model number ends
with SS, then you have a Stainless Steel
Door panel.
Follow the instructions below for cleaning
the door panel for your specific model.
Painted Door Panel (model numbers
ending in BB–black or WW–white)
Use a clean, soft, lightly dampened cloth,
then dry thoroughly. You may also use a
good appliance wax or polish.
Stainless Steel Door Panel (model
numbers ending in SS)
The stainless steel panels can be cleaned
with Stainless Steel Magic or a similar
product using a clean, soft cloth. Do not
use appliance wax, polish, bleach or
products containing chlorine on Stainless
Steel doors.
You can order Stainless Steel Magic
#WX10X15 through GE Parts by calling
800.661.1616.
Do not wipe the dishwasher with a soiled
dish cloth or wet towel. These may leave
a residue. Do not use scouring pads or
powdered cleaners because these products
can scratch the finish.
Cleaning the Control Panel
To clean the control panel, use a lightly
dampened cloth; then dry thoroughly. Do
Stainless Steel Interior Tub and
Inner Door
The stainless steel used to make the
dishwasher tub and inner door provides
the highest reliability available in a GE
not use sharp objects, scouring pads or
harsh cleaners on the control panel.
dishwasher. If the dishwasher tub or inner
door is ever scrached or dented during
during normal use, they will not rust or
corrode. These surface blemishes will not
affect their function or durability.
Cleaning the Spray Arms and the Filters
The dishwasher will flush away all normal food soils. However, objects (fruit pits, bones, etc.) may collect in
openings and should be removed occasionally to avoid clogging the drain system.
CAUTION
Personal injury hazard. Before cleaning the interior, wait at least 20 minutes after a cycle for the heating
element to cool down. Failure to do so could result in burn injuries.
Cleaning the Spray Arms
Upper or Middle
Arm
UNSCREW
Lower
Arm
PULL OUT
Because hard water chemicals will clog the
spray arm jets and bearings, it is necessary
to clean the spray arms regularly. Wash the
arms in soapy, warm water and use
a soft brush to clean the jets. Replace them
after rinsing thoroughly.
To remove the upper or middle spray arm
, unscrew the nut clockwise.
To remove the lower spray arm, pull upward.
10
 Loading...