

Page 1
Heavy Duty
Digital Timer
TIME START UP
To actuate the battery (one AA battery is provided with the timer), pull
the tab sticking out of the battery door. You may need to open the battery
door to remove the tab. (See Battery Replacement)
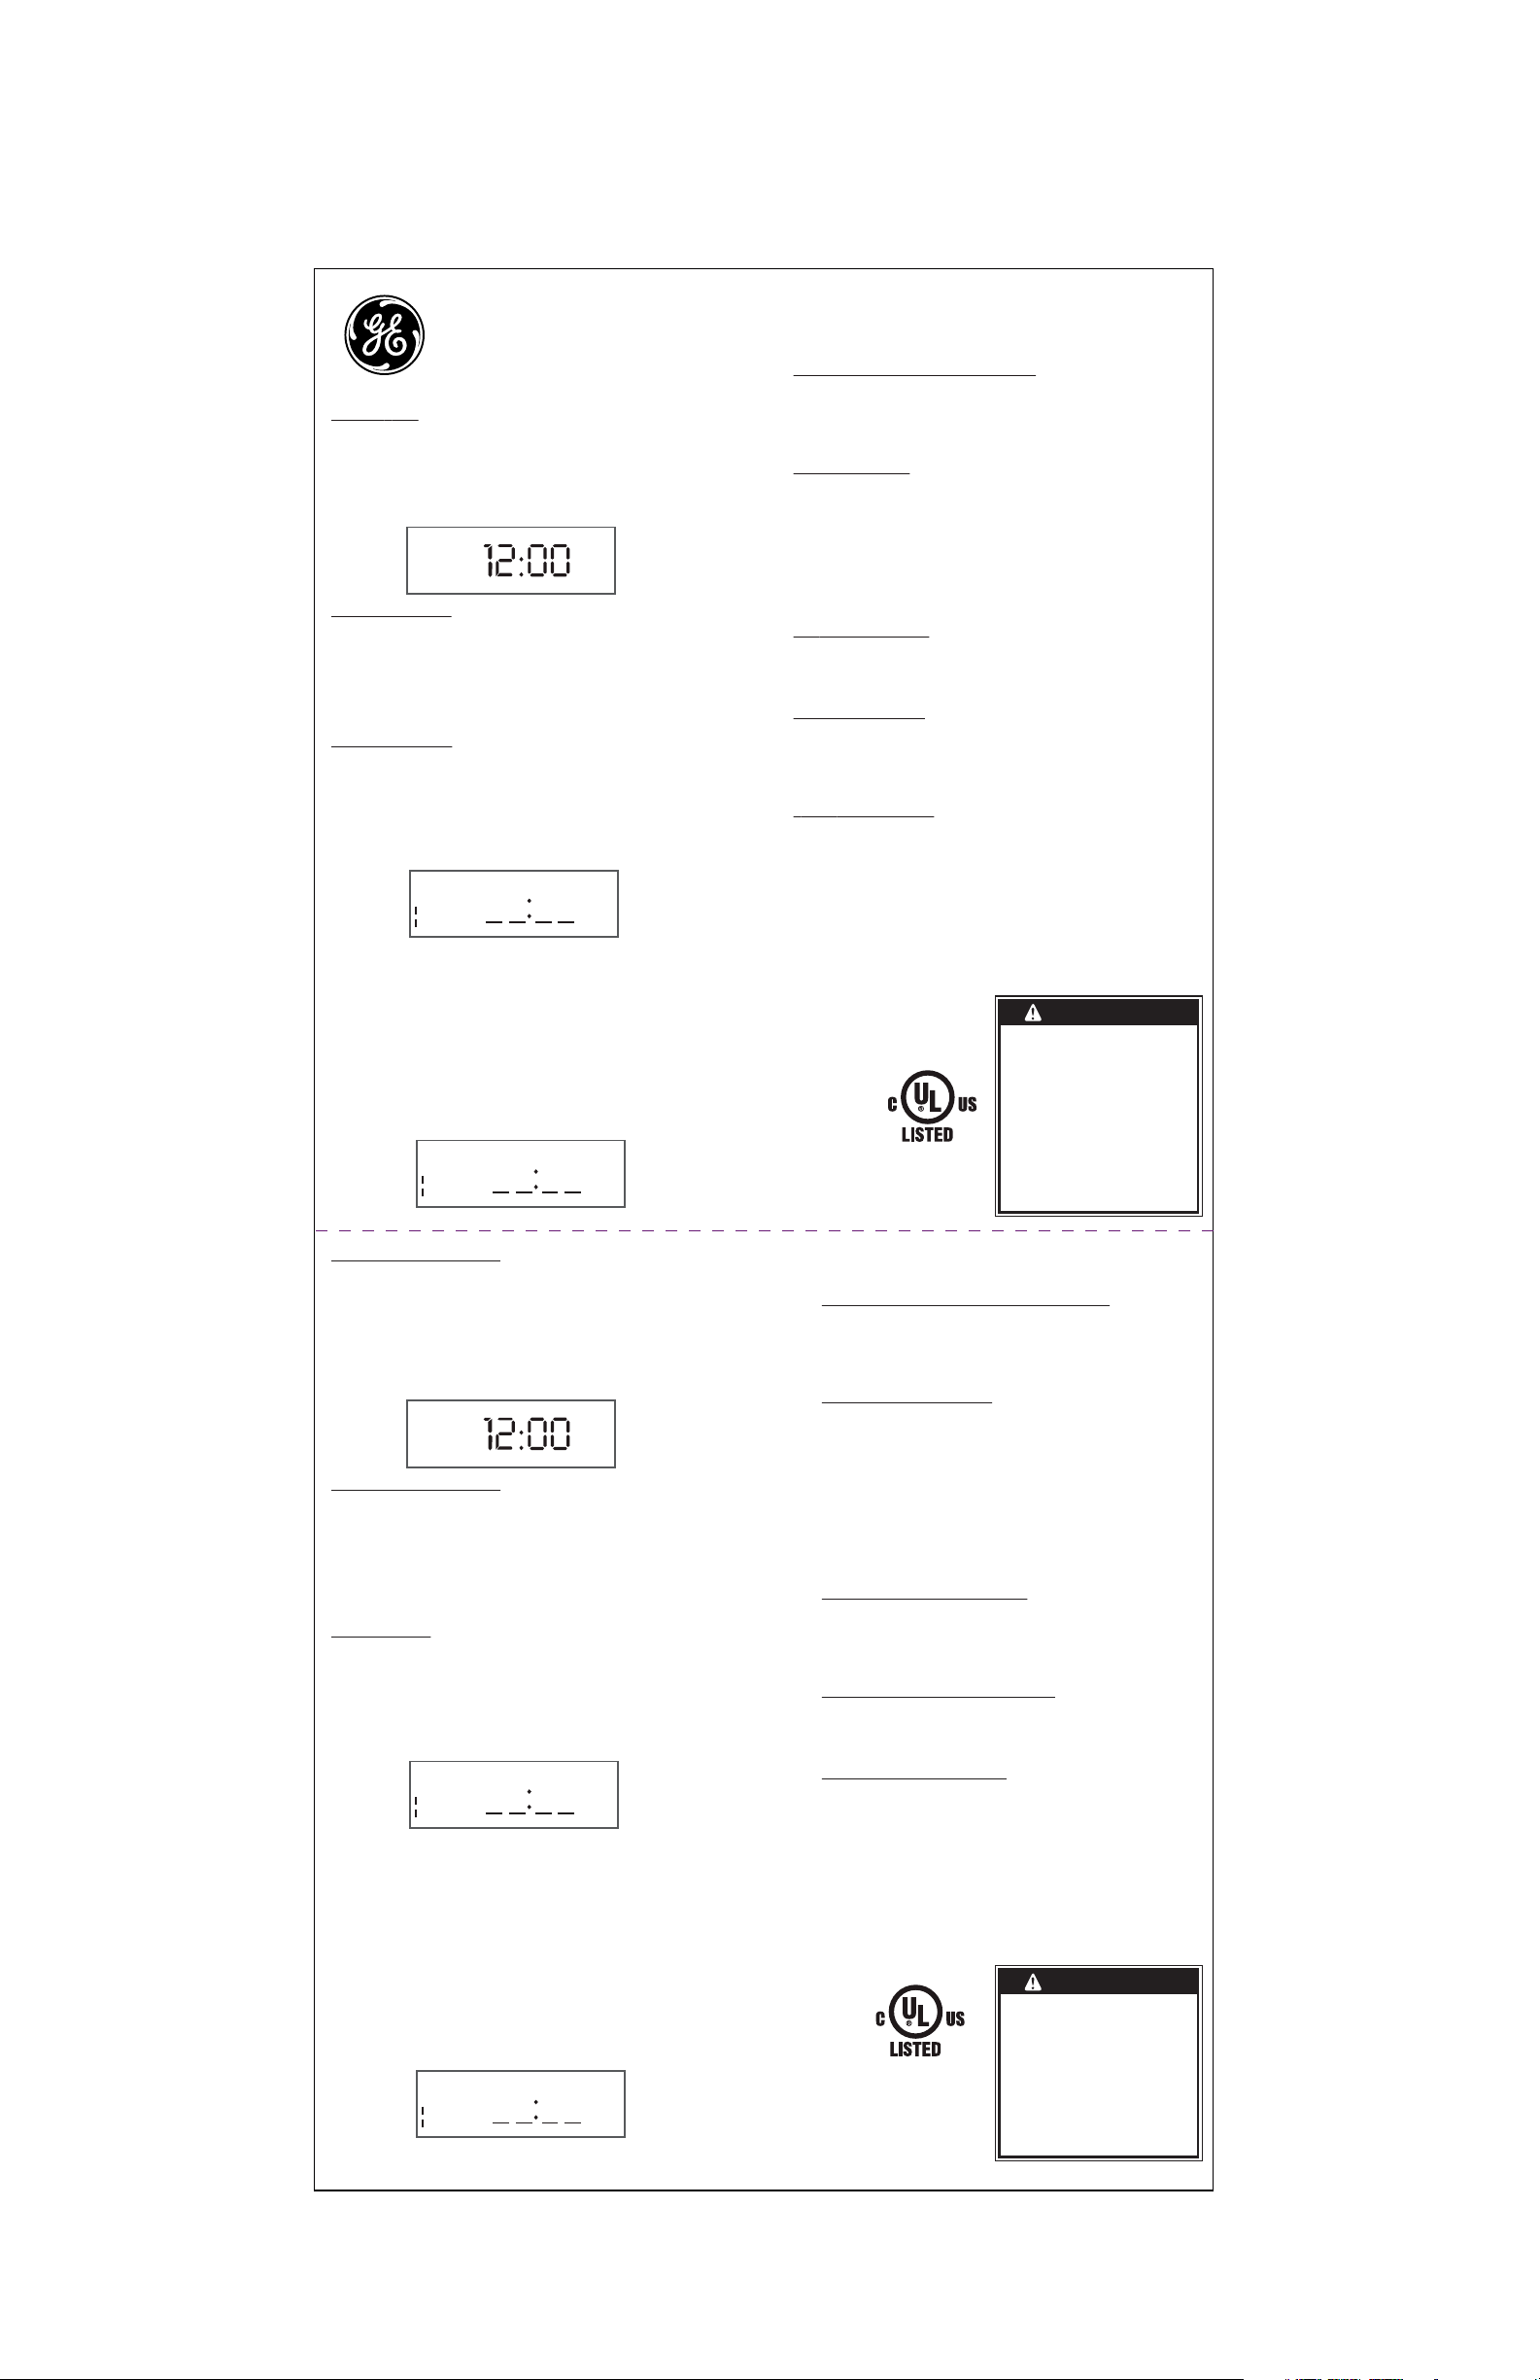
All of the display shows for 3 seconds, then the display will read as
shown in Fig. 2.
MO
Fig. 2
OFF
SETTING THE CLOCK
While holding the CLOCK button down:
1. Press the DAY button until the display shows the current day.
2. Press the HOUR button until the display shows the current hour.
3. Press the MIN (MINUTE) button until the display shows the
current minute.
SETTING PROGRAMS
Press the PROG (Program) button once. The display will look as shown
in Fig. 3. You will now set up the time in which you want your device turned
ON:
1. The number 1 in the lower left hand corner indicates that you
are now programming EVENT 1.
2. Press the Day button repeatedly until the display shows the
day in which you want the timer to turn on.
MO TU WE TH FR SA SUN
Fig. 3
ON
The options are:
a. All days of the week (MO TU WE TH FR SA SU)
b. Individual days of the week (MO, etc)
c. Weekdays only (MO TU WE TH FR)
d. Weekdays only (SA SU)
3. PRESS the HOUR and MIN (Minute) buttons to set up the
time of day when you want the timer to turn on.
Press the PROG (Program) button once again. The display reads as
shown in Fig. 4. You will now set up the time in which you want your
device turned OFF, in EVENT1.
4. Repeat steps 2 and 3 above.
MO
TU WE TH FR SA SUN
Fig. 4
OFF
AM
Repeat the ON and OFF program procedures outlined above for
each event (up to 7 events), as needed.
When programming is complete, press the CLOCK button to return to
the current time display.
REVIEWING YOUR EVENT PROGRAMMING
1. In the current time display, press the PROG (Program) button
repeatedly to check your settings.
2. When finished, press CLOCK to return to the current time
display.
SETTING THE MODE
The Mode acts as an ON or OFF override, or sets the Events to
Automatic or Random:
1.To change the current program between (ON, OFF, AUTOMATIC) press
the MODE button until the desired program is on the screen.
2.To run the events in a RANDOM mode (ON/OFF is +/- 30
minutes of programmed times) press MODE until “RDM” is
displayed in the upper left hand corner. The RANDOM mode is
a security feature that will give your home a more lived-in look.
INSTALLING THE TIMER
1.Plug the timer into an AC outlet.
2.Plug the lamp(s) or other device(s) to be controlled into the
receptacle(s) at the bottom of the timer.
RESETTING THE TIMER
1. Press CLOCK, MODE and PROG at the same time.
2. All segments on the display will light.
3. The display will read as shown in Fig. 2.
BATTERY REPLACEMENT
1. This timer runs on one AA battery.
2. To remove the battery, unscrew the battery door, using a Phillips
screwdriver.
3. Remove the battery and replace with a fresh AA battery.
4. Tightly screw the battery door in place.
Total Ratings For Both Receptacles:
120 V ac, 60 Hz:
15 A General Purpose
1000 W, Tungsten
1/4 hp
WARNING
Risk of electric shock
• Do not use with an extension cord
• Plug directly into a GFCI protected
electrical outlet
• Unplug timer before cleaning
• Fully insert plug
• Keep children away
Risk of fire
Manual Version 2
15117
11-24-2009
www.jascoproducts.com
• Do not use to control appliances that
contain heating elements (cooking
appliances, heaters, irons, etc.)
• Do not exceed electrical ratings
INICIALIZACIÓN DE LA HORA
Para activar la batería (se incluye una batería tamaño AA con el temporizador),
hale la lengüeta que sobresale de la puerta de la batería. Para retirar la lengüeta,
puede que tenga que abrir la puerta del compartimiento de la batería. (Ver
Reemplazo de la batería).
Toda la pantalla se ilumina durante 3 segundos; luego, la pantalla se verá como
en la Fig. 2.
MO
Fig. 2
OFF
AM
CONFIGURACIÓN DEL RELOJ
Mientras mantiene presionado el botón Clock (reloj):
1. Presione el botón DAY (día) hasta que en la pantalla aparezca el día
actual.
2. Presione el botón HOUR (hora) hasta que en la pantalla aparezca la hora
actual.
3. Presione el botón MIN (minutos) hasta que en la pantalla aparezca el
minuto actual.
PROGRAMACIÓN
Presione el botón PROG (programar) una vez. La pantalla se verá como se
muestra en la Fig. 3. Ahora se puede configurar la hora en que desea que se
encienda su dispositivo:
1. El número 1 en la esquina inferior izquierda indica que está programando el
EVENTO 1.
2. Presione el botón Day (día) varias veces hasta que en la pantalla aparezca el
día en que desea que se encienda el temporizador.
MOONTU WE TH FR SA SUN
Fig. 3
Las opciones son:
a. Todos los días de la semana: MO (lunes), TU (martes), WE (miércoles), TH
(jueves), FR (viernes), SA (sábado), SU (domingo)
b. Días de la semana individuales: MO (lunes), etc.
c. Días laborables solamente: MO (lunes), TU (martes), WE (miércoles), TH (jueves),
FR (viernes)
d. Fines de semana solamente: SA (sábado), SU (domingo)
3. Presione los botones HOUR (hora) y MIN (minutos) para configurar la hora del
día en que desea que se encienda el temporizador.
Presione nuevamente el botón PROG (programar) una vez. La pantalla se verá
como se muestra en la Fig. 4. Ahora se puede configurar la hora en que
desea que se APAGUE el dispositivo del EVENTO 1.
4. Repita los pasos 2 y 3 anteriores.
MO
TU WE TH FR SA SUN
Fig. 4
OFF
Para cada evento (hasta 7 eventos), repita los procedimientos de programación
de encendido y apagado descritos anteriormente, según sea necesario. Al
terminar la programación, presione el botón CLOCK (reloj) para
regresar a la pantalla de hora actual.
REVISIÓN DE LA PROGRAMACIÓN DE UN EVENTO
1. En la pantalla de hora actual, presione varias veces el botón
PROG (programar) para comprobar la configuración.
2. Al terminar, presione CLOCK (reloj) para regresar a la pantalla
de hora actual.
CONFIGURACIÓN DEL MODO
El Modo actúa como anulador de encendido o apagado o
configura los eventos en automático o aleatorio:
1. Para cambiar el programa actual entre ON (encendido), OFF
(apagado), AUTOMATIC (automático), pulse el botón MODE hasta
que aparezca en la pantalla el programa deseado.
3. Para ejecutar los eventos en el modo ALEATORIO (ON/OFF es
+/- 30 minutos de las horas programadas), presione MODE hasta
que aparezca "RDM" en la esquina superior izquierda. El modo
RANDOM (aleatorio) es una función de seguridad que le dará a su
hogar un aspecto más acogedor.
INSTALACIÓN DEL TEMPORIZADOR
1. Conecte el temporizador en una toma de CA.
2. Conecte la lámpara o lámparas u otro dispositivo o dispositivos
que va a controlar en el receptáculo o receptáculos en la parte
inferior del temporizador.
REINICIALIZACIÓN DEL TEMPORIZADOR
1. Presione CLOCK, MODE y PROG ala mismo tiempo.
2. Se iluminarán todos los segmentos en la pantalla.
3. La pantalla se verá como se muestra en la Fig. 2.
SUSTITUCIÓN DE LAS BATERÍAS
1. Este temporizador funciona con una batería tamaño AA.
2. Para retirar la batería, desatornille la tapa de la batería
utilizando un destornillador de estrella.
3. Retire la batería y sustitúyala por una batería nueva
tamaño AA.
4. Apriete el tornillo de la tapa de la batería.
Especificaciones totales para ambas tomas:
120 V ac, 60 Hz:
15 A Servicio General
1000 W, Tungsteno
1/4 hp (caballo)
ADVERTENCIA
Riesgo de descarga eléctrica
• No debe utilizarse con un cordón de extensión
• Enchúfelo directamente a un tomacorriente
protegido por un GFCI
• Desconecte el temporizador antes de limpiar
• Inserte completamente la clavija en el
tomacorriente
• Mantenga alejados a los niños
Manual Version 2
15117
11-24-2009
www.jascoproducts.com
Riesgo de incendio
• No use para controlar electrodomésticos que
contengan elementos caloríficos (aparatos para
cocinar, calentadores, planchas, etc.).
• No exceda las especificaciones eléctricas límite
 Loading...